
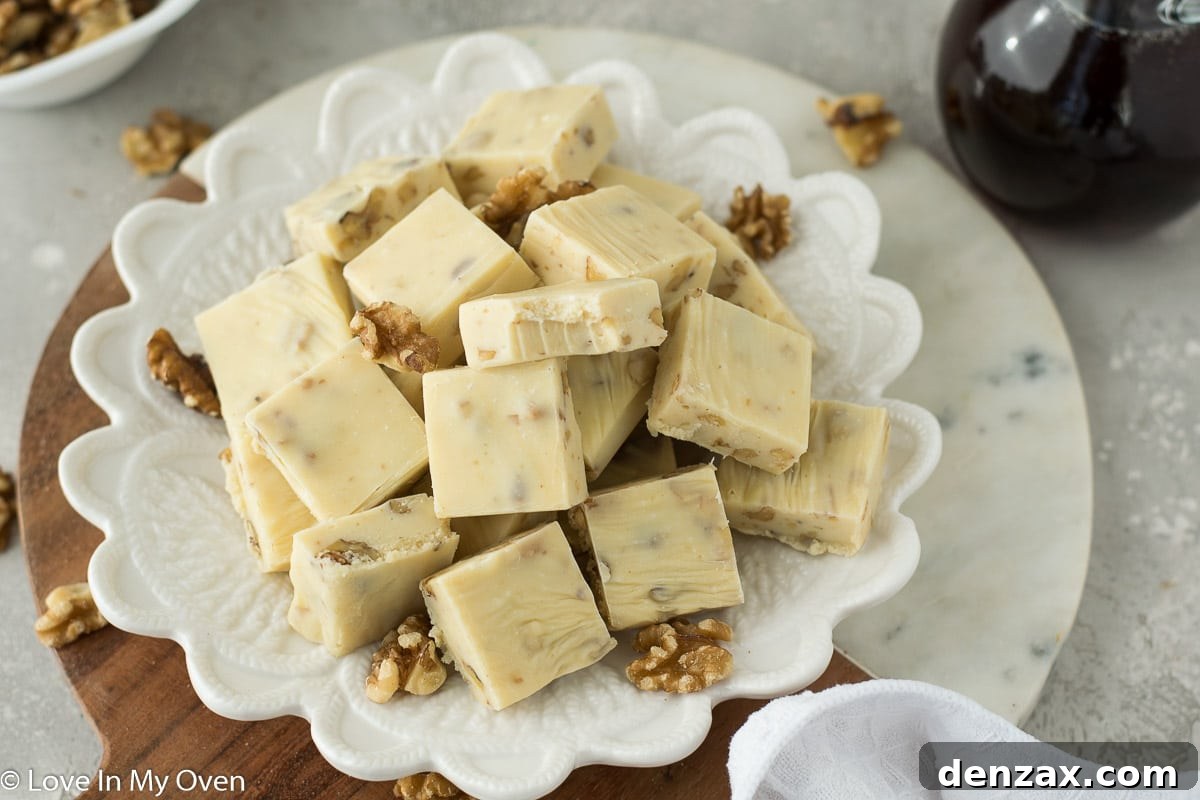
Indulge in the irresistible sweetness of homemade Maple Walnut Fudge! With just a few simple ingredients and minimal effort, this creamy, rich confection can be yours. It’s an effortlessly elegant treat, perfect for satisfying your sweet tooth or delighting loved ones with a thoughtful, edible gift. Get ready to fall in love with this super simple maple fudge recipe!
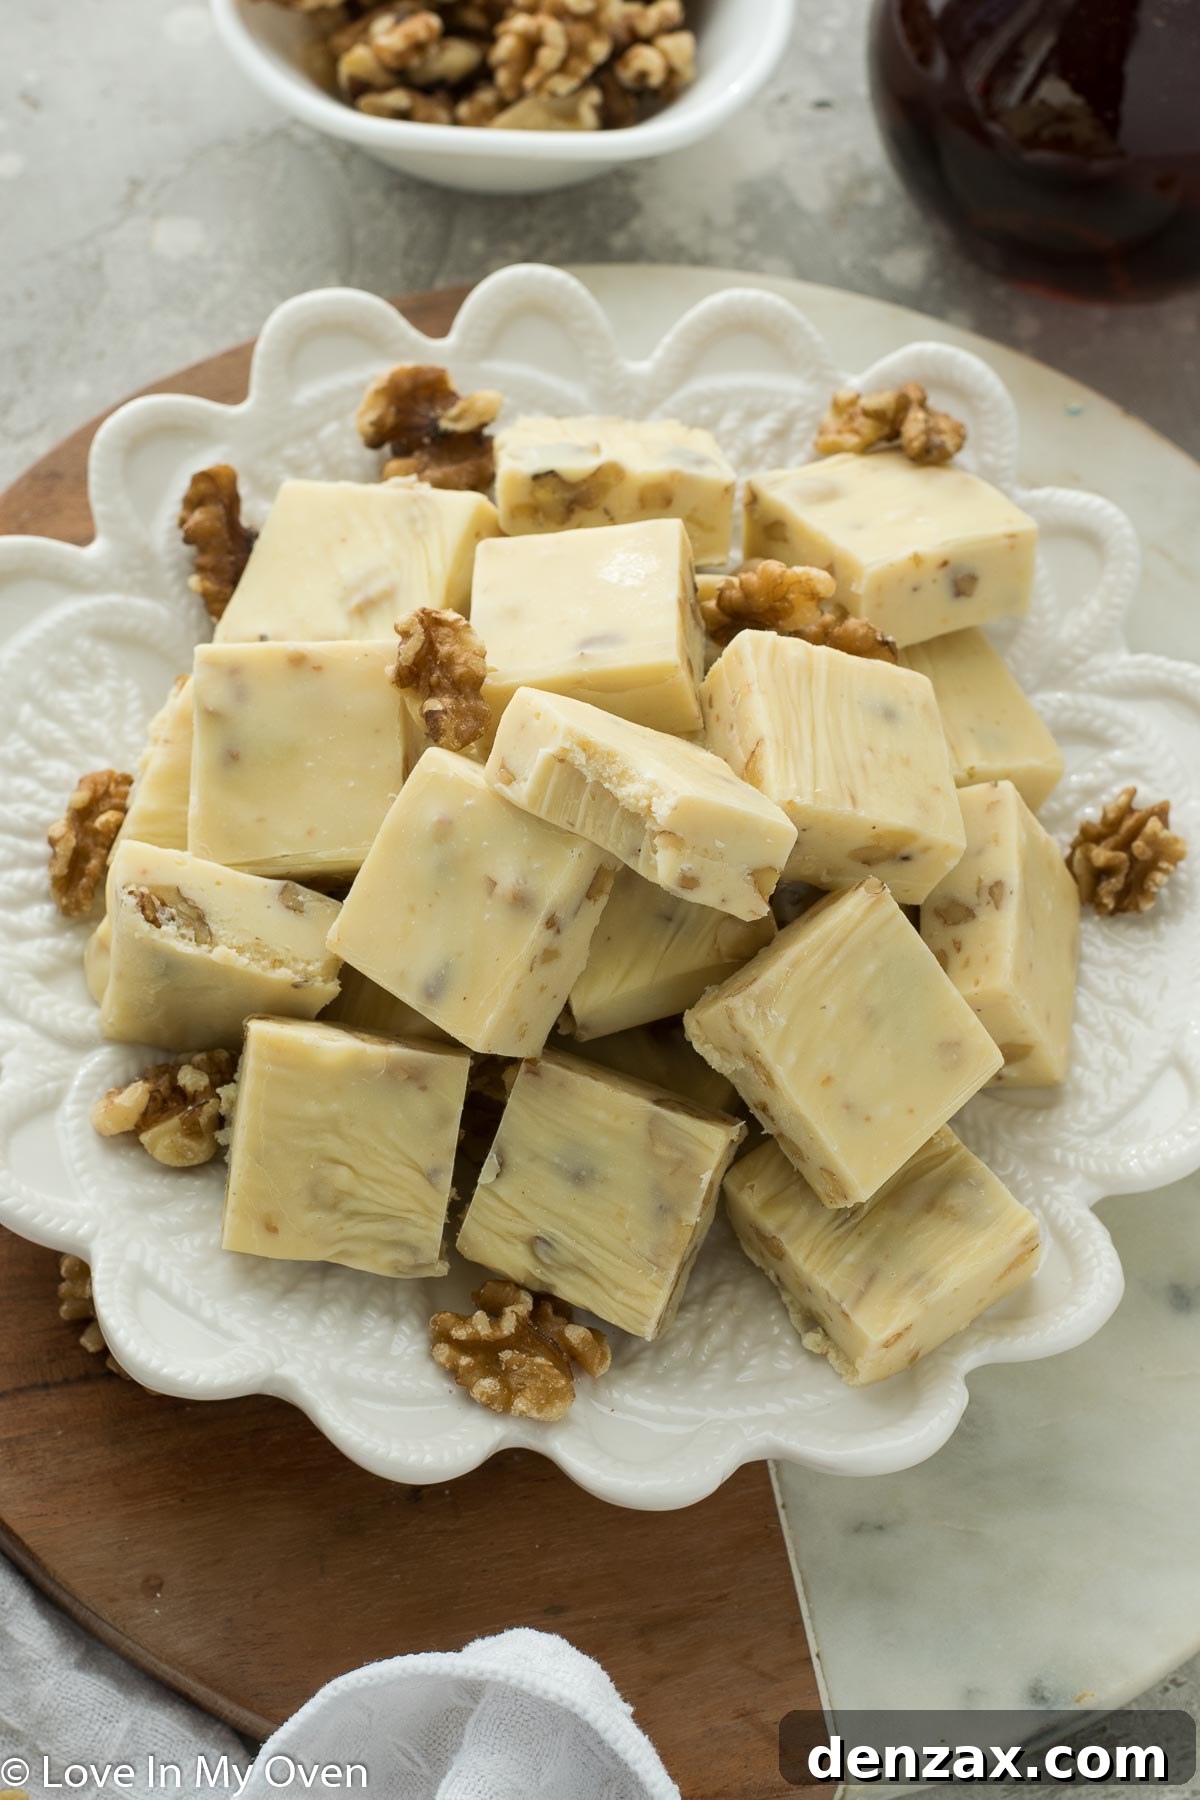
As the festive season approaches, the air fills with anticipation, warmth, and the delightful aroma of holiday baking. For many, this time of year completely sneaks up on us, leaving us scrambling for last-minute preparations. Whether you’re a meticulous planner who has all gifts wrapped and cards sent out, or someone who thrives on the joyous chaos of last-minute tasks, one thing is certain: a batch of homemade treats always brings cheer. This year, simplify your holiday baking with an incredibly easy yet utterly delicious recipe that promises to be a crowd-pleaser.
Do you have cherished Christmas Eve traditions? Growing up, our evenings were often spent attending Christmas Eve mass, followed by the exciting unwrapping of presents. While our traditions have evolved over the years – with gifts now opened on Christmas morning – the spirit of togetherness remains. We’ve introduced a delightful “Christmas Eve box” tradition, filled with a new board game for family fun, a unique ornament to adorn the tree, and, of course, a selection of scrumptious goodies to enjoy. These simple rituals create lasting memories, and at the heart of many of these moments are shared culinary delights.
Speaking of goodies, before embarking on any holiday travels, I always make sure to prepare and distribute tins of festive treats to our wonderful neighbors and friends. It’s a small gesture that goes a long way in spreading holiday cheer. And if you’re wondering what delicious surprise nestled within those tins this year, you’ve guessed it – a batch of this exquisite Maple Walnut Fudge! It’s become a highly requested item, and for good reason.
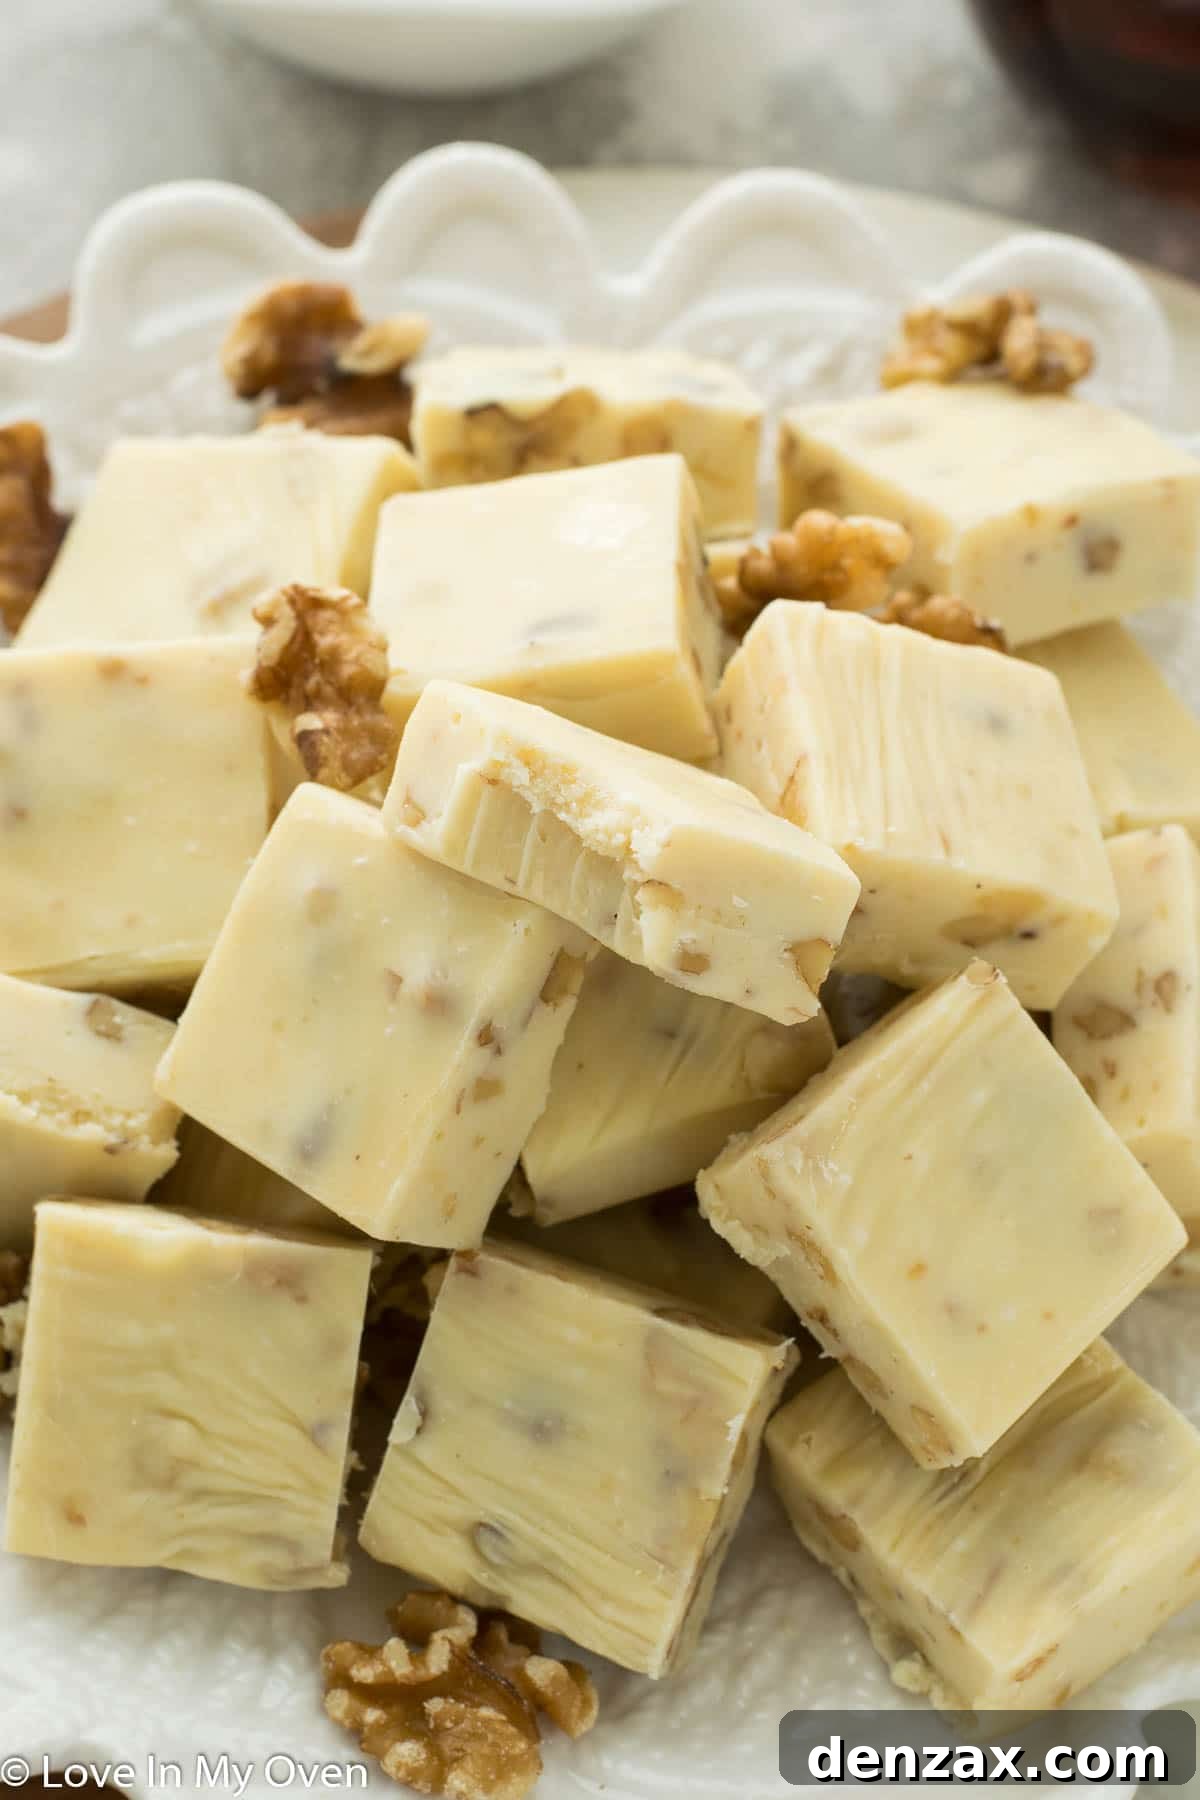
Every year, I challenge myself to create a different kind of homemade fudge. It’s a versatile and much-loved addition to any cookie box or holiday platter. What makes this recipe particularly appealing is its incredible simplicity. Unlike traditional fudge that often requires a candy thermometer and precise temperature control, this shortcut method is wonderfully straightforward, making it accessible even for novice bakers. Last year, my gingerbread fudge was a huge hit, and the kids still reminisce about its spiced sweetness. This year’s maple walnut variation is set to become another timeless favorite.
Crafting the Perfect Maple Walnut Fudge: A Simplified Approach
If you’ve ever explored or even made my gingerbread fudge recipe, you’ll find that this delectable maple walnut version follows a very similar, no-fuss process. The beauty lies in its minimal ingredient list and straightforward technique, which eliminates the need for complex cooking methods or specialized equipment. To create this heavenly treat, you’ll only need four core components:
- High-quality white chocolate (chips or finely chopped bars work best)
- Sweetened condensed milk (the secret to its creamy texture)
- Finely chopped walnuts (for that delightful crunch and earthy flavor)
- Pure maple extract (to infuse that authentic, rich maple taste)
The magic begins on your stovetop. In a small, heavy-bottomed saucepan, combine the white chocolate and sweetened condensed milk. Using white chocolate chips is often the easiest option as they melt more evenly, but a good quality white chocolate bar, finely chopped, will also yield excellent results. Opting for quality chocolate will elevate the overall flavor of your fudge, providing a smoother, richer base.
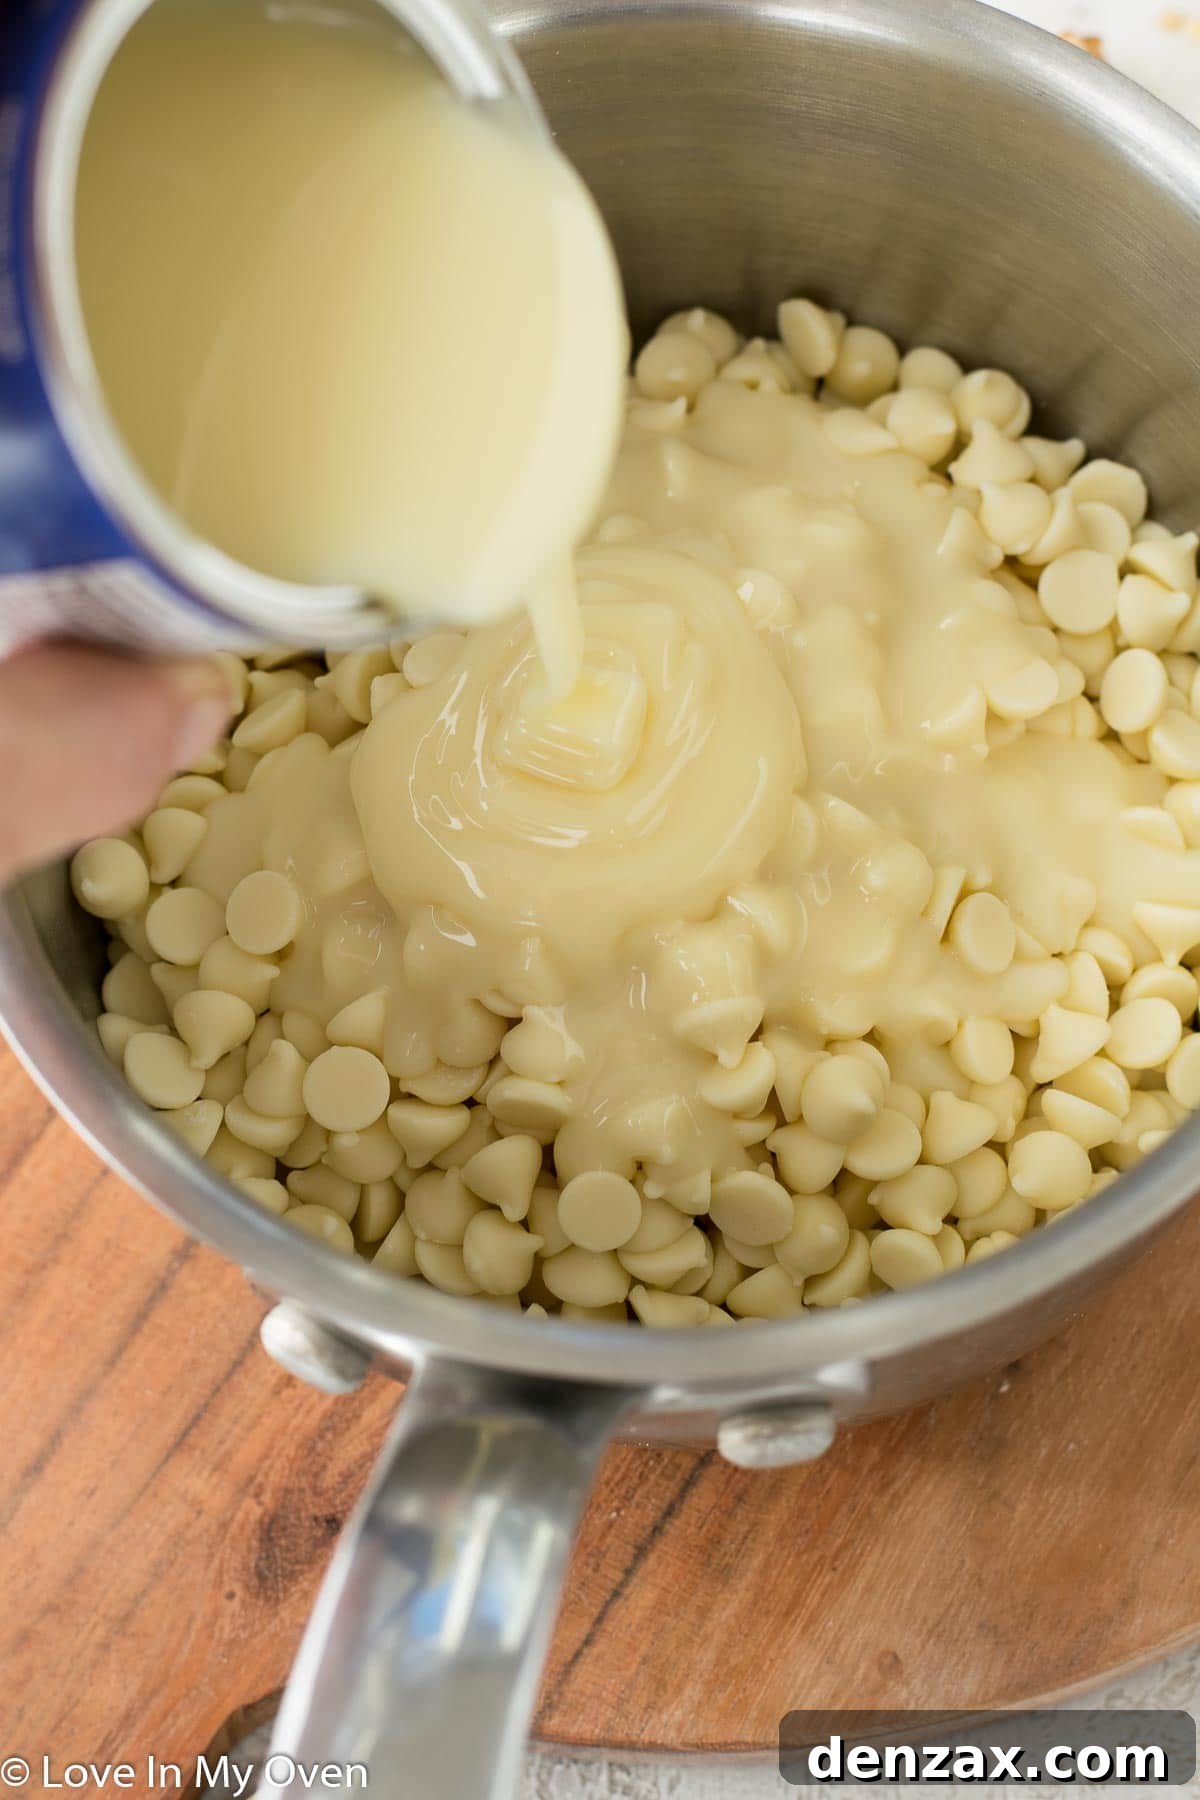
Gently heat the mixture over medium-low heat, stirring continuously. The key here is patience and constant attention to prevent the chocolate from scorching. Continue to stir until the white chocolate is completely melted and the mixture transforms into a wonderfully smooth, glossy consistency. Once you achieve this perfect melted state, promptly remove the saucepan from the heat. This step is crucial, as adding the flavorings and nuts while still over heat could cause the chocolate to seize or burn.
With the saucepan off the heat, it’s time to introduce the stars of the show: the maple extract and chopped walnuts. Stir in the pure maple extract first, ensuring it’s thoroughly incorporated to evenly distribute that warm, aromatic maple flavor throughout the fudge base. Following this, fold in the chopped walnuts. Walnuts not only provide a delightful textural contrast with their satisfying crunch but also complement the maple flavor beautifully. If you prefer, you can lightly toast the walnuts beforehand to enhance their nutty aroma, though this is an optional step.
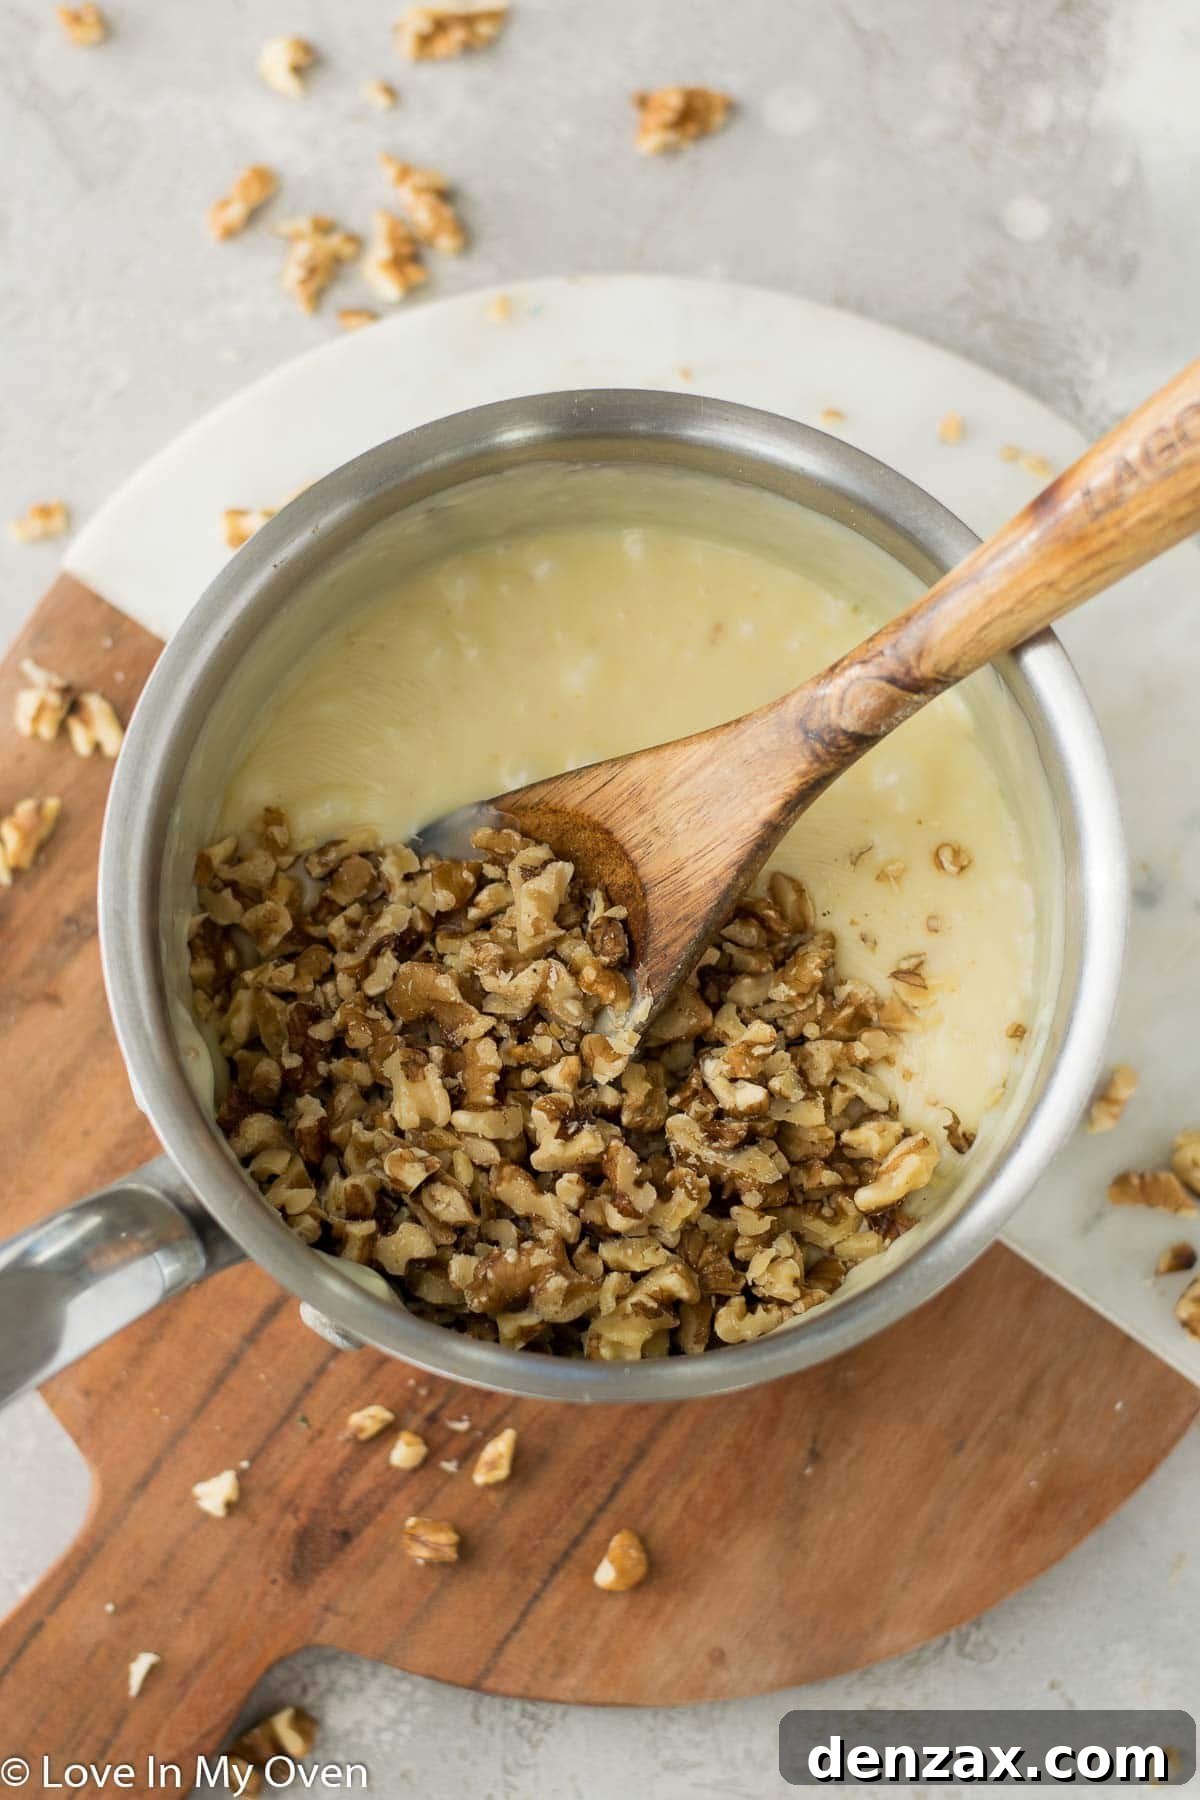
Once everything is perfectly combined, pour the luscious fudge mixture into an 8×8 inch baking pan. For effortless removal and clean cuts, ensure your baking pan is meticulously lined with aluminum foil, with enough overhang to act as “handles.” Don’t forget to generously spray the foil with nonstick cooking spray; this critical step guarantees the fudge won’t stick, allowing for a smooth and easy lift-out once it’s set. Carefully smooth out the top of the fudge with the back of a spoon or a small spatula, aiming for an even thickness across the pan.
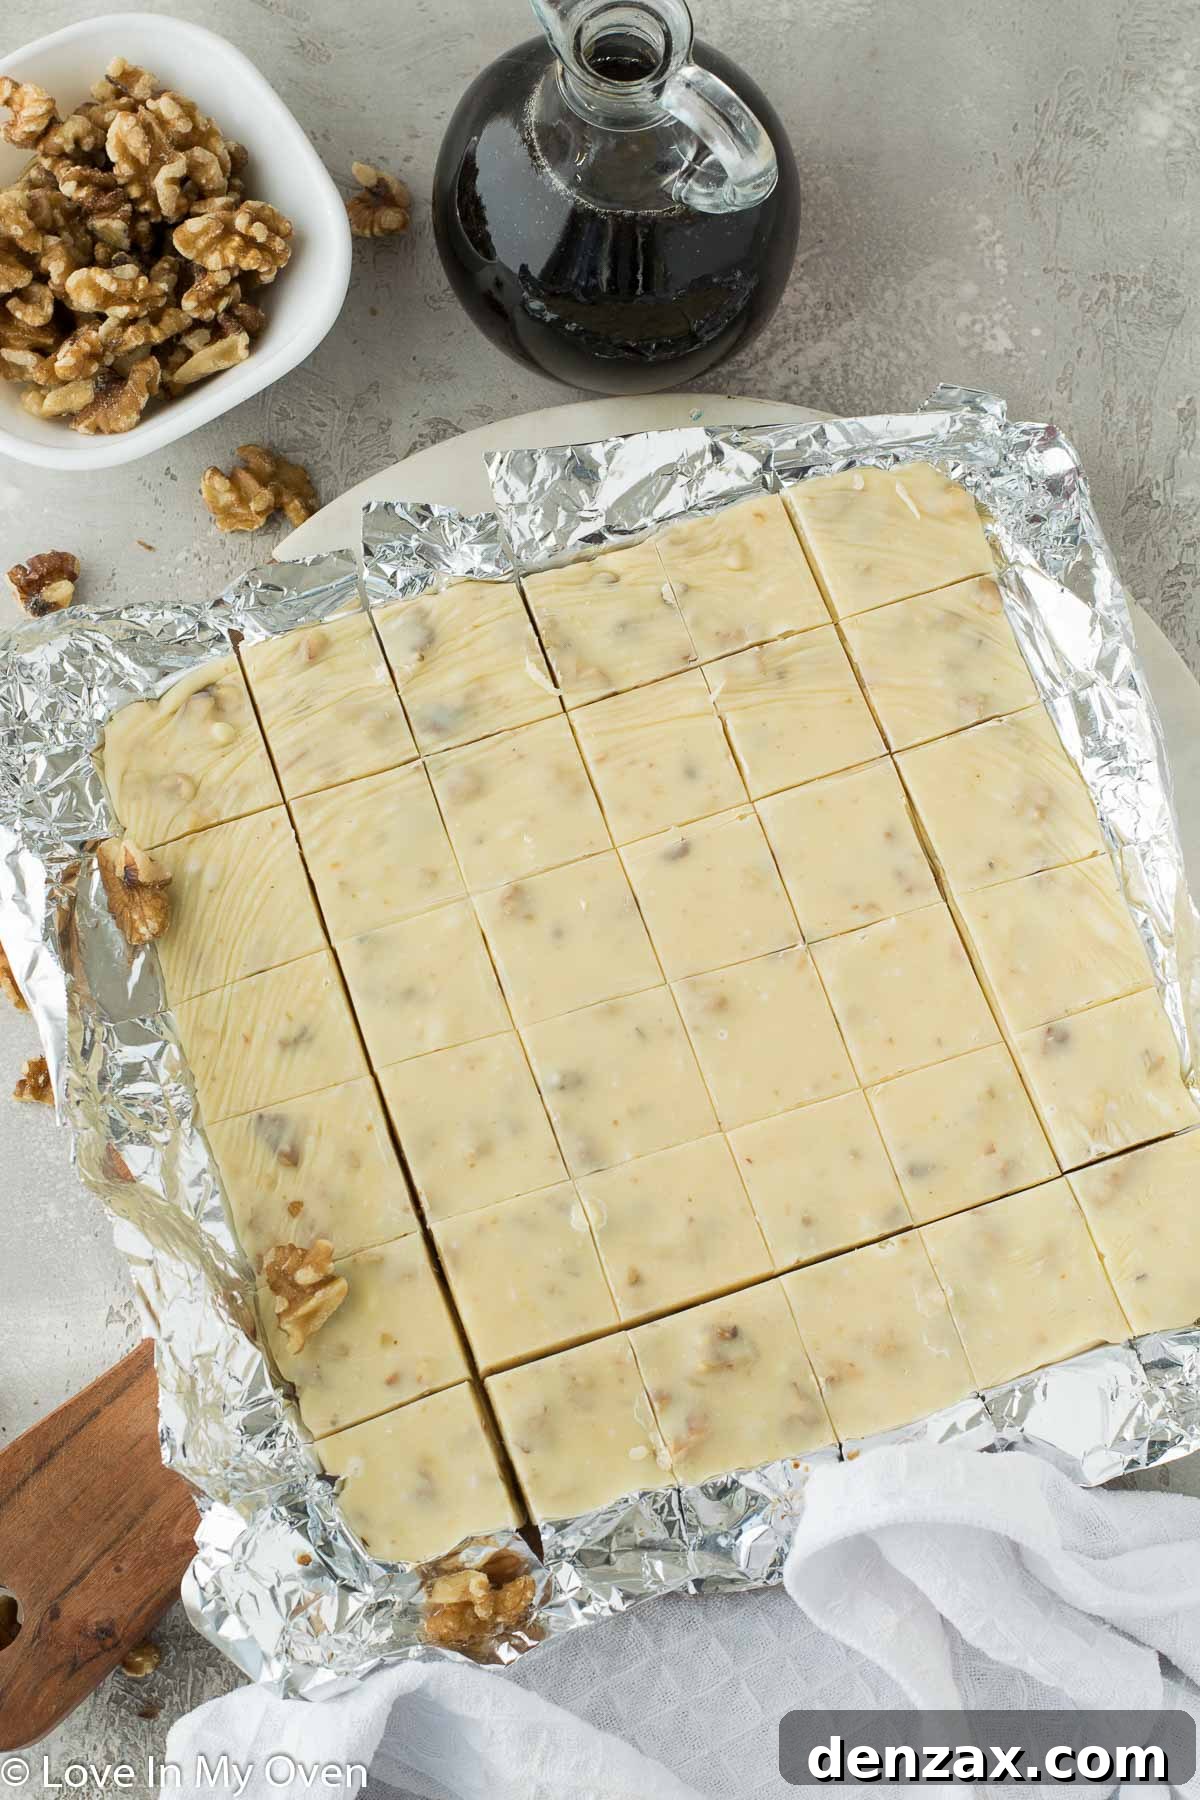
Now comes the waiting game, which is arguably the hardest part of this recipe! Place the prepared baking pan into the refrigerator for at least 4 hours. For optimal firmness and texture, chilling the fudge overnight is highly recommended. This extended chilling period allows the fudge to set completely, ensuring it holds its shape beautifully when cut.
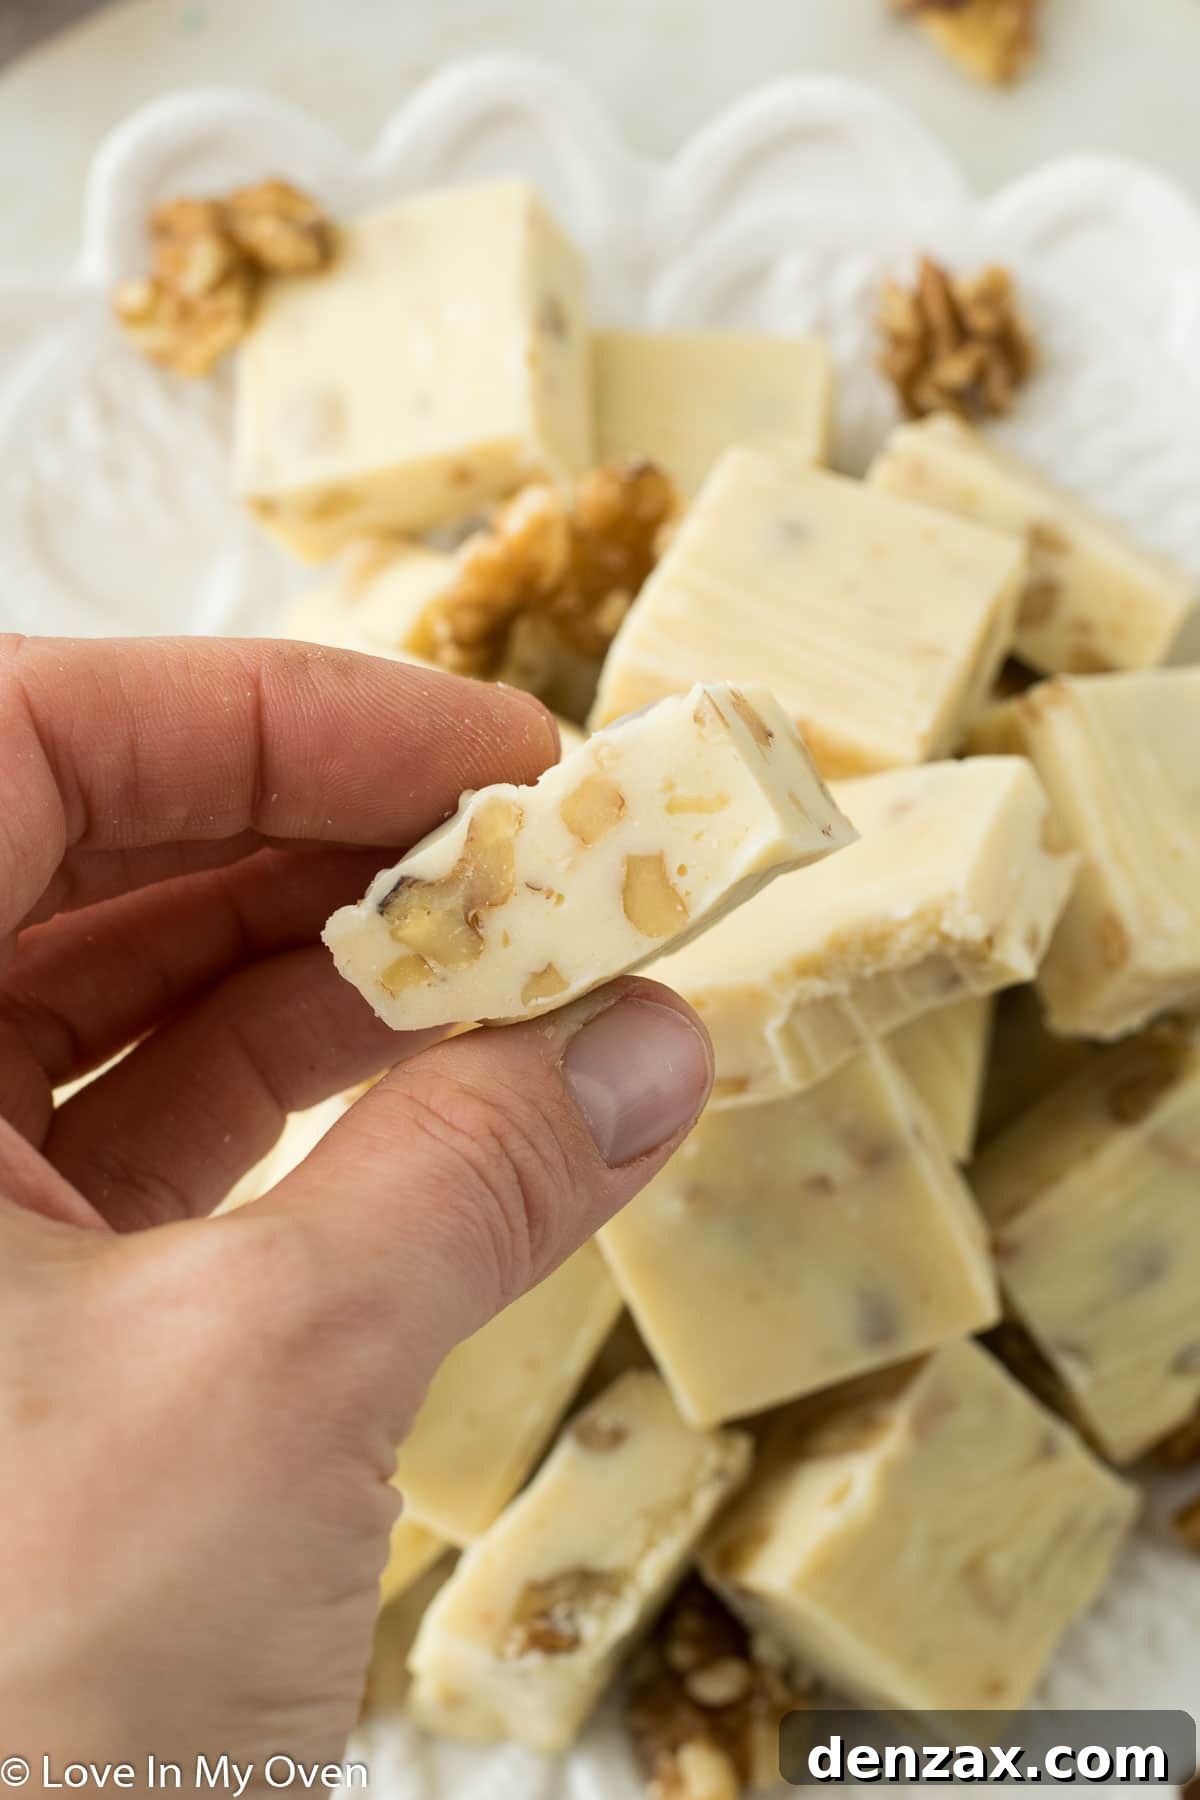
To cut the fudge into perfect squares, gently lift the entire block out of the pan using the foil overhang and transfer it to a sturdy cutting board. Using a sharp, clean knife, slice the fudge into your desired pieces. I typically aim for 36 equal pieces – though, as I always say, “equal” can sometimes be an exaggeration when delicious fudge is involved! A warm knife can help create cleaner cuts, so consider heating your knife under hot water and drying it between slices. This simple technique results in neat, attractive squares that are perfect for serving or gifting.
Storing Your Maple Walnut Fudge: Tips for Freshness and Longevity
Proper storage is essential to maintain the delightful texture and fresh flavor of your homemade Maple Walnut Fudge. While this fudge is relatively stable, it certainly keeps best when stored in cooler temperatures. If left at room temperature for an extended period, especially in a warm environment or after being handled frequently, the fudge will begin to soften. For this reason, I always recommend storing your fudge in the refrigerator. Keeping it chilled ensures that each bite is firm, creamy, and holds its shape perfectly.
When preparing fudge for a cookie box, a dessert platter for a party, or simply as a treat for your family, it’s best to keep it refrigerated until just before serving. This not only preserves its texture but also enhances its refreshing coolness, which can be particularly enjoyable after a meal. For longer-term storage, the freezer is your best friend. Properly stored in an airtight container, this maple walnut fudge will maintain its quality for several months. What’s even better is that it tastes surprisingly delicious straight from the freezer – a frozen fudge treat can be a delightful surprise! Given its delectable taste, however, it’s unlikely to last that long in any household!
To store in the fridge, place the cut fudge pieces in an airtight container, separating layers with parchment paper to prevent sticking. It will last for up to one week. For freezer storage, wrap individual pieces or small batches tightly in plastic wrap, then place them in an airtight container or freezer bag. This extra step helps prevent freezer burn and preserves the fudge’s exquisite flavor and texture for up to two months. Thaw frozen fudge in the refrigerator for a few hours before serving, or simply enjoy it as a cool, dense treat.
Make It Vegan and Dairy-Free: An Inclusive Indulgence
For those with dietary restrictions or a preference for plant-based treats, this Maple Walnut Fudge recipe is wonderfully adaptable. As an enthusiast for experimenting with vegan recipes, I’m thrilled to confirm that this fudge can be made entirely vegan and dairy-free without compromising on flavor or texture. The key is substituting a couple of the main ingredients with their plant-based counterparts.
To create a vegan version, you’ll need to source vegan white chocolate and coconut condensed milk. Vegan white chocolate has become more widely available in recent years, though it might still require a bit of searching compared to conventional options. I’ve often found success locating quality vegan white chocolate chips or bars on specialty online retailers like Amazon or in health food stores. Coconut condensed milk is a fantastic dairy-free alternative that provides the same rich, creamy base as traditional condensed milk, with a subtle hint of coconut that pairs beautifully with the maple flavor.
The preparation steps and ratios remain exactly the same as the regular recipe. Simply swap out the conventional white chocolate for vegan white chocolate, and the regular sweetened condensed milk for coconut condensed milk. One important tip to remember is to check the can size of the coconut condensed milk; they are generally smaller than standard condensed milk cans. Ensure you have the correct total amount needed for the recipe to achieve the perfect consistency. The resulting vegan maple walnut fudge is just as smooth, sweet, and satisfying, making it an ideal treat for everyone to enjoy, regardless of their dietary needs.
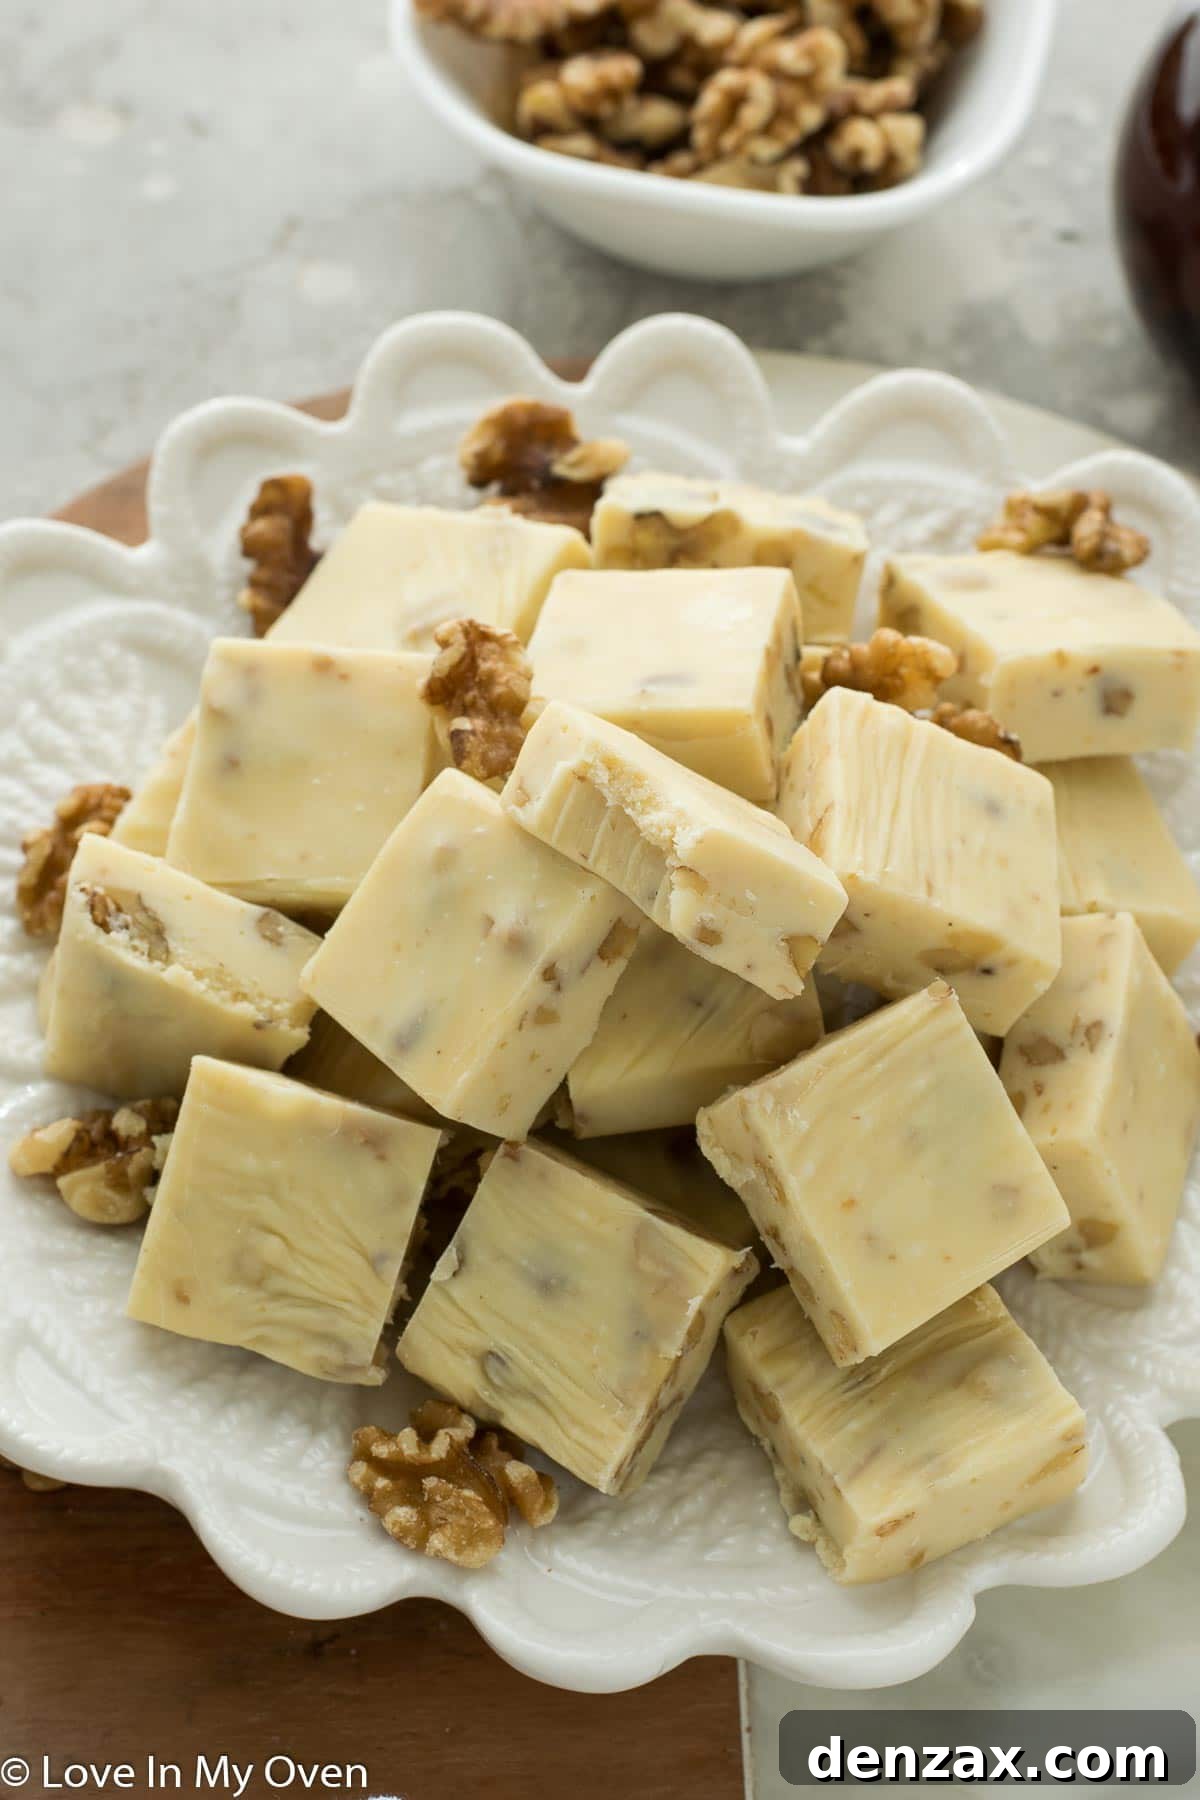
Whether you’re preparing it for holiday gifting, a special occasion, or simply as a little sweet indulgence for yourself, this Maple Walnut Fudge is an effortlessly easy and utterly delicious addition to your repertoire of sweet treats. Its rich flavor and appealing texture make it a standout on any dessert table.
We always find joy in having a delightful assortment of fudge among our holiday goodies. It’s the kind of treat that truly encapsulates the spirit of the season – sweet, comforting, and meant to be shared. From my kitchen to yours, may your holidays be filled with joy, warmth, and plenty of delicious moments!
Merry Christmas and happy baking! ❤️
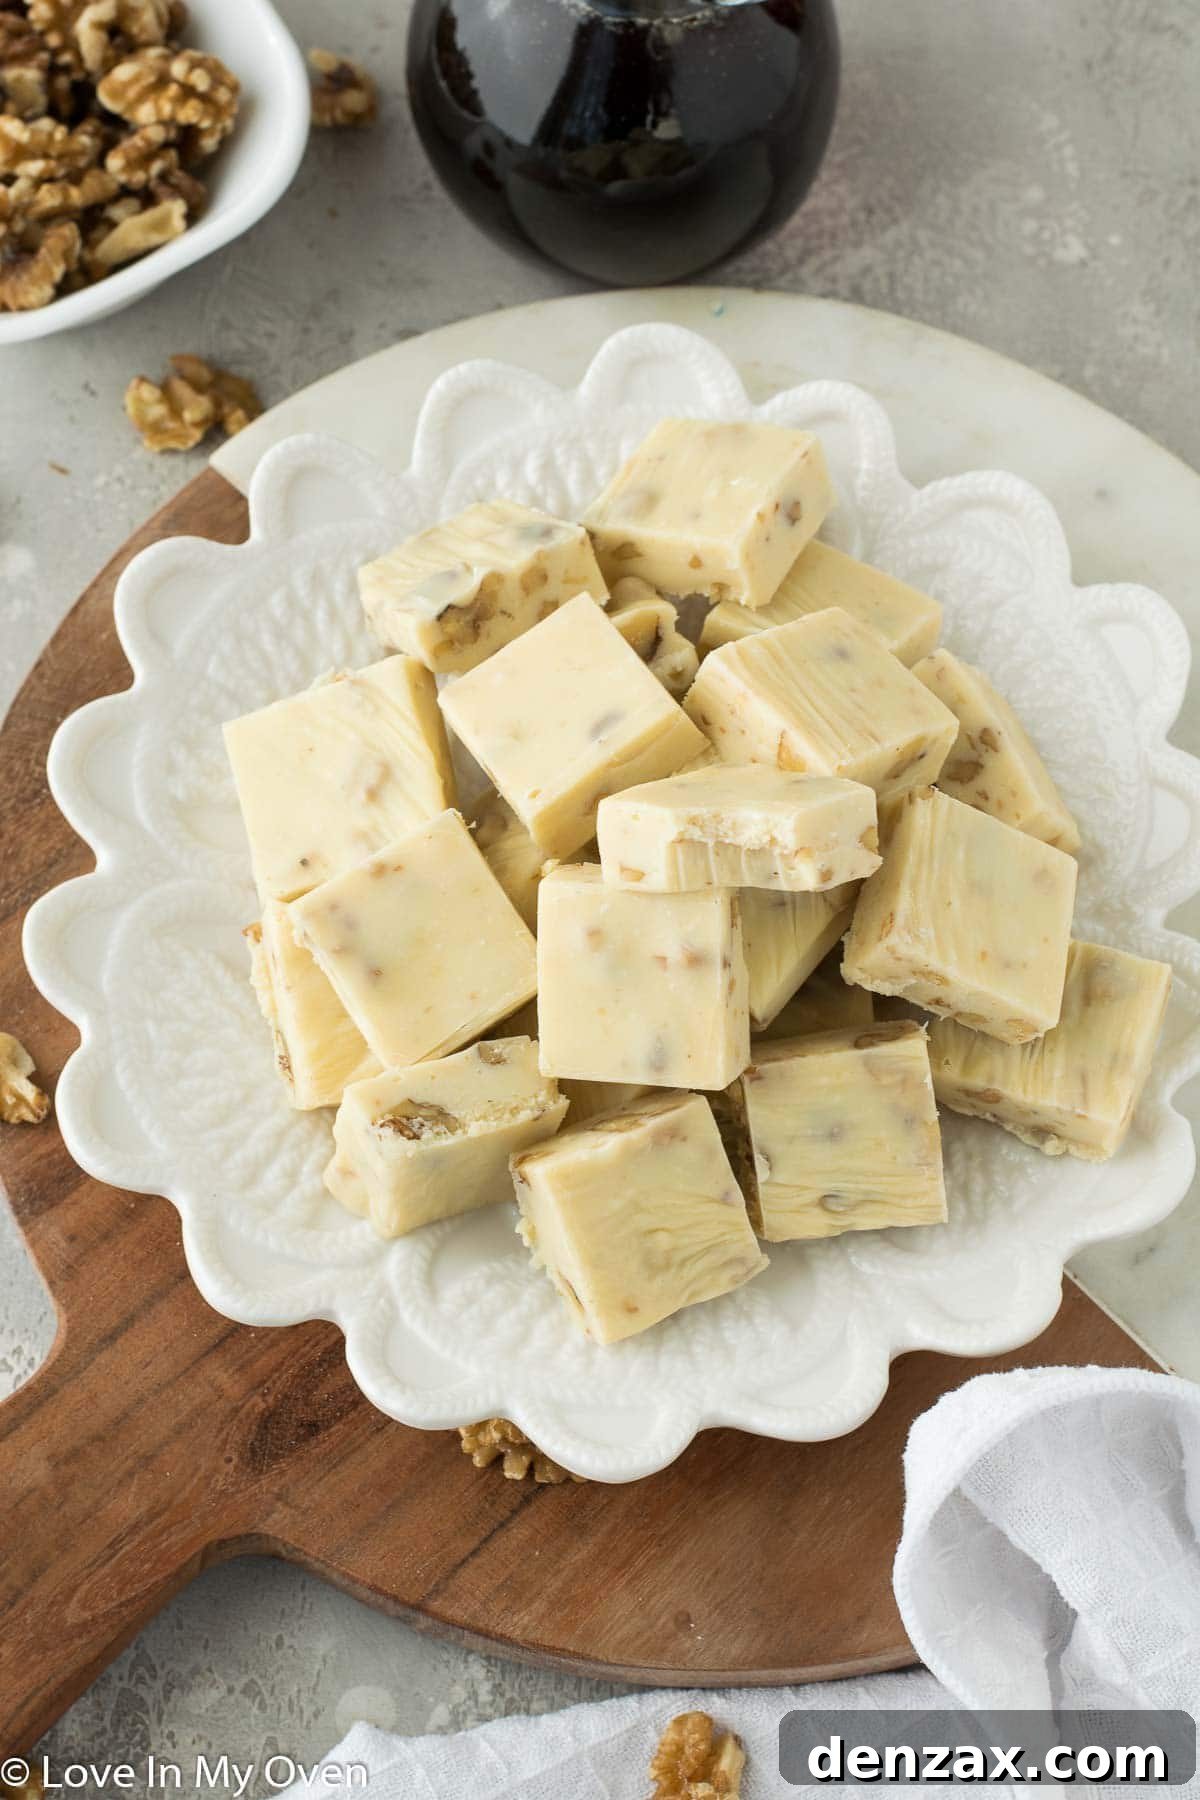
If you love easy, fuss-free desserts, you’ll be delighted to explore more of my favorite easy and 3-ingredient treats from the blog:
- Refreshing Mint Oreo Mousse
- Decadent 3-Ingredient Nutella Brownies
- Irresistible 3-Ingredient Oreo Truffles
Maple Walnut Fudge
5 Stars 4 Stars 3 Stars 2 Stars 1 Star
5 from 2 reviews
Author: Katherine | Love In My Oven
Total Time: 5 hours
Yield: 36 squares 1x
Description
With only a couple of ingredients and a little bit of time, this maple walnut fudge can be yours! You’ll love this super simple maple fudge! Perfect for gifting!
Ingredients
Scale
- 1 can (300mL) sweetened condensed milk
- 16 oz white chocolate chips (~3 cups)
- 1 tsp pure maple extract
- 1 cup chopped walnuts
- 1/8 tsp sea salt
Instructions
- Line an 8×8 baking pan with aluminum foil, ensuring a generous overhang on the sides. Spray the foil thoroughly with nonstick cooking spray to guarantee easy removal. Set the prepared pan aside. In a small, heavy-bottomed saucepan, combine the sweetened condensed milk and white chocolate chips. Place the saucepan on the stove over medium-low heat and stir continuously until the chocolate is completely melted and the mixture is smooth and glossy.
- Once the chocolate mixture is fully melted and smooth, remove the saucepan from the heat immediately. Stir in the pure maple extract until well combined, ensuring the flavor is evenly distributed. Next, add the chopped walnuts and the pinch of sea salt. Give everything another thorough stir to fully incorporate the nuts and salt into the fudge mixture.
- Pour the warm fudge mixture into the prepared 8×8 baking pan. Use the back of a spoon or a small spatula to smooth the top of the fudge as evenly as possible. Once smoothed, place the baking pan into the refrigerator. Chill the fudge for a minimum of 4 hours, but ideally, allow it to chill overnight to ensure it sets completely and firms up to the perfect consistency.
- After the fudge has thoroughly chilled and set, remove the pan from the refrigerator. Use the overhanging aluminum foil as handles to carefully lift the entire block of fudge out of the pan and transfer it onto a cutting board. Using a sharp knife, slice the fudge into your desired number of squares. For best results, clean the knife between cuts for neat edges. Store the cut fudge in an airtight container in the fridge or freezer.
Fudge will keep at room temperature for a day if you have it out on a serving tray, but it keeps best when cold. It can be stored in the fridge for up to 1 week or in the freezer for 2+ months when properly sealed.
Notes
For a delicious vegan and dairy-free adaptation of this recipe, please refer to the detailed instructions and tips provided in the blog post above.
- Prep Time: 5 minutes
- Cook Time: 5 minutes
- Category: desserts
- Method: stovetop
- Cuisine: american