
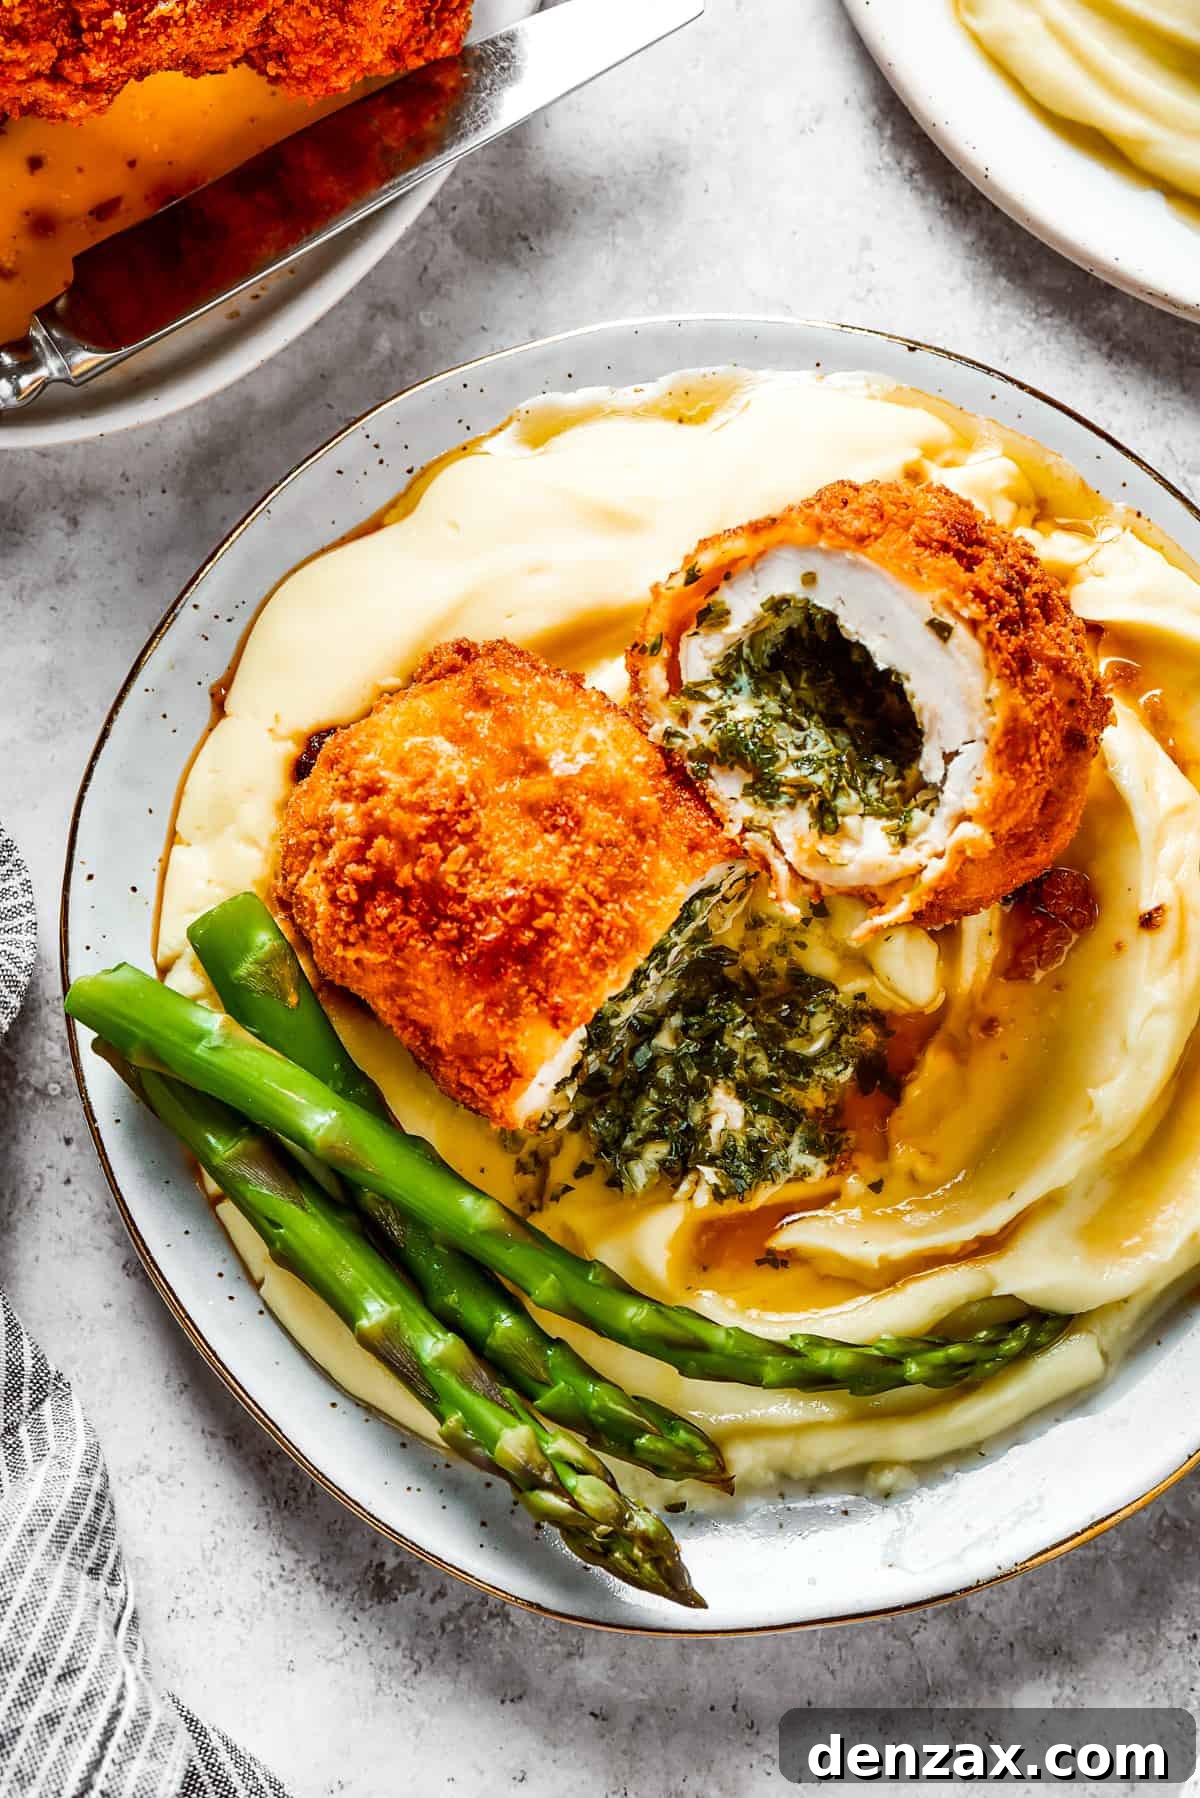
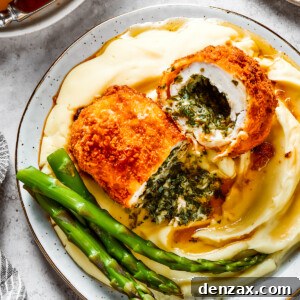
There are few dishes as satisfying and impressive as perfectly cooked Chicken Kiev. Imagine biting into a golden, impossibly crispy breaded chicken breast, only to be met with a burst of molten garlic-herb butter, infusing every tender morsel with incredible flavor. This iconic Eastern European classic is a true culinary masterpiece, celebrated for its rich taste, delightful textures, and elegant presentation. Whether you’re planning a special dinner party or simply want to elevate a weeknight meal, this comprehensive guide will walk you through creating the ultimate homemade Chicken Kiev – perfectly crispy, intensely flavorful, and sure to become a beloved favorite in your repertoire.
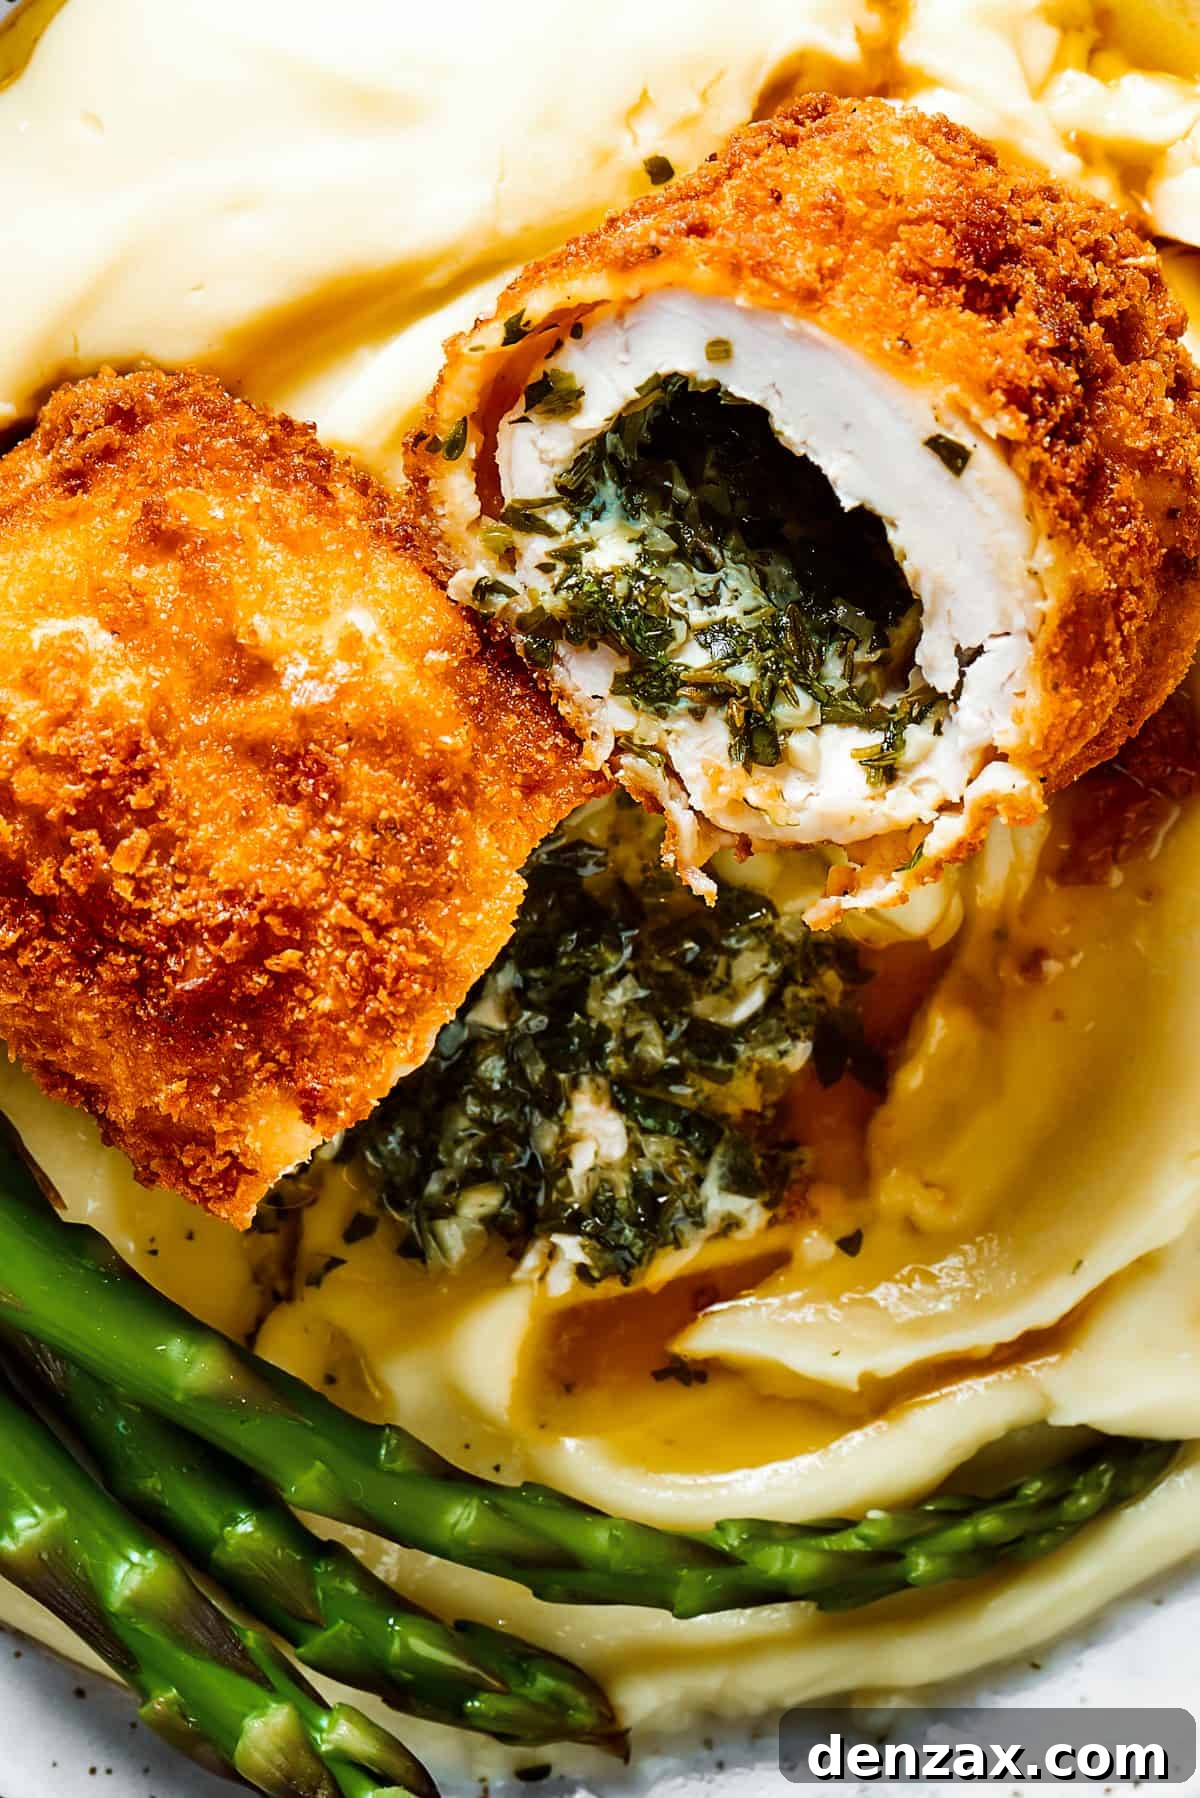
Why Chicken Kiev Is a Culinary Delight: A Timeless Classic
Chicken Kiev isn’t just a meal; it’s an experience. Its enduring popularity across generations and cultures speaks volumes about its irresistible charm. Here’s why this dish continues to captivate palates worldwide:
- Unforgettable Rich and Flavorful Taste: The magic truly happens with the garlic-herb butter filling. As the chicken cooks, this aromatic butter melts, basting the chicken from the inside out and creating an explosion of savory flavor with every bite. Coupled with the juicy chicken and a crisp exterior, it’s a symphony of tastes and textures.
- A Classic and Enduring Timeless Appeal: With roots dating back centuries, Chicken Kiev has earned its place as a celebrated classic. Its elegant presentation and gourmet feel make it suitable for any occasion, from festive holidays to cozy family dinners, proving its lasting appeal year after year. It’s a dish that feels both special and comforting.
- Surprisingly Accessible for Home Cooks: Despite its sophisticated reputation and layered flavors, making Chicken Kiev from scratch is a rewarding and manageable cooking adventure. While it does involve a few key chilling steps to ensure perfection, the process is straightforward enough for both culinary novices and seasoned chefs to achieve fantastic results.
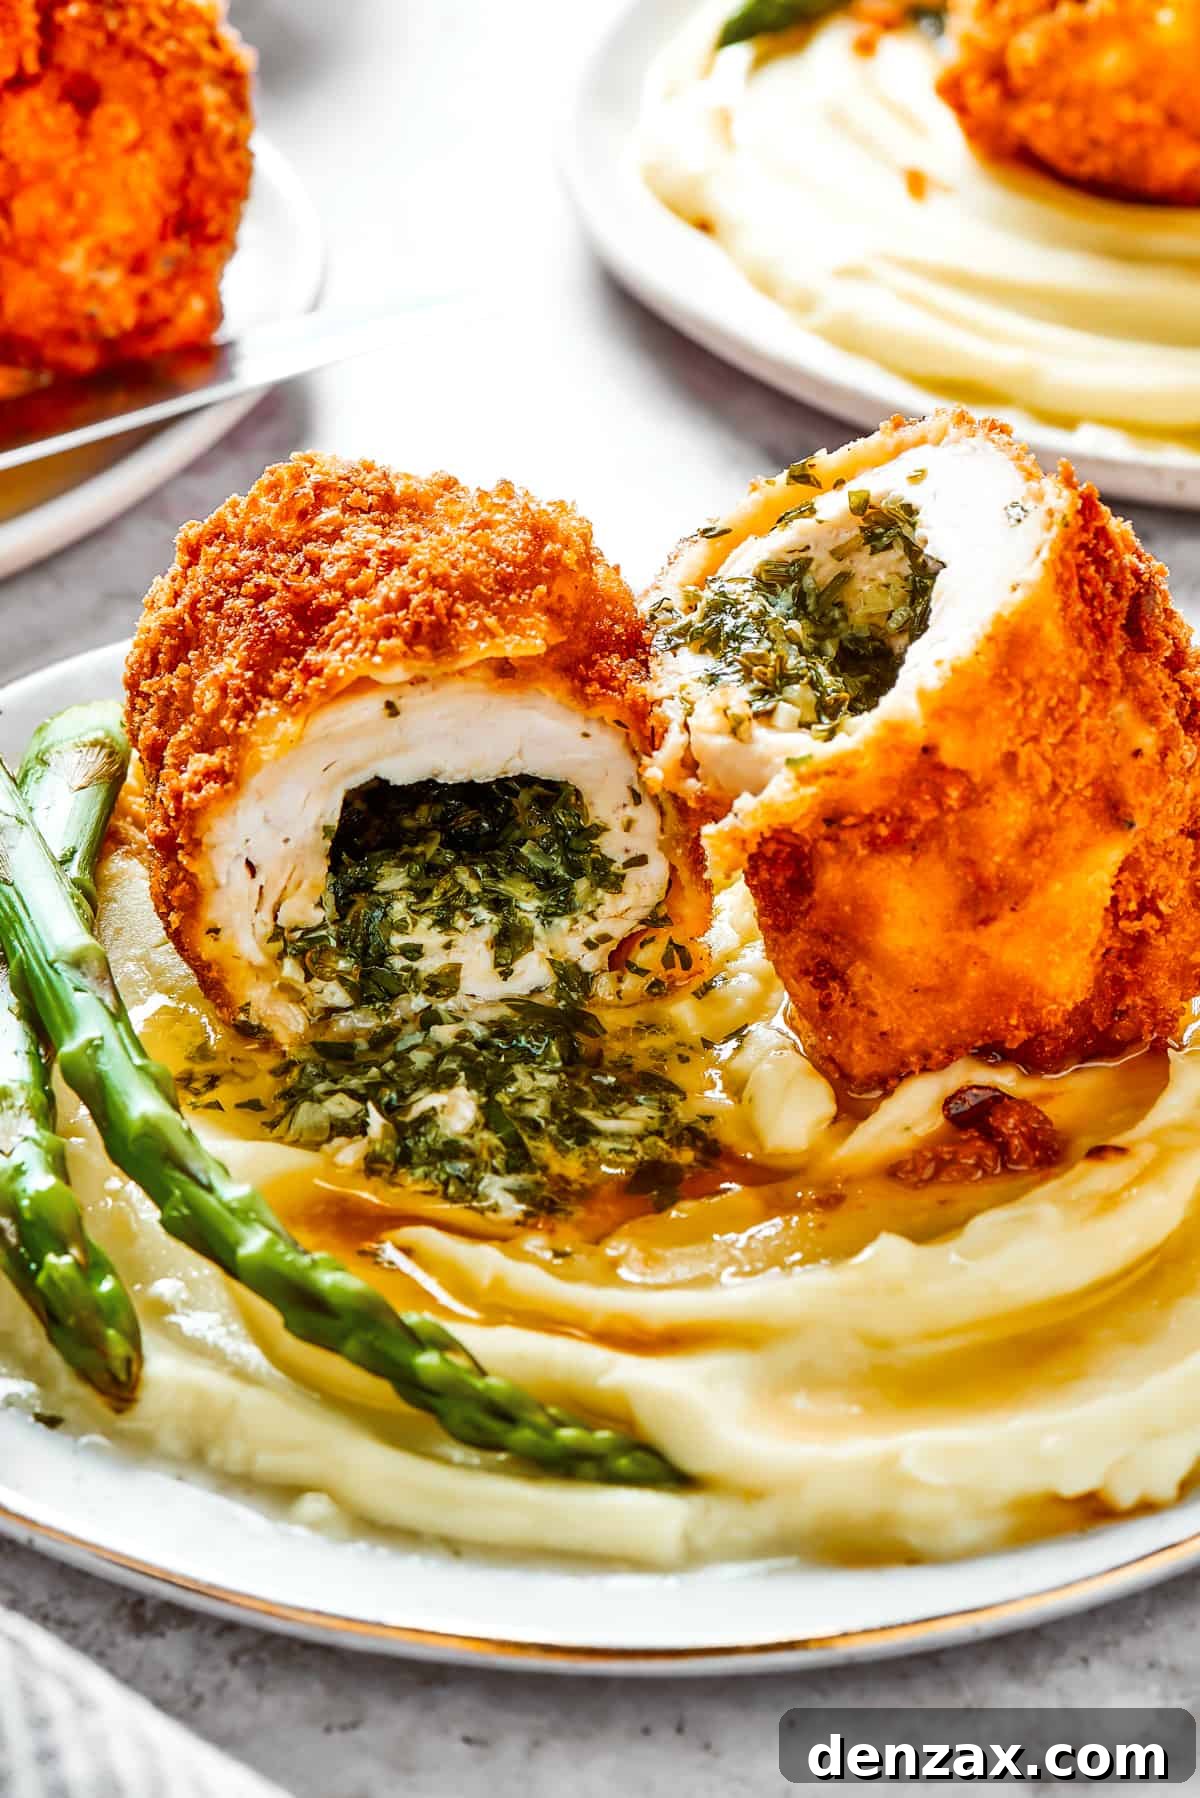
- Impressive Presentation: The golden-brown crust and the dramatic flow of molten butter when cut make Chicken Kiev a showstopper. It’s a dish that not only tastes incredible but also looks spectacular on any plate, guaranteed to impress your guests or family.
Chicken Cordon Bleu vs. Chicken Kiev: Understanding the Distinction
While both Chicken Kiev and Chicken Cordon Bleu are beloved poultry dishes featuring breaded chicken breasts, their distinctive fillings set them apart. Understanding this difference is key to appreciating their unique flavors.
Chicken Cordon Bleu, a French-inspired dish, typically involves flattening a chicken breast, layering it with slices of ham and a variety of cheese (often Swiss or Gruyere), then rolling it up, breading it, and frying or baking until golden. The result is a savory, cheesy center that is incredibly satisfying.
Chicken Kiev, on the other hand, embraces a simpler yet incredibly potent flavor profile. Its signature is a generous core of compound butter, typically infused with fresh garlic, parsley, and sometimes other herbs like thyme. This herb butter is frozen and then enveloped within the pounded chicken breast, breaded, and cooked. The magic of Chicken Kiev lies in this butter, which melts during cooking, keeping the chicken remarkably moist and tender while creating a rich, flavorful sauce that bursts forth when the chicken is cut. It’s a distinct experience focusing on aromatic butter and succulent chicken.
The Essential Ingredients for Authentic Chicken Kiev
Crafting delicious homemade Chicken Kiev begins with selecting fresh, high-quality ingredients. You’ll need components for both the vibrant garlic-herb butter filling and the perfectly breaded chicken exterior. Each ingredient plays a vital role in achieving that signature taste and texture.
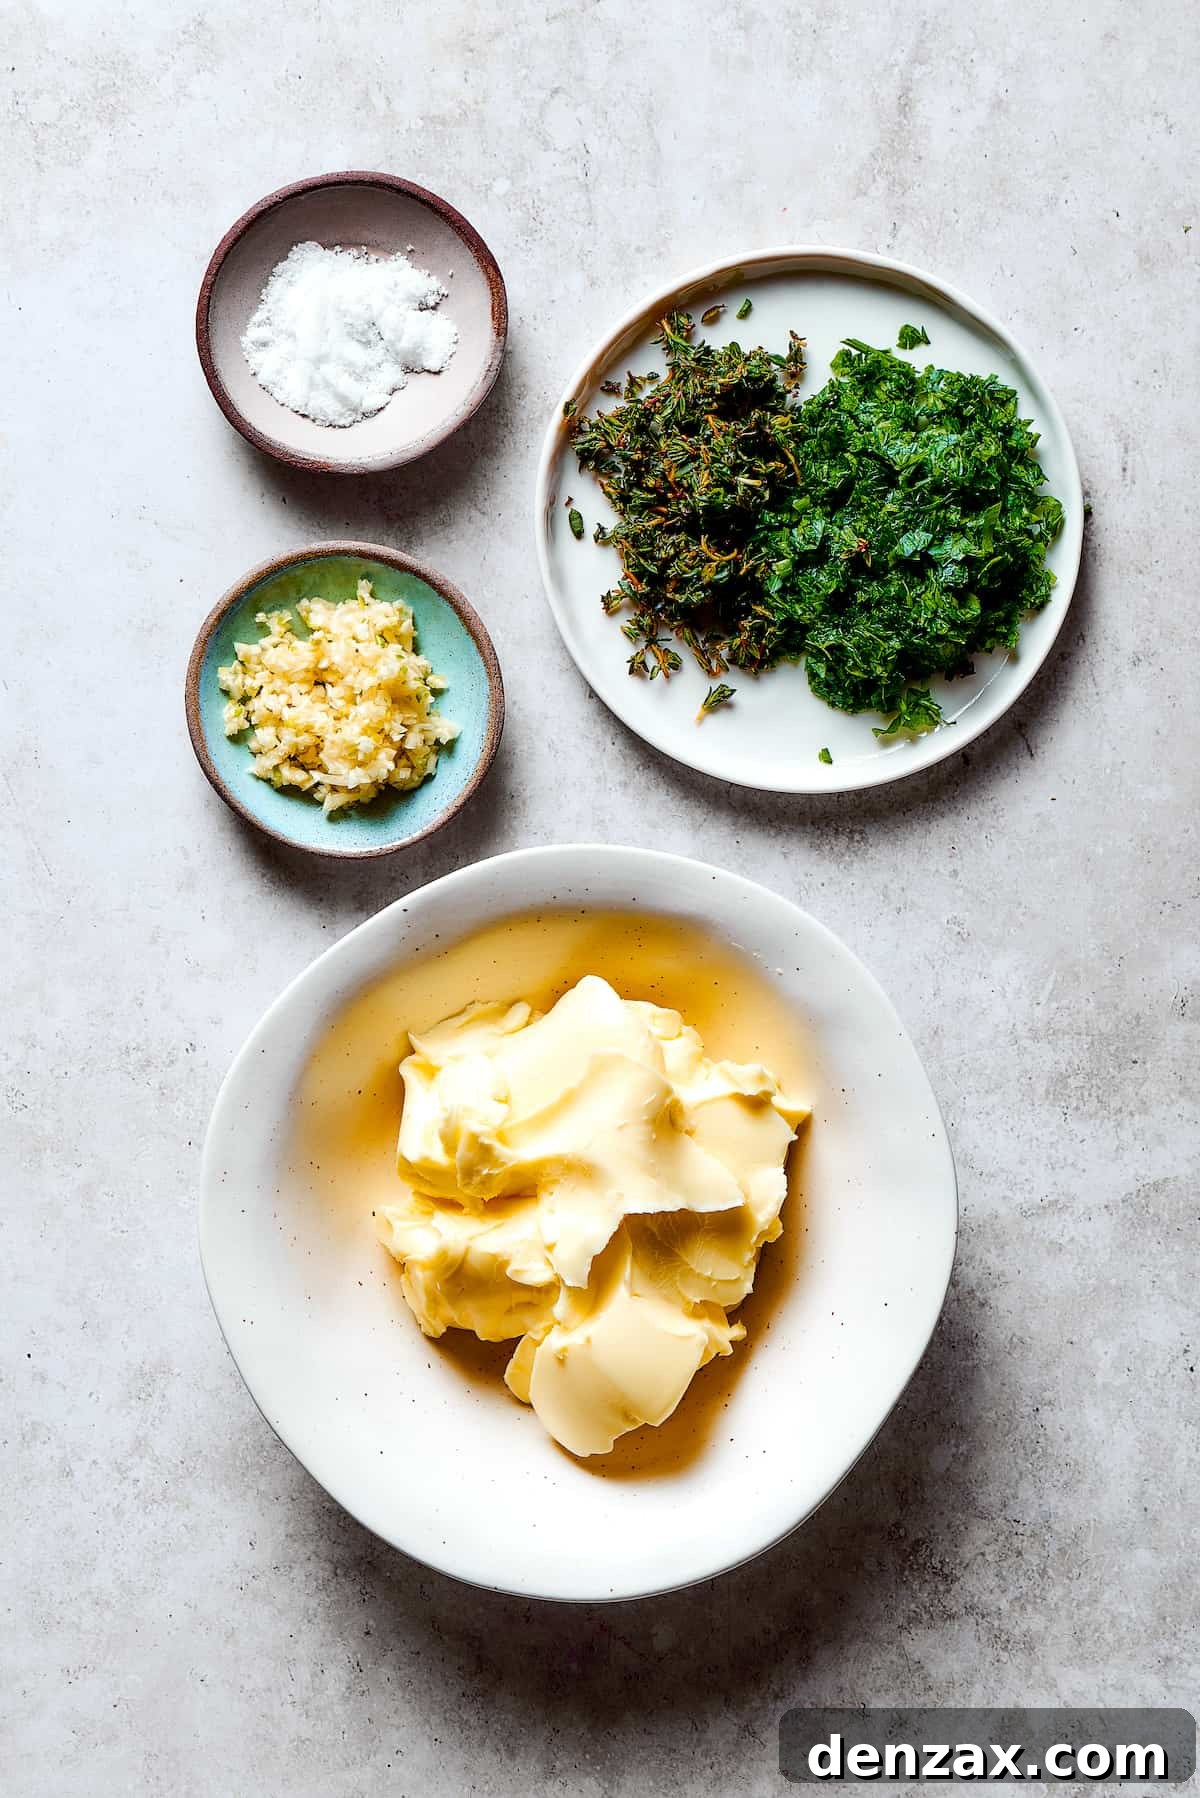
For the Irresistible Garlic-Herb Butter Filling:
- Unsalted Butter: Start with softened unsalted butter. Letting it sit at room temperature for 20-30 minutes makes it easy to incorporate other ingredients. Unsalted butter gives you control over the overall sodium content.
- Fresh Garlic: Minced or pressed fresh garlic cloves are essential for that pungent, aromatic kick. Avoid garlic powder here; fresh garlic makes a huge difference in flavor intensity.
- Fresh Herbs (Parsley & Thyme): Finely chopped fresh parsley and thyme contribute bright, earthy notes to the butter. These herbs complement the garlic beautifully and add a touch of freshness.
- Salt: A pinch of salt enhances all the flavors in the butter. Adjust to your preference.
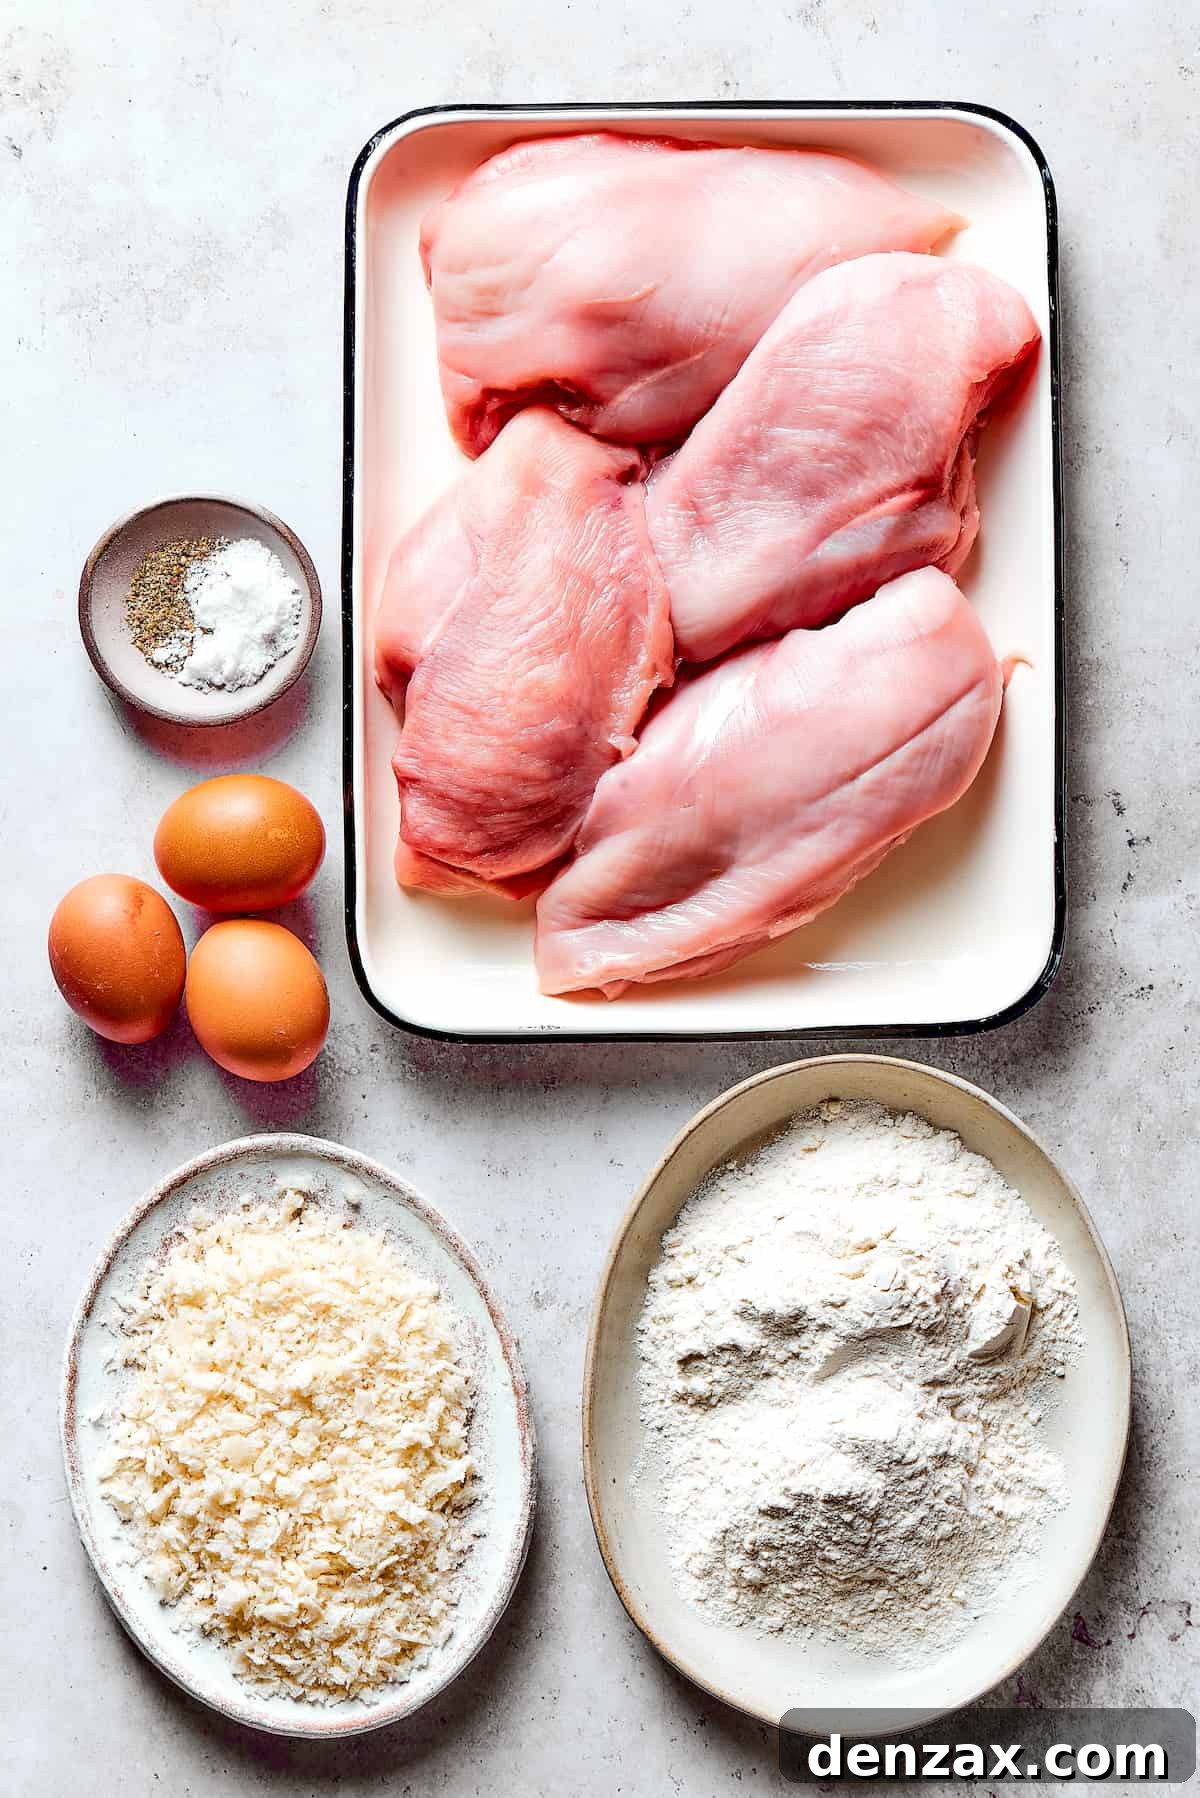
For the Succulent Chicken and Crispy Coating:
- Boneless, Skinless Chicken Breasts: Opt for plump, boneless, skinless chicken breasts. These are ideal for butterflying and pounding thin, ensuring even cooking and a perfect canvas for the filling.
- Seasonings (Salt & Pepper): Simple salt and freshly ground black pepper are all you need to season the chicken, allowing the butter to be the star.
- All-Purpose Flour: The first layer in our breading station, flour helps the egg adhere to the chicken and creates a foundation for the crispy crust.
- Eggs: Lightly beaten eggs act as the binding agent, allowing the breadcrumbs to stick firmly to the floured chicken.
- Breadcrumbs: For that signature crispy coating, use your favorite breadcrumbs. Panko breadcrumbs are highly recommended as they produce an extra-crispy, golden crust that stands up beautifully to frying and baking. Plain breadcrumbs also work well.
- Vegetable Oil: A neutral-flavored oil like vegetable oil is perfect for deep-frying, providing a high smoke point and ensuring a perfectly golden-brown, crispy exterior.
How to Make the Ultimate Chicken Kiev: A Detailed Guide
Creating magnificent Chicken Kiev involves several stages, with strategic chilling periods crucial for success. Don’t rush these steps, as they ensure the butter stays securely inside the chicken and the final product is perfectly crisp and juicy. Read through the entire recipe a couple of times before starting to budget your time effectively.
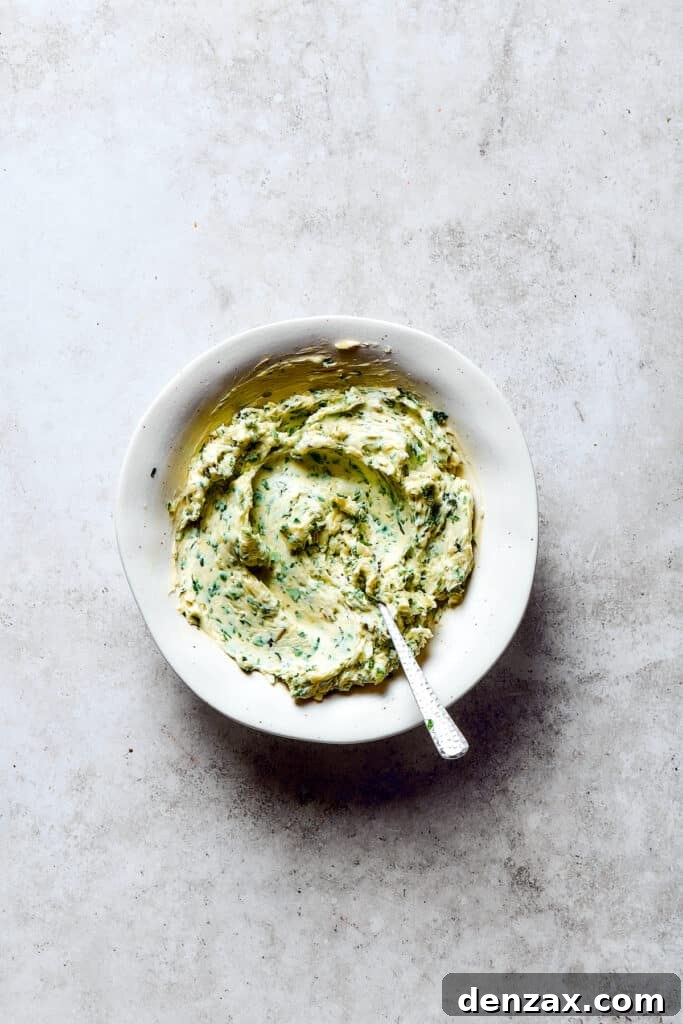
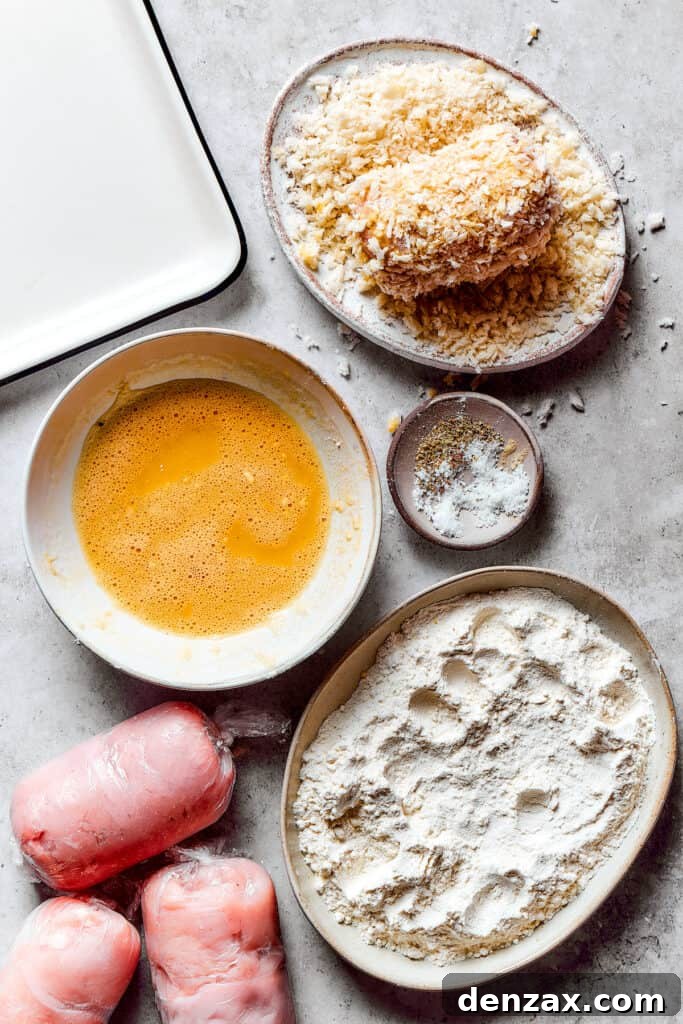
- Prepare the Aromatic Garlic-Herb Butter: In a small mixing bowl, combine the softened butter, minced fresh garlic, chopped parsley, chopped thyme, and a pinch of salt. Mix these ingredients thoroughly with a fork until they are perfectly blended and uniform. This creates your flavorful compound butter.
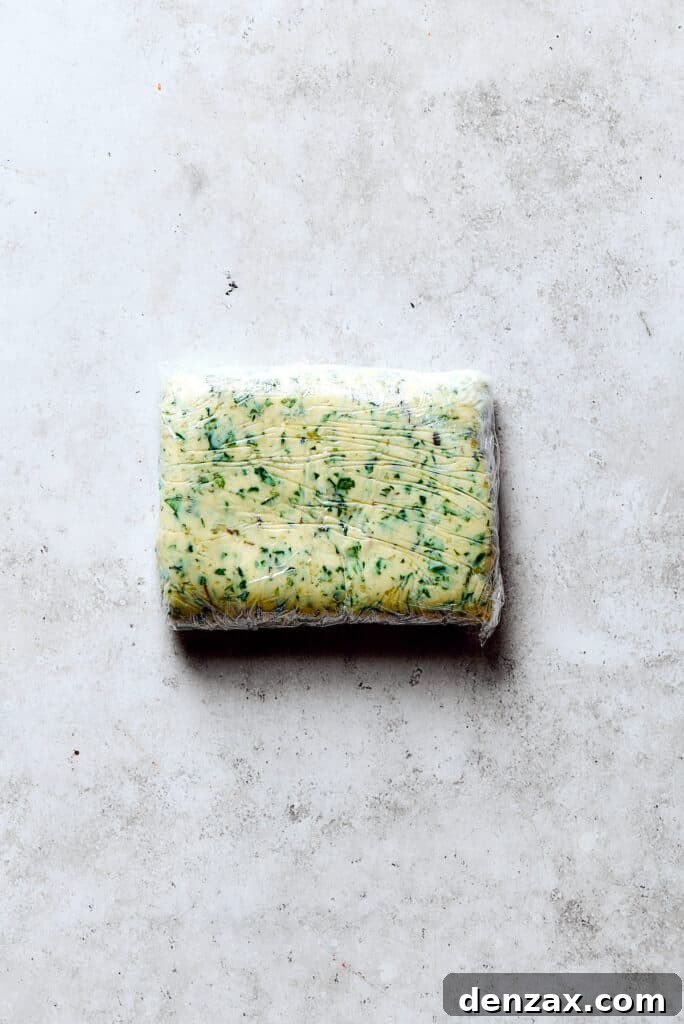
- Form and Chill the Butter Log: Transfer the prepared butter mixture onto a piece of plastic wrap. Using the plastic wrap, roll the butter into a compact log shape, approximately 1 inch in diameter. This firm shape will make it easier to stuff into the chicken. Place the butter log in the freezer for a minimum of 30 to 40 minutes, or until it becomes firm enough to slice cleanly without crumbling.
- Butterfly the Chicken Breasts: Place each boneless, skinless chicken breast on a clean cutting surface. Carefully slice each breast horizontally through the thickest part, being careful not to cut all the way through to the other side. You want to open the chicken breast like a book, creating a larger, flatter surface area.
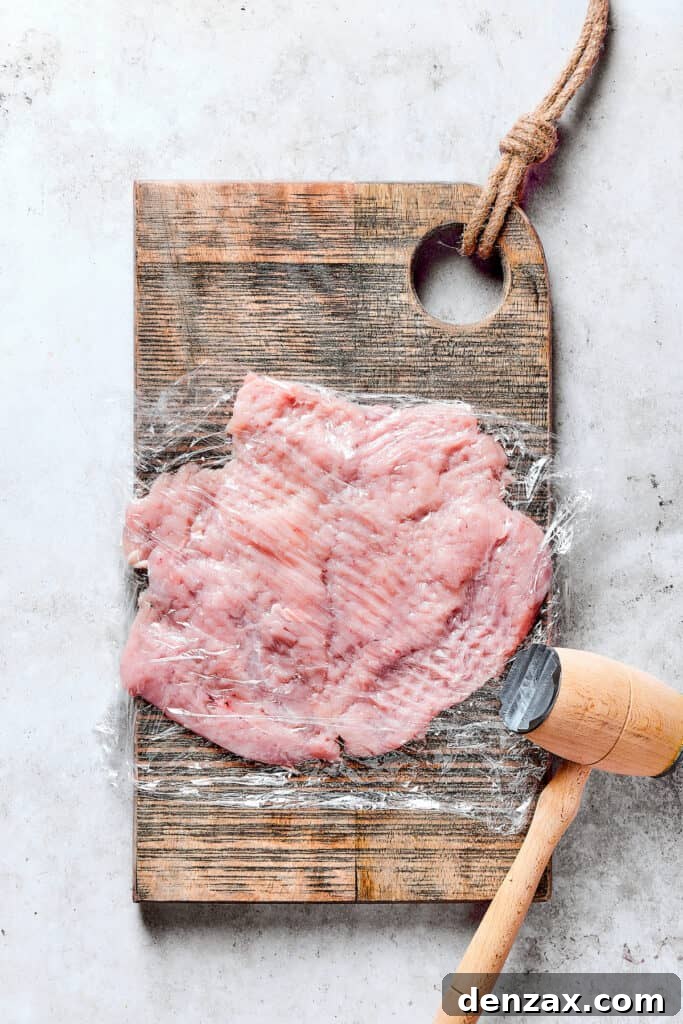
- Pound the Chicken Thin: To ensure even cooking and easier rolling, place each butterflied chicken breast between two sheets of parchment paper or plastic wrap. Using a meat mallet or a heavy rolling pin, gently but firmly pound the chicken until it is about ¼ inch thick. Season both sides of the flattened chicken with salt and freshly ground black pepper.
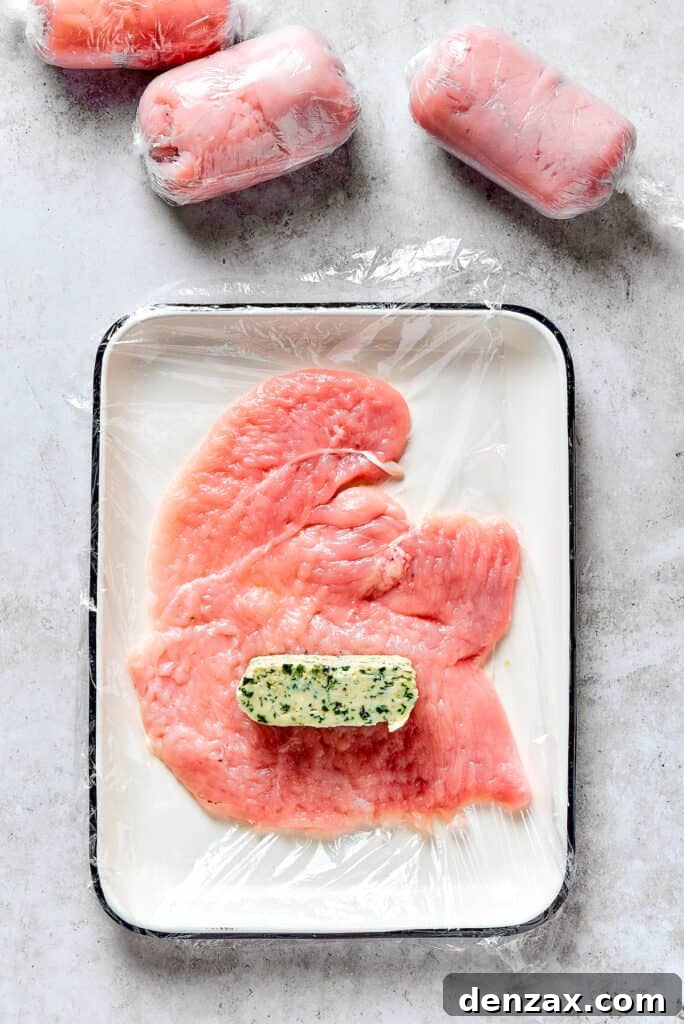
- Assemble the Chicken Kiev: Retrieve the frozen garlic-herb butter log from the freezer. Slice it into four equal pieces. Place one piece of the firm, frozen butter directly in the center of each pounded chicken breast. Carefully fold the chicken over the butter, then gather the sides, molding and pressing the chicken firmly around the butter to completely enclose it. The goal is to create a tightly sealed ball or log shape with no exposed butter. This step is crucial for preventing butter leakage during cooking.
- Freeze the Rolled Chicken: Individually wrap each formed chicken piece tightly in plastic wrap, twisting the ends securely to help maintain its shape. Place the wrapped chicken pieces back into the freezer for approximately 1 hour. This additional chilling time helps solidify the chicken and fuse any “seams,” further preventing the butter from escaping.
- Set Up the Breading Station: While the chicken is freezing, prepare your breading station. Set out three shallow bowls. In the first bowl, combine the all-purpose flour with ½ teaspoon of salt. In the second bowl, lightly beat the three eggs. In the third bowl, place the plain or Panko breadcrumbs.
- Preheat Oven and Frying Oil: Preheat your oven to 400°F (200°C). In a large, heavy-bottomed saucepan or Dutch oven, heat about 2 cups of vegetable oil (or enough to allow the chicken to be submerged halfway) to 350°F (175°C). Use a kitchen thermometer to ensure accuracy.
- Bread the Chicken: Unwrap the frozen chicken breasts. One by one, dredge each chicken piece thoroughly in the flour mixture, shaking off any excess. Next, dip it completely into the beaten eggs, ensuring an even coating. Finally, roll it generously in the breadcrumbs, pressing gently to make sure the crumbs adhere well to every surface. A complete and even breading is vital for crispiness and sealing.
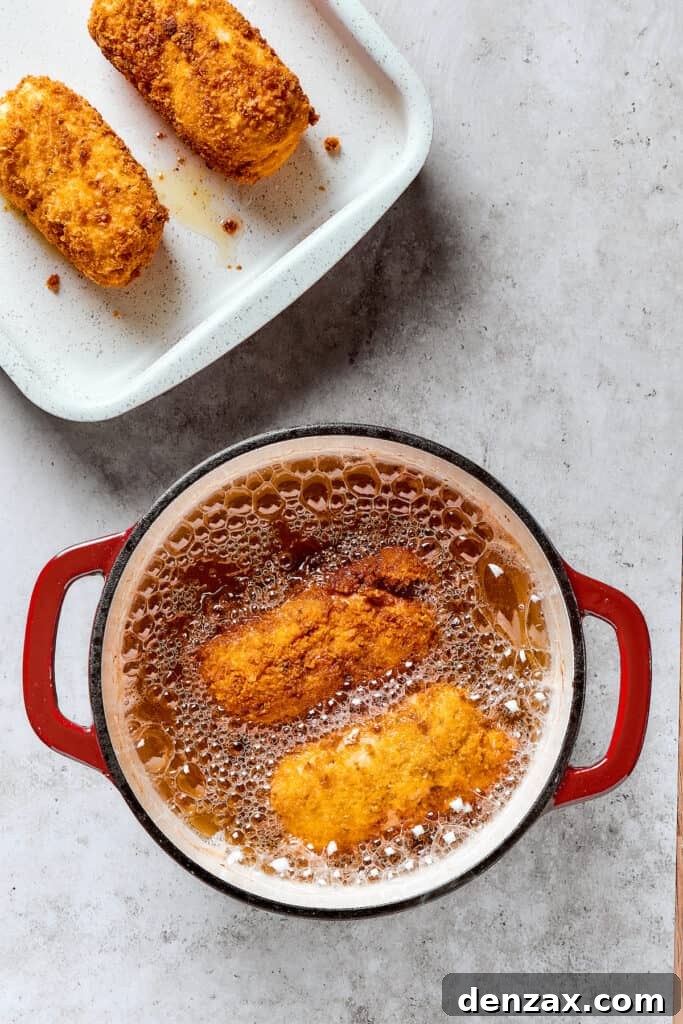
- Deep Fry Until Golden: Carefully place each breaded chicken piece into the hot oil. Fry for about 2 to 3 minutes per side, or until each piece is beautifully golden brown and crispy all over. Do not overcrowd the pan; cook in batches if necessary to maintain oil temperature.
- Finish Baking in the Oven: Using tongs, carefully transfer the fried, golden-brown chicken pieces to a baking dish (a 9×13-inch casserole dish works well). Bake in the preheated 400°F (200°C) oven for an additional 15 to 20 minutes, or until the internal temperature of the chicken reaches 165°F (74°C) when measured with a meat thermometer. The exact baking time will depend on the thickness of your chicken breasts.
- Rest and Serve: Once cooked, remove the Chicken Kiev from the oven and transfer it to a plate or cutting board. Allow it to rest for 5 to 8 minutes before serving. This resting period is crucial; it allows the juices to redistribute throughout the chicken and prevents them from immediately gushing out when sliced. Serve immediately and watch the delicious butter spill out!
Pro Tips for a Flawless Chicken Kiev Every Time
Achieving the perfect Chicken Kiev, with its crispy exterior and molten butter core, requires attention to detail. Here are some expert tips to ensure your success:
- Prevent Butter Leaks: This is arguably the most critical tip. Ensure the butter is completely encased by the chicken breast with no gaps. The two chilling stages – first for the butter log and then for the assembled chicken rolls – are paramount. Freezing the assembled chicken for an hour allows the “seams” to solidify, acting as a crucial barrier against butter leakage during cooking. A double layer of breading can also help seal it in.
- Mastering the Frying Technique:
- Oil Temperature is Key: Maintain an oil temperature of 350°F (175°C). Too cold, and the chicken will absorb too much oil, becoming greasy. Too hot, and the breading will burn before the chicken has a chance to crisp up. Use a reliable thermometer.
- Deep Fry vs. Shallow Fry: While deep frying gives the most consistent golden crust, it can be messy. If you prefer to use less oil, you can shallow-fry the chicken Kiev pieces in a heavy skillet. Ensure you turn them frequently to brown evenly on all sides.
- Don’t Overcrowd: Fry only one or two pieces at a time, depending on the size of your pan. Overcrowding lowers the oil temperature, leading to soggy results.
- Ensure Perfect Doneness: Ovens can vary. To guarantee your chicken is cooked through and safe to eat without being overdone, always use a reliable meat thermometer. Insert it into the thickest part of the chicken, avoiding the butter core. Thoroughly cooked chicken should register an internal temperature of 165°F (74°C).
- Pounding Chicken Evenly: Aim for a consistent ¼ inch thickness. This ensures the chicken cooks evenly and is pliable enough to roll without tearing.
- Press the Breading Firmly: After dipping in breadcrumbs, gently but firmly press the crumbs onto the chicken. This creates a robust crust that adheres well and contributes to the overall crispiness.
What to Serve with Chicken Kiev: The Best Side Dishes
A dish as flavorful as Chicken Kiev deserves equally delicious accompaniments. The rich, garlicky butter that spills onto the plate is perfect for soaking up with complementary sides. Here are some fantastic serving suggestions to complete your meal:
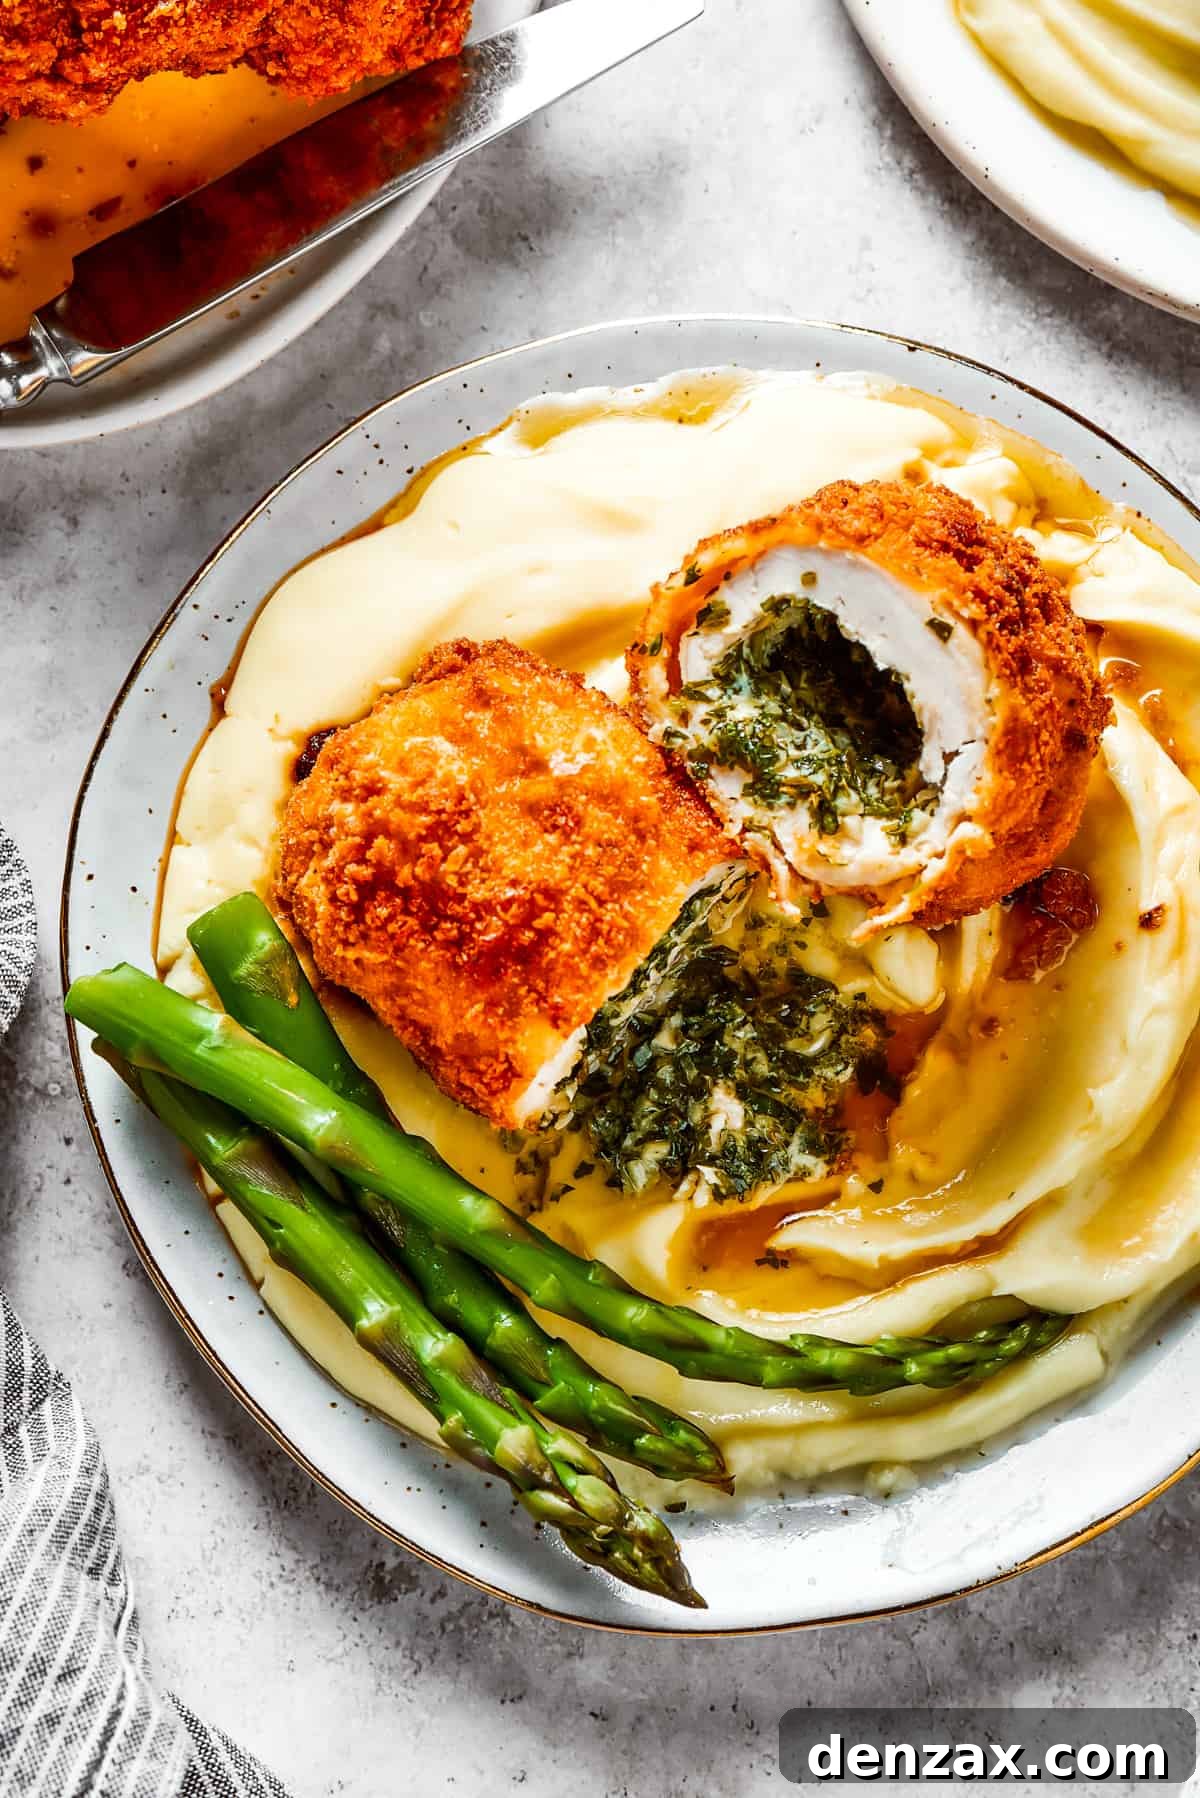
- Creamy Mashed Potatoes: The ultimate classic pairing! Classic Creamy Mashed Potatoes are perfect for absorbing that luscious garlic butter and provide a comforting, smooth contrast to the crispy chicken.
- Roasted Vegetables: Lightly seasoned roasted vegetables offer a wonderful balance. My Easy Roasted Vegetables recipe or simply roasted broccoli, carrots, or Brussels sprouts would be excellent. They add freshness and a slight char that complements the richness of the chicken.
- Garlic Butter Roasted Asparagus: For an extra touch of elegance and flavor, serve with my Roasted Asparagus. The subtle bitterness of the asparagus cuts through the richness, and a little extra garlic butter never hurts!
- Fresh Green Salad: A simple, crisp green salad with a light vinaigrette can provide a refreshing counterpoint, adding brightness and a textural contrast.
- Cucumber Salad with Sour Cream Dressing: This Eastern European-inspired Cucumber Salad with Sour Cream Dressing is a wonderfully simple and tangy option that pairs beautifully with the rich chicken.
- Rice Pilaf or Quinoa: For a lighter grain alternative, a fluffy rice pilaf or a nutritious quinoa salad can also work well, soaking up the delicious juices.
Storing and Reheating Chicken Kiev for Next Time
Chicken Kiev is best enjoyed fresh, but sometimes you have leftovers or want to prepare it ahead of time. Here’s how to properly store and reheat this delightful dish:
- Storing Leftovers in the Refrigerator: Cooked Chicken Kiev can be stored in an airtight container in the refrigerator for approximately three to four days. To preserve its crispiness as much as possible, try to store it in a single layer if space allows.
- Reheating Cooked Chicken Kiev: The best way to reheat Chicken Kiev is in the oven to help restore some of its crispiness. Place the chicken pieces in an ovenproof dish and reheat at 350°F (175°C) for 10 to 15 minutes, or until thoroughly heated through and the internal temperature reaches 165°F (74°C). Avoid microwaving, as it will make the breading soggy.
- Making Ahead and Freezing Uncooked Chicken Kiev: This recipe is fantastic for meal prepping! You can prepare the Chicken Kiev pieces up to the point of breading and then freeze them uncooked for later.
- To Freeze: After forming and wrapping the chicken pieces (step 6 in the instructions), place them directly in the freezer on a baking sheet until they are solid. Once frozen solid, transfer the individual pieces into airtight freezer bags or containers. This prevents them from sticking together and protects them from freezer burn.
- Storage Duration: Uncooked, frozen Chicken Kiev can be stored for up to three months.
- Cooking from Frozen: When ready to cook, you can usually proceed directly to the breading and frying steps from frozen, adding an extra 5-10 minutes to the baking time to ensure it cooks through. Always use a meat thermometer to check for doneness. This method ensures you have freshly cooked Chicken Kiev with a crispy crust whenever you crave it!
Explore More Crispy Chicken Recipes
If you love the satisfying crunch of a perfectly breaded chicken dish, then these other recipes are sure to become new favorites:
- Classic Chicken Schnitzel Recipe: A thin, tenderized chicken cutlet, perfectly breaded and pan-fried to a golden crisp.
- Everything Bagel Chicken Tenders: A fun and flavorful twist on chicken tenders, coated in the iconic everything bagel seasoning for an irresistible crunch.
- Air Fryer Chicken Tempura Recipe: Achieve light and airy fried chicken texture with less oil using your air fryer, making it a healthier crispy option.
Chicken Kiev
Rated 5 out of 5 stars by 3 votes
by Katerina | Easy Weeknight Recipes
What could be better than tender, juicy chicken stuffed with melting herb butter? This easy Chicken Kiev recipe is crispy, flavorful, and a delight for any meal.
- Prep Time: 50 minutes
- Cook Time: 25 minutes
- Resting Time: 1 hour (for chilling butter and chicken)
- Total Time: 2 hours 15 minutes
Servings: 4
Print Recipe
Ingredients
For The Compound Butter
- 6 tablespoons butter, softened
- 4 cloves garlic, minced
- 2 tablespoons chopped fresh parsley
- 1 tablespoon chopped fresh thyme
- Salt, to taste
For The Chicken
- 4 boneless, skinless chicken breasts
- 2 teaspoons salt
- ½ teaspoon fresh ground black pepper
For The Breading
- 1 cup all-purpose flour
- ½ teaspoon salt
- 3 eggs, beaten
- 1½ cups plain breadcrumbs (Panko recommended for extra crispiness)
- 2 cups vegetable oil, or as needed, for frying
Instructions
For The Compound Butter
- In a small bowl, combine the softened butter, minced garlic, chopped parsley, chopped thyme, and salt to taste. Mix with a fork until thoroughly blended.
- Place the butter mixture onto a piece of plastic wrap and roll it into a compact log shape.
- Transfer the butter log to the freezer for 30 to 40 minutes, or until it is firm and easy to slice.
For The Chicken Assembly
- Place each chicken breast onto your work surface and slice it horizontally, without cutting all the way through, to open it up like a book.
- Place the butterflied chicken breast between two pieces of parchment paper or plastic wrap, and pound it gently with a meat mallet to flatten it to an even thickness of about ¼ inch.
- Season both sides of the pounded chicken breast with salt and pepper.
- Cut the frozen garlic butter log into four equal pieces.
- Place one piece of the firm garlic butter in the center of each chicken breast. Carefully fold the chicken over the butter, gathering the sides and molding it tightly to form a round ball or log, ensuring the butter is completely enclosed.
- Wrap each formed chicken piece tightly in plastic wrap and twist the ends securely.
- Place the wrapped chicken pieces in the freezer for about 1 hour, or until the seams have frozen solid. This crucial step helps the chicken maintain its shape and prevents butter leakage during cooking.
For The Breading and Cooking
- Heat the vegetable oil in a large saucepan or Dutch oven to 350°F (175°C).
- Preheat your oven to 400°F (200°C).
- Set out three shallow bowls. In the first, place the all-purpose flour mixed with ½ teaspoon salt. In the second, place the beaten eggs. In the third, place the plain or Panko breadcrumbs.
- Unwrap the frozen chicken breasts. Roll each chicken piece first in the seasoned flour, shaking off any excess. Then, dip it thoroughly in the beaten egg. Finally, coat it generously in the breadcrumbs, pressing gently to ensure full coverage and a good seal.
- Carefully place each breaded chicken piece into the hot oil. Deep fry for 2 to 3 minutes per side, or until golden brown and crispy. Work in batches if necessary to avoid overcrowding and maintain oil temperature.
- Using tongs, transfer the deep-fried chicken pieces to a baking dish (such as a 9×13-inch casserole dish).
- Bake the chicken in the preheated oven for 15 to 20 minutes, or until the internal temperature of the chicken reaches 165°F (74°C) when measured with a meat thermometer. Cooking time may vary based on chicken thickness.
- Remove the chicken from the oven and transfer it to a plate or cutting board; let it rest for 5 to 8 minutes before serving. This resting period allows the juices to redistribute, ensuring a tender and moist final product.
- Serve immediately, enjoying the burst of melted garlic butter.
Equipment
- Frying Pan or Dutch Oven
- Plastic Wrap
- Mixing Bowls
- Meat Mallet (or heavy rolling pin)
- Instant Read Meat Thermometer
Notes
- Chicken Breasts: Always use boneless, skinless chicken breasts for this recipe. Uniformly sized breasts will cook more evenly.
- Softened Butter: For the compound butter, ensure your butter is sufficiently softened for easy mixing, but not melted.
- Breadcrumbs: While plain breadcrumbs work, Panko breadcrumbs are highly recommended for achieving an extra-crispy, satisfying crust.
- Leftovers: Cooked Chicken Kiev stores well in an airtight container in the fridge for 3-4 days. Reheat in the oven at 350°F (175°C) for 10-15 minutes until hot to regain crispiness.
- Make Ahead Option: You can prepare the Chicken Kiev pieces and freeze them uncooked. After forming and wrapping, freeze until solid, then transfer to freezer bags for up to 3 months. Cook from frozen, adding extra baking time, and always check internal temperature.
Nutrition
Calories: 610 kcal | Carbohydrates: 55g | Protein: 38g | Fat: 26g | Saturated Fat: 13g | Polyunsaturated Fat: 3g | Monounsaturated Fat: 7g | Trans Fat: 1g | Cholesterol: 240mg | Sodium: 2069mg | Potassium: 635mg | Fiber: 3g | Sugar: 3g | Vitamin A: 841 IU | Vitamin C: 6mg | Calcium: 134mg | Iron: 5mg
Nutritional information is an estimate and provided as a courtesy. Values may vary according to the specific ingredients and tools used. Please use your preferred nutritional calculator for more detailed and precise information tailored to your specific ingredients.
Did you make this delicious recipe? We’d love to hear from you! Consider leaving a rating or comment to share your experience.