

Crispy Beer Battered Chicken: Your New Go-To Recipe for Golden Perfection
Imagine biting into a piece of chicken that’s sensationally crisp on the outside, offering an irresistible crunch, yet astonishingly tender and juicy within. That’s the magic of **Beer Battered Chicken** – a dish that instantly elevates any meal from ordinary to extraordinary. This recipe promises a golden, light, and unbelievably crispy coating, all thanks to the unique properties of beer in the batter. Whether you’re planning a cozy family dinner or need a show-stopping appetizer for your next gathering, this homemade fried chicken is an instant classic you’ll want to master.
Versatile and utterly delicious, Beer Battered Chicken can be the star of your dinner plate, perfectly paired with a fresh, crisp salad. Or, serve it as a crowd-pleasing appetizer alongside, naturally, a tall glass of your favorite brew. For a truly complete and satisfying meal, consider adding hearty sides like zesty pizza fries, warm and gooey cheesy bread, or even vibrant grilled vegetables to complement its rich flavor and texture.

If you’ve ever savored the delicate crispness of beer battered fish, prepare to fall in love with its poultry counterpart. This Beer Battered Chicken shares the same beloved light and airy texture, but with the familiar comfort of perfectly fried chicken. While similar in concept to my crispy buttermilk fried chicken, this recipe offers its own distinct twist, leveraging the carbonation and subtle flavor notes of beer to create an unparalleled batter. The result is a remarkably light and flavorful coating that you’d typically only expect from a restaurant. Learning to make this incredible fried chicken at home is surprisingly straightforward, and once you master it, you might never feel the need to order fried chicken out again. The secret to achieving that coveted super-crisp coating lies in a simple, yet crucial detail: keeping your beer ice-cold. When the cold batter hits the hot oil, the rapid release of carbon dioxide creates tiny air pockets, resulting in a wonderfully light and non-greasy crust that makes every bite a delight.
Why This Beer Battered Chicken Recipe is a Must-Try
- Affordable Deliciousness: Enjoying crispy fried chicken often means a trip to a restaurant or ordering takeout, which can quickly add up. This homemade Beer Battered Chicken recipe brings that familiar, satisfying taste directly to your kitchen for a fraction of the cost. It relies primarily on budget-friendly pantry staples, making it an economical choice for feeding your family or a hungry crowd. Furthermore, you don’t need expensive craft beer; any readily available, less-expensive light beer works beautifully, ensuring this remains a truly budget-friendly and accessible culinary adventure.
- Surprisingly Easy to Master: The idea of deep-frying at home might seem daunting to some, but this Beer Battered Chicken recipe is remarkably straightforward and surprisingly easy to execute. While there’s a simple process of preparing the chicken, mixing the dredging station, and whisking up the batter, it’s not overly time-consuming or complicated once you get into the rhythm. With clear steps and a few practical tips, even novice cooks can achieve perfectly golden and crispy results, transforming the way you think about homemade fried chicken.
- Unbelievably Light and Crisp Texture: The real magic in this recipe happens when the cold, carbonated beer batter meets the sizzling hot oil. This chemical reaction is the key to creating an incredibly light, airy, and undeniably crispy coating. Unlike other fried chicken methods that can sometimes result in a heavy or greasy crust, beer batter ensures a delicate shell that shatters with each bite. The beer’s effervescence contributes to a crispness that is simply unmatched, leaving you with tender chicken and a perfectly non-greasy exterior every single time.
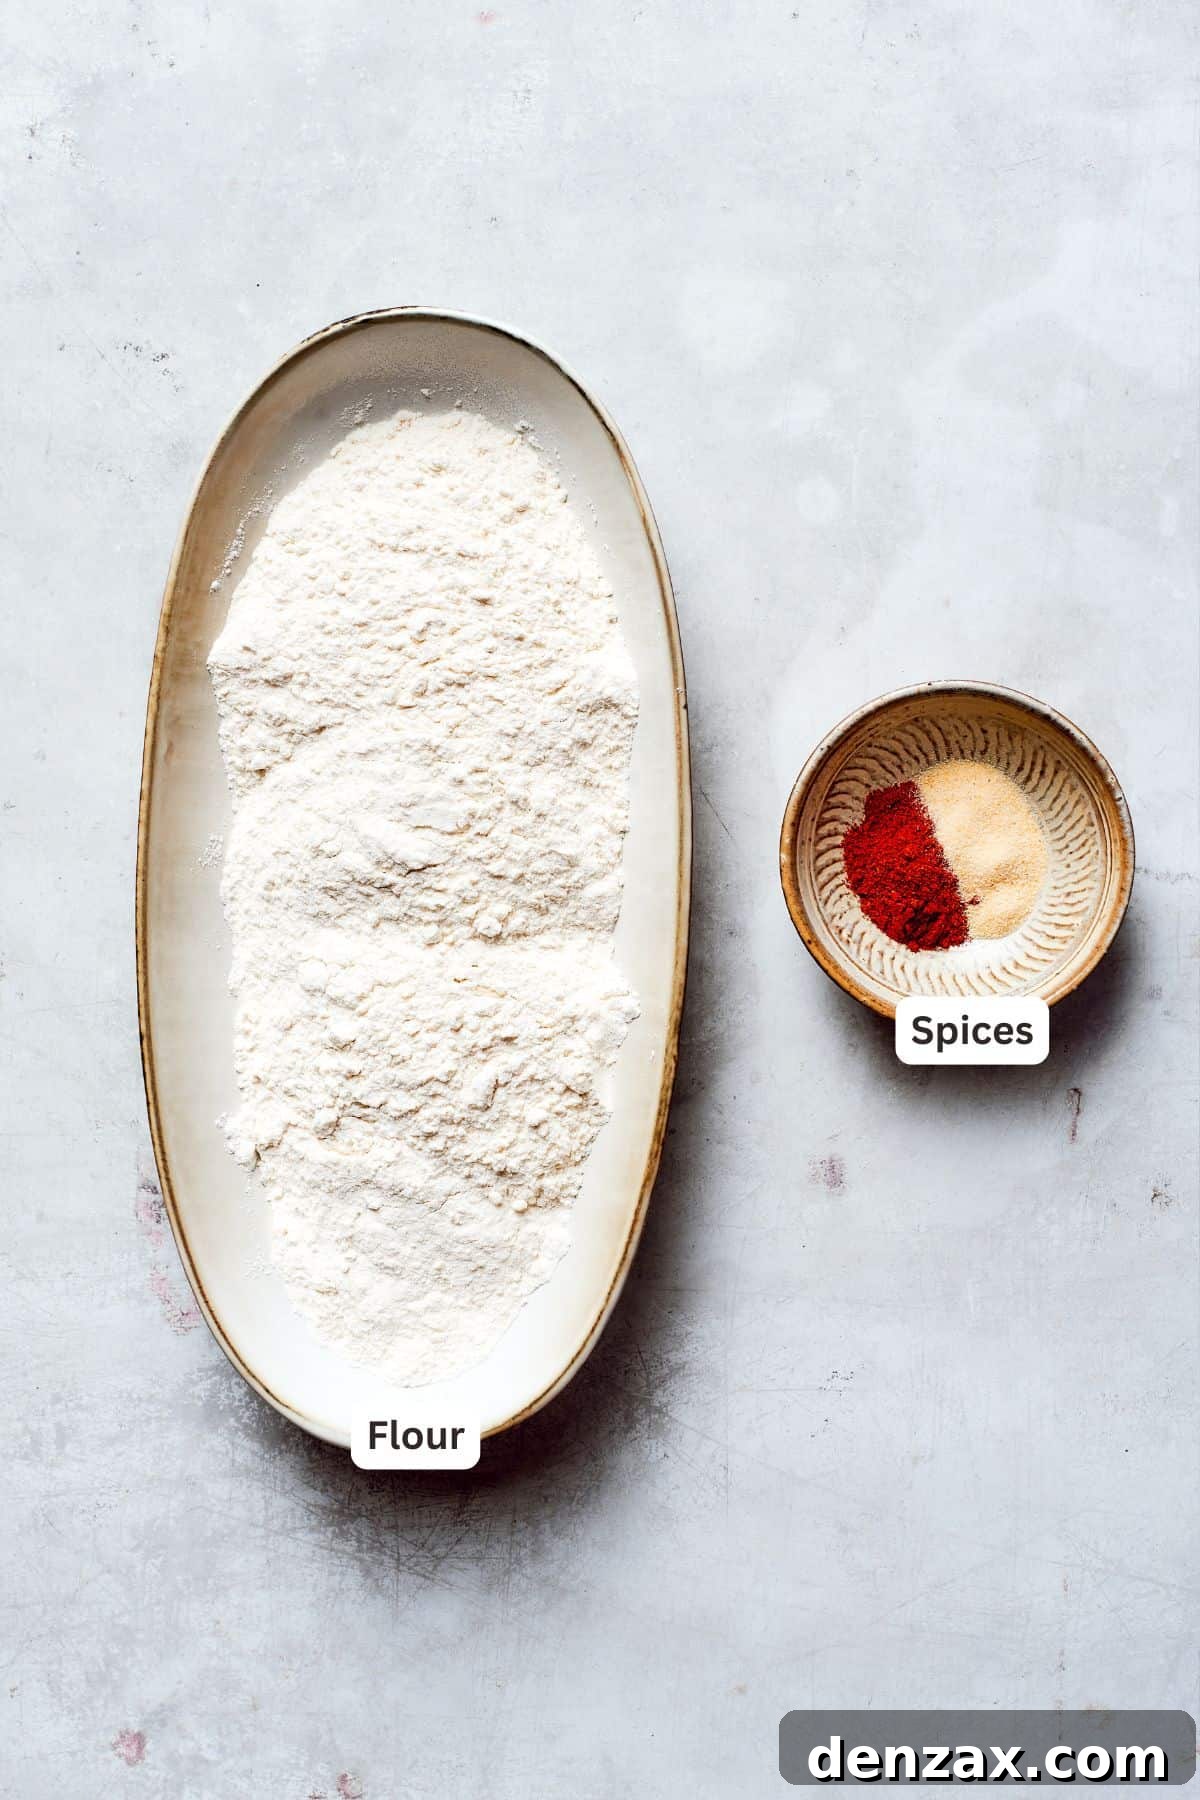
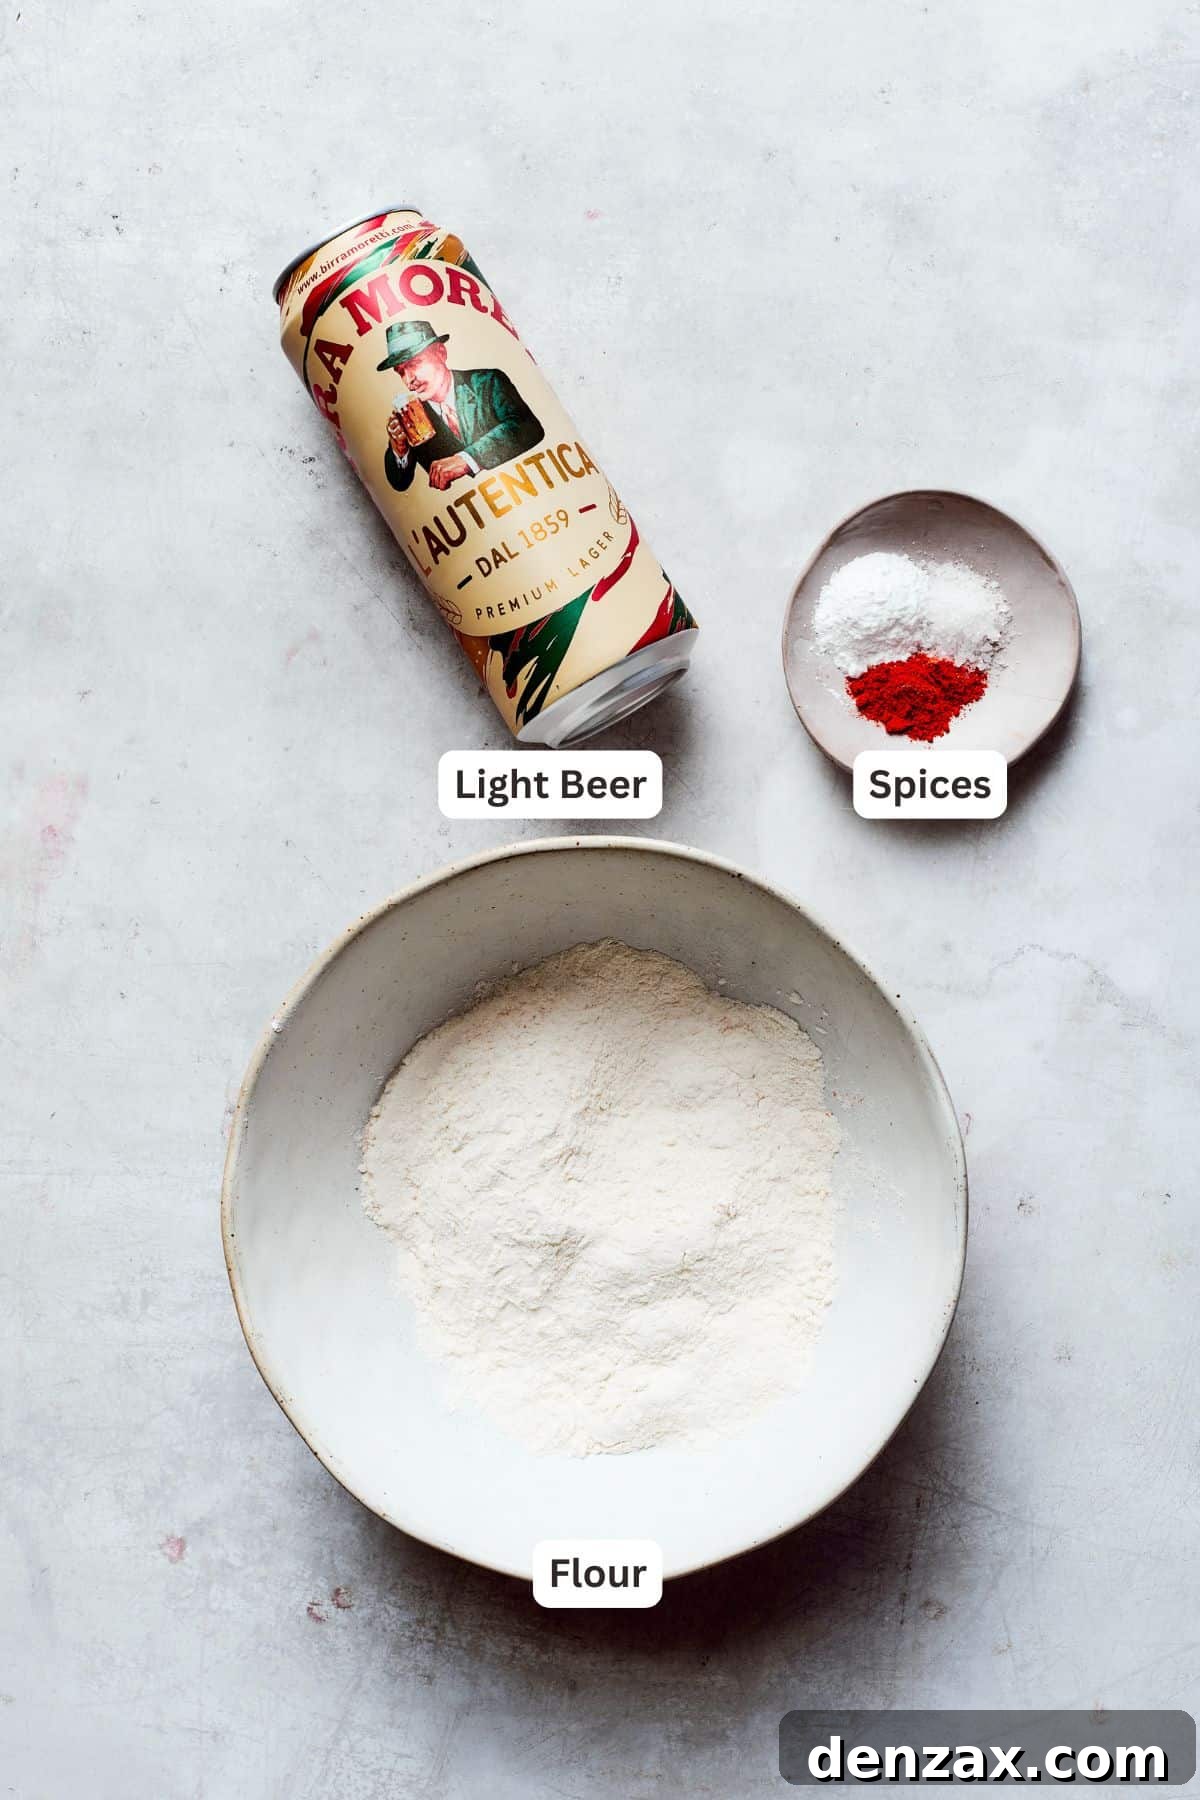
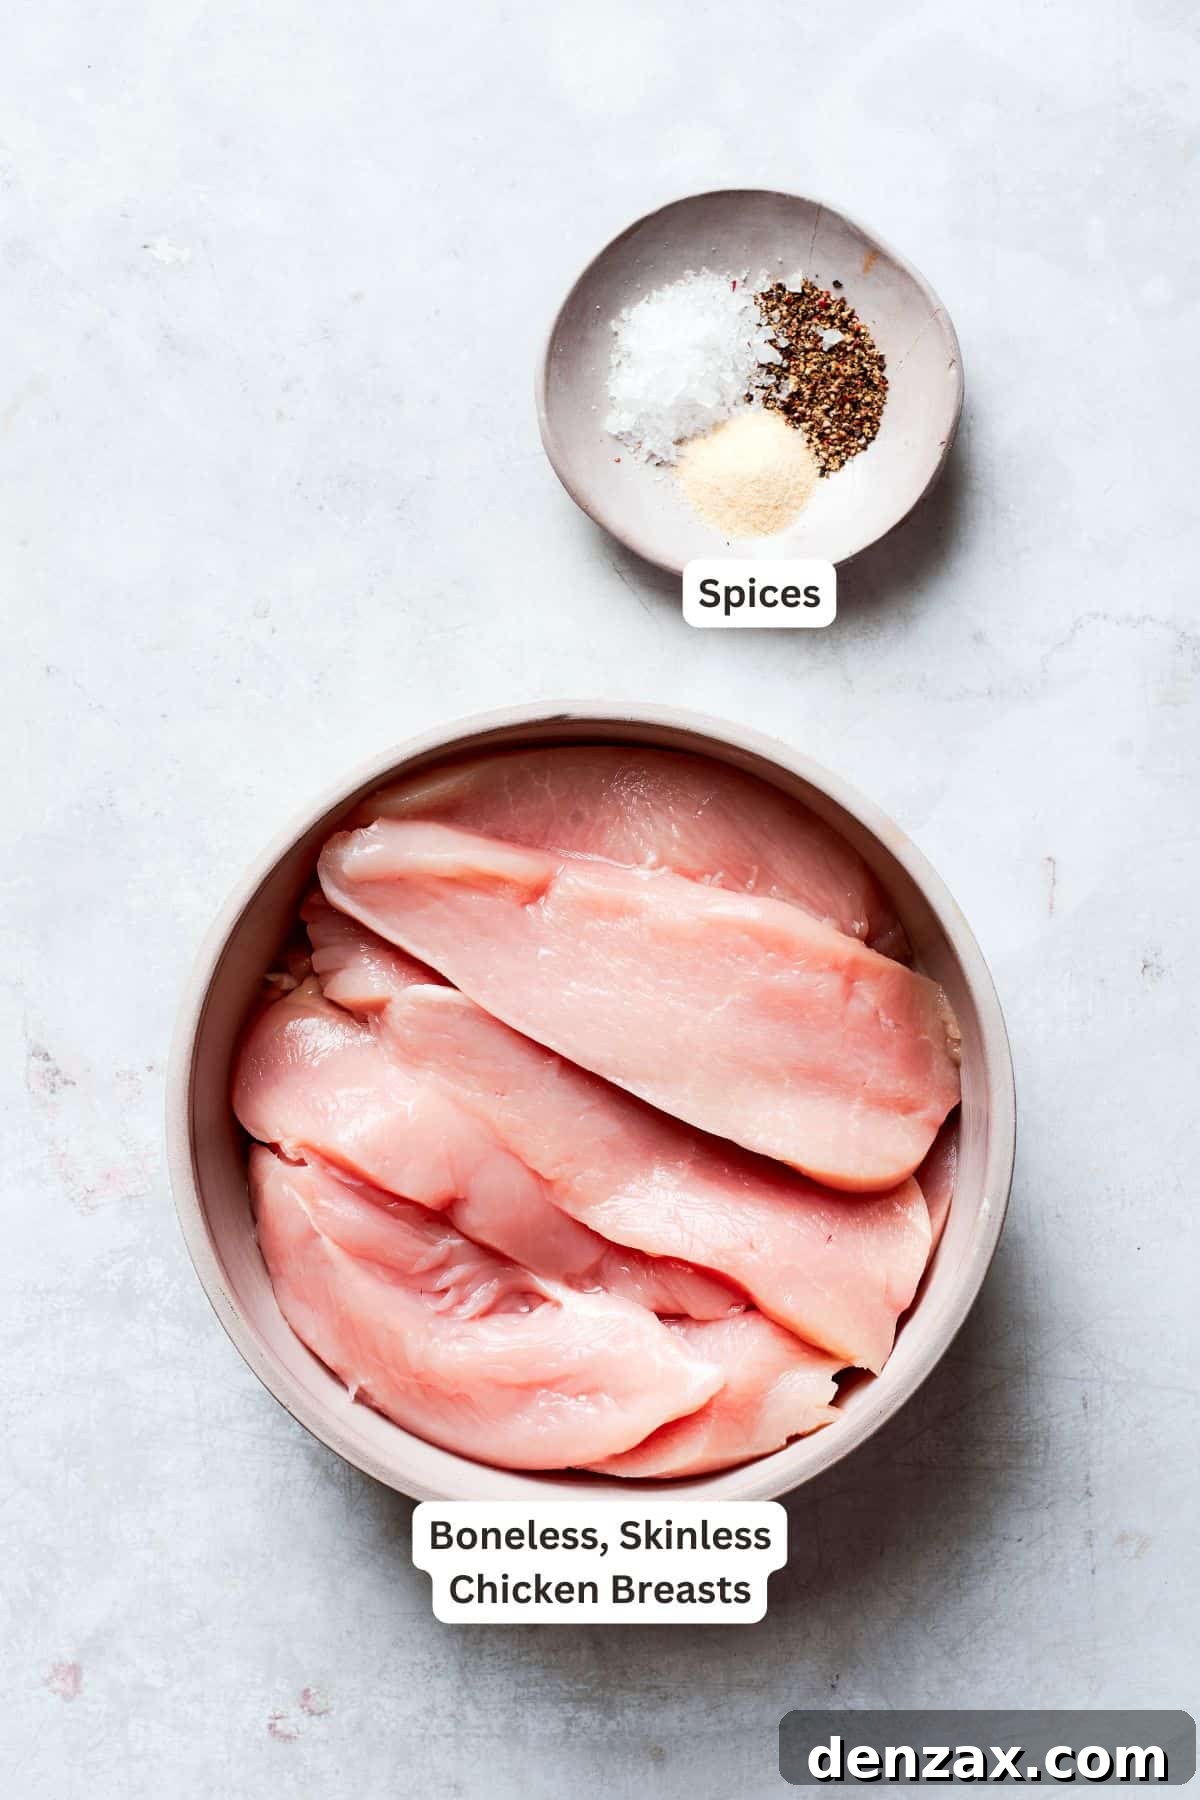
Essential Ingredients for Perfect Beer Battered Chicken
Crafting delicious Beer Battered Chicken requires a handful of simple, readily available ingredients. Here’s a detailed look at what you’ll need to gather to create this culinary masterpiece. Remember, the full ingredient amounts and precise measurements are conveniently listed in the recipe card at the very end of this post.
- Chicken: For optimal tenderness and ease of preparation, opt for about 1 ½ pounds of boneless, skinless chicken breasts. You’ll be slicing these into uniform 1-inch thick strips, which ensures they cook quickly and evenly, resulting in perfectly tender chicken every time. Chicken thighs or tenders can also be used for different texture and flavor profiles.
- Salt and Black Pepper: These foundational seasonings are crucial for bringing out the natural flavors of the chicken. I prefer using Kosher salt for its cleaner taste and coarser texture, alongside freshly ground black pepper for its aromatic intensity. Don’t underestimate their power in enhancing the overall dish.
- All-Purpose Flour: This is the workhorse of our batter. All-purpose flour is used in two key stages: first, as a dry dredging mixture to help the wet batter adhere to the chicken, and second, as the primary base for the beer batter itself. Its gluten content provides structure, contributing to the crispiness of the final product.
- Seasonings: A thoughtful blend of spices elevates this fried chicken from good to great.
- Onion Powder: Adds a savory, aromatic depth that complements the chicken without overpowering it.
- Garlic Powder: A staple in savory cooking, garlic powder provides a warm, pungent flavor that is essential for well-seasoned fried chicken.
- Cayenne Pepper: For a subtle kick and a touch of warmth, cayenne pepper is indispensable. Adjust the amount to your preferred spice level, or omit if you prefer no heat.
- Smoked Paprika: This spice offers a beautiful color and a rich, smoky undertone that adds complexity and a gourmet touch to the batter, differentiating it from typical fried chicken recipes.
- Baking Powder: The unsung hero for a truly light and airy coating! Just a little baking powder works as a leavening agent in the batter, reacting with the moisture and heat to create tiny bubbles. These bubbles expand during frying, ensuring the coating is incredibly crisp and never dense or heavy.
- Light Beer: This is where the magic happens! A light beer is the ideal choice for this recipe as its subtle flavor won’t overpower the delicate taste of the chicken. The carbonation in the beer is also crucial for creating that signature light and crispy texture. Remember to keep the beer thoroughly chilled in the fridge until you are ready to incorporate it into the batter – the colder the better for maximum crispness.
- Vegetable Oil: Essential for deep-frying, a neutral-tasting vegetable oil with a high smoke point is best. Canola, sunflower, or peanut oil are excellent choices as they won’t impart unwanted flavors to your chicken and can withstand the high temperatures required for frying to golden perfection.
Choosing the Best Beer for Your Batter: A Flavor Guide
The choice of beer is paramount to achieving the perfect beer-battered chicken. For a balanced flavor that enhances without overwhelming the chicken, a pale ale or a light lager are consistently the best options. These beer types offer the necessary carbonation for crispness and a mild flavor profile that integrates seamlessly with the spices. Specific examples that work wonderfully include popular choices like Sierra Nevada Pale Ale or Deschutes Mirror Pond for those who appreciate craft beers. If you’re looking for more affordable and widely available options, domestic light lagers such as Miller Lite or Coors Light are excellent, cost-effective alternatives that still deliver fantastic results. Avoid dark, heavy beers like stouts or porters, as their robust flavors can dominate the chicken and their sugar content might lead to a darker, less desirable crust. Experimenting with different light lagers or ales can also allow you to discover subtle flavor nuances that you particularly enjoy in your crispy coating.

Step-by-Step Guide: Crafting Your Crispy Beer Battered Chicken
Creating this irresistible Beer Battered Chicken is a straightforward process that yields incredibly rewarding results. Follow these detailed steps, complete with illustrative photos, to achieve that perfect golden crispness. For precise measurements and comprehensive instructions, be sure to consult the full recipe card located further down this page.
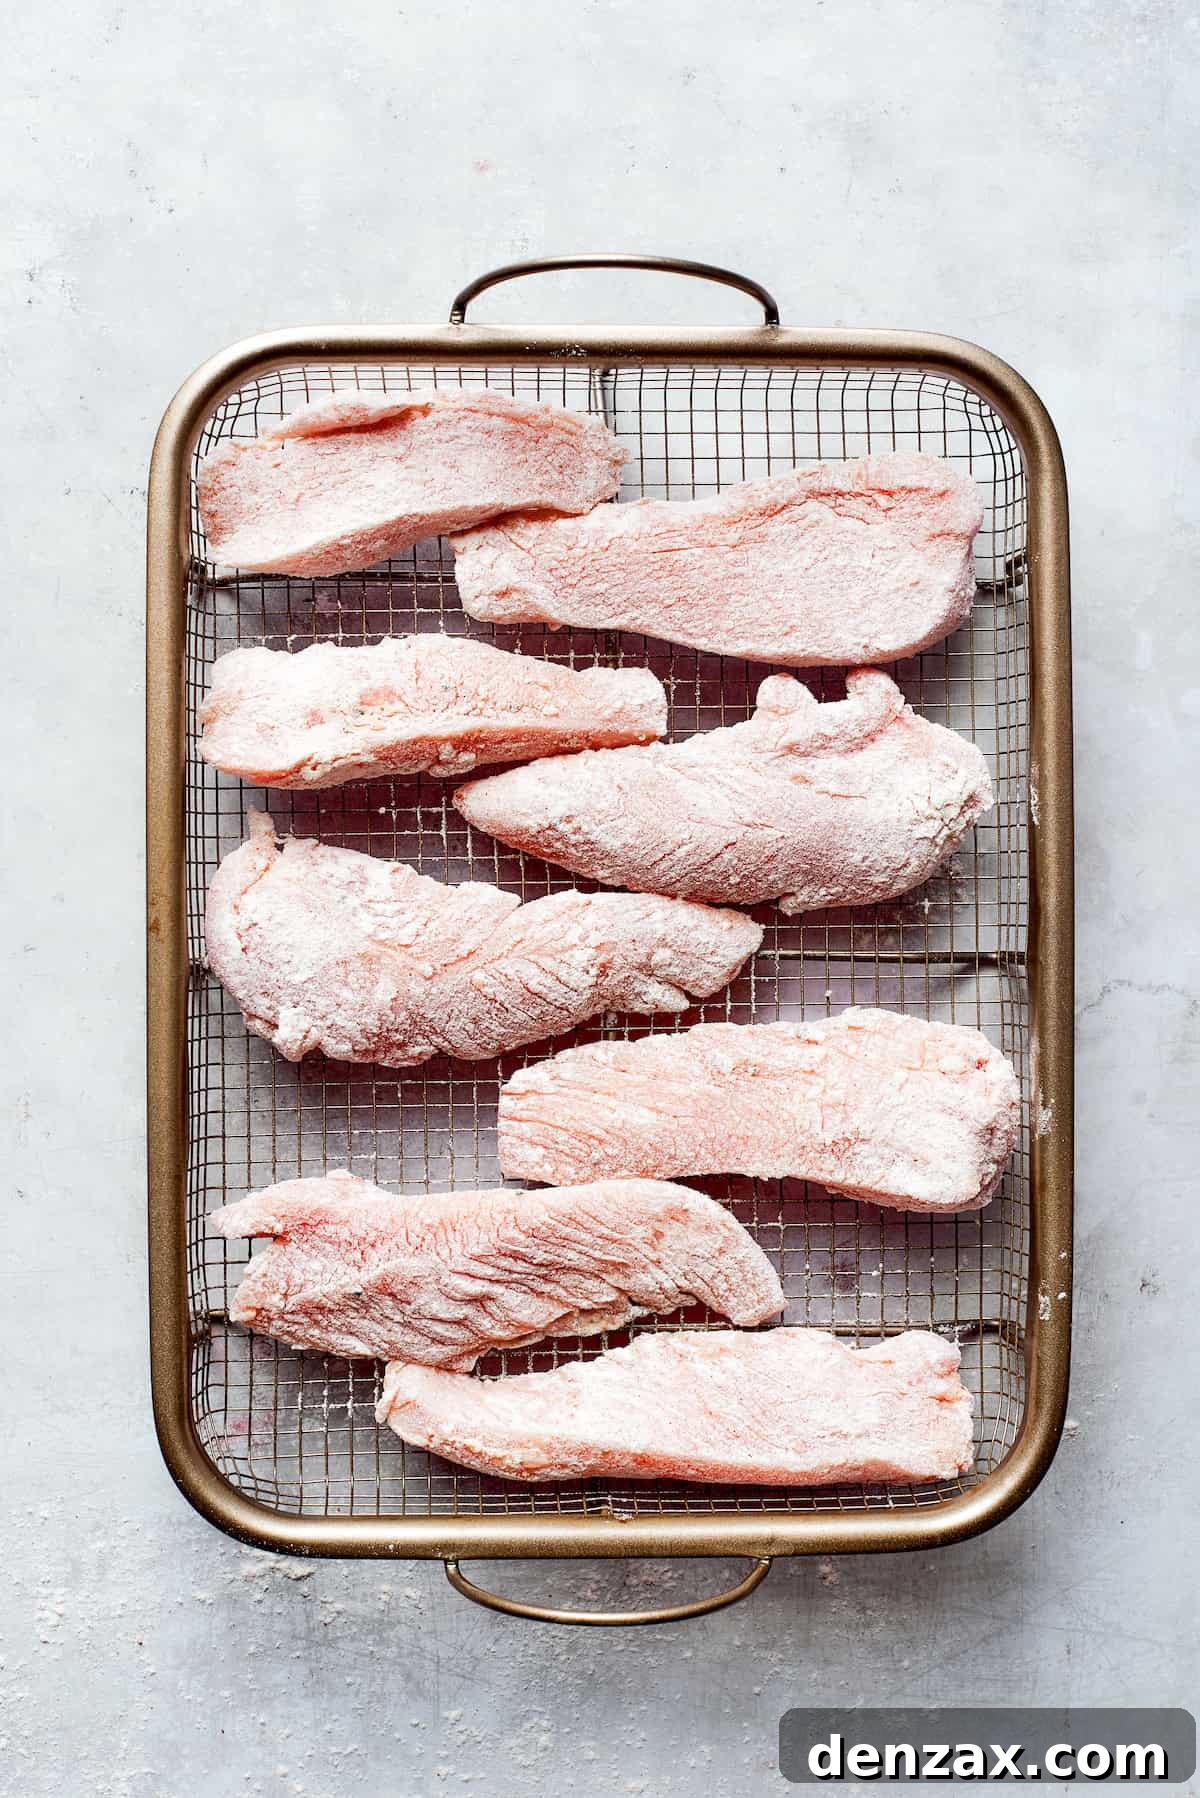
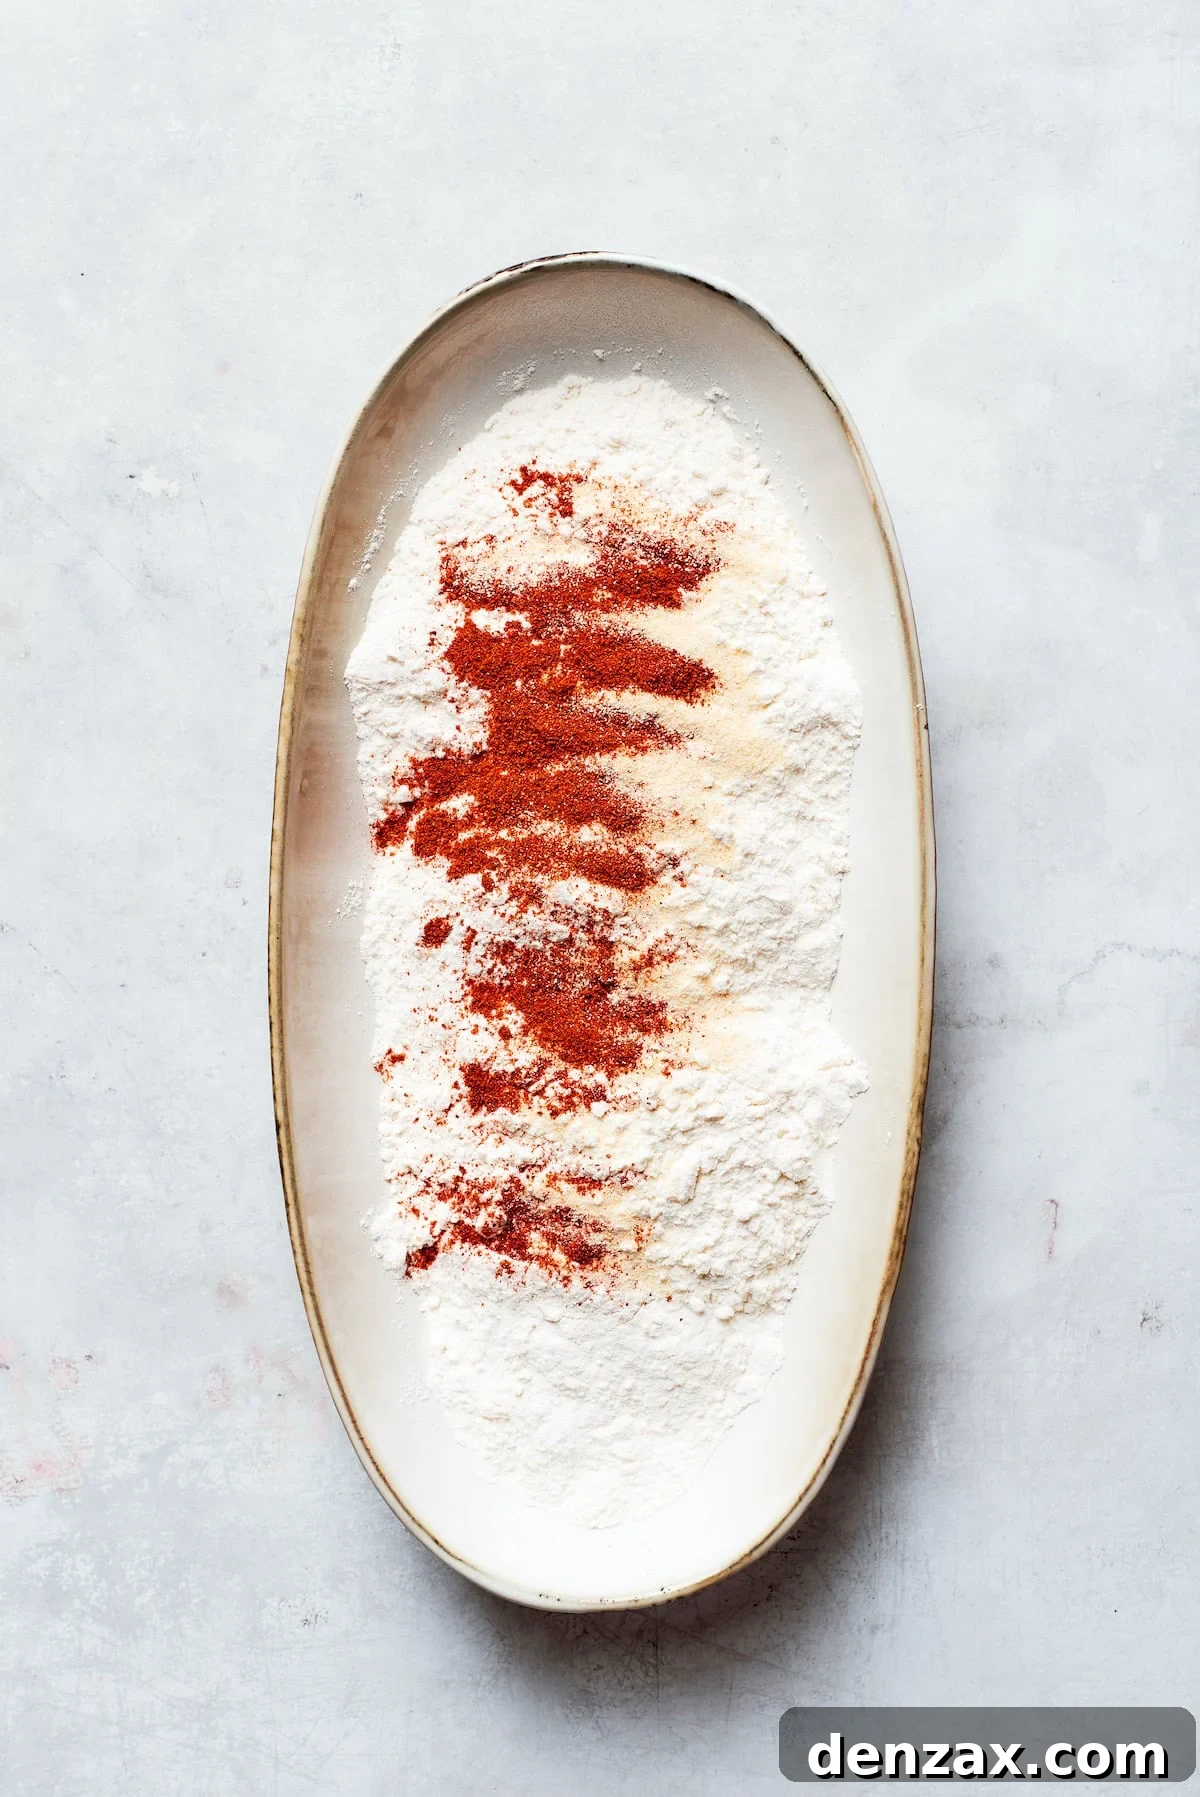
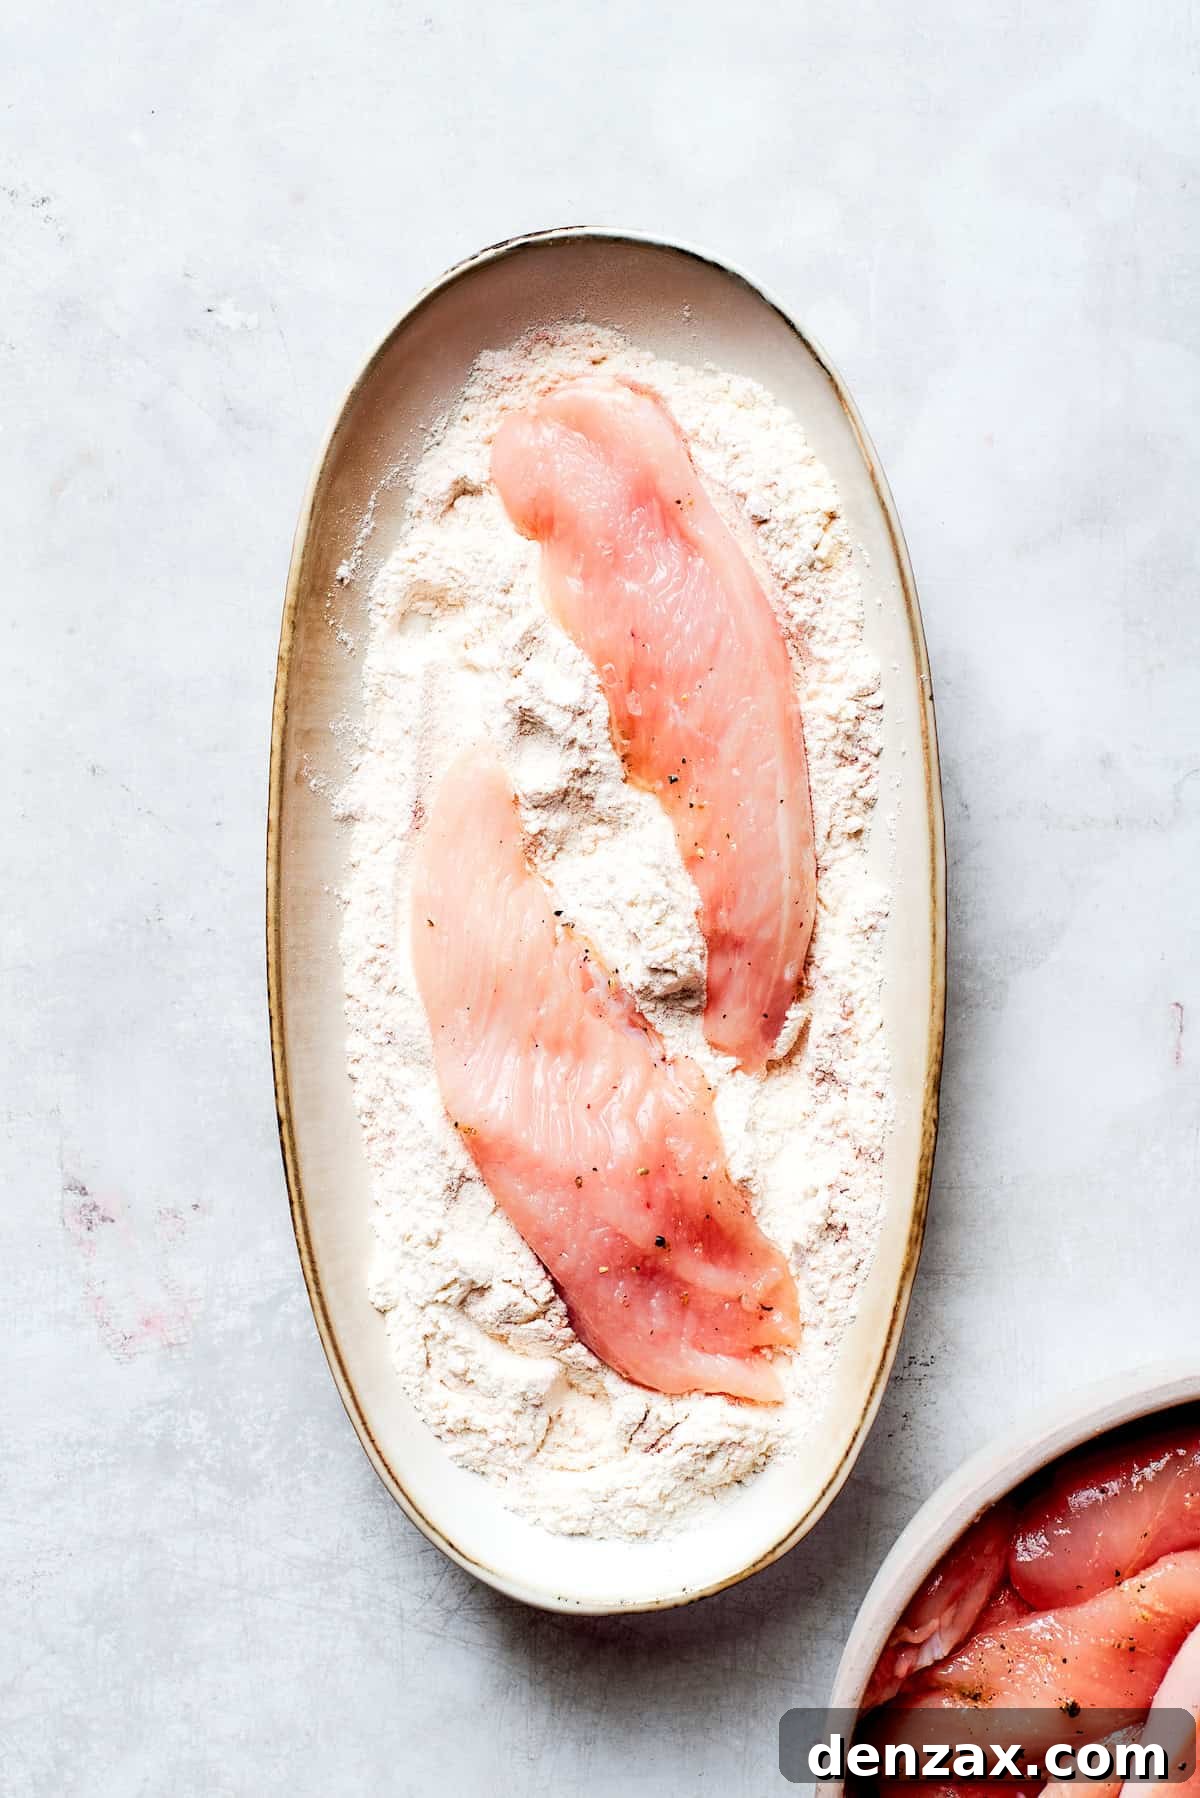
- Prepare the Chicken: Begin by slicing your boneless, skinless chicken breasts into uniform 1-inch thick strips. Consistency in size is key for even cooking. Once sliced, generously season the chicken strips all over with kosher salt and freshly ground black pepper. This initial seasoning is crucial for flavoring the chicken from the inside out.
- Craft the Dredging Mix: In a shallow dish or a wide bowl, combine the all-purpose flour, a portion of the kosher salt, onion powder, and cayenne pepper. Use a whisk to thoroughly mix these ingredients until the spices are evenly distributed throughout the flour. This seasoned flour provides a dry base for the batter to adhere to, ensuring a thick, even coating.
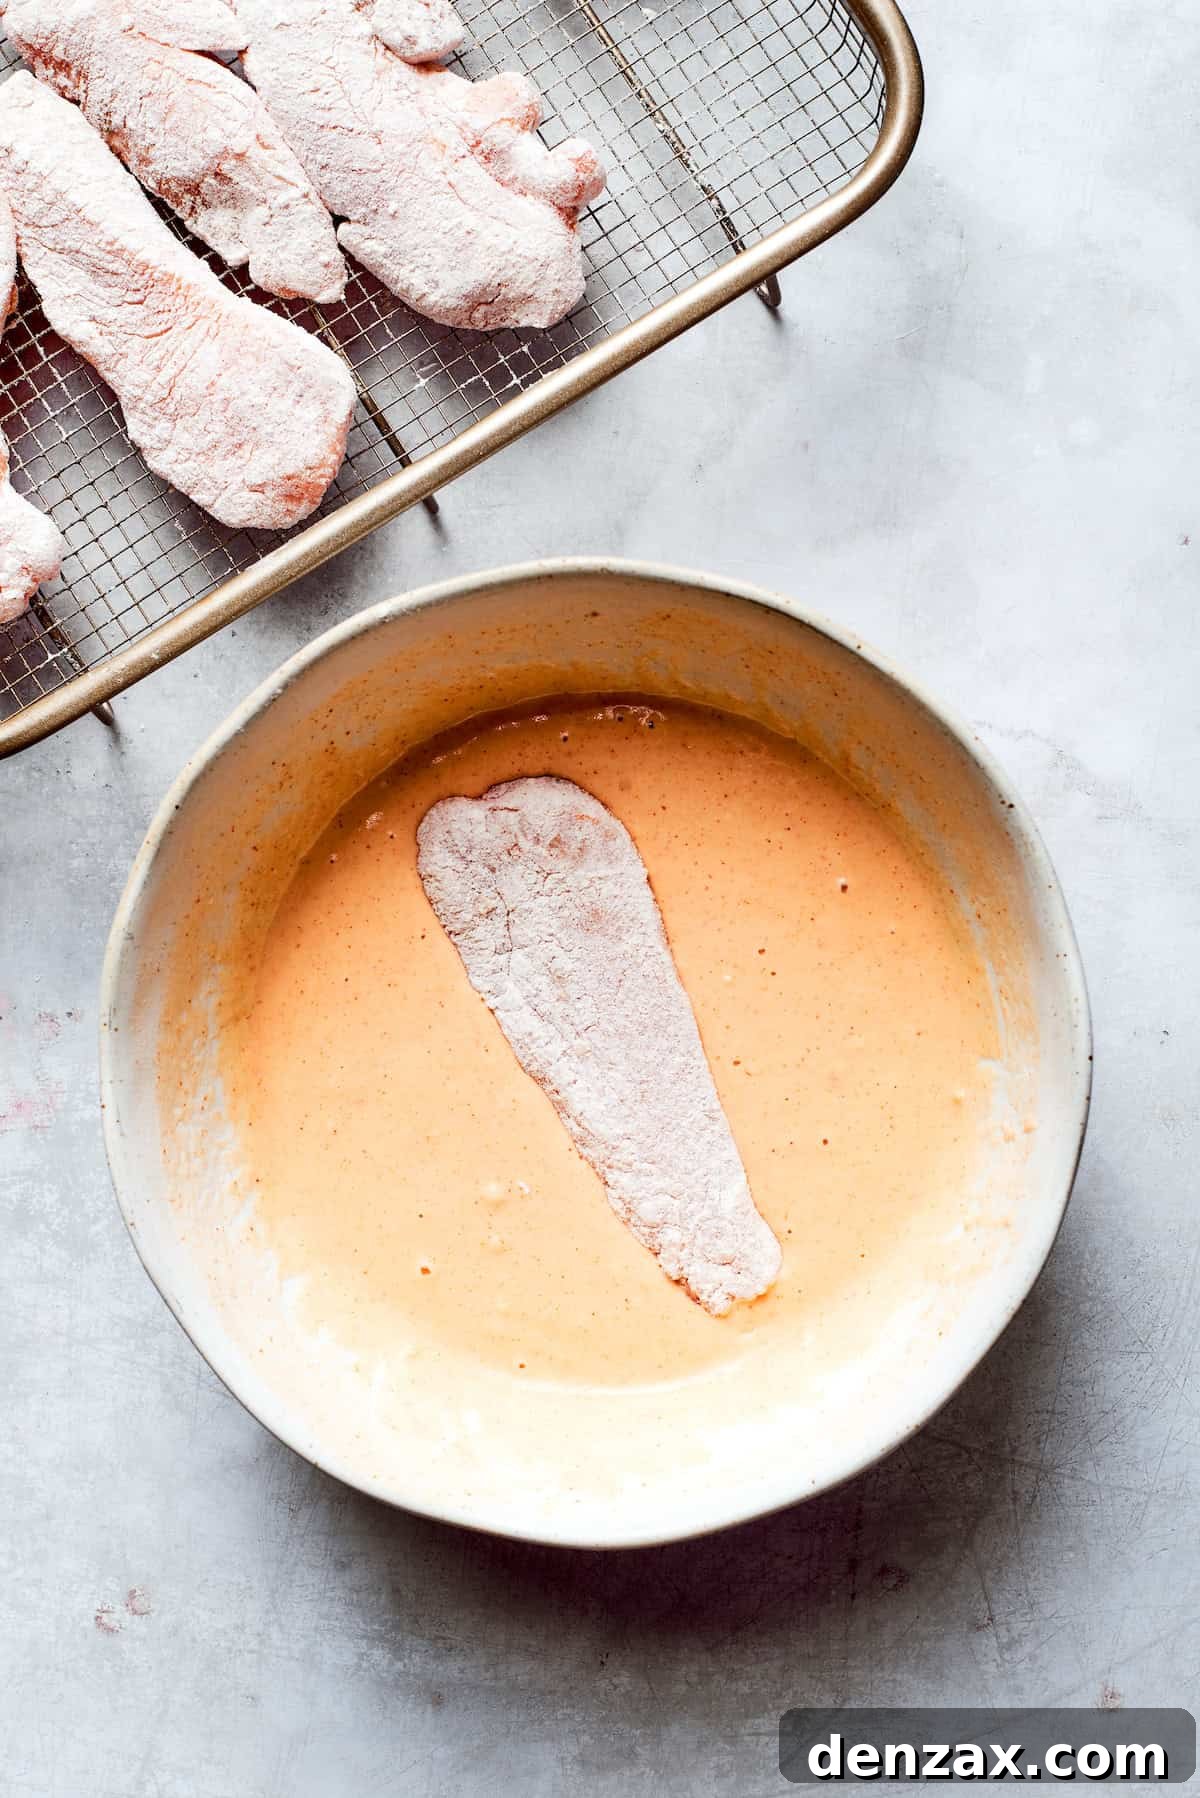
- Whip Up the Beer Batter: In a separate, larger mixing bowl, whisk together the remaining all-purpose flour, kosher salt, baking powder, and smoked paprika. Once combined, gradually pour in the very cold light beer while continuously whisking. Continue to whisk until you achieve a smooth, thick batter that resembles the consistency of pancake batter, free of lumps. The cold temperature of the beer is vital for creating a crisp crust.
- Set Up for Frying: Pour enough vegetable oil into a deep frying pan, Dutch oven, or large skillet to reach a depth of about 2 inches. Heat the oil over medium-high heat until it reaches a consistent temperature of 350°F (175°C). Use a deep-fry thermometer for accuracy, or test the oil by dropping a tiny amount of batter into it; it should immediately sizzle and float to the surface, indicating the oil is ready.
- Dredge and Batter the Chicken: Working in small batches to avoid overcrowding, first coat each chicken strip thoroughly in the dry flour dredging mixture, gently shaking off any excess. Then, dip each flour-coated chicken strip into the prepared beer batter, ensuring it’s fully encased. Allow any excess batter to drip off slightly before frying.
- Fry to Golden Perfection: Carefully lower the battered chicken strips into the hot oil, one by one. Fry the chicken for approximately 4-5 minutes per side, or until each piece is beautifully golden brown and exhibits an undeniably crispy exterior. To ensure the chicken is thoroughly cooked, its internal temperature should reach 165°F (74°C). You can also cut into one of the thicker strips to visually confirm it’s no longer pink in the center.
- Drain and Serve: Once fried to perfection, remove the chicken from the oil using a slotted spoon or tongs. Immediately transfer the pieces to a plate lined with paper towels or, even better, a wire rack set over paper towels. This allows any excess oil to drain off, keeping your chicken incredibly crisp and non-greasy. Serve your Beer Battered Chicken immediately while it’s still hot, fresh, and at its absolute crispiest.
Can Kids Enjoy Beer Battered Fried Chicken?
Absolutely, kids can safely enjoy beer battered fried chicken! During the high-heat frying process, the vast majority of the alcohol from the beer evaporates, leaving behind only the distinct malty flavor and, more importantly, contributing to that desired light and crispy texture. The amount of beer used in the batter is also relatively low per serving, making the residual alcohol negligible. Parents can rest assured that the chicken is safe for children to consume. However, if you prefer to eliminate any trace of alcohol whatsoever or if you have specific dietary concerns, you can easily substitute the regular beer with a non-alcoholic beer in the batter. This ensures the same wonderful crispness and flavor profile without any alcohol content.

Cook’s Tips for Flawless Beer Battered Chicken
- Experiment with Your Beer Choice (Thoughtfully): While lighter beers (pale ale, lager) are generally recommended for their balanced flavor and excellent crisping properties, don’t be afraid to subtly experiment if you’re an avid beer enthusiast. For a slightly richer, more complex taste, you might try a very light brown ale. However, be mindful that darker beers like stouts or porters can introduce significant bitterness and might overpower the chicken. Always prioritize beers with good carbonation for the best texture.
- Master the Temperatures: Keep the Beer Cold, and the Oil Hot! This is perhaps the most critical tip for achieving an incredibly crispy, non-greasy coating. Ensure your beer is ice-cold when you mix the batter, as the thermal shock between the cold batter and hot oil creates maximum effervescence, leading to a lighter crust. Similarly, maintain your frying oil temperature at a consistent 350°F (175°C). Frying in small batches is essential to prevent the oil temperature from dropping too much, which can lead to soggy, greasy chicken. A reliable thermometer is your best friend here.
- Proper Draining is Non-Negotiable: As soon as the chicken comes out of the hot oil, transfer it immediately to a wire rack placed over a baking sheet lined with paper towels. Draining on a wire rack allows air to circulate around all sides of the chicken, preventing it from steaming and becoming soggy, while the paper towels catch any excess oil. This step is crucial for maintaining maximum crispness.
- Serve Immediately for Peak Enjoyment: Like most fried foods, beer-battered chicken is at its absolute best when enjoyed fresh and hot. The crispy coating begins to soften over time, so plan to serve it within minutes of draining for the ultimate texture and flavor experience. A quick minute of draining is all it needs before it hits the table! Consider serving it with a side of my vibrant spicy sriracha mayo, which also pairs wonderfully with coconut chicken tenders.
- Consider Internal Temperature for Doneness: While visual cues (golden brown) are important, for food safety and optimal tenderness, ensure your chicken reaches an internal temperature of 165°F (74°C). A meat thermometer inserted into the thickest part of the chicken (avoiding the bone, if using bone-in) will give you peace of mind.
- Air Fryer Adaptation: If you prefer a less traditional frying method, Beer Battered Chicken can be successfully made in an air fryer, though the texture will be slightly different (more oven-crisp than deep-fried crisp). To air fry, preheat your air fryer to 380°F (195°C). Lightly spray the battered chicken pieces with nonstick cooking spray to encourage browning. Arrange them in a single layer in the air fryer basket, ensuring they are not overcrowded. Cook for approximately 12-15 minutes, flipping halfway through, until they are golden brown and cooked through.
- Don’t Overcrowd the Pan: Frying in batches is not just a suggestion; it’s a rule for successful deep frying. Overcrowding the frying pan significantly lowers the oil temperature, leading to less crispy and more oily results. Give each piece of chicken enough space to fry properly and maintain that crucial high oil temperature.
Perfect Pairings: What to Serve with Beer Battered Chicken
Beer Battered Chicken is incredibly versatile, shining brightly whether served as a hearty main course or a tempting appetizer. Its crispy texture and savory flavor make it a fantastic foundation for a variety of accompaniments. Here are some ideas to complete your meal:
Delectable Dipping Sauces:
This fried chicken practically begs for a delicious dipping sauce! The creamy, spicy kick of the sriracha mayo sauce, a favorite I often use, offers a perfect counterpoint to the crispy chicken. But don’t stop there! Explore other fantastic options like classic tangy tartar sauce, the sweet and savory delight of yum yum sauce, a homemade honey mustard sauce (borrowing inspiration from my Alice Springs Chicken recipe), cool and zesty ranch dressing, or even just a simple, bright squeeze of fresh lemon juice to cut through the richness.
Fresh & Vibrant Side Salads:
To balance out the indulgence of fried chicken, adding a fresh side of raw vegetables or a crisp salad is always a wonderful idea. I particularly love pairing it with a light avocado tomato salad for its refreshing flavors and healthy fats. A crunchy slaw, such as my refreshing Asian cabbage slaw recipe, adds a delightful texture and a hint of sweetness that complements the savory chicken beautifully.
Classic Comfort Food Companions:
If you’re embracing the fried theme, lean into it with some delicious fried sides! Classic french fries are always a hit, or elevate them with my flavorful garlic fries. For a lighter, yet equally satisfying option, consider veggie fries like my crispy Parmesan panko asparagus fries. And for an ultimate comfort food experience, whip up a cheesy batch of Parmesan crusted potatoes to serve alongside your Beer Battered Chicken.
Beverage Pairings:
Of course, a classic pairing for beer-battered anything is a cold beer! A crisp lager or a pale ale will echo the flavors in the batter. For non-alcoholic options, iced tea, lemonade, or sparkling water with a slice of lemon are all excellent choices.

Storing and Reheating Your Beer Battered Chicken
While beer-battered chicken is undoubtedly best enjoyed fresh and hot, sometimes you’ll have delicious leftovers to savor another time. Proper storage and reheating techniques are key to maintaining as much of its original crispness as possible. Here’s how to handle your delicious fried chicken:
- Cooling Before Storage: Before storing, allow the cooked chicken to cool completely at room temperature on a wire rack. This prevents condensation from building up in the container, which can lead to sogginess.
- Fridge Storage: Place any leftover, thoroughly cooled pieces of beer-battered chicken in an airtight container. Store it in the refrigerator for up to 2-3 days. While it won’t be as crispy as fresh, the flavors will still be delightful.
- Freezer Storage: For longer storage, you can freeze beer-battered chicken. Once cooled, arrange the pieces in a single layer on a baking sheet and freeze until solid (about 2-3 hours). This prevents them from sticking together. Then, transfer the frozen chicken pieces to a freezer-safe airtight container or heavy-duty freezer bag. They can be stored in the freezer for up to 2-3 months. Thaw in the refrigerator overnight before reheating.
- Reheating for Crispness: The goal when reheating is to restore as much crispness as possible without drying out the chicken.
- Oven Method: For the best results, preheat your oven to 350°F (175°C). Place a wire rack on top of a baking sheet, then arrange the chicken pieces on the rack in a single layer. Reheat for 10-15 minutes, or until the chicken is hot through and the coating has regained some of its crispness.
- Air Fryer Method: The air fryer is excellent for reheating! Preheat your air fryer to 400°F (200°C). Place the chicken in the air fryer basket in a single layer (do not overcrowd) and reheat for 5-7 minutes, checking halfway through, until thoroughly heated and crispy. This method is often preferred for restoring crispness quickly.
Discover More Delicious & Easy Chicken Recipes
If you loved this Beer Battered Chicken, you’re in for a treat with these other simple yet flavorful chicken dishes perfect for any weeknight or special occasion:
- Sweet & Savory Teriyaki Chicken Recipe
- Homemade Crispy Chicken Nuggets Recipe
- Creamy Sun Dried Tomato Chicken with Pasta
- Hearty Chicken and Sausage Jambalaya
- Fun & Flavorful Chicken Wonton Tacos

Pin
Beer Battered Chicken
Ingredients
- ▢ 1½ pounds boneless skinless chicken breasts, cut into 1-inch-thick strips
- ▢ ½ teaspoon kosher salt
- ▢ ½ teaspoon freshly ground black pepper
- ▢ ½ teaspoon garlic powder
For Dredging:
- ▢ 1½ cups all-purpose flour
- ▢ ⅓ teaspoon kosher salt
- ▢ ½ teaspoon onion powder
- ▢ ½ teaspoon cayenne pepper
For Batter:
- ▢ 1½ cups all-purpose flour
- ▢ ½ teaspoon kosher salt
- ▢ 1 teaspoon baking powder
- ▢ ½ teaspoon smoked paprika
- ▢ 1⅓ cup pale ale or other light beer, cold
- ▢ 2-3 cups vegetable oil, for frying
For Serving:
- ▢ spicy sriracha mayo sauce, for serving
- ▢ lemon wedges, for serving
Instructions
Chicken Preparation
-
On a clean cutting board, use a sharp knife to slice the boneless, skinless chicken breasts into uniform 1-inch-thick strips. Aim for consistent sizing to ensure all pieces cook evenly.
-
Place the chicken strips in a large bowl. Sprinkle them generously with kosher salt, freshly ground black pepper, and garlic powder. Mix thoroughly by hand or with tongs to ensure each piece is evenly coated with the seasonings. Set the seasoned chicken aside.
Prepare the Dredging Mixture
-
In a shallow dish or wide bowl, combine the all-purpose flour, the specified amount of kosher salt, onion powder, and cayenne pepper.
-
Using a whisk, stir the mixture thoroughly until all the spices are uniformly distributed throughout the flour. This perfectly seasoned dredging mixture will act as the crucial first layer, helping the wet batter adhere flawlessly to the chicken and adding an initial layer of flavor.
Craft the Beer Batter
-
In a separate large mixing bowl, whisk together the all-purpose flour, kosher salt, baking powder, and smoked paprika until these dry ingredients are well combined.
-
Gradually pour the ice-cold pale ale (or chosen light beer) into the dry mixture while continuously whisking. This gradual addition and constant whisking are vital to prevent lumps and to activate the beer’s carbonation. Continue until you achieve a smooth, thick batter that has a consistency similar to that of pancake batter.
-
If the batter appears too thick or difficult to coat the chicken, add a tiny bit more beer, one tablespoon at a time, whisking well after each addition, until your desired pourable but thick consistency is reached.
Setting Up to Fry
-
Begin coating each seasoned chicken strip in the prepared dry flour dredging mixture. Press lightly to ensure full and even coverage on all sides. Gently shake off any significant excess flour to prevent clumping and ensure a light, crispy crust when frying.
-
Pour your chosen vegetable oil into a deep frying pan, a sturdy large skillet, or a Dutch oven. Ensure the oil depth is approximately 2 inches. Place the pan over medium-high heat and allow the oil to heat up until it reaches a precise temperature of 350°F (175°C). Using a deep-fry thermometer is highly recommended for accuracy.
-
If you don’t have a thermometer, you can test the oil’s readiness by dropping a tiny bit of the batter into it. The batter should immediately sizzle vigorously and float to the surface, indicating that the oil has reached the ideal temperature for frying.
Frying the Chicken to Perfection
-
Working in small batches to avoid overcrowding the pan and dropping the oil temperature, carefully dip each flour-coated chicken strip into the cold beer batter. Make sure each strip is fully and evenly coated before gently lowering it into the hot oil.
-
Fry the chicken for approximately 4-5 minutes on each side. The chicken should turn a beautiful golden brown color and develop an audibly crispy crust. Ensure the oil temperature remains around 350°F (175°C) throughout the frying process.
-
To confirm the chicken is fully cooked through, its internal temperature should reach 165°F (74°C). Alternatively, carefully cut into one of the thicker strips to check that it is no longer pink in the center.
-
Once cooked, remove the fried chicken from the oil using a slotted spoon or sturdy tongs. Transfer the pieces immediately to a plate lined with paper towels, or ideally, onto a wire rack set over paper towels. This step is crucial for draining excess oil and maintaining the chicken’s incredible crispness. Repeat the process with the remaining chicken batches, always remembering not to overcrowd the pan.
Serving Your Delicious Chicken
-
Artfully arrange the perfectly crispy beer-battered chicken on a serving platter. Serve immediately while it’s still piping hot, alongside your desired dipping sauce and fresh lemon wedges for an extra burst of flavor.
Nutrition
Nutritional info is an estimate and provided as courtesy. Values may vary according to the ingredients and tools used. Please use your preferred nutritional calculator for more detailed info.
Did you make a recipe? Leave a rating