
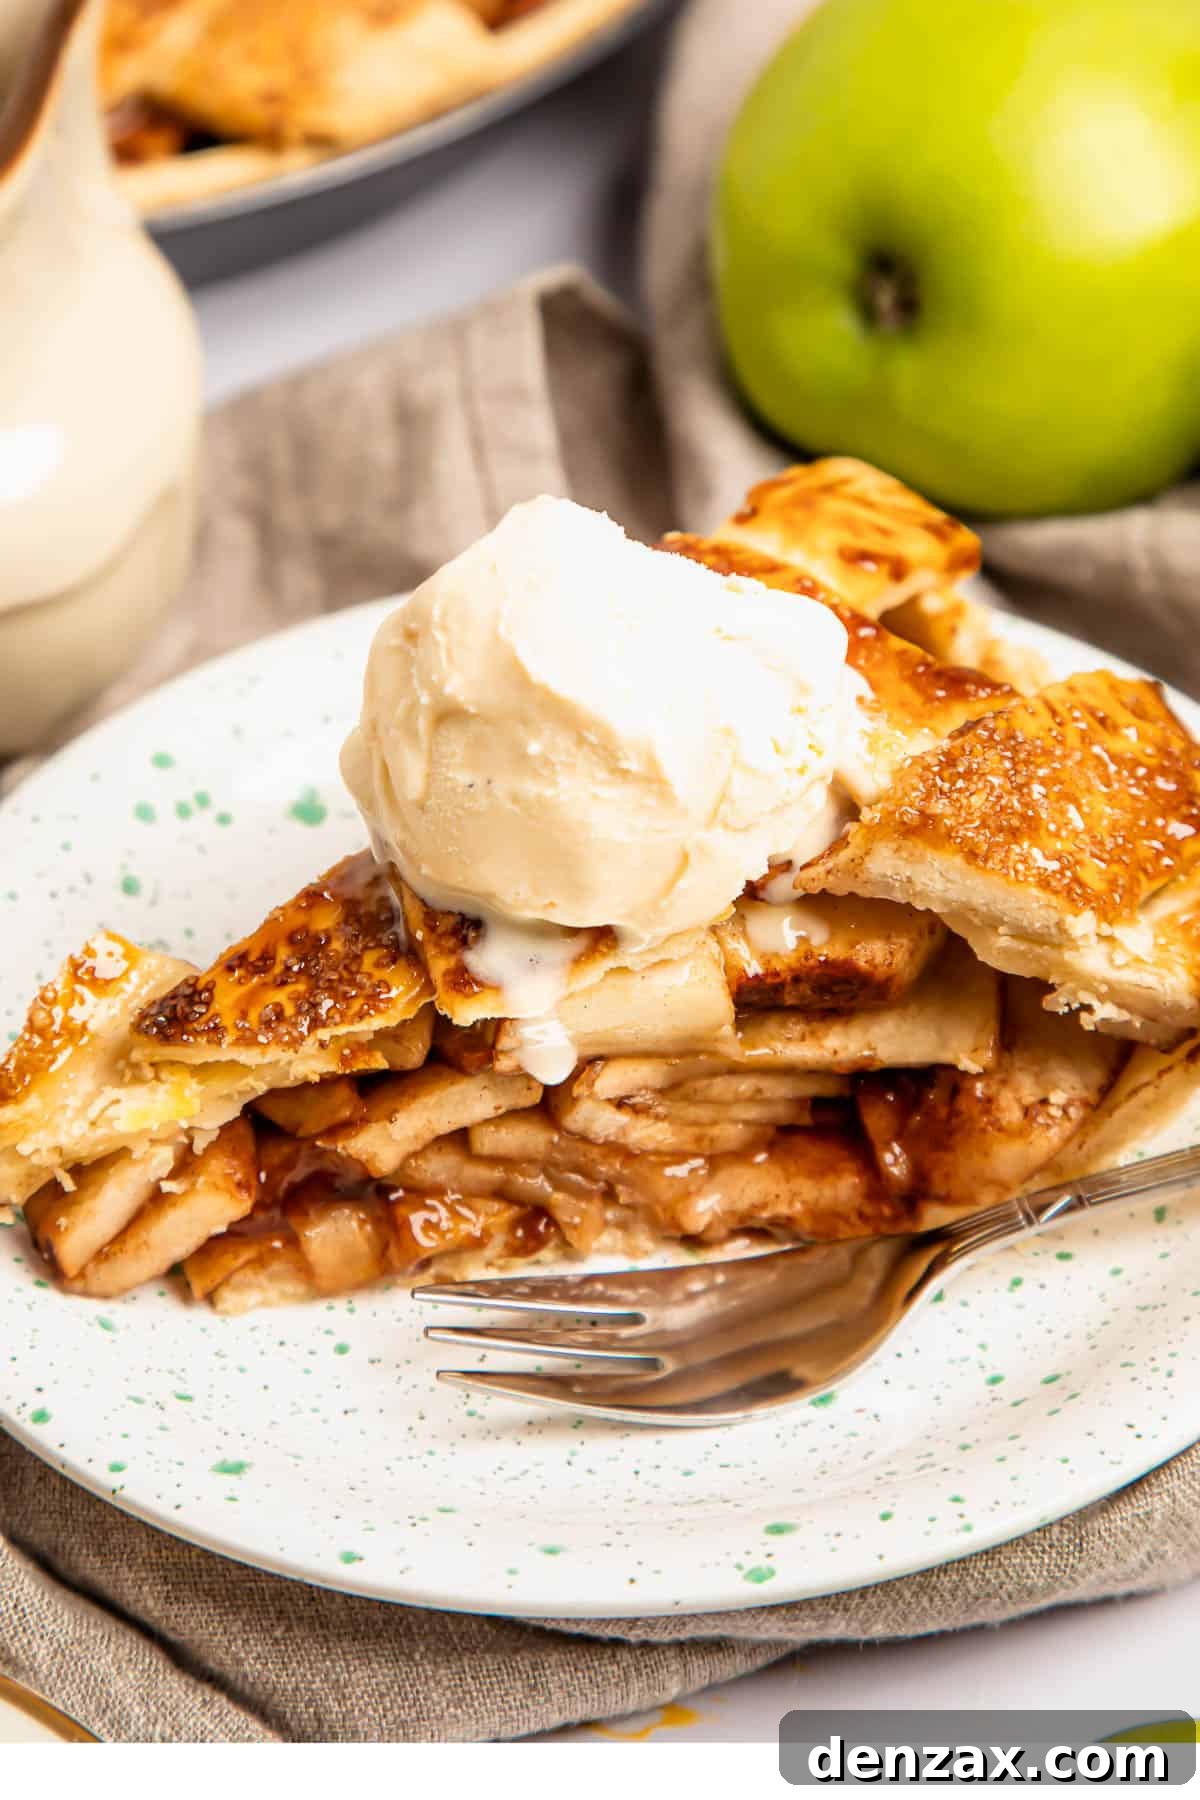
There’s nothing quite like the comforting aroma and delightful taste of a homemade apple pie, fresh from the oven. This easy-to-follow recipe guides you through creating a classic Apple Pie from Scratch, featuring a simple, flaky homemade pie crust, perfectly spiced fresh apple slices, and a touch of sweet brown sugar for that irresistible, homespun flavor everyone adores. Whether it’s a holiday centerpiece or a weeknight treat, this recipe promises a dessert that’s both impressive and incredibly satisfying.
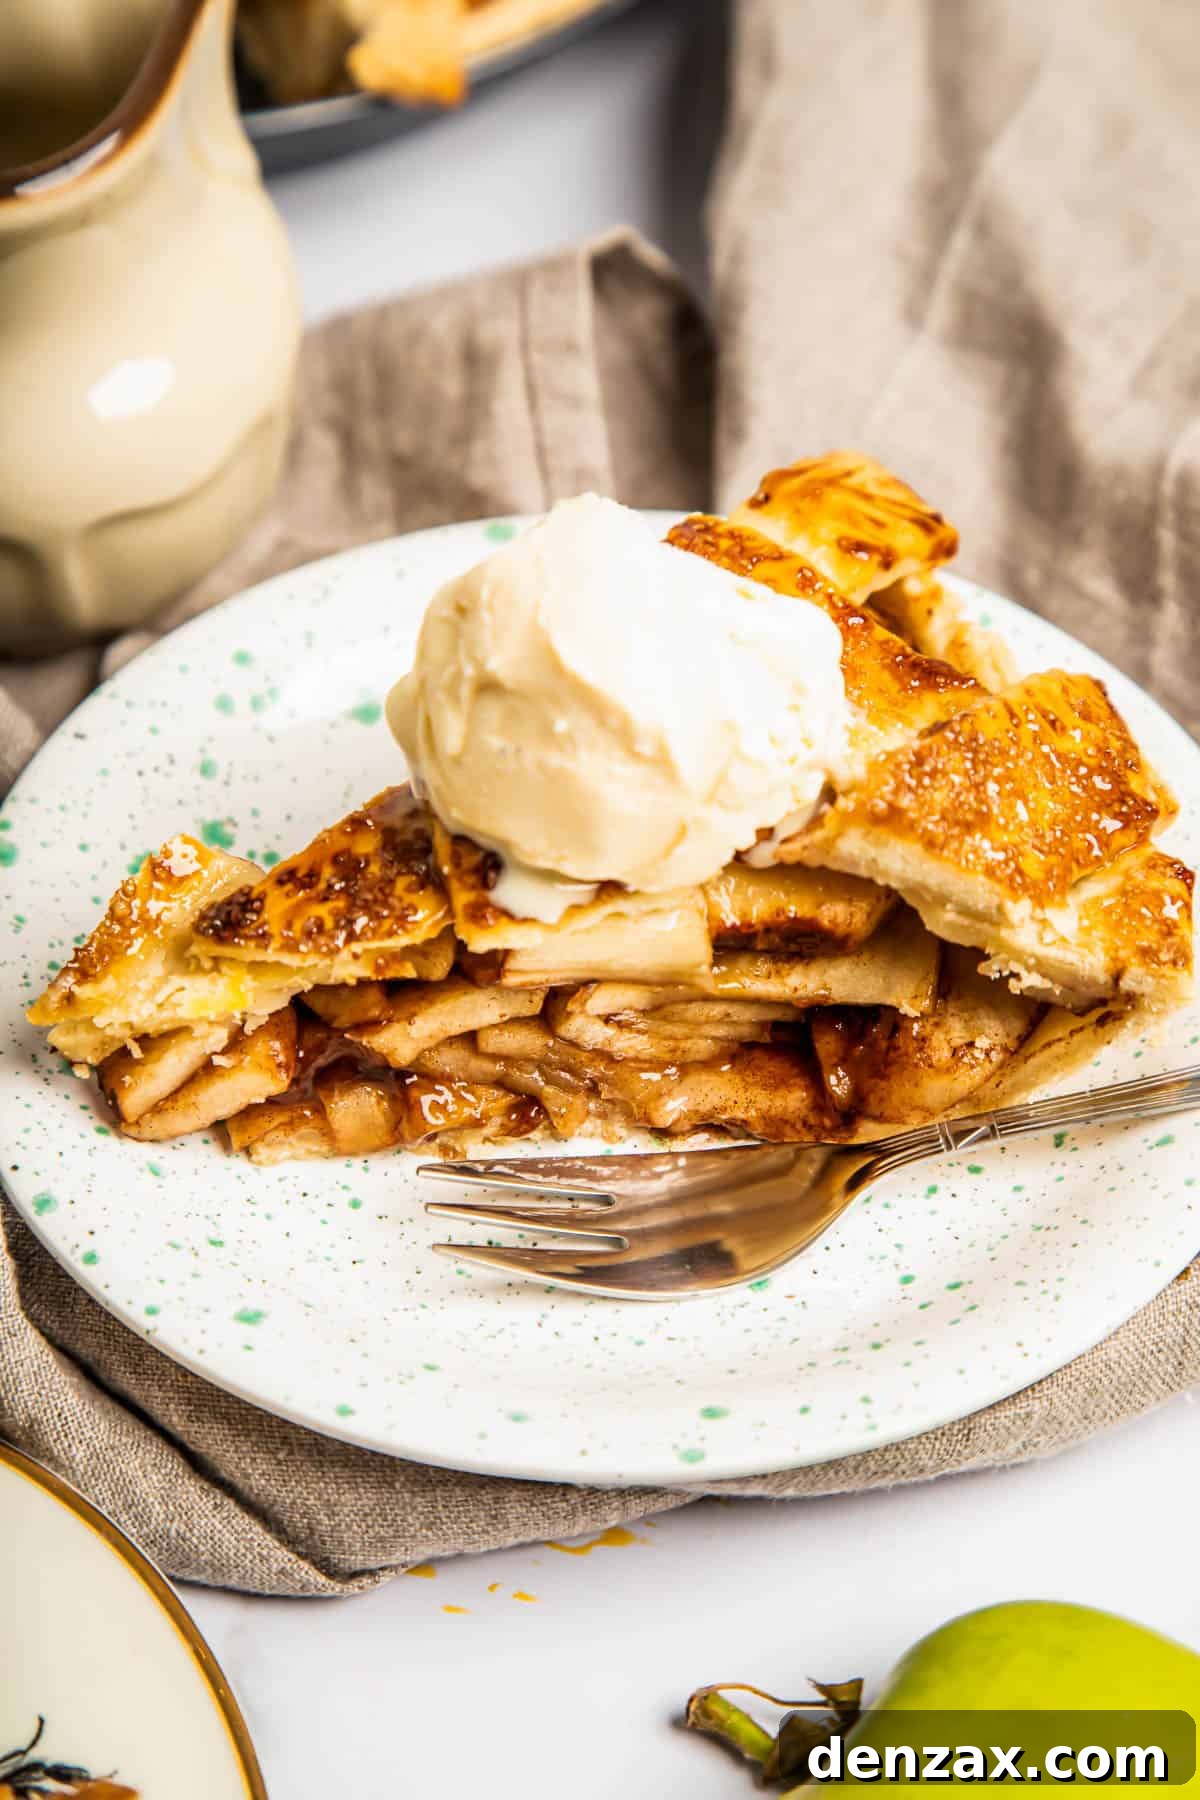
The Irresistible Charm of Homemade Apple Pie
What makes apple pie so universally beloved? Perhaps it’s its iconic status as America’s most cherished dessert, or maybe it’s the comforting blend of juicy, tastebud-tingling apple slices that bake down to a mellow gold, warmly spiced with cinnamon, and all lovingly encased in a golden, flaky pastry. The truth is, there’s just something inherently magical about a classic homemade apple pie that captures the hearts (and palates) of millions.
Apple pie is celebrated in so many ways that it transcends being merely a sweet treat. In various traditions, it can be served for breakfast, as a quick snack, enjoyed cold or warm, and even paired with unexpected companions – from a sharp wedge of cheddar cheese to a decadent scoop of vanilla ice cream, or a light dollop of whipped cream. Its versatility and timeless appeal make it a perfect dessert for any occasion, embodying warmth, comfort, and nostalgia.
Our favorite version of this classic dessert features a rustic lattice top, made with tender, freshly picked fall apples, and enhanced with just the right amount of sweet brown sugar. This recipe is designed to be incredibly easy, ensuring that once you try it, you’ll want to bake it again and again, creating cherished memories with every delicious slice.
Essential Ingredients You’ll Need for Your Homemade Apple Pie
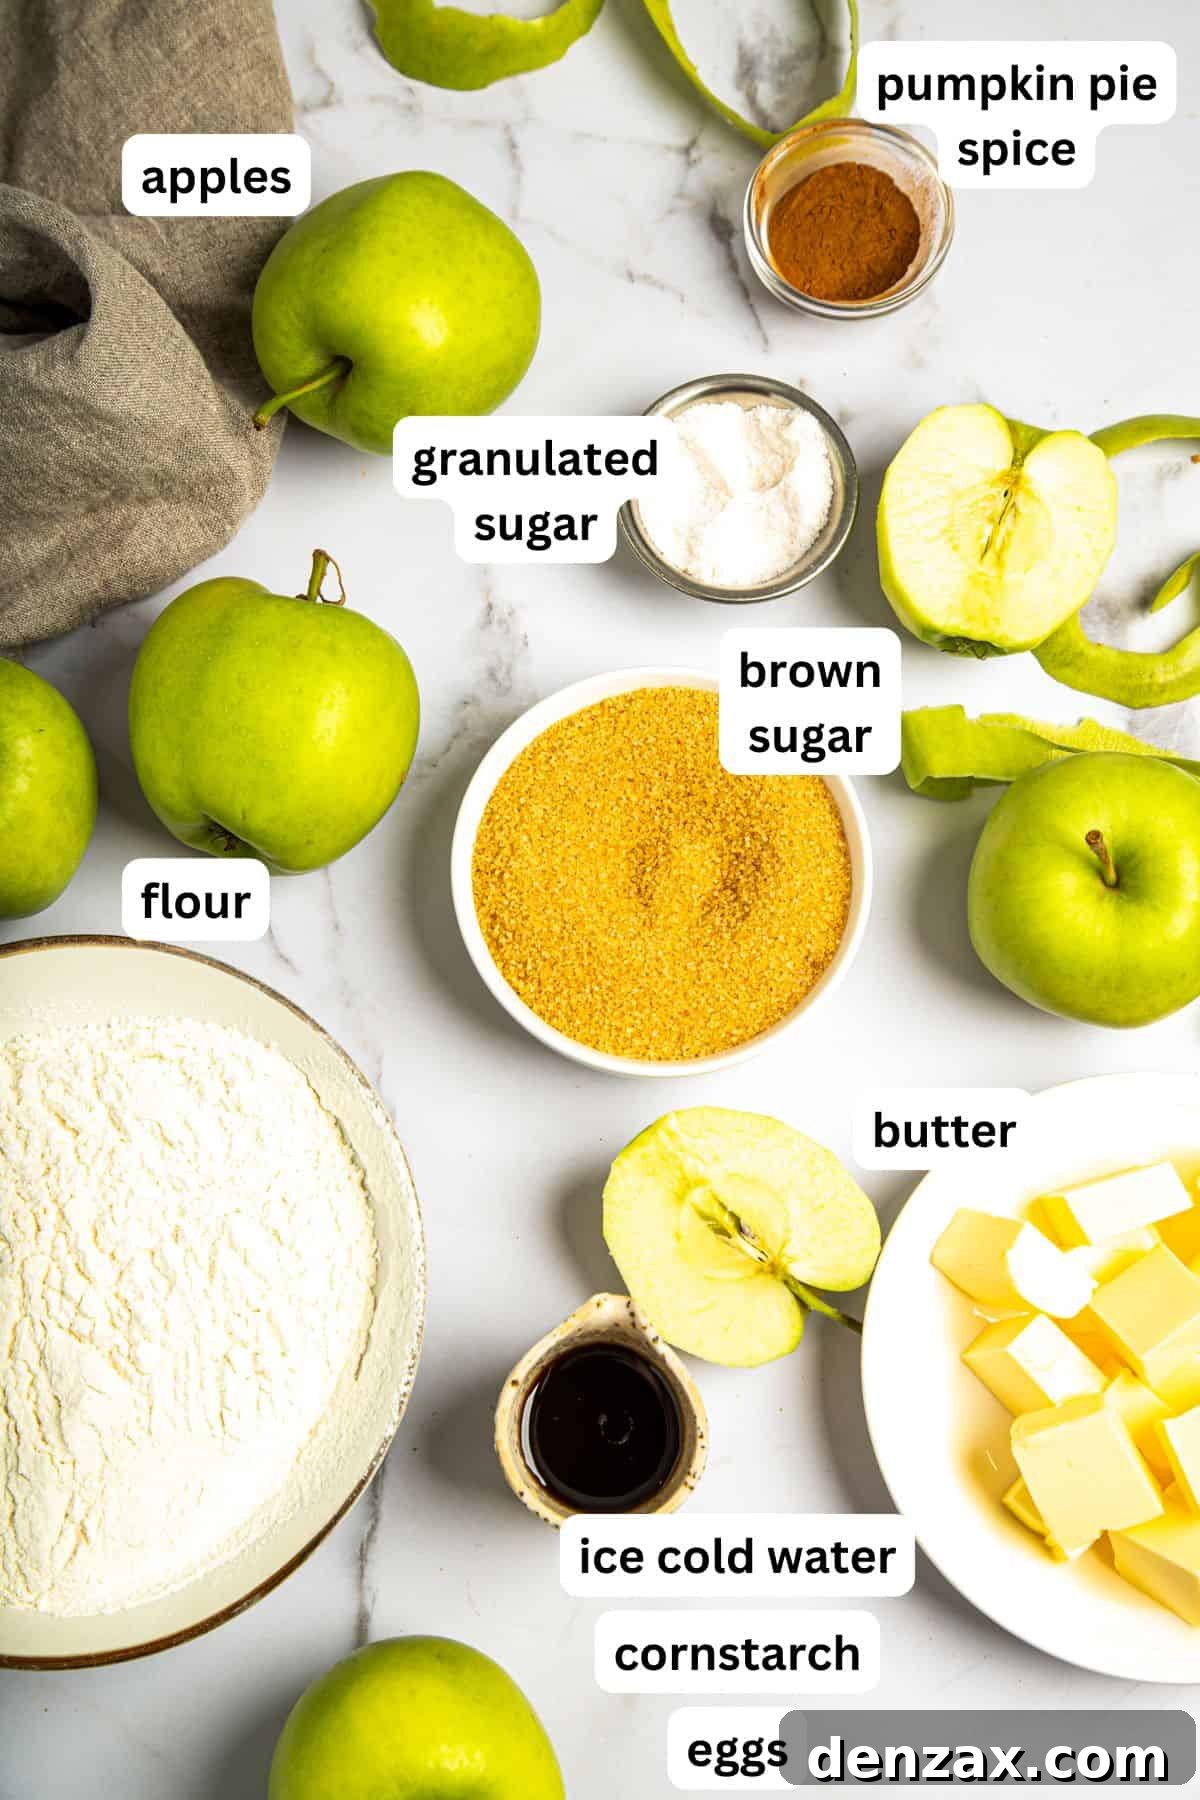
Crafting the perfect apple pie starts with selecting quality ingredients for both the filling and the crust. This recipe simplifies the process by combining a vibrant, simple apple pie filling mixture directly into a tender homemade pie crust while raw. The magic happens in the oven, where cornstarch expertly blends with the natural juices released from the apples, transforming into a wonderfully sweet and syrupy filling that holds its shape beautifully.
For the Flavorful Apple Pie Filling
- Apples: You’ll need about 2 pounds of apples, which typically translates to approximately 8 medium-sized apples. Precision isn’t strictly necessary; the key is to have enough sliced apples to generously fill your pie crust, ensuring a hearty and satisfying pie. Choosing the right apple variety is crucial for texture and flavor; we’ll delve into specific recommendations shortly.
- Sugar: We sweeten our pies with regular granulated sugar for a balanced sweetness. However, feel free to use raw sugar if you prefer, or even substitute a portion of the granulated sugar with rich brown sugar for an added layer of caramel-like depth.
- Spices: For a uniquely balanced flavor profile, we lean towards pumpkin pie spice in this recipe. Its harmonious blend of cinnamon, nutmeg, ginger, and cloves complements apples beautifully, offering a warmth that’s not just for pumpkins! If you prefer, classic apple pie spice or simply ground cinnamon will also yield delicious results.
- Cornstarch: This essential ingredient acts as our thickening agent, ensuring the apple juices transform into a luscious, syrupy filling rather than a watery mess. Arrowroot powder is an excellent gluten-free alternative that performs similarly.
For the Perfect Flaky Pie Crust
- Flour: Standard all-purpose flour works wonderfully for achieving a tender, flaky crust. For those with dietary restrictions, a 1:1 gluten-free all-purpose flour blend can be successfully substituted.
- Butter: The secret to a truly flaky pie crust lies in using very cold butter, cut into small cubes. This technique creates pockets of steam during baking, which results in those desirable layers.
- Water: Ice-cold water is imperative. It helps keep the butter cold and prevents the dough from becoming tough. Keep a cup or bowl of literal ice water handy, and measure it out with a tablespoon.
- Sugar: While optional, adding a small amount of brown sugar to the crust not only enhances its flavor with a subtle sweetness but also contributes to a beautiful, golden-brown finish.
- Salt: Just a pinch of salt is all it takes to elevate the flavors of the crust, preventing it from tasting bland and perfectly balancing the sweetness of the filling.
- Egg: A single beaten egg is used for brushing onto the top crust. This egg wash creates a gorgeous, glossy, golden crust and helps any sprinkled sugar adhere beautifully.
Step-by-Step Guide: How to Bake Your Homemade Apple Pie
Creating a homemade apple pie from scratch is a rewarding experience, and with these clear steps, you’ll achieve perfection every time. You can opt for a decorative lattice top, as showcased in our examples, or choose a full top crust, simply cutting a small hole in the center to allow steam to vent during baking.
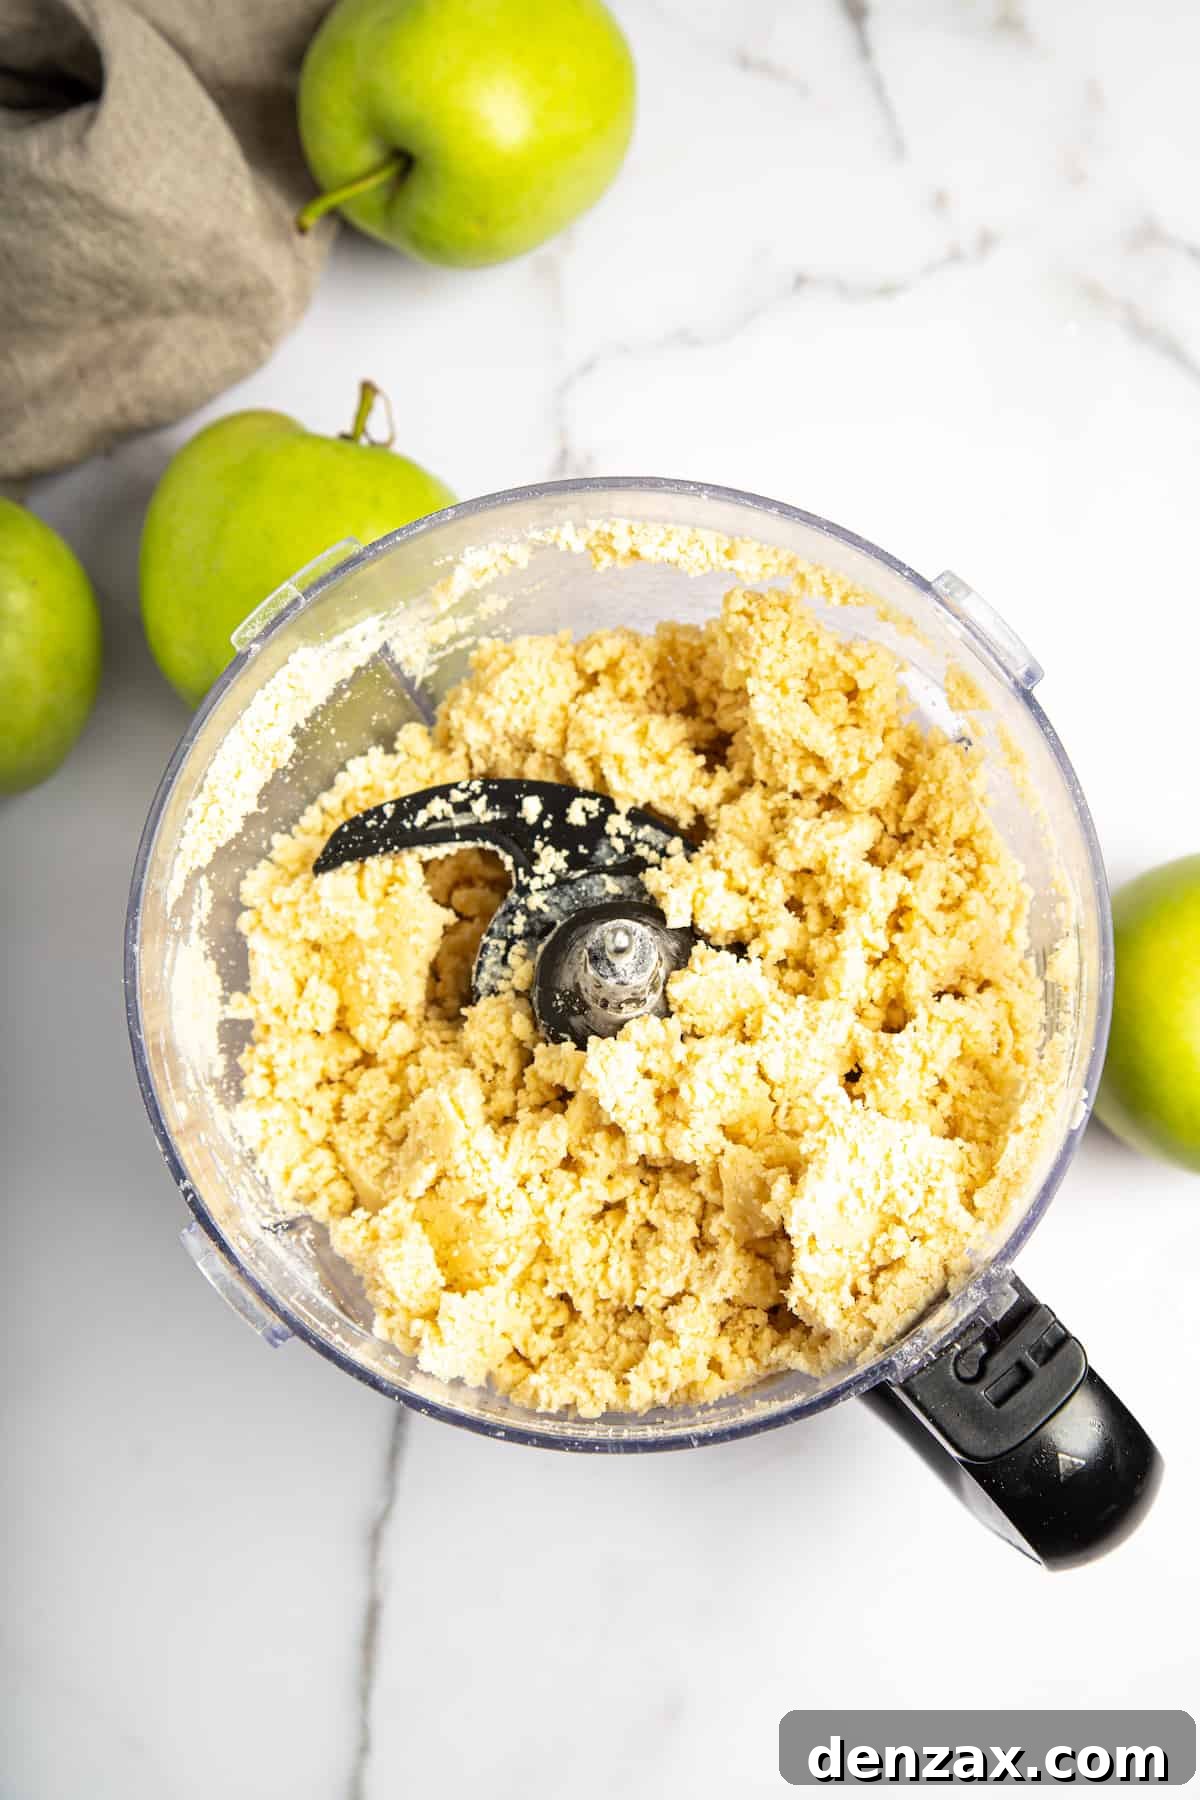
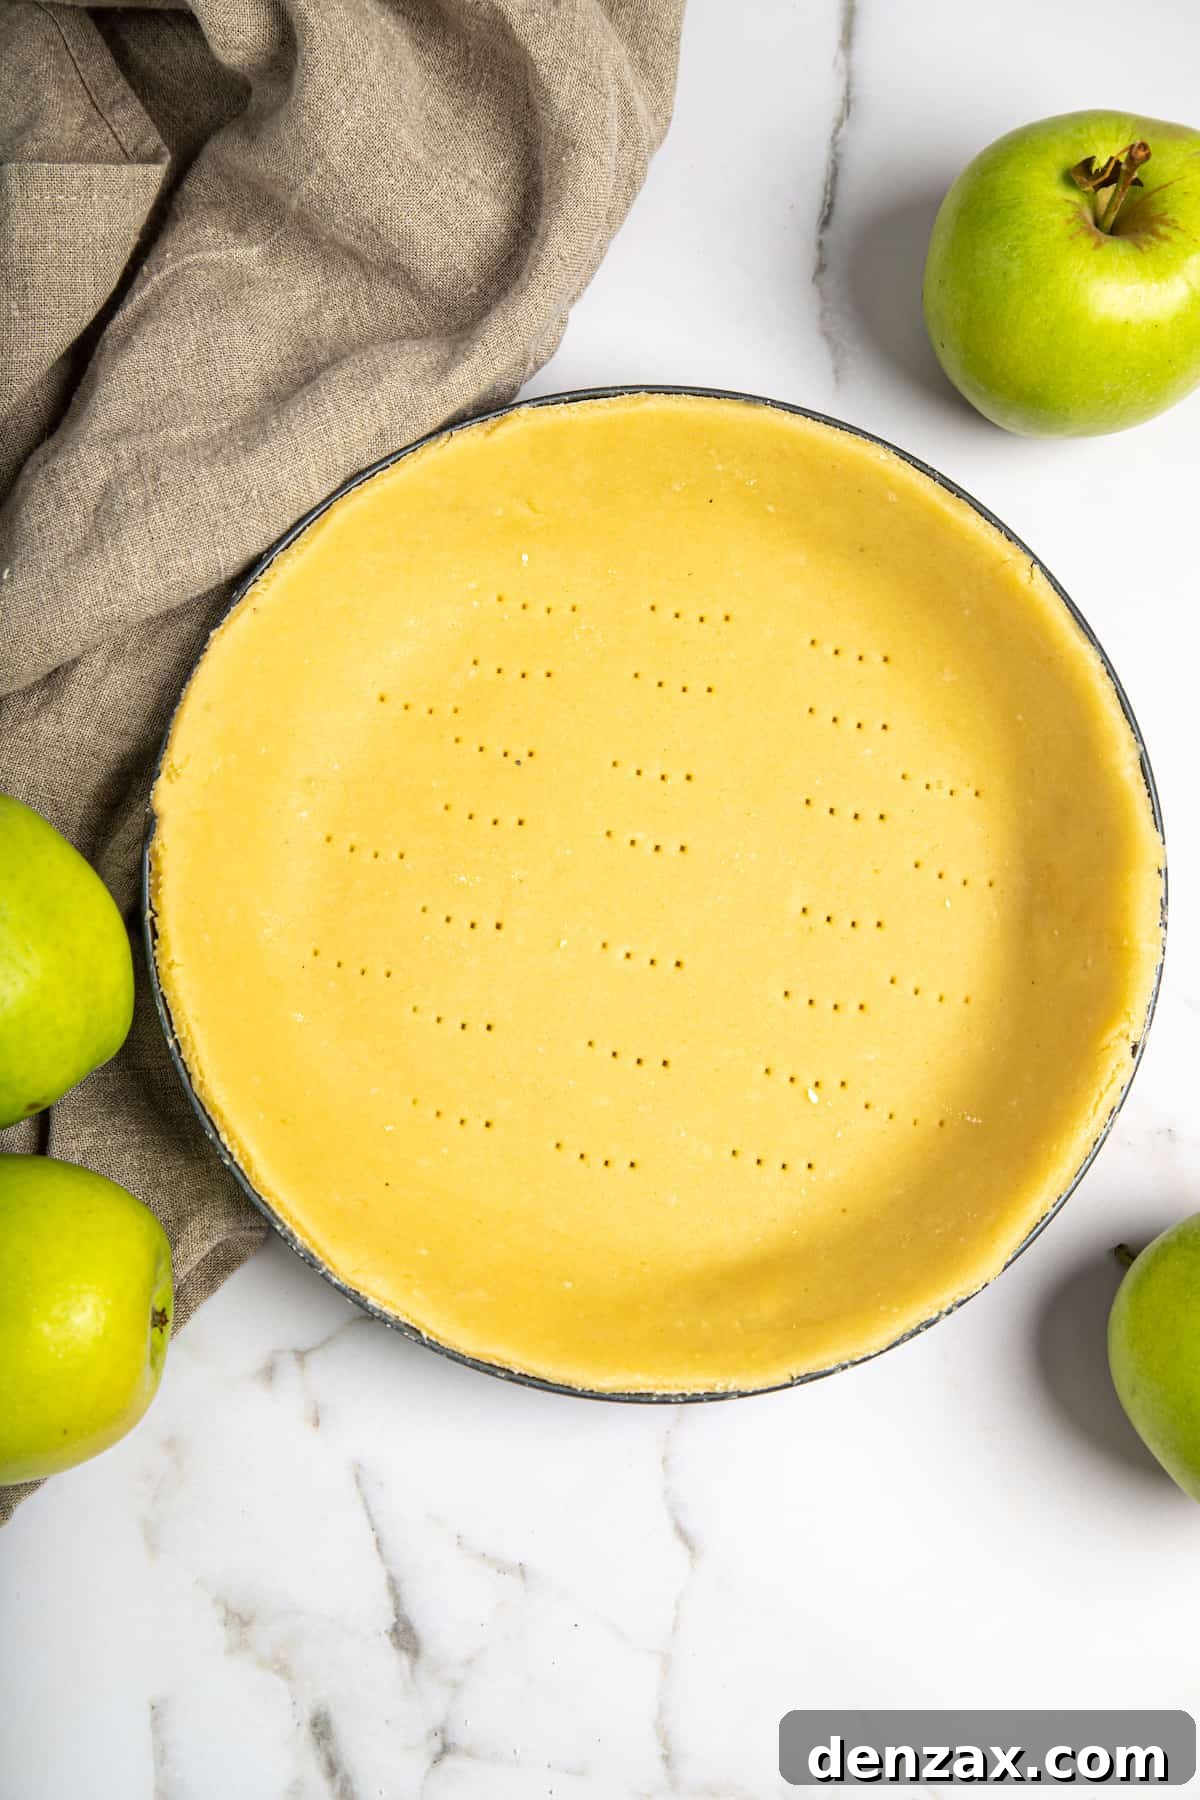
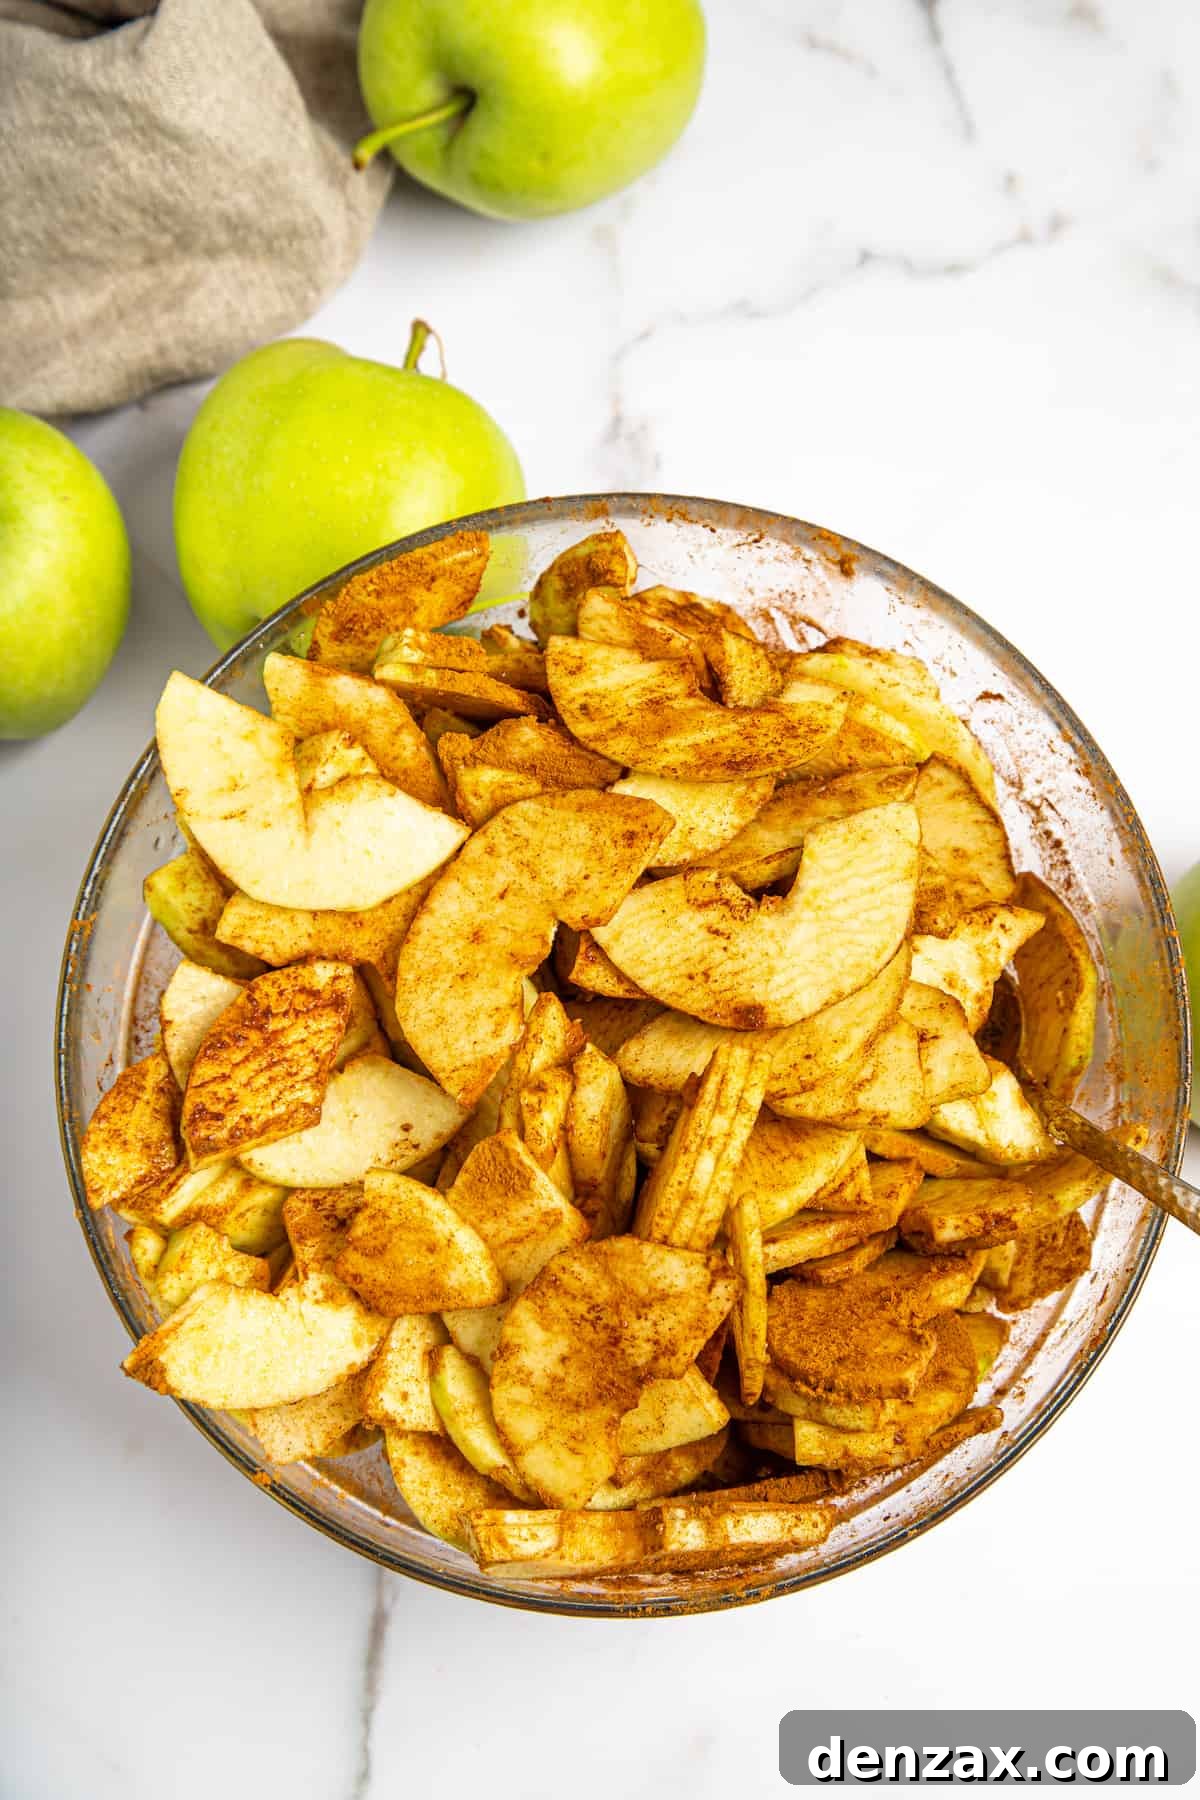
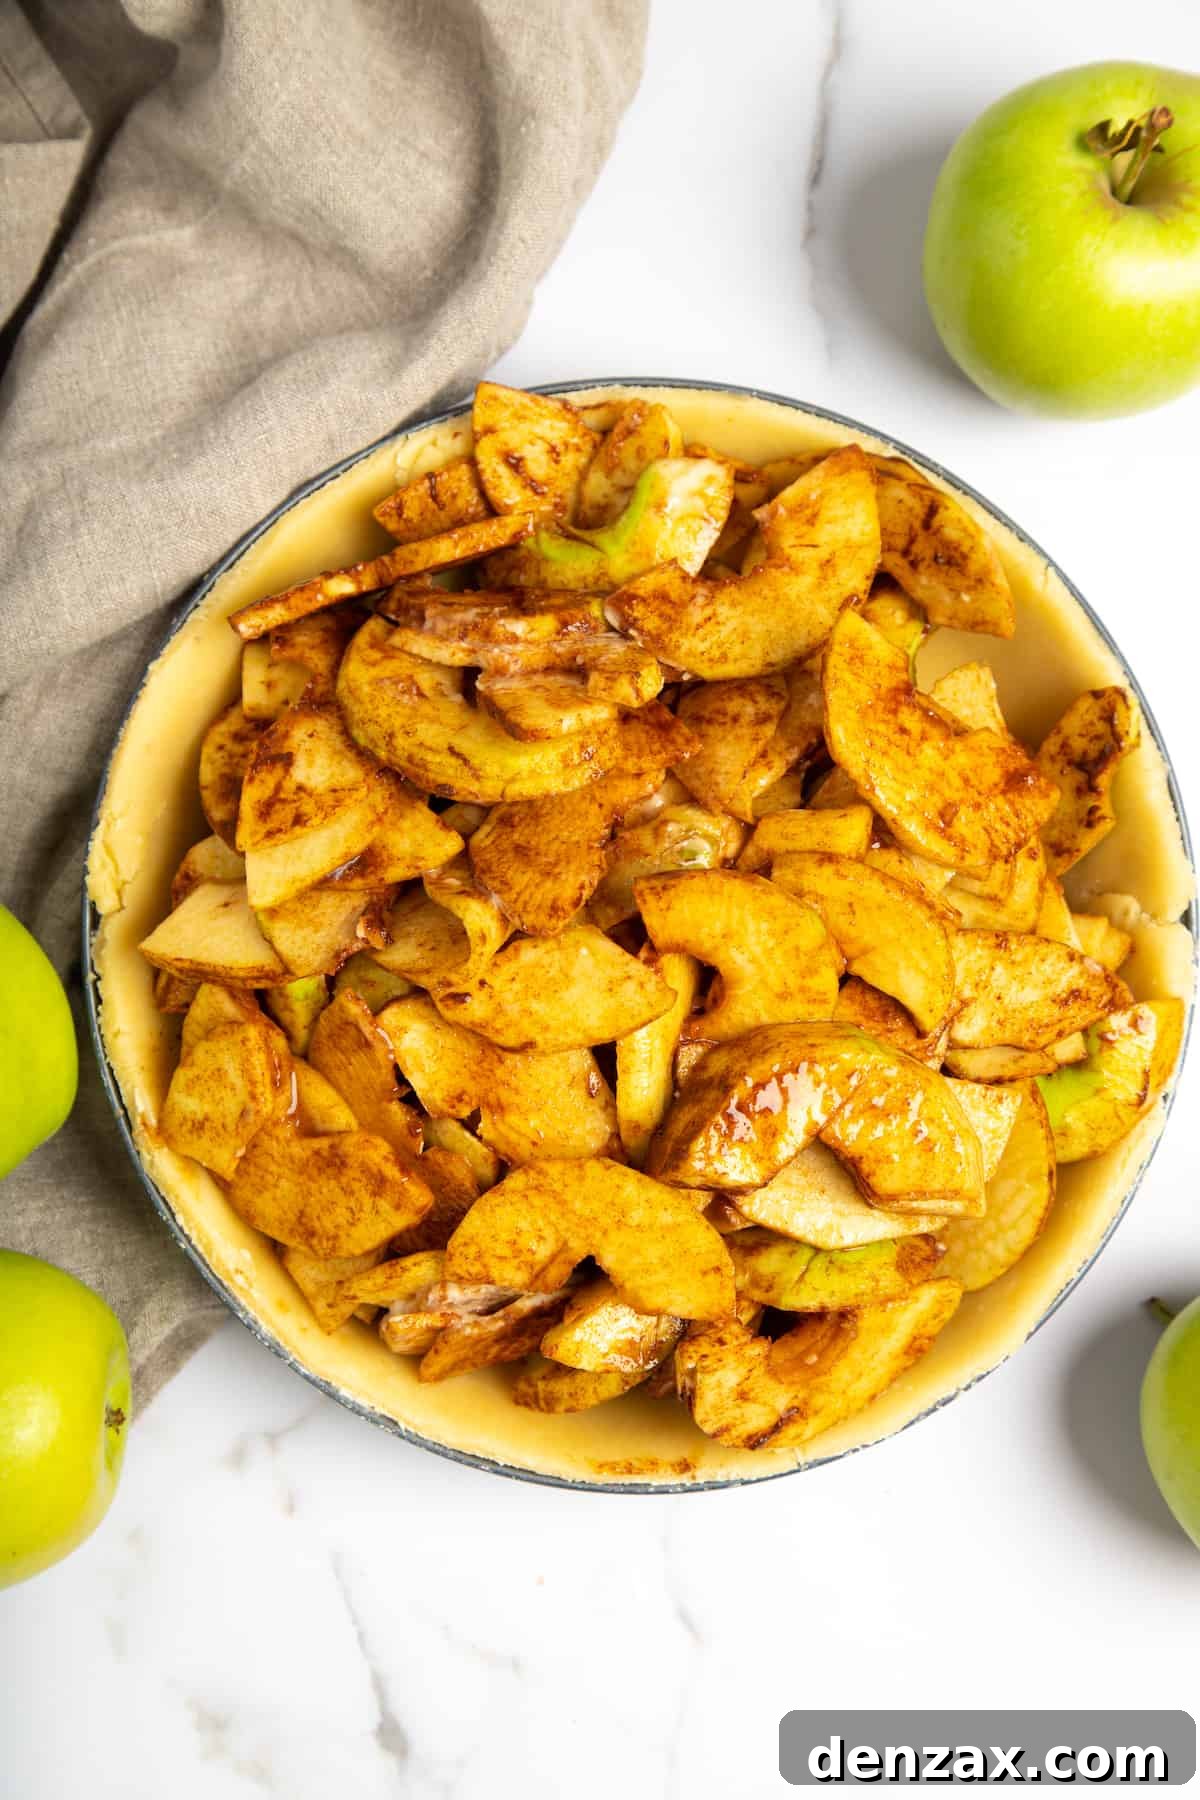
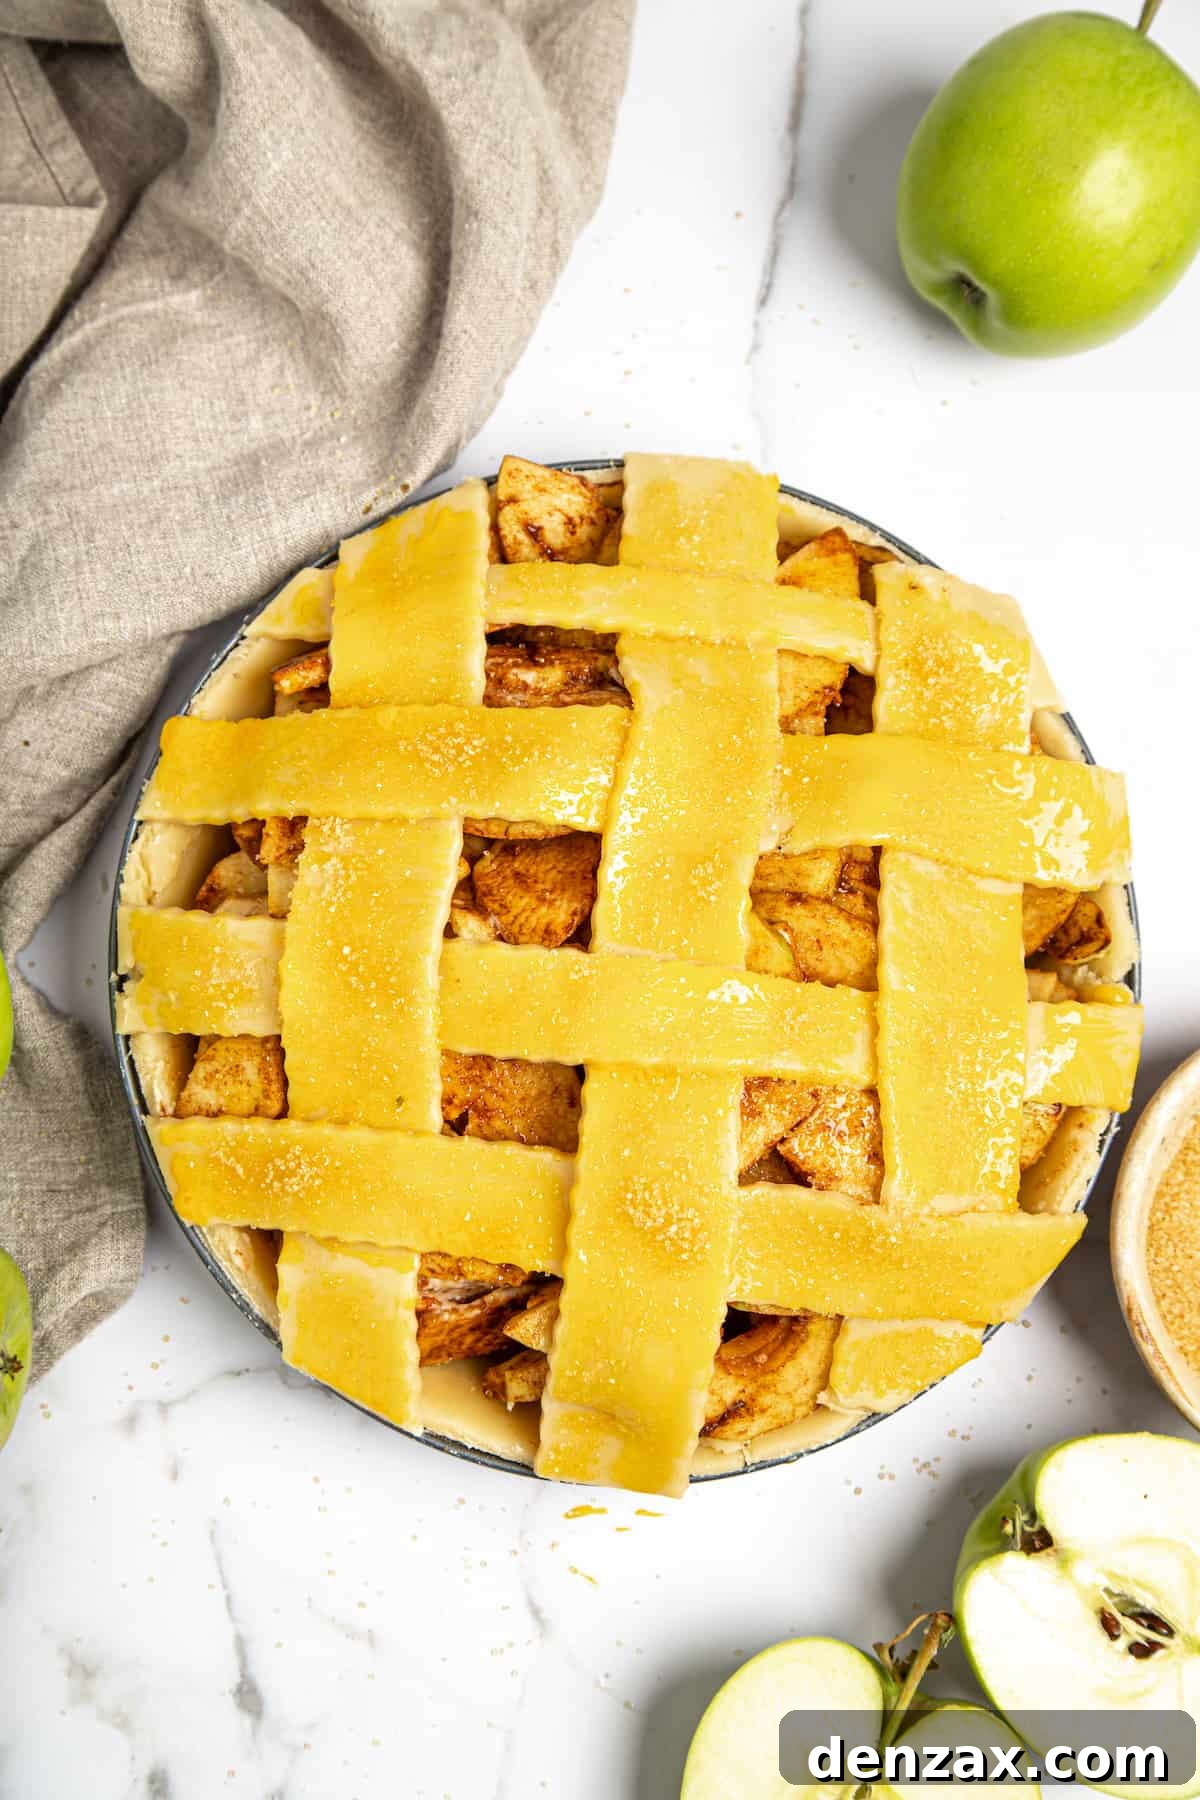
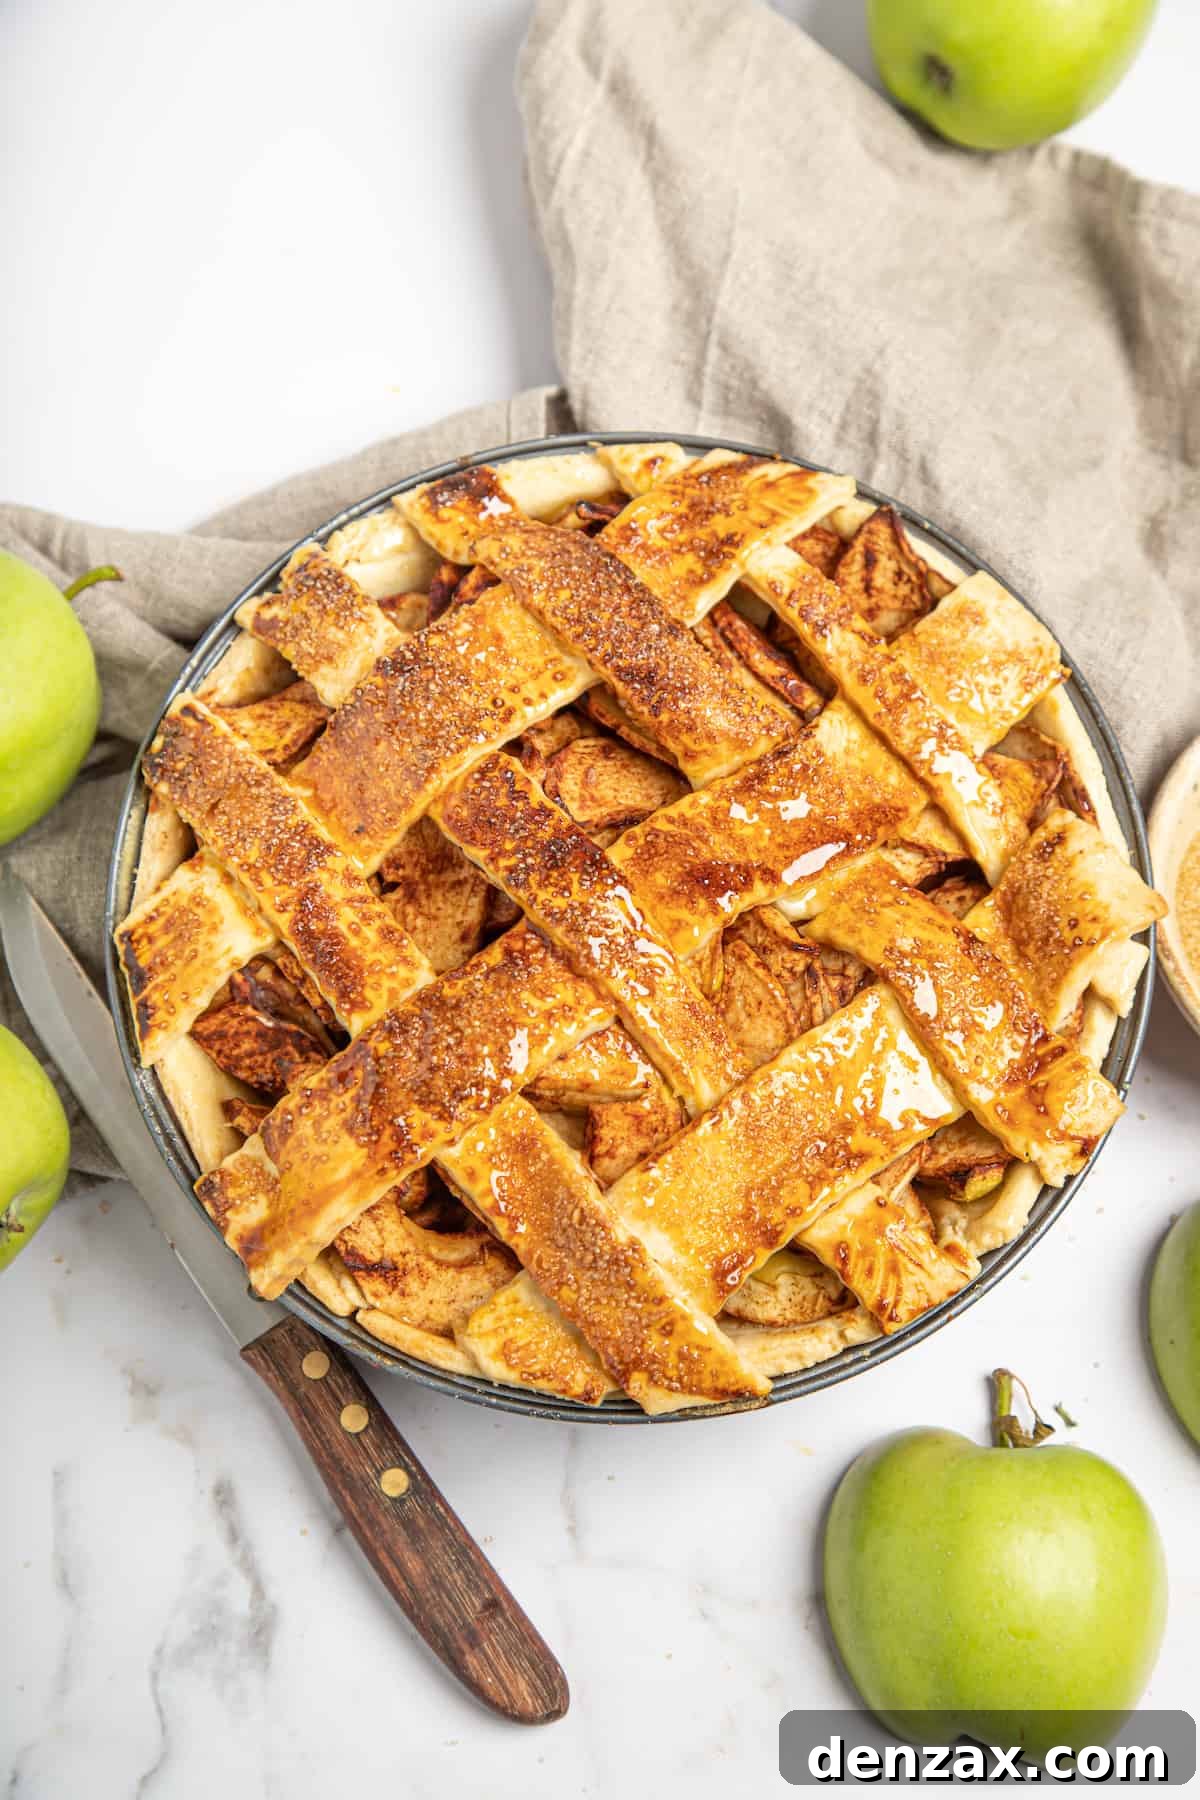
- Make the Pie Crust: In a food processor, combine the flour, cubed chilled butter, and a pinch of salt. Pulse the ingredients until the mixture resembles coarse breadcrumbs. Gradually add five tablespoons of ice-cold water, pulsing a few times until the dough mostly comes together in a ball. If the mixture remains too dry, add more water one tablespoon at a time until it reaches the right consistency. Divide the dough into two equal discs, wrap them tightly in plastic wrap, and chill in the refrigerator for 30-40 minutes, or until firm.
- Make the Apple Filling: Begin by peeling and coring your chosen apples, then cut them into thin, uniform slices. In a large mixing bowl, whisk together the sugar, your preferred pie spice (pumpkin spice, apple pie spice, or cinnamon), and cornstarch. Add the sliced apples to the bowl and toss gently to ensure every apple slice is thoroughly coated with the sweet, spiced mixture.
- Arrange the Bottom Pie Crust: Preheat your oven to 400°F (200°C) – this is a good time to get it started. Remove the chilled pastry discs from the refrigerator. On a lightly floured work surface, roll out one of the dough discs into an 11-inch circle. Lightly spray a 9-inch pie plate with cooking spray, then carefully transfer the rolled-out crust into the pan. Trim any excess dough even with the edge of the pie plate, and use a fork to prick the bottom and sides of the pastry all over. This helps prevent the crust from bubbling up during baking.
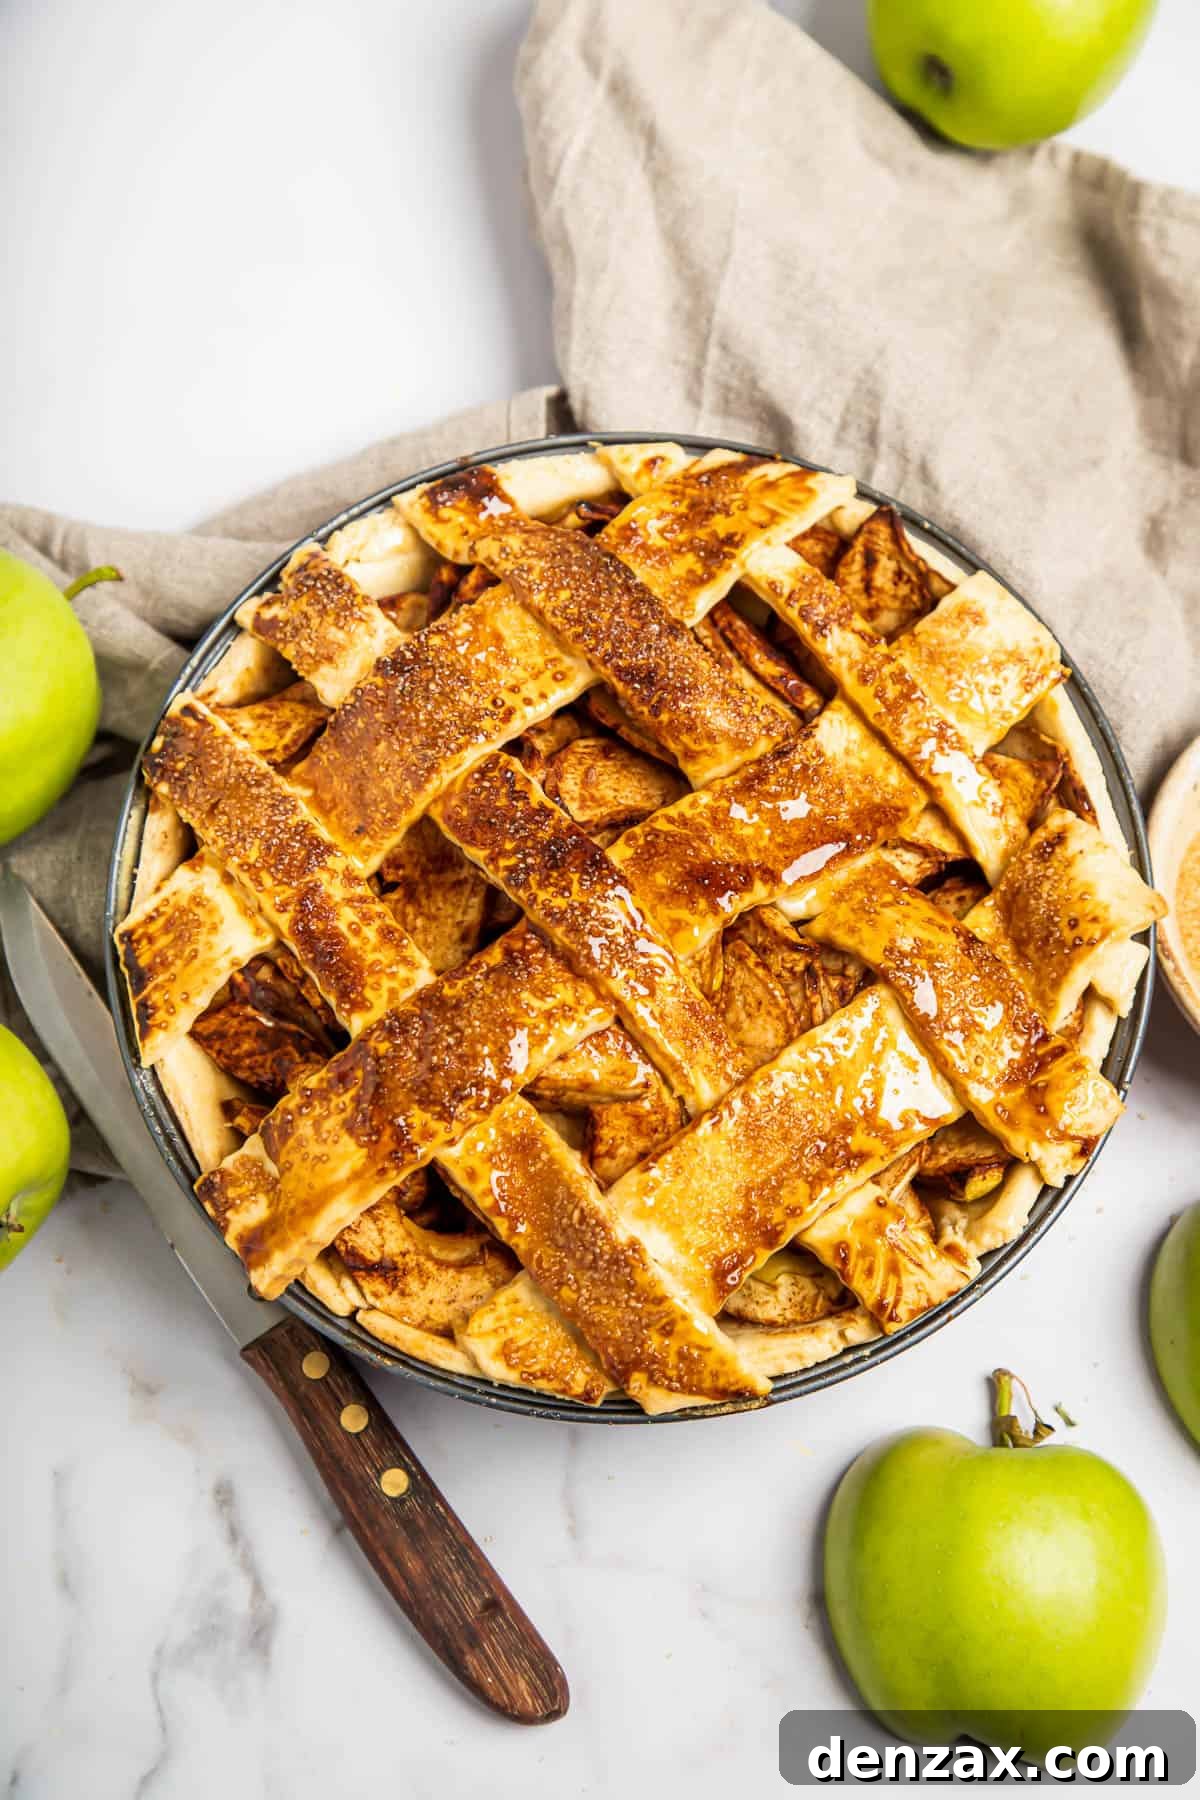
- Fill and Top the Pie: Spoon the prepared apple mixture evenly into the bottom pie crust. Take the second pie crust disc and cut it into 1-inch wide strips. Arrange these strips over the apples in your desired pattern, such as a classic lattice design. Gently press down on the strips and tuck their ends underneath the edges of the bottom crust to seal. In a small bowl, whisk one large egg until beaten, then brush this egg wash generously over the top crust. For a beautiful finish and an extra touch of sweetness, sprinkle the egg-washed crust with a bit of brown sugar.
- Bake to Golden Perfection: Place the pie in the preheated oven and bake for 45 minutes, or until the crust is beautifully golden brown and the filling is bubbly and tender. If you notice the crust edges (or the entire top) browning too quickly before the pie is fully cooked, loosely cover it with aluminum foil. Once baked, carefully transfer the hot pie to a wire rack and allow it to cool completely before attempting to slice. This cooling period is crucial for the filling to set properly.
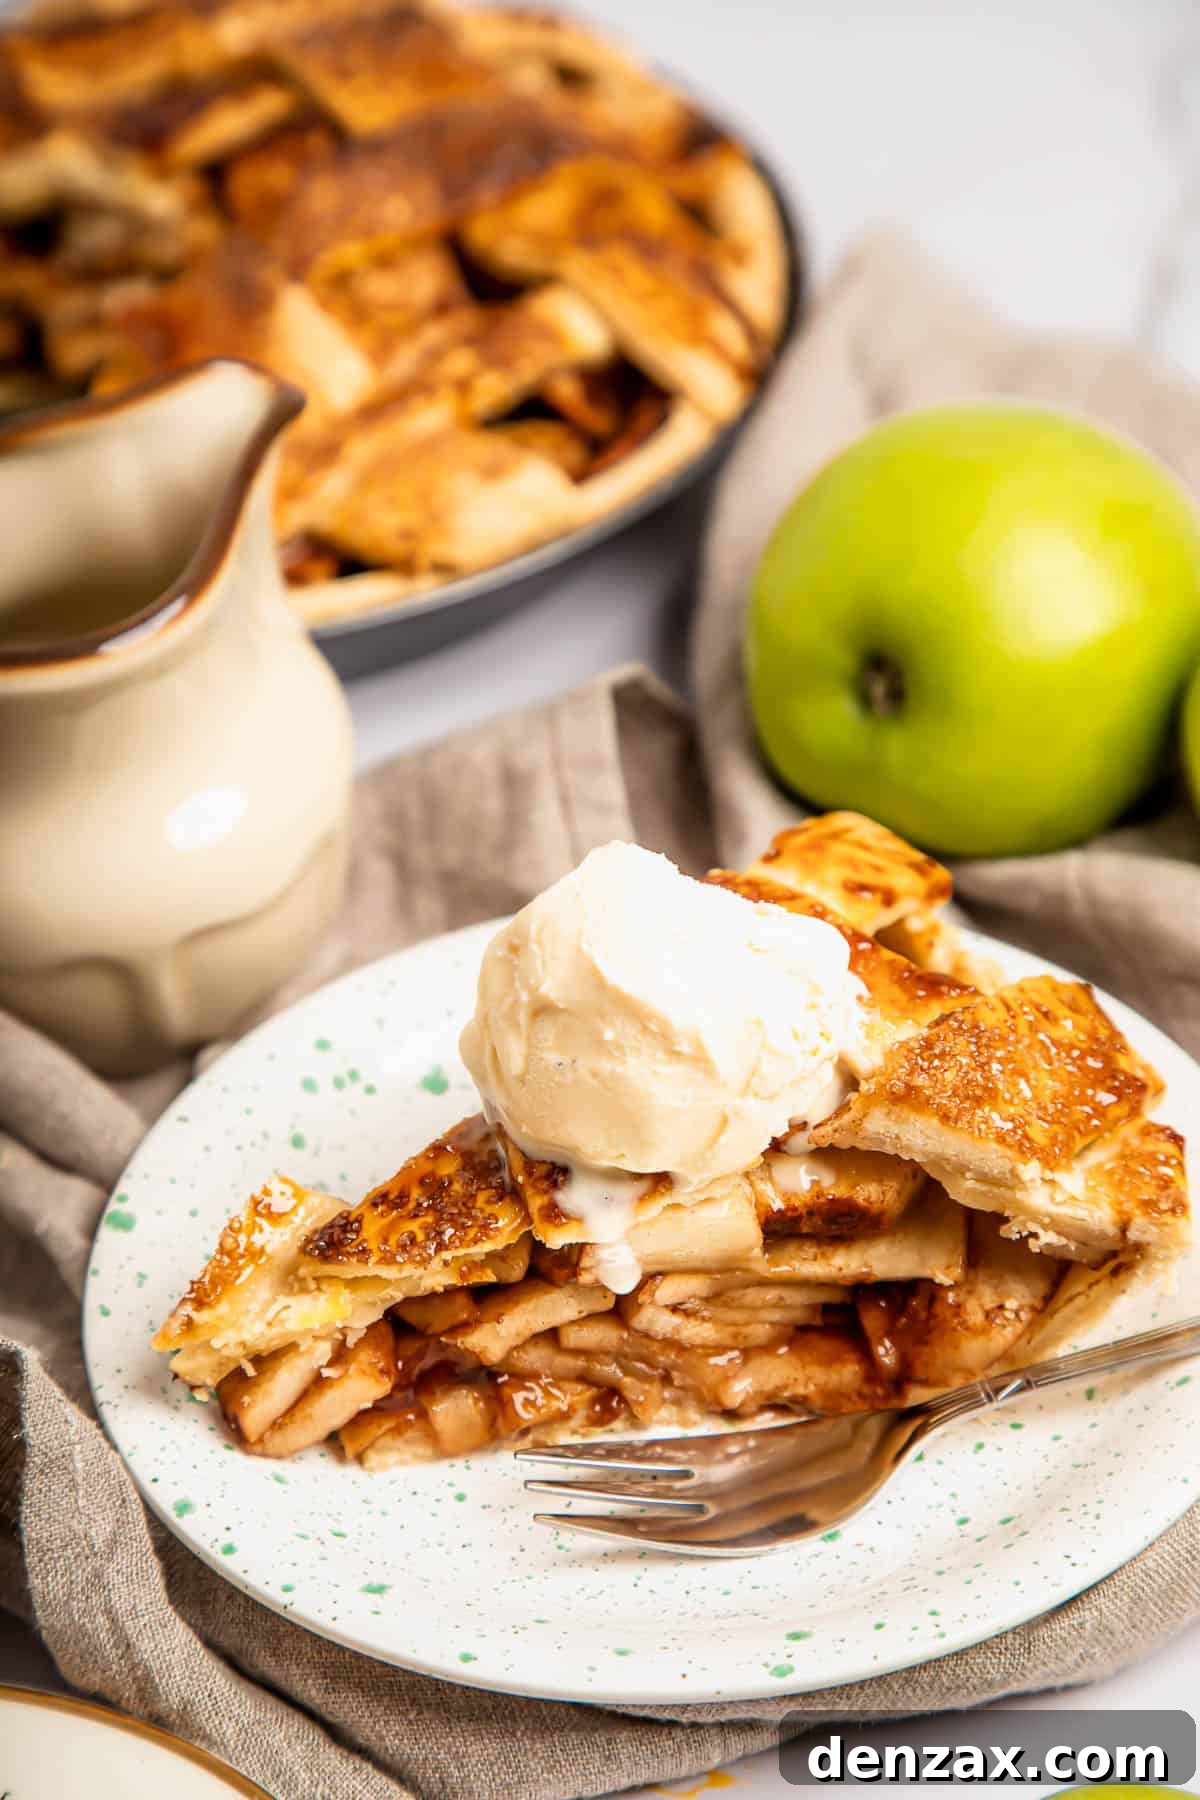
- Serve and Enjoy: For the ultimate dessert experience, serve your warm homemade apple pie with a generous scoop of vanilla ice cream. The combination of warm, spiced apples and cold, creamy ice cream is simply divine!
Choosing the Best Apples for Your Pie
The type of apples you choose is paramount to the success of your apple pie. To achieve a pie that is neither bland nor mushy, it’s best to select varieties that are firm, flavorful, and possess a pleasant tartness. These characteristics allow the apples to hold their shape during baking while also contributing a bright, complementary flavor to the sweet filling. Here are some of our favorite apple varieties for baking, each bringing its own unique qualities to the pie:
- Granny Smith: A classic choice, known for its vibrant tartness and firm texture that holds up exceptionally well under heat. It provides a wonderful contrast to the sweetness of the filling.
- Cortland: These apples are sweet-tart with a very white flesh that resists browning, making them excellent for both appearance and taste in pies.
- Jonathan: Offering a delightful balance of sweet and tart, Jonathan apples soften beautifully, creating a tender and flavorful filling.
- McIntosh: Known for their juicy, aromatic, and slightly tart flavor, McIntosh apples become quite soft when baked, contributing to a wonderfully melt-in-your-mouth filling.
- Pink Lady: These apples are crisp, sweet, and moderately tart, retaining much of their firmness and flavor, which adds a lovely texture to the pie.
- Honeycrisp: A favorite for its exceptional crispness and sweet, slightly tart flavor. Honeycrisp apples maintain a pleasant bite even after baking, adding an interesting textural dimension.
- Braeburn: With a robust, sweet-tart flavor and firm flesh, Braeburn apples bake down beautifully without turning to mush, making them a reliable choice for any apple pie.
For the most complex and delicious apple pie, consider using a blend of two or three varieties. Combining a tart apple (like Granny Smith) with a sweeter, softer apple (like McIntosh) and a firm, crisp apple (like Honeycrisp or Pink Lady) will give your pie a multi-layered flavor and texture that is truly unforgettable.
Pro Tips & Creative Variations for Your Apple Pie
Before you embark on your baking journey, explore these expert tips and creative variations to elevate your homemade apple pie from delicious to truly extraordinary, ensuring a perfect result every time.
- Blind-Bake the Crust for Flakiness: For an exceptionally flaky and crisp bottom crust that stands up to the juicy filling, consider blind-baking it. After arranging the bottom crust in the pie pan and pricking it with a fork, line it with parchment paper, fill with pie weights or dried beans, and bake for about ten minutes before adding the filling. This pre-baking step helps create a protective barrier against moisture, preventing a soggy bottom.
- Pre-Cook the Filling for Convenience: If you’re looking to save time on baking day or prepare components ahead, you can pre-cook your apple filling. Mix the apples, sugar, spices, and cornstarch, then gently cook them in a saucepan over low heat until the apples are just tender but not mushy. This method allows the flavors to meld beautifully and the filling to thicken slightly. Store the pre-cooked filling in the refrigerator for up to 4-5 days, ready to be assembled into a pie at a moment’s notice.
- Streusel Topping for a Delightful Twist: For a delightful textural contrast and a different flavor profile, skip the top crust entirely (you can halve the crust recipe or save the second disc for another project). Instead, prepare a crumbly streusel topping. Combine ¾ cup of granulated sugar, ¾ cup of all-purpose flour, ⅔ cup of softened butter, and 1 teaspoon of ground cinnamon. Blend these ingredients until they form a soft, crumbly texture. Sprinkle this mixture generously over the apple filling before baking for a rich, buttery, and crunchy topping.
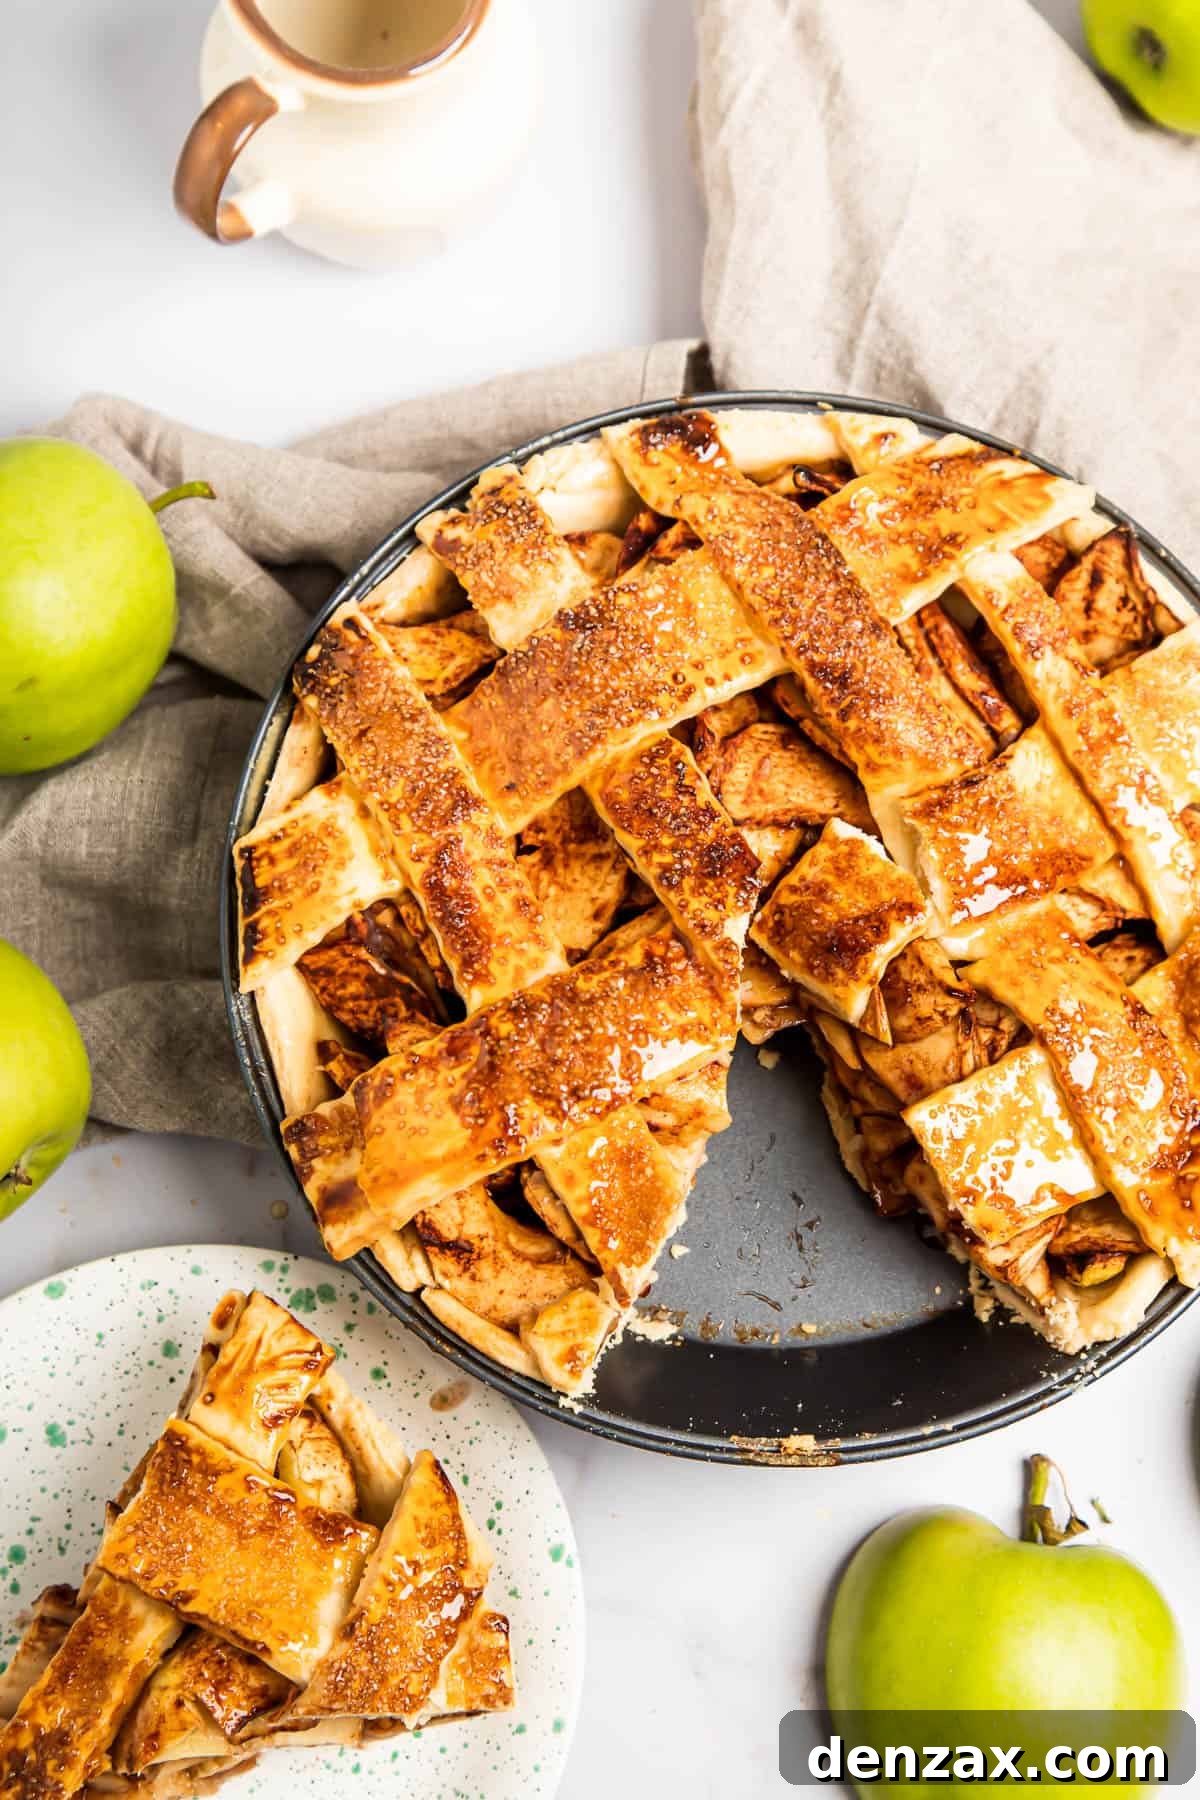
- Get Creative with Crust Designs: Beyond the classic lattice, explore other ways to adorn your pie. Use cookie cutters to create decorative shapes (leaves, stars) from your second pie crust and arrange them artistically over the filling. A simple full top crust with a few small vent holes cut into it is also perfectly charming and functional.
Perfect Pairings: What to Serve with Apple Pie
Apple pie, with its harmonious blend of sweet and tart, spice and comfort, serves as the quintessential dessert to complement a wide array of meals. For me, it’s the ideal sweet ending to a robust and traditional American dinner, creating a culinary journey that speaks of warmth and home.
Imagine capping off a hearty meal like my tender and juicy Instant Pot Pot Roast with a slice of warm apple pie. The savory, melt-in-your-mouth pot roast, which comes together with remarkable ease, finds its perfect balance in the sweet, spiced apples. Alternatively, pair it with a succulent Juicy Whole Roast Chicken, a comforting family classic where buttery-rich chicken and perfectly seasoned roast vegetables meet their match in this delightful dessert.
For a perfect fall evening, consider serving these incredibly easy Maple Mustard Salmon Fillets as your main course. Accompany them with a fresh green salad and fluffy Baked Potatoes, culminating the meal with a slice of your glorious apple pie – a truly satisfying and wholesome dining experience.
If you’re planning a grand holiday spread, position your homemade apple pie proudly alongside other festive favorites. It will sit beautifully next to this delicious and easy Pecan Pie and my comforting Southern Buttermilk Pie. A word of warning: be prepared for everyone to ask for your secret recipes!
How to Store and Reheat Leftovers
Proper storage is key to enjoying your delicious apple pie for days to come. Here’s how to keep your pie fresh and how to bring it back to life:
- Storing Leftovers: Once your pie has cooled completely, store any leftover portions covered in the refrigerator. It will remain fresh and delicious for 3 to 5 days. For best results, use an airtight container to prevent it from drying out or absorbing other odors from the fridge.
- Reheating Portions: To warm up individual slices, you can place them in the microwave for 30-60 seconds until heated through. For a crispier crust, place slices or the entire pie back into a 350°F (175°C) oven for about 10-15 minutes, or until warmed to your liking.
Can I Freeze Apple Pie?
Yes, apple pie is an excellent candidate for freezing, making it a perfect make-ahead dessert for future enjoyment or unexpected guests. Here’s how to do it:
- Freezing Unbaked Pie: You can assemble the entire pie (filling in the crust, topped with the second crust or lattice, but without the egg wash or sugar sprinkle) and freeze it, unbaked, for up to 2 months. Wrap it tightly in several layers of plastic wrap and then foil to prevent freezer burn.
- Baking from Frozen: When you’re ready to bake, there’s no need to thaw the pie! Baking it directly from frozen often results in a flakier and less soggy crust. Simply transfer the frozen pie to your preheated oven, add the egg wash and sugar if desired, and increase the baking time by 30 to 50 minutes compared to a fresh pie, or until golden brown and the filling is bubbly.
More Apple Desserts to Explore
- Blueberry Apple Baked Oatmeal
- Baked Apple Cider Doughnuts
- Homemade Candy Apples
- Apple Cider Punch
More Cozy Dessert Recipes You’ll Love
- Perfect Pumpkin Pie
- Irresistible Monkey Bread
- Fudgy Homemade Brownies
- Delightful Hot Chocolate Sugar Cookies

Apple Pie from Scratch
Ingredients
For the Filling:
- 2 pounds apples
- ½ cup sugar
- 1 teaspoon pumpkin pie spice (or apple pie spice/cinnamon)
- 2½ teaspoons cornstarch (or arrowroot powder)
For the Pie Crust:
- 3 cups all-purpose flour
- 8 ounces butter, cold, cut into cubes
- 5 tablespoons ice-cold water
- 2 tablespoons brown sugar
- Pinch of salt
- 1 large egg, beaten (for egg wash)
Instructions
Make the Pie Crust:
- Using a food processor, blend the flour, butter, and pinch of salt until the mixture resembles coarse breadcrumbs. Add 5 tablespoons of ice-cold water and pulse until the pastry comes together in a ball. If needed, add more water one tablespoon at a time.
- Shape the dough into two discs, wrap tightly, and chill for 30 to 40 minutes, or until firm.
Prepare Filling & Assemble Pie:
- Peel and core the apples, then cut them into thin slices.
- In a large mixing bowl, mix together the sugar, pie spice, and cornstarch. Add the apples and toss to combine, ensuring they are evenly coated.
- Preheat your oven to 400°F (200°C).
- Remove the pastry discs from the refrigerator. On a lightly floured work surface, roll out each dough disc into an 11-inch circle.
- Lightly spray a 9-inch pie plate with cooking spray. Carefully place one crust in the pan. Trim the edges even with the pie plate, and prick the pastry all over with a fork.
- Spoon the apple mixture evenly into the prepared pie crust.
- Cut the second pie crust into 1-inch strips. Arrange the strips on top of the apples in a lattice style, pressing down gently and tucking the ends underneath the apples to seal.
- Brush the top of the crust with the beaten egg and sprinkle with brown sugar.
- Bake the pie for 45 minutes, or until golden brown and the filling is bubbly. If the crust starts to darken too much before the pie is cooked through, loosely cover it with aluminum foil.
- Transfer the baked pie to a wire rack and allow it to cool completely before slicing and serving.
- Serve warm with a scoop of vanilla ice cream for an ultimate treat!
Nutrition Facts (Estimated per serving)
- Calories: 504 kcal
- Carbohydrates: 68g
- Protein: 6g
- Fat: 24g
- Saturated Fat: 15g
- Polyunsaturated Fat: 1g
- Monounsaturated Fat: 6g
- Trans Fat: 1g
- Cholesterol: 81mg
- Sodium: 214mg
- Potassium: 192mg
- Fiber: 4g
- Sugar: 27g
- Vitamin A: 800 IU
- Vitamin C: 5mg
- Calcium: 28mg
- Iron: 2mg
Nutritional information is an estimate and provided as a courtesy. Values may vary according to ingredients, brands, and tools used. Please use your preferred nutritional calculator for more detailed info if exact figures are required.