
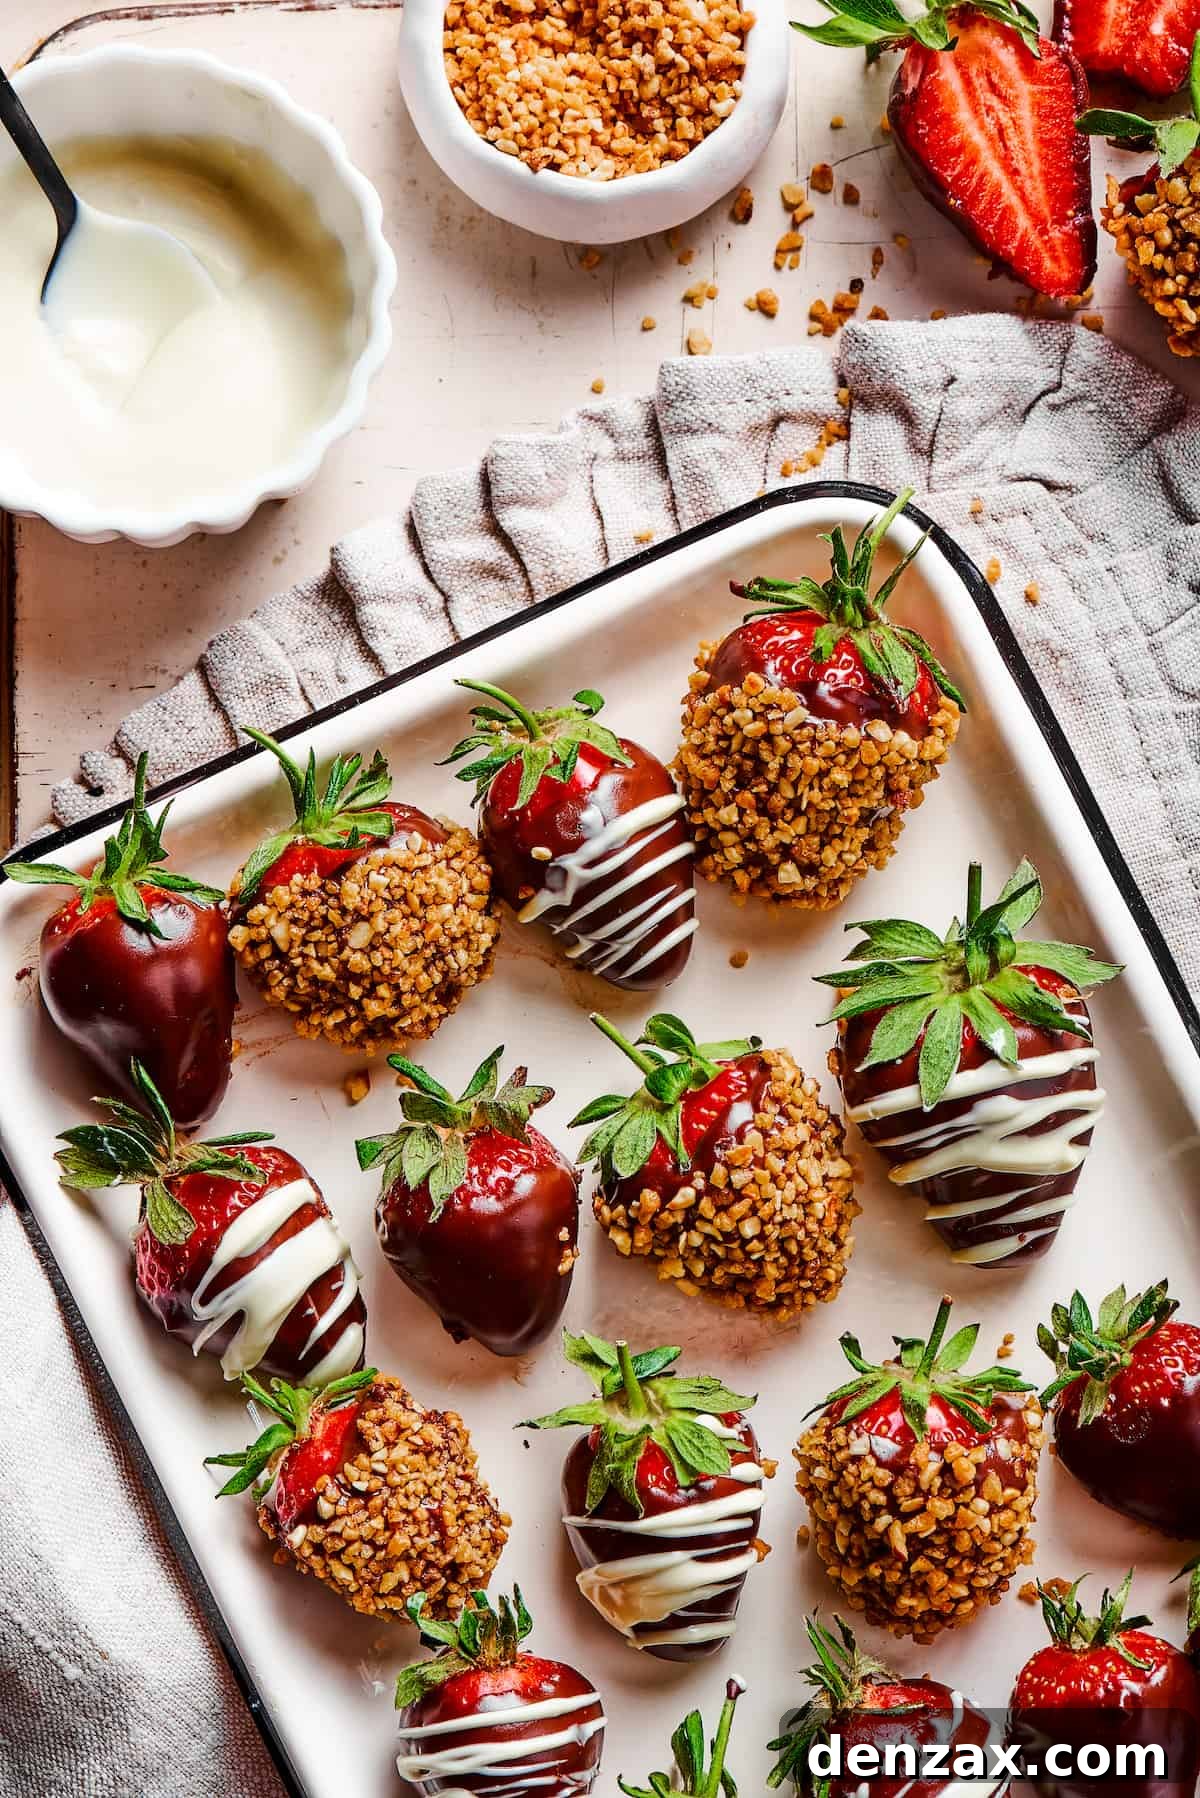
Chocolate Covered Strawberries are more than just a dessert; they are an iconic symbol of indulgence, romance, and simple elegance. Imagine vibrant, ruby-red strawberries, perfectly ripe and sweet, enrobed in a luscious blanket of melted chocolate, then adorned with artistic drizzles of white chocolate and a delightful crunch of chopped hazelnuts. This classic treat is a true showstopper, offering a sophisticated touch to any occasion without demanding extensive time or complicated techniques.
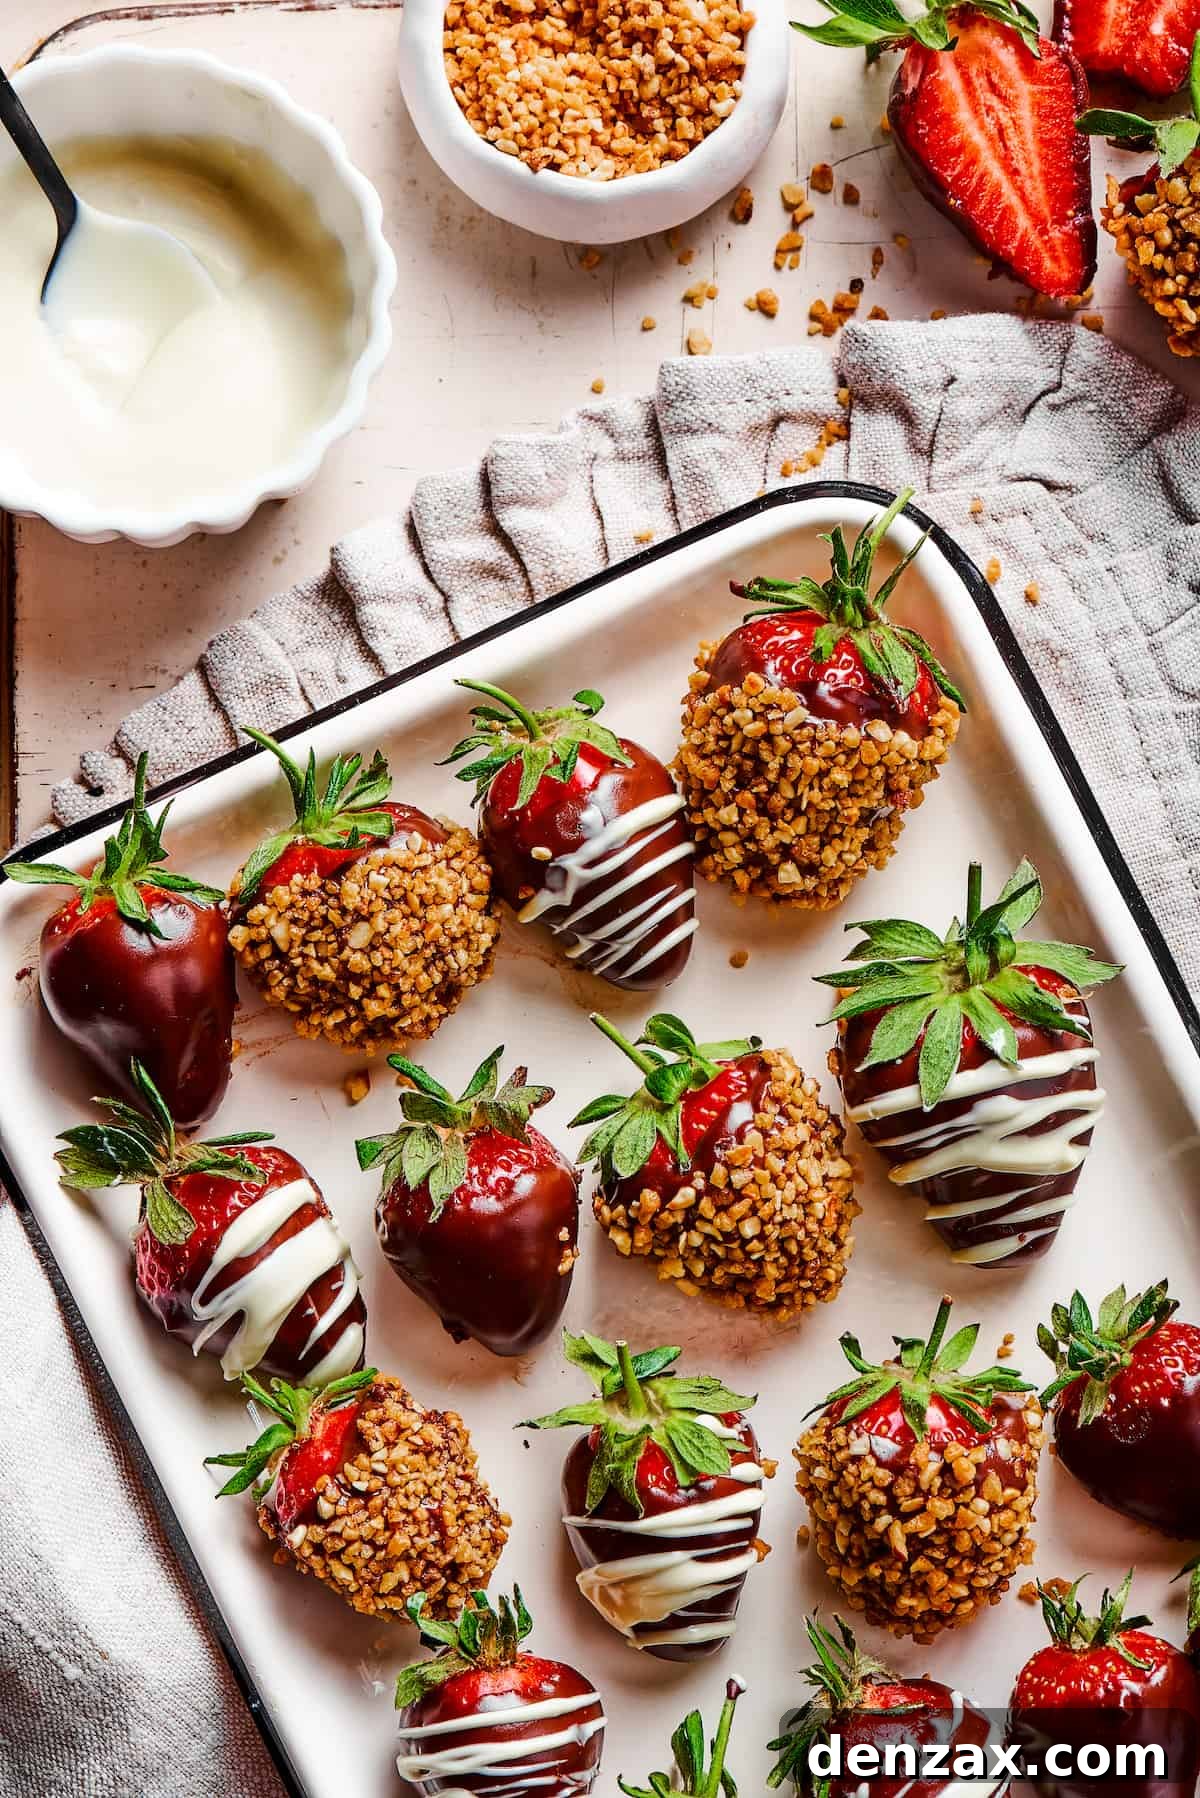
If you’re searching for a treat that feels incredibly fancy but is surprisingly straightforward to prepare, this easy chocolate-covered strawberries recipe is precisely what you need. There’s nothing quite like the harmonious blend of fresh, juicy strawberries and rich, melted chocolate. These delectable bites are a perennial favorite for romantic celebrations like Valentine’s Day, anniversaries, or even birthday parties. Beyond formal events, their universal appeal makes them a wonderful sophisticated afternoon snack or a charming addition to a casual tea party, delighting both adults and children alike. Crafting these homemade delights allows you to control the quality of ingredients and personalize every detail, ensuring a truly unforgettable experience.
The Ultimate Guide to Making Perfect Chocolate Covered Strawberries
Making chocolate-covered strawberries at home is not just a cooking task; it’s an enjoyable culinary adventure that yields impressive results with minimal effort. Forget expensive store-bought versions; creating your own allows for unparalleled freshness, quality, and customization. This comprehensive guide will walk you through every step, from selecting the finest ingredients to mastering the dipping technique and adding those gourmet finishing touches. Get ready to impress your loved ones with a dessert that looks professionally crafted but is wonderfully simple to achieve.
Why Make Your Own Chocolate Covered Strawberries?
The allure of homemade treats often surpasses that of their store-bought counterparts, and chocolate-covered strawberries are no exception. Opting for a DIY approach offers several compelling advantages:
- Unmatched Freshness: You get to choose the freshest, ripest strawberries at their peak, ensuring maximum flavor and juiciness. Store-bought versions often lack this vibrant freshness.
- Quality Control: Select high-quality chocolate that melts smoothly and tastes divine. You can pick your preferred type—dark, milk, or even a blend—and ensure no artificial ingredients are used.
- Cost-Effective: Making them at home is significantly more economical, especially when you need a larger batch for parties or gifts.
- Customization Galore: This is where the fun truly begins! Experiment with different types of chocolate, a myriad of toppings, and unique decorating patterns. You can tailor them perfectly to your taste or the theme of your event.
- A Fun Activity: It’s a rewarding and relatively quick activity that can be enjoyed solo or with family and friends, making memories along with delicious desserts.
Essential Ingredients for Your Delectable Treat
The secret to truly outstanding chocolate-covered strawberries lies in the quality of your ingredients. While the list is short, making wise choices will elevate your dessert from good to gourmet.
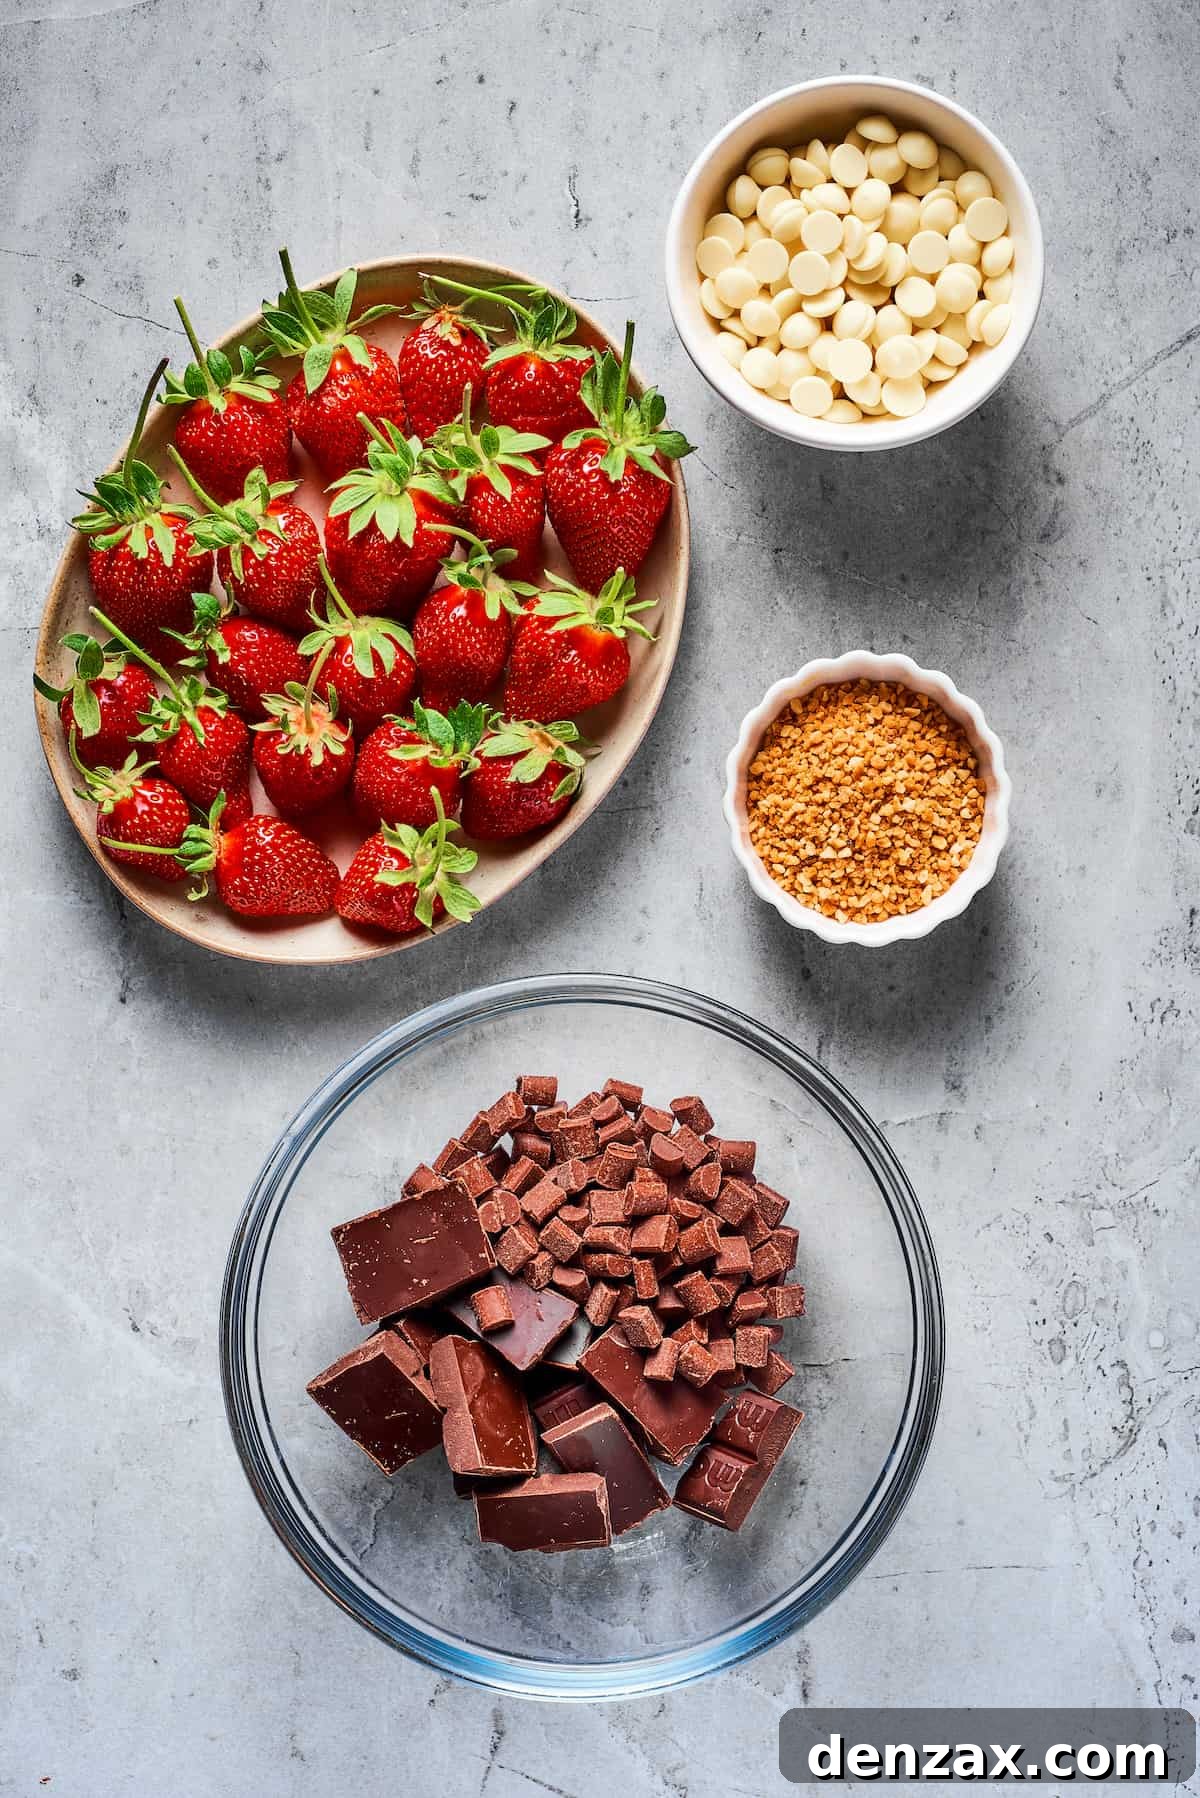
- Fresh Strawberries: This is the star of the show, so choose wisely. Look for strawberries that are bright red, plump, firm, and emit a sweet fragrance. Avoid any with soft spots, mold, or dull color. Keep the stems and leaves on—they act as natural handles for easy dipping and add a beautiful aesthetic touch. For best results, use room-temperature strawberries, as cold berries can cause the chocolate to seize or crack.
- High-Quality Chocolate: The type of chocolate you use will largely dictate the flavor and texture.
- Semisweet Chocolate: Provides a rich, deep chocolate flavor that perfectly balances the sweetness of the strawberry.
- Milk Chocolate: Adds a creamy, milder sweetness, making the overall flavor profile more approachable and universally loved. A mix of semisweet and milk chocolate, as suggested, offers the best of both worlds—depth and creaminess. Opt for chocolate chips, baking bars, or high-quality couverture chocolate for the smoothest melt and best finish. Avoid candy melts if you’re aiming for genuine chocolate flavor, as they often contain hydrogenated oils and less cocoa butter.
- A Pinch of Salt: A tiny bit of salt, preferably sea salt, helps to enhance the chocolate’s flavor, making it taste richer and more complex. It’s a subtle but important addition.
- Optional Toppings: These are your opportunity to add flair and texture.
- White Chocolate: Perfect for elegant drizzles or artistic designs, providing a visual contrast and a different sweet note.
- Roasted Hazelnuts: Finely chopped, they offer a delightful crunch and nutty flavor that complements chocolate beautifully. Toasting them beforehand deepens their flavor.
How to Make Homemade Chocolate Covered Strawberries: A Step-by-Step Guide
Creating these beautiful treats is simpler than you might think. The key is in the preparation and a few careful techniques. Let’s dive into the method for successfully dipping strawberries in chocolate.
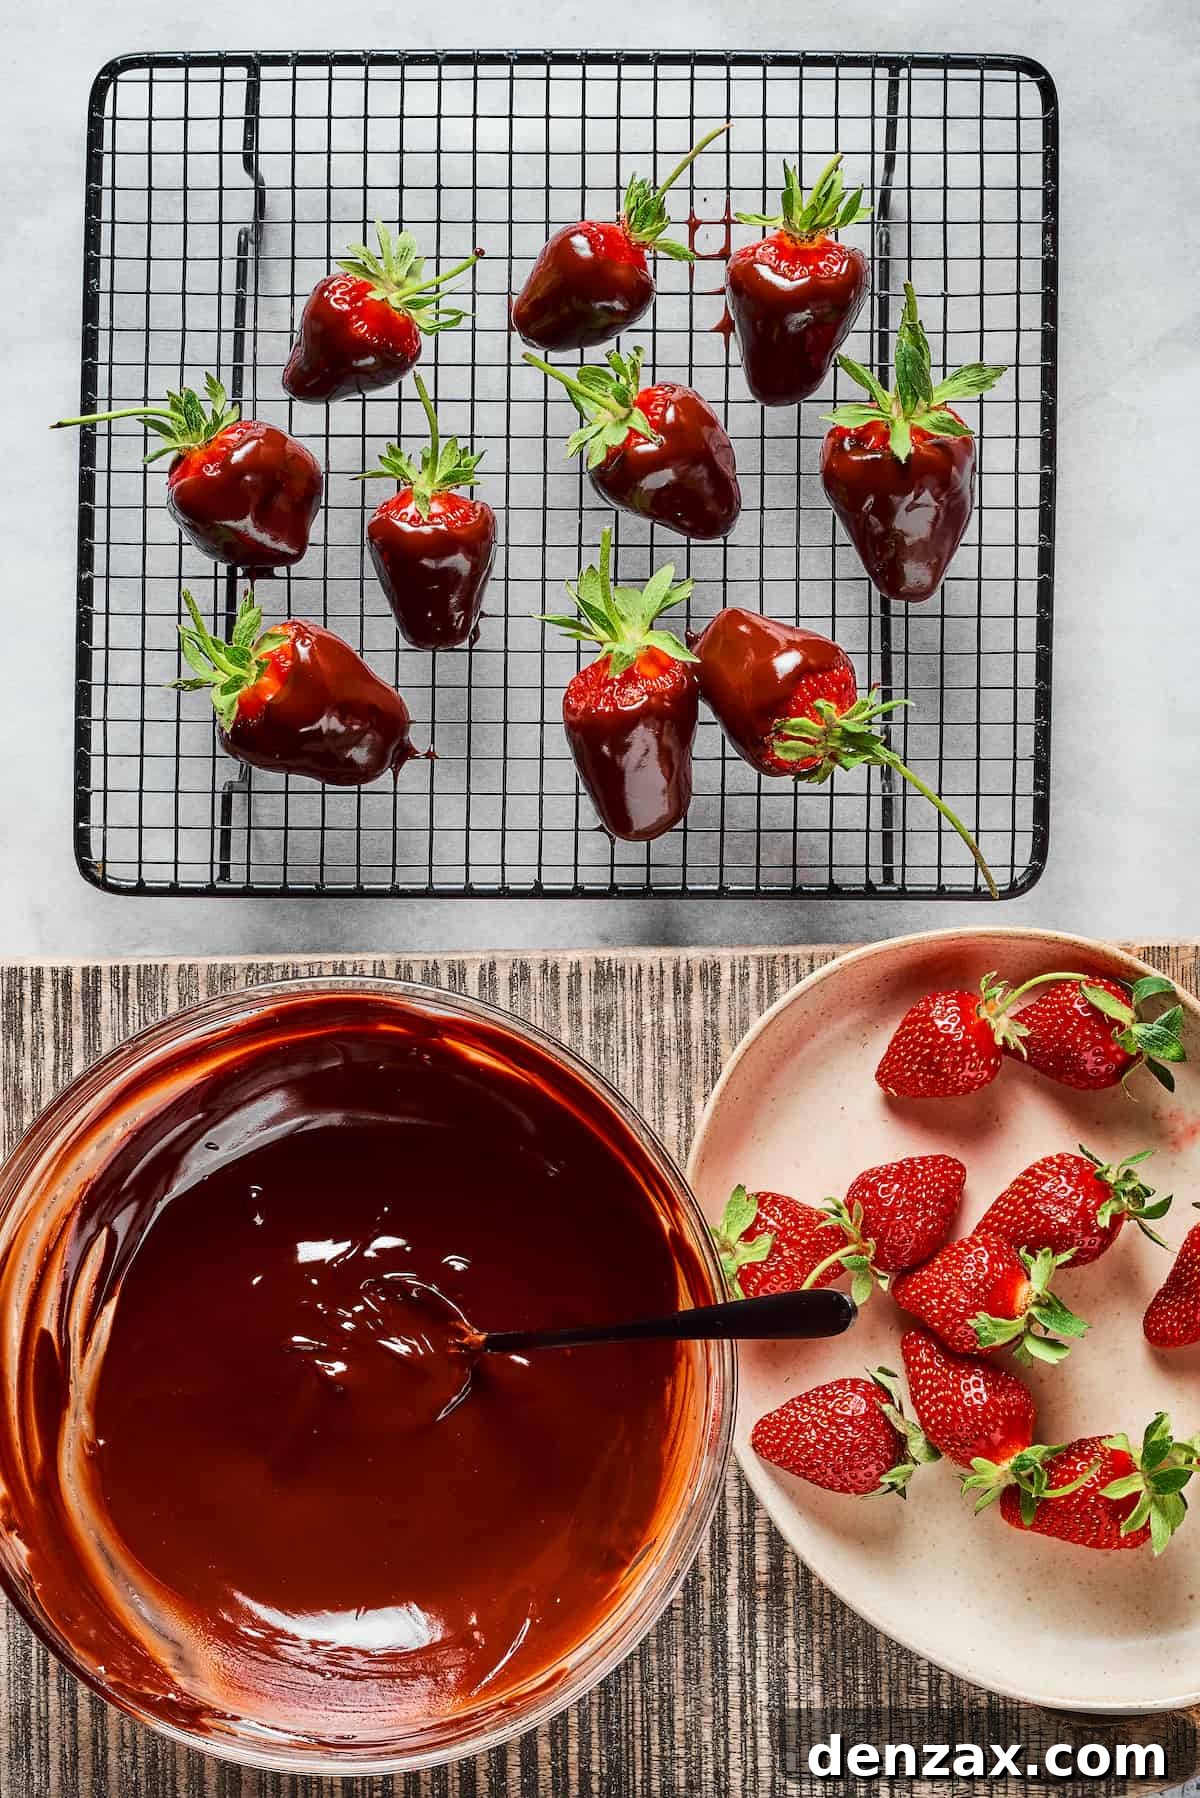
- Prepare the Strawberries: Gently wash the strawberries under cool, running water. The most crucial step here is to dry each strawberry meticulously. Use a paper towel to pat them completely dry, ensuring there is no residual moisture. Any dampness will cause the chocolate to seize, clump, or simply not adhere properly to the fruit, resulting in a less-than-perfect finish.
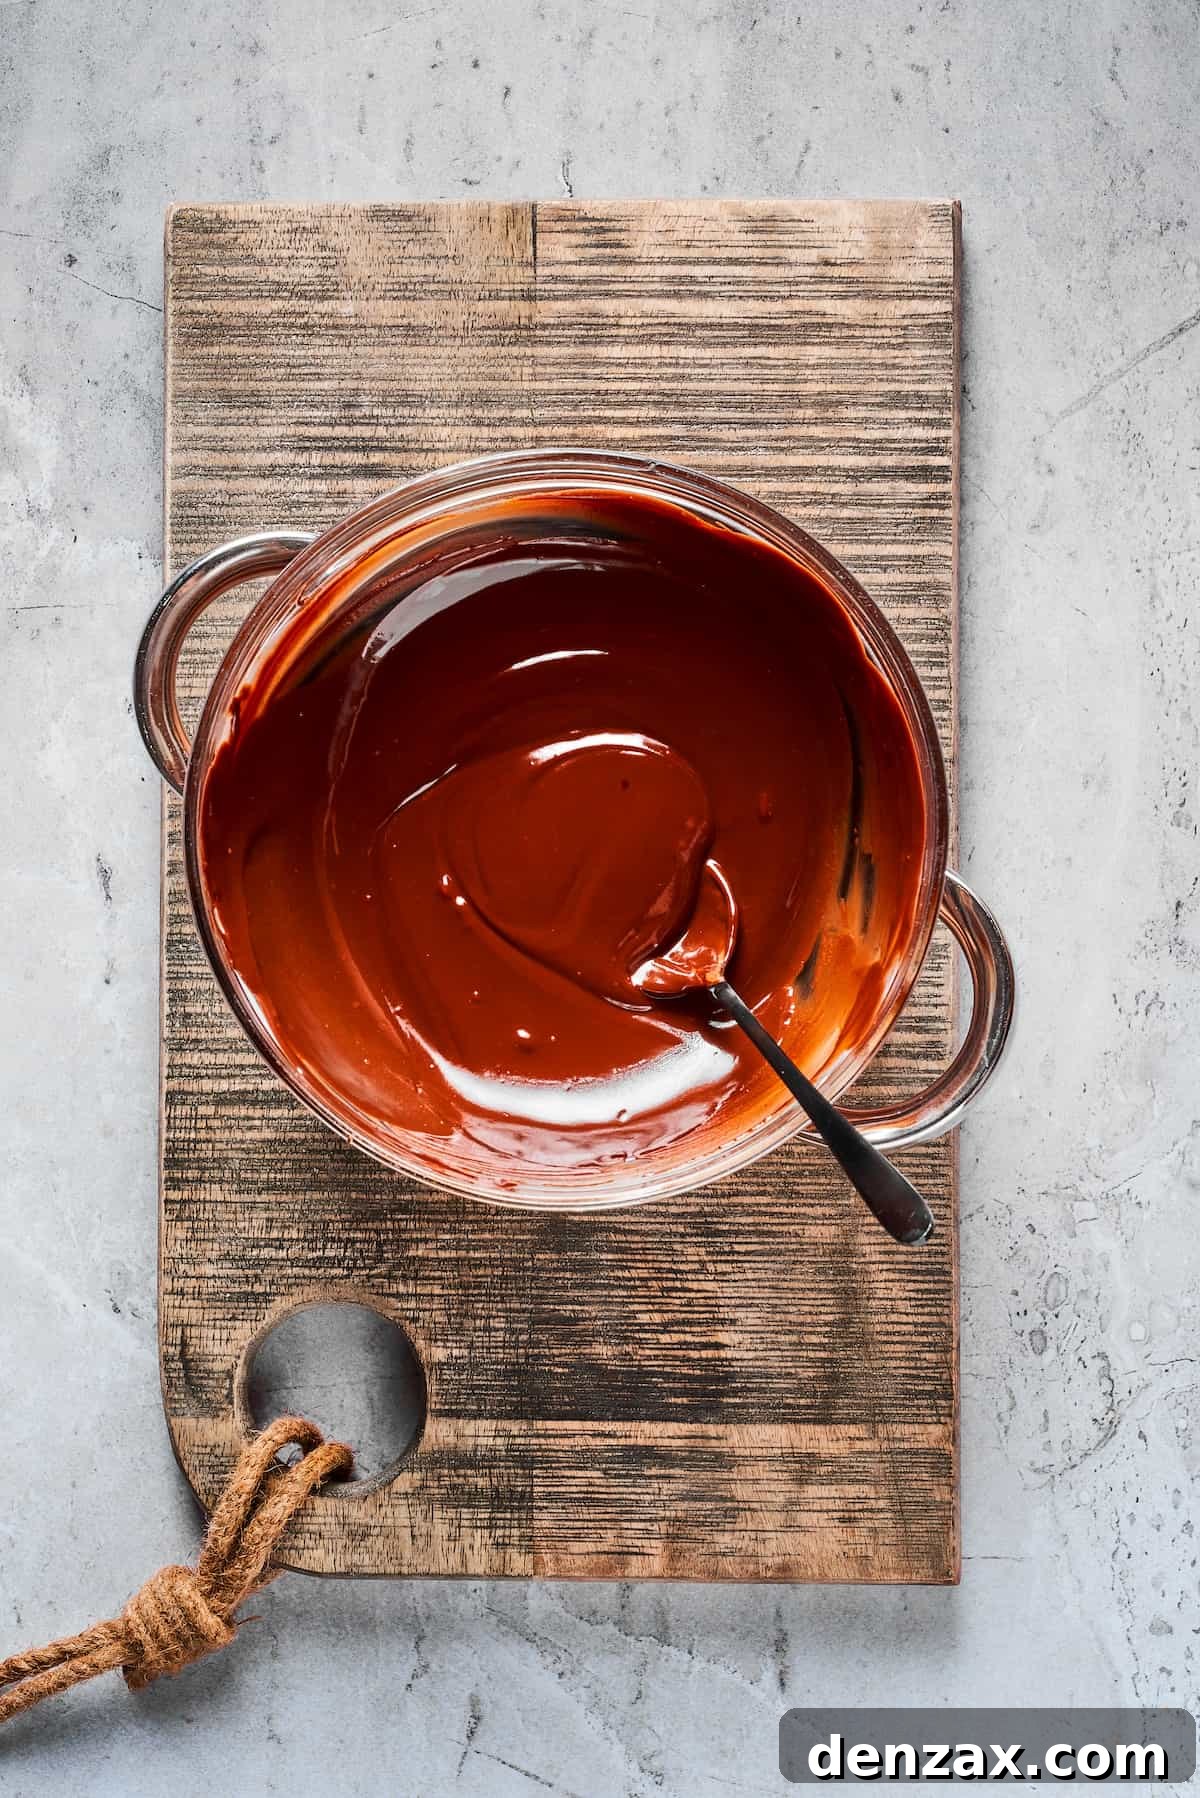
- Melt the Chocolate to Perfection: Combine your chosen blend of dark semisweet and milk chocolate chips with a pinch of salt in a heat-resistant bowl. You have two excellent methods for melting:
- Double Boiler Method: Place the bowl over a saucepan of barely simmering water, ensuring the bottom of the bowl does not touch the water. Stir continuously until the chocolate is smooth and fully melted. This gentle heat provides the best control and reduces the risk of burning.
- Microwave Method: Microwave the chocolate in 20-second bursts, stirring thoroughly after each interval. Chocolate continues to melt even after removed from the microwave, so thorough stirring is essential to prevent scorching and achieve a silky consistency.
Once melted, the chocolate should be glossy and free of lumps. In a separate, smaller dish, melt your white chocolate using the same method, as it will be used for drizzling later.
- The Art of Dipping: Hold one strawberry at a time by its stem and leaves. If the stem is too short for a comfortable grip, gently insert a toothpick into the stem end to create a handle. Dip the strawberry into the melted dark chocolate, rotating it gently to ensure a smooth, even coating across about two-thirds to three-quarters of the berry, leaving a small portion of red visible for contrast.
- Allow Excess Chocolate to Drip: Lift the strawberry from the chocolate. Hold it above the bowl for a few seconds, allowing any excess chocolate to drip back into the bowl. A gentle shake can help remove drips and ensure a clean edge.
- Set the Dipped Strawberries: Carefully place each dipped strawberry on a wire rack lined with parchment paper. A wire rack allows air to circulate around the chocolate, facilitating even setting and preventing flat bottoms. Repeat this process with all remaining strawberries. Allow the chocolate to set completely before moving on to toppings. This usually takes about 15-30 minutes at room temperature, or a few minutes in the refrigerator if you’re in a hurry (though room temperature setting is often preferred for a smoother finish).
- Add Desired Toppings: Once the dark chocolate has set firm to the touch, it’s time to decorate!
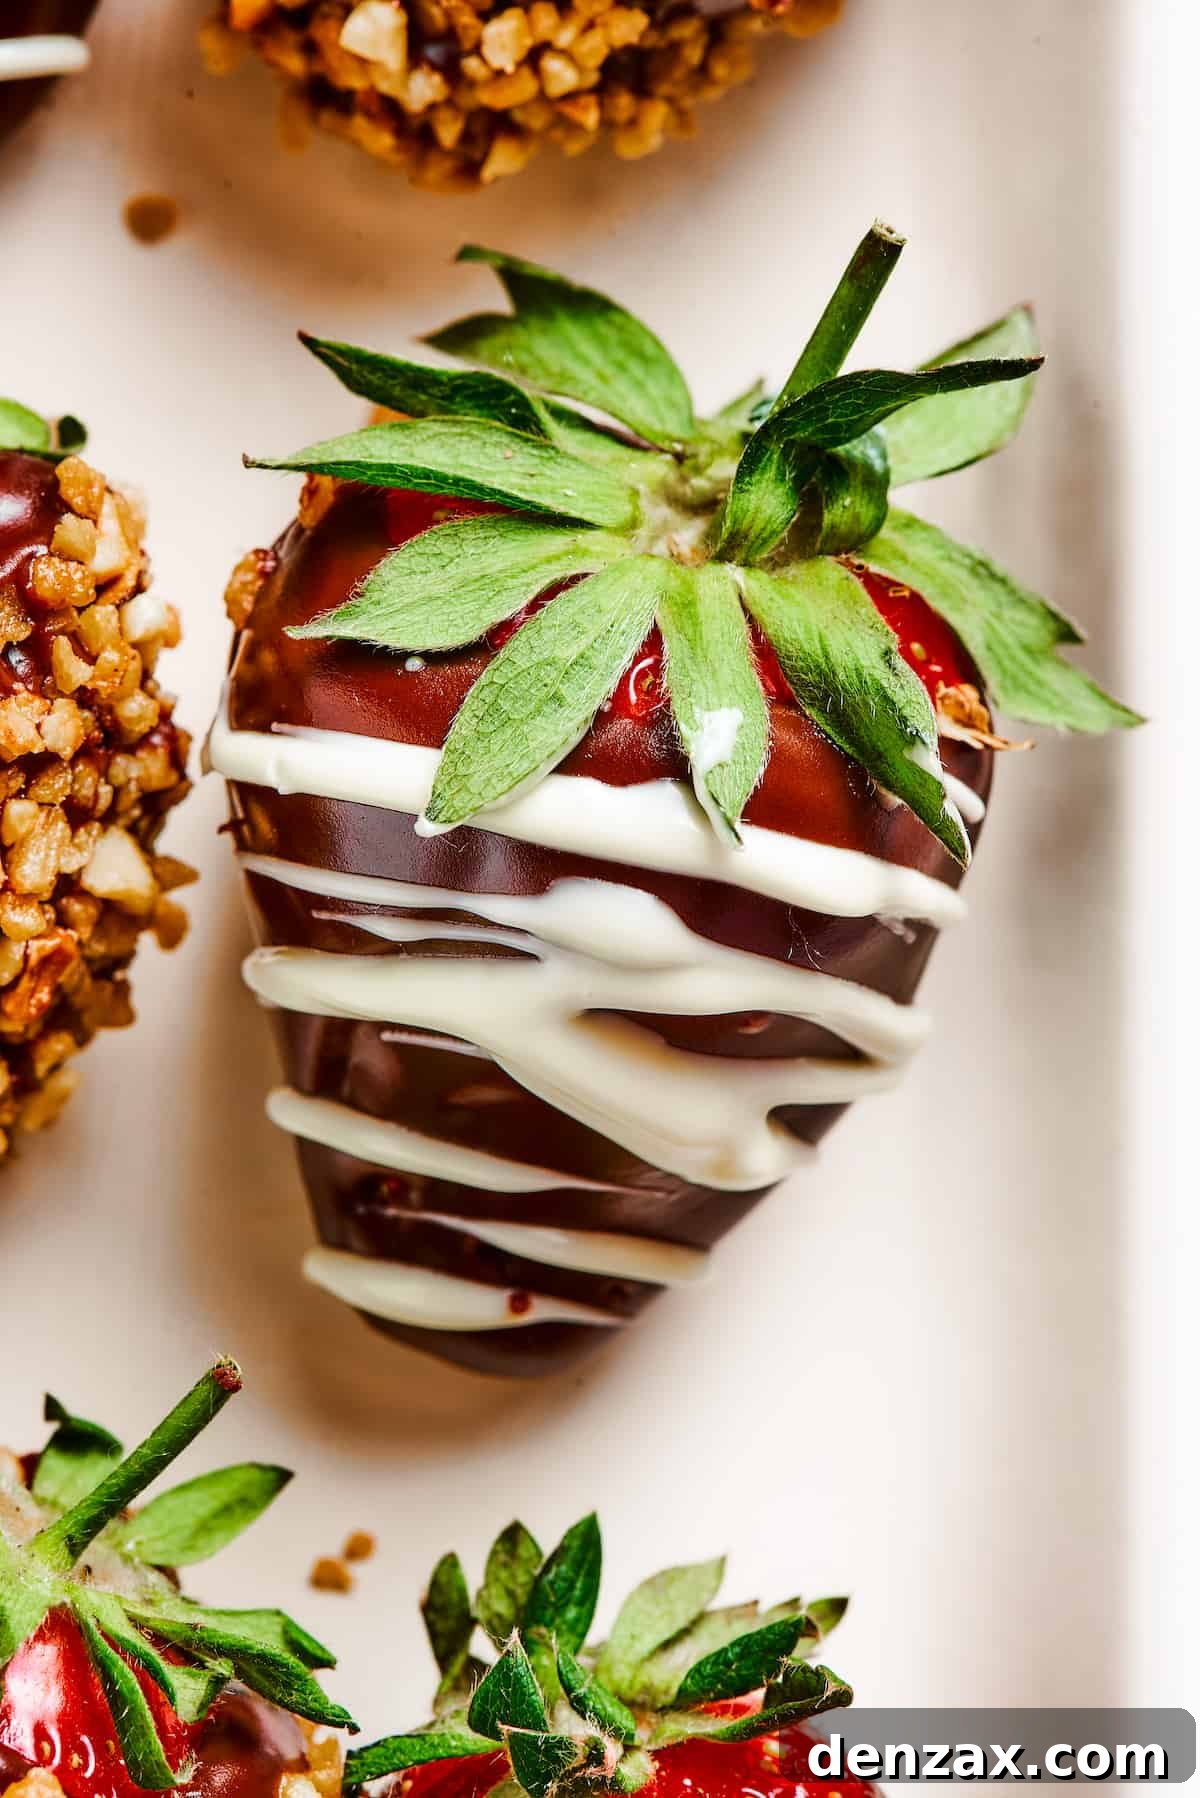
- White Chocolate Drizzle: Dip a fork into the melted white chocolate and drizzle it artfully back and forth over the set dark chocolate on the strawberries.
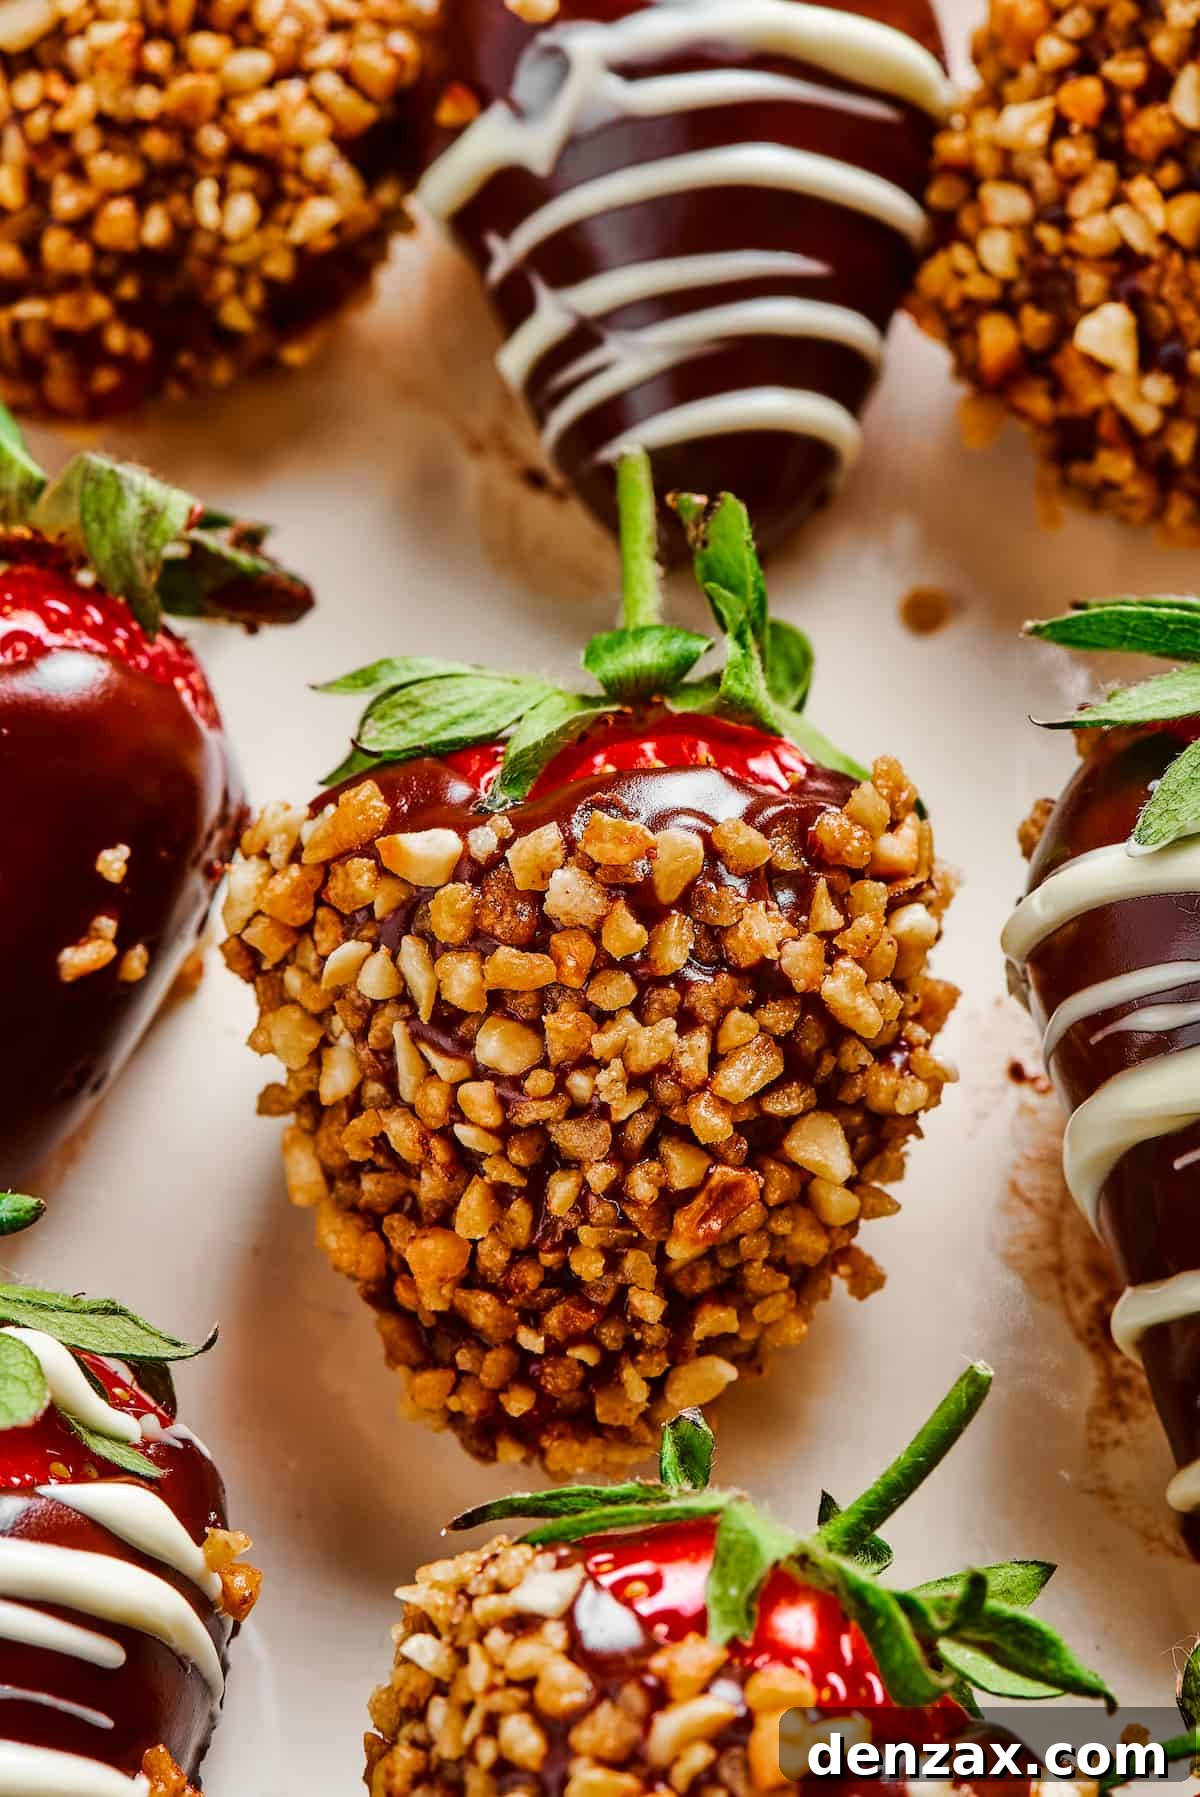
- Nutty Crunch: If using hazelnuts, gently roll the chocolate-covered strawberry in a shallow bowl of finely chopped, roasted hazelnuts. Alternatively, you can sprinkle the nuts over the still-wet dark chocolate right after dipping for better adhesion, or over the wet white chocolate drizzle for a layered look.
- Final Rest: For the chocolate to fully harden and bond with the strawberries, allow them to rest on the rack for approximately 2 hours at room temperature. This final setting time ensures they are firm, beautiful, and ready to be enjoyed or presented.
Recipe Tips, Hacks, and Creative Variations
Elevate your chocolate-covered strawberries beyond the basic dip with these clever tips and imaginative topping ideas.
- Beyond the Simple Drizzle: Creating Elegant Designs: Don’t limit your white chocolate to mere drizzles. For more intricate patterns or personalized messages, spoon your melted white chocolate into a small plastic baggie (ensure it’s not too hot to handle). Snip off a tiny, tiny corner—think the size of a sesame seed or smaller. Use this makeshift piping bag to “pipe” elegant shapes like hearts, initials, spirals, or abstract designs onto your set dark chocolate-covered strawberries. This adds a sophisticated, custom touch.
- The Delightful Double Dip: For an extra-indulgent, ultra-chocolatey experience, consider a double dip! Allow the first layer of chocolate to fully set before dipping the strawberry into a second layer of melted chocolate. This creates a thicker, richer coating that’s truly decadent. You might need a bit more chocolate than initially planned if you opt for this luxurious technique.
- Unleash Your Creativity with Toppings: The possibilities for decorating are virtually endless!
- Classic Additions: Coconut shreds (toasted or plain), colorful sprinkles, or mini chocolate chips are timeless favorites.
- Nutty Alternatives: Replace hazelnuts with finely chopped pistachios, pecans, walnuts, or even macadamia nuts for different flavor profiles and textures.
- Candy Crush: Crush your favorite candy bars like Heath, 3 Musketeers, or Twix and roll the wet chocolate-dipped strawberries in them. For easier chopping, freeze candy bars briefly before cutting.
- Spices & Flavor Boosts: Dust with a touch of cinnamon, chili powder (for a Mexican chocolate kick), or finely ground espresso powder for an unexpected twist.
- Fruity Fun: Roll in finely crushed freeze-dried raspberries or strawberries for an extra burst of fruit flavor and vibrant color.
- Gourmet Touches: Edible glitter, gold leaf, or a sprinkle of flaky sea salt (especially on dark chocolate) can transform them into truly high-end desserts.
- Achieving a Glossy Finish (Optional Tempering): For a professional, shiny, and snap-resistant chocolate coating, you can temper your chocolate. While this recipe focuses on simplicity, tempering involves carefully heating and cooling chocolate to stabilize its crystal structure. If you’re new to it, a seed method (adding solid chocolate to melted chocolate) or specialized tempering machines can make it easier.
Troubleshooting Common Issues
Even with simple recipes, sometimes things don’t go as planned. Here are solutions to common chocolate-covered strawberry mishaps:
- Chocolate Seizes (Becomes Thick and Grainy): This usually happens if water or steam gets into the chocolate. If it’s a small amount, try stirring in a teaspoon of vegetable oil or melted coconut oil to smooth it out. If it’s badly seized, it might be beyond saving for dipping and best used for baking.
- Chocolate is Too Thick for Dipping: Your chocolate might be slightly too cool or not thinned enough. Reheat gently using your preferred method, stirring constantly. You can also add a tiny bit of neutral oil (like coconut oil or vegetable oil, 1/4 teaspoon at a time) to thin it, but be careful not to add too much or it will prevent setting.
- Chocolate Won’t Set Properly: This could be due to too much added liquid (like oil or flavorings), or the chocolate wasn’t high quality to begin with. Ensure your strawberries are completely dry and your chocolate isn’t overly thinned. Refrigerate to speed up setting, but expect a slightly duller finish.
- Strawberries “Weep” Moisture: Strawberries naturally release moisture. This is why thorough drying is crucial. If they weep after dipping, it means moisture was trapped or the berries were too cold initially. Ensure you’re serving them fairly soon after making them.
Storage Instructions
Chocolate-covered strawberries are at their absolute best when enjoyed fresh, ideally on the same day they are prepared. Their delicate nature means they don’t have a long shelf life, but proper storage can extend their deliciousness for a short period.
- To store them, arrange the chocolate-covered strawberries in a single layer within an airtight container. Line the bottom of the container with a paper towel; this will help absorb any excess moisture that the strawberries might release, preventing the chocolate from getting sticky or the berries from becoming soggy. Store the container in the refrigerator for 1 to 2 days. For the best taste and texture, allow the strawberries to return to room temperature for about 15-20 minutes before serving. This brings out the full flavor of both the chocolate and the fruit. It’s important to avoid stacking the strawberries directly on top of each other, as this can cause the chocolate coating to crack, stick, or get marred.
Serving and Gifting Your Gourmet Creation
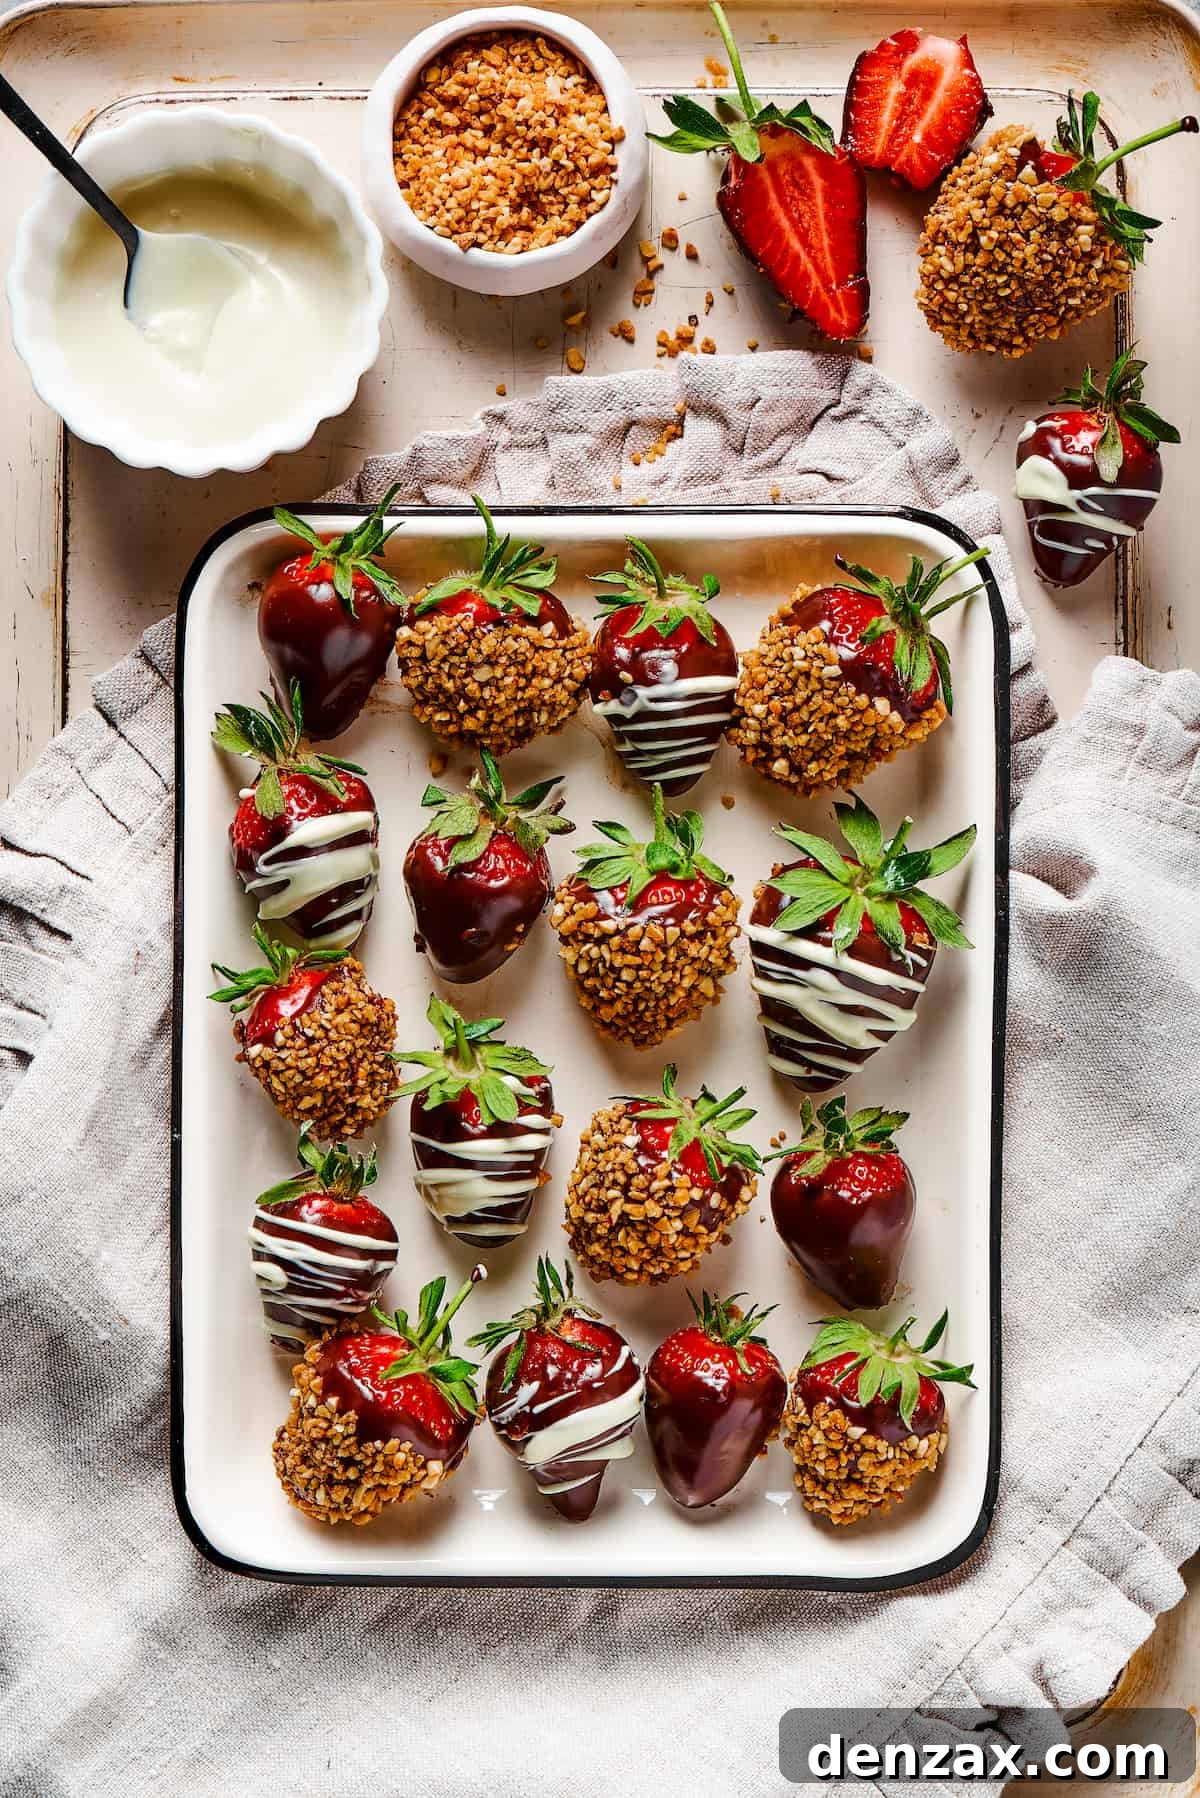
Chocolate-covered strawberries are not just a dessert; they are a statement. Arrange them beautifully on a platter for a party, gift them in an elegant box for a special occasion, or simply enjoy them as a personal indulgence. They pair wonderfully with a glass of champagne, a rich coffee, or alongside a cheese board for a contrasting sweet element. Their versatility makes them suitable for almost any celebratory moment.
Now that you’re equipped with all the knowledge and tips, go forth and create your own batch of magnificent chocolate-covered strawberries. Enjoy the process, savor the delicious outcome, and delight in the reactions of those who get to taste them!
More Decadent Dessert Recipes to Explore
If you loved making these chocolate-covered strawberries, you might be inspired to try other delightful desserts:
- Easy Creme Brulee
- Red Velvet Cheesecake with Oreo Crust
- Easy Chocolate Cake
- Strawberry Cupcakes
- Red Velvet Crinkle Cookies

Easy Chocolate Covered Strawberries
by Katerina | Easy Weeknight Recipes
Ruby red strawberries dipped in melted chocolate, then garnished with a white chocolate drizzle and chopped hazelnuts.
Ingredients
- 1 pound fresh strawberries, stems on (for easier handling and dipping)
- 4 ounces dark semisweet chocolate chips
- 4 ounces milk chocolate chips
- Pinch salt
For Topping:
- White chocolate chips
- Roasted hazelnuts, finely chopped
Instructions
- Wash the strawberries gently in room-temperature water, and dry each one separately with a paper towel. Ensure they are completely dry to prevent the chocolate from seizing. Set aside.
- Chop the dark chocolate and milk chocolate into small pieces; combine them with a pinch of salt in a heat-resistant bowl.
- Melt the chocolate using a double boiler: Place the bowl over a saucepan of simmering water, ensuring the bowl does not touch the water. Stir until the chocolate is smooth and completely melted. Alternatively, melt in the microwave in 20-second bursts, stirring well after each burst until smooth.
- In a separate, smaller dish, melt the white chocolate using the same method as above.
- Take one strawberry at a time by its leaves or stem. If the stem is too short, you can gently insert a toothpick into the stem end to hold it. Dip the strawberry into the melted dark chocolate, rotating gently to coat evenly.
- Hold the strawberry over the dish of melted chocolate for a moment, letting any excess drip off. Gently shake as needed to remove drips.
- Lay the dipped strawberries on a wire rack (preferably lined with parchment paper) and allow the dark chocolate to set firm to the touch.
- Once the dark chocolate has set, drizzle white chocolate over the strawberries with a fork for decoration. If using hazelnuts, gently roll the still-wet drizzled strawberry in a bowl of roasted, chopped hazelnuts, or sprinkle them on top.
- Allow the strawberries to set for about 2 hours at room temperature, or briefly in the refrigerator, before serving.
Nutrition
Nutritional info is an estimate and provided as courtesy. Values may vary according to the ingredients and tools used. Please use your preferred nutritional calculator for more detailed info.