
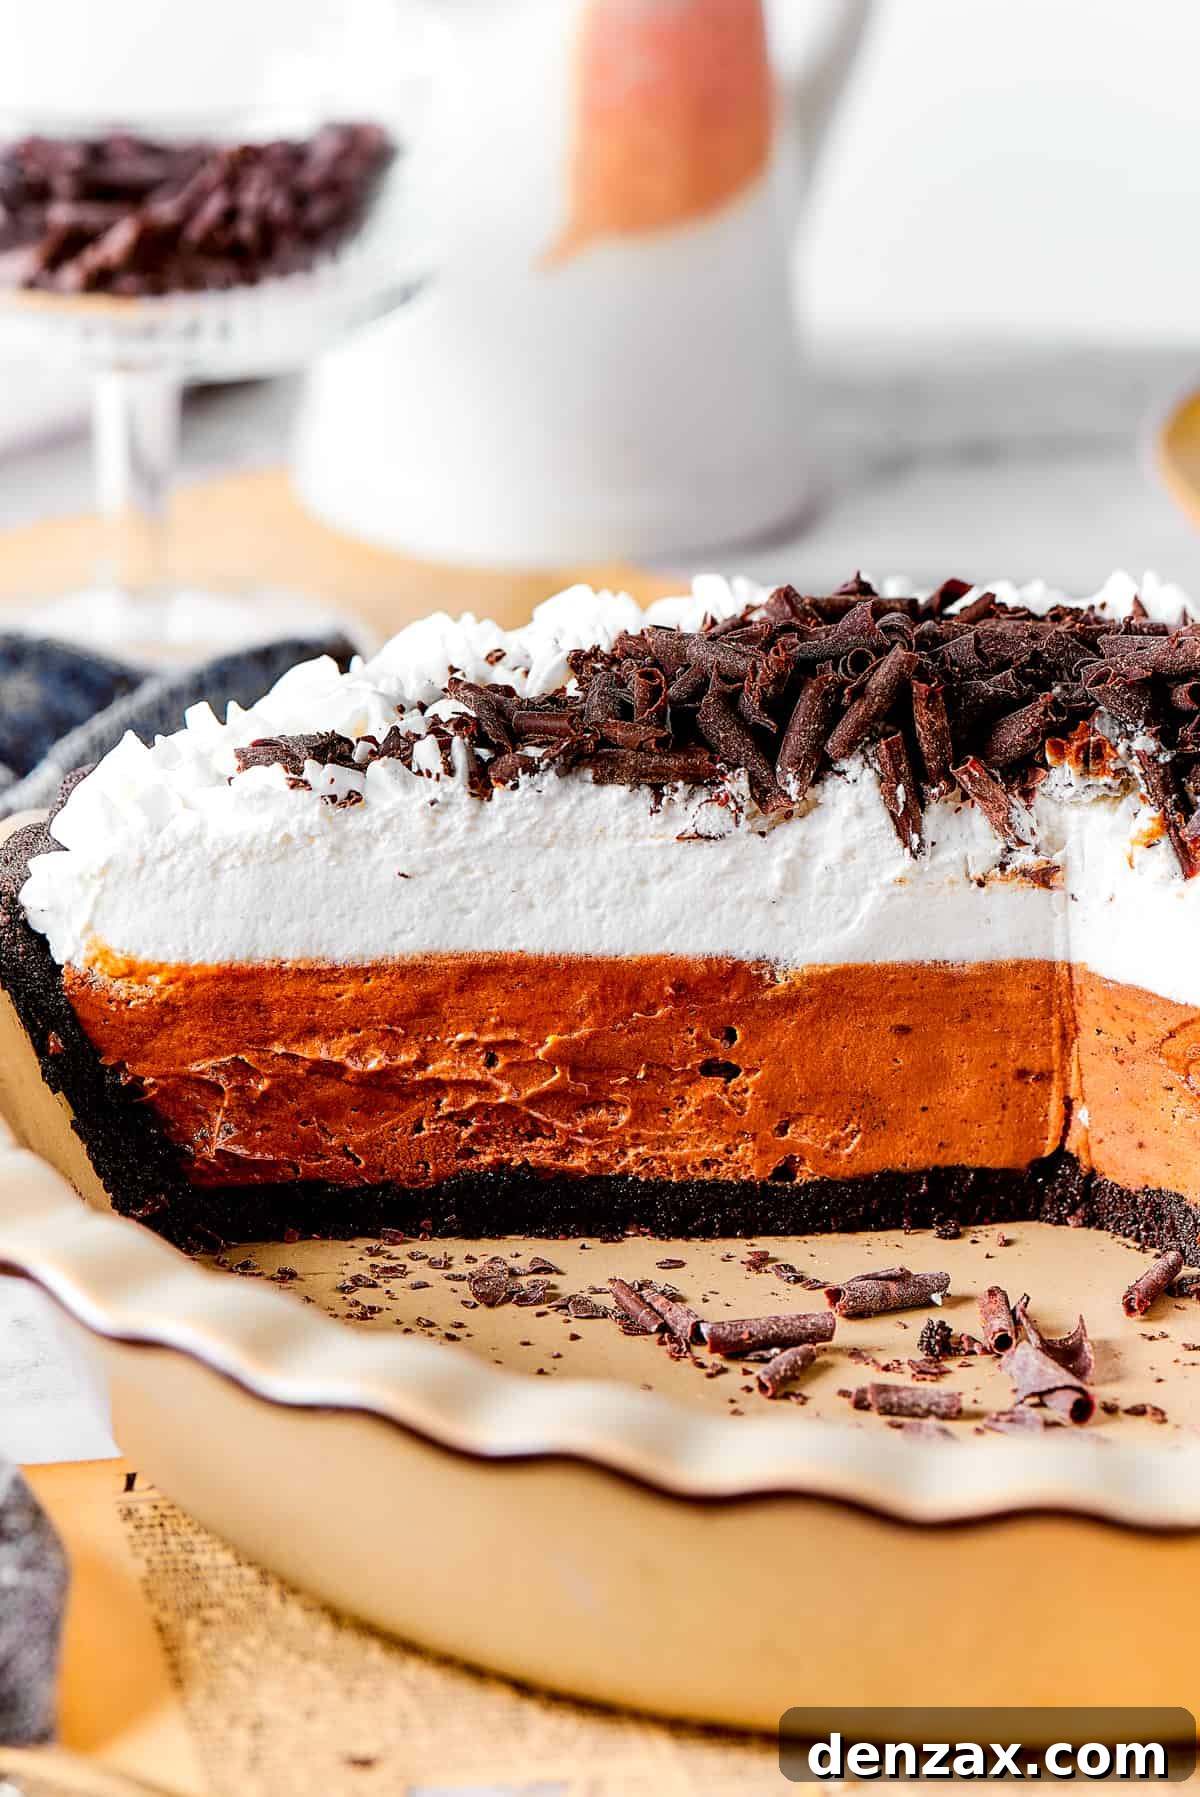
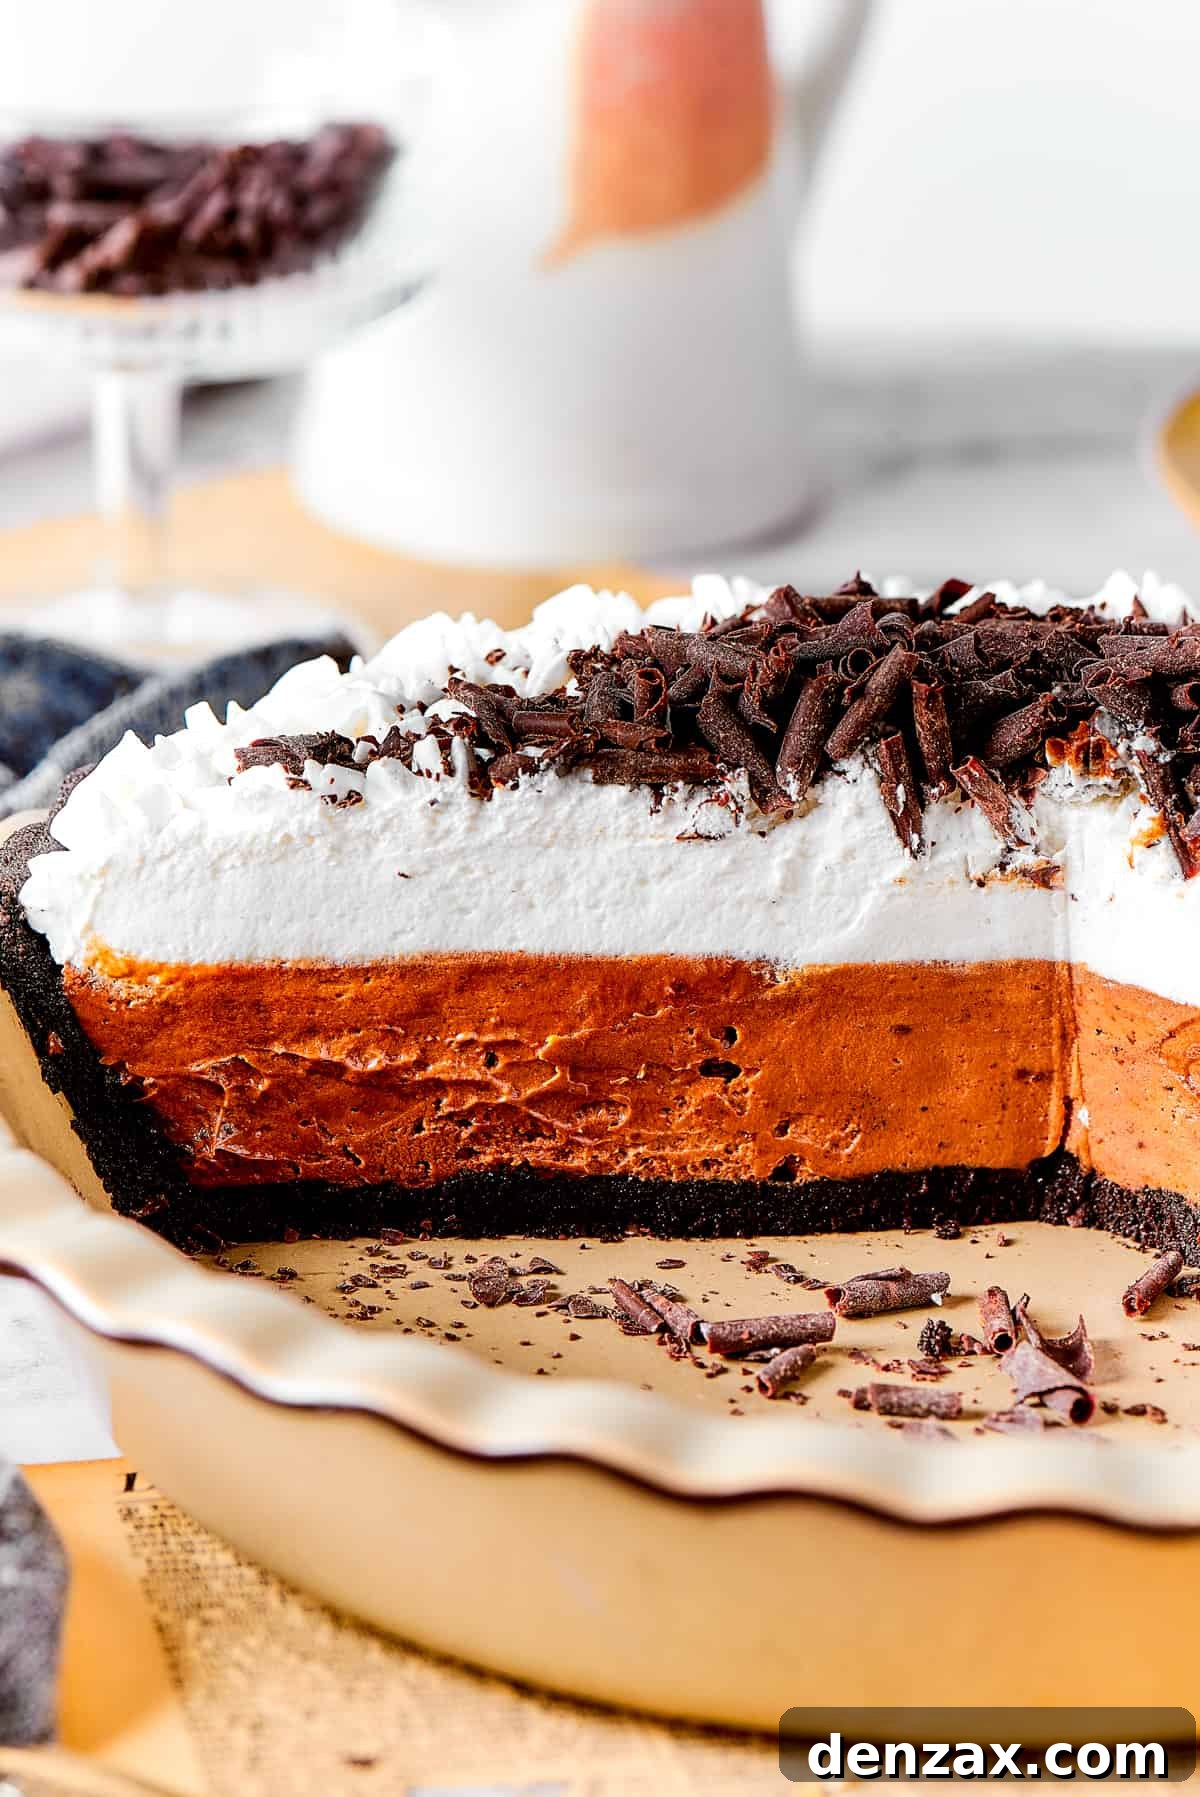
Decadent French Silk Pie: Your Ultimate Guide to a Velvety Chocolate Dream
Prepare to indulge in the most luxurious chocolate experience with this sensational **French Silk Pie** recipe. Imagine a rich, dark chocolate filling, so impossibly smooth and velvety it melts in your mouth, perfectly balanced atop a crisp, buttery Oreo cookie crust. Crowned with generous, fluffy peaks of homemade whipped cream, this pie isn’t just a dessert; it’s a celebration in every single bite. Perfect for special occasions or when you simply crave an extraordinary treat, our guide will help you create a masterpiece that will impress everyone.
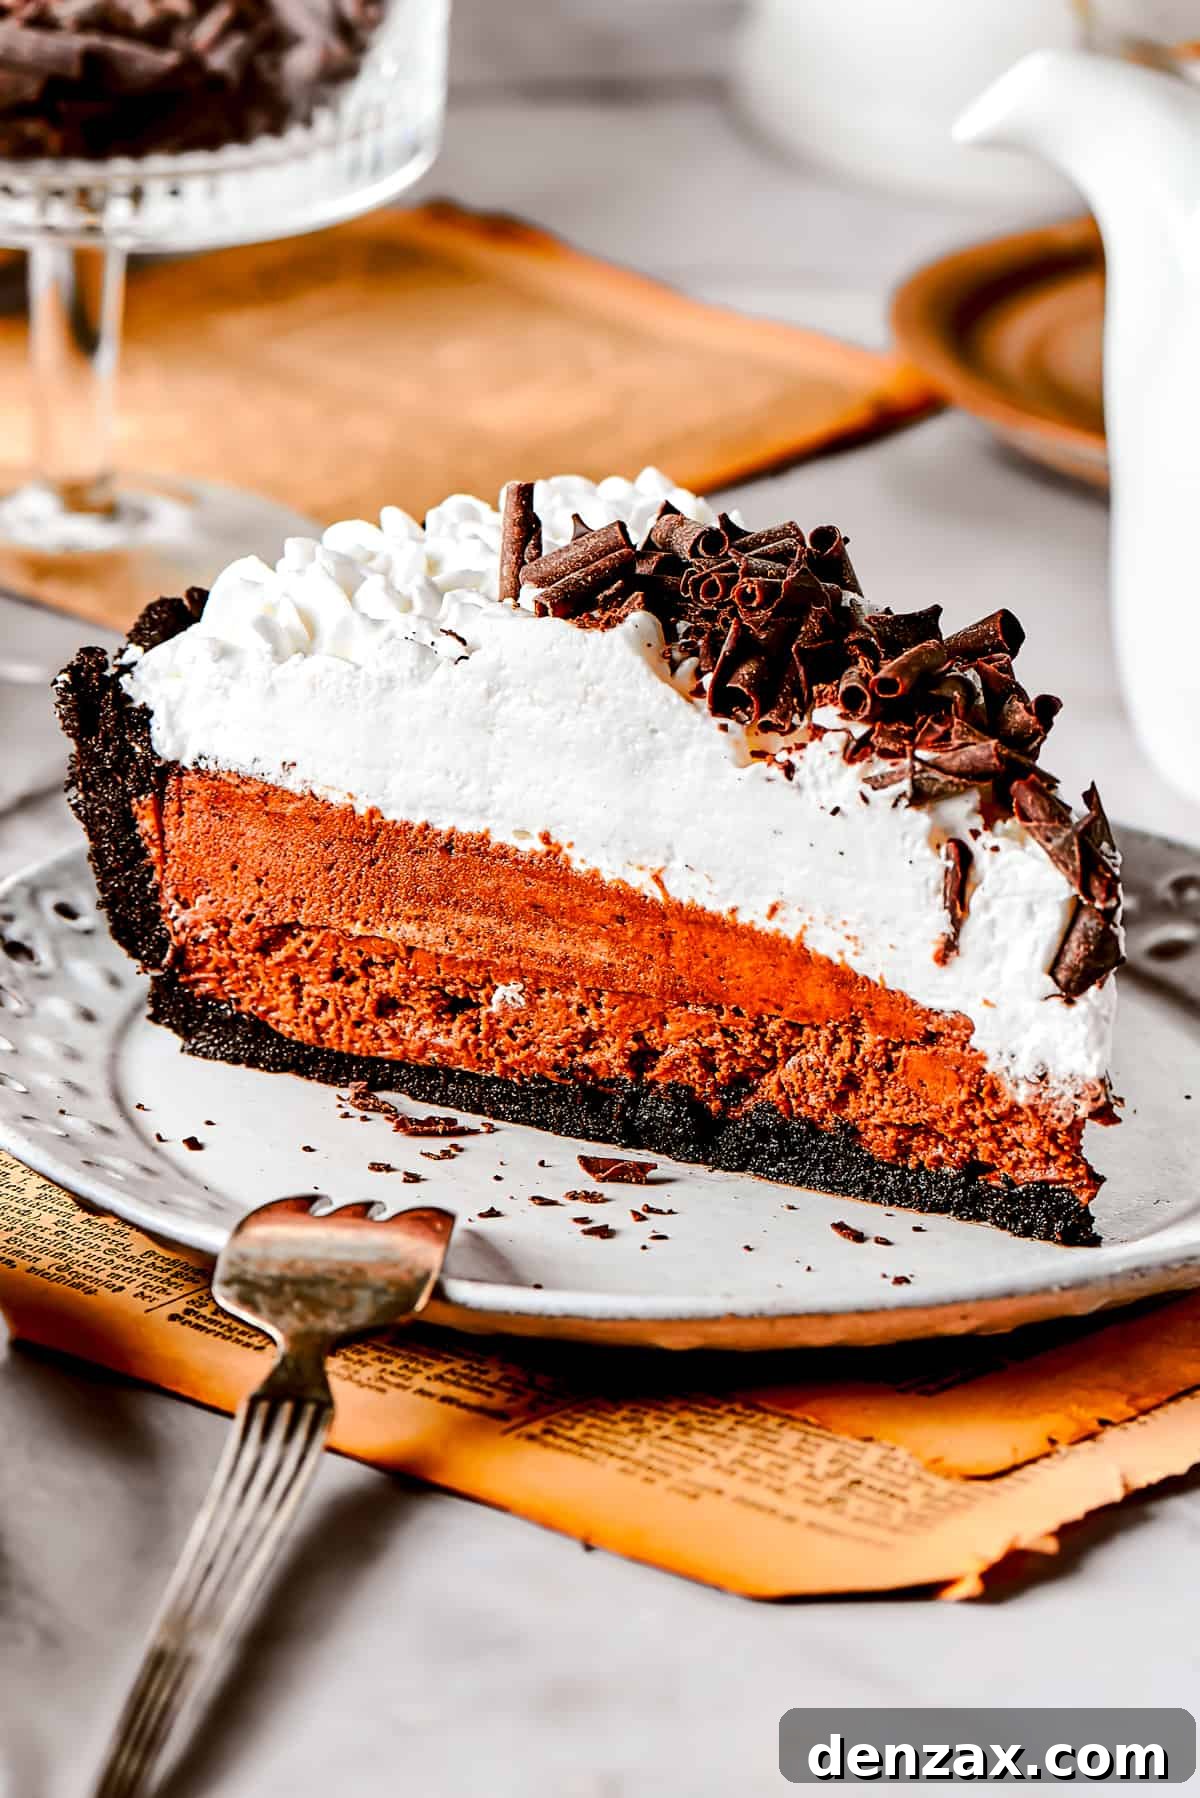
This luscious chocolate French Silk Pie is the epitome of decadence, living up to its name with an incredibly silky texture. The filling achieves a smooth, rich consistency, while the plush, from-scratch whipped cream on top elevates it to an extra-luxurious dessert that feels gourmet yet achievable for the home baker.
Why This French Silk Pie Recipe Will Be Your New Favorite
There are countless reasons to fall head over heels for French Silk Pie, and this recipe specifically highlights what makes it truly exceptional:
- The Ultimate Special-Occasion Dessert: The profound richness of the dark chocolate filling combined with the airy, sweet whipped cream topping makes this pie an ideal choice for holidays, birthdays, anniversaries, or any event that calls for a touch of elegance. It instantly adds a celebratory vibe, making any gathering feel more festive and memorable. It’s the kind of dessert that elicits gasps of delight and requests for the recipe.
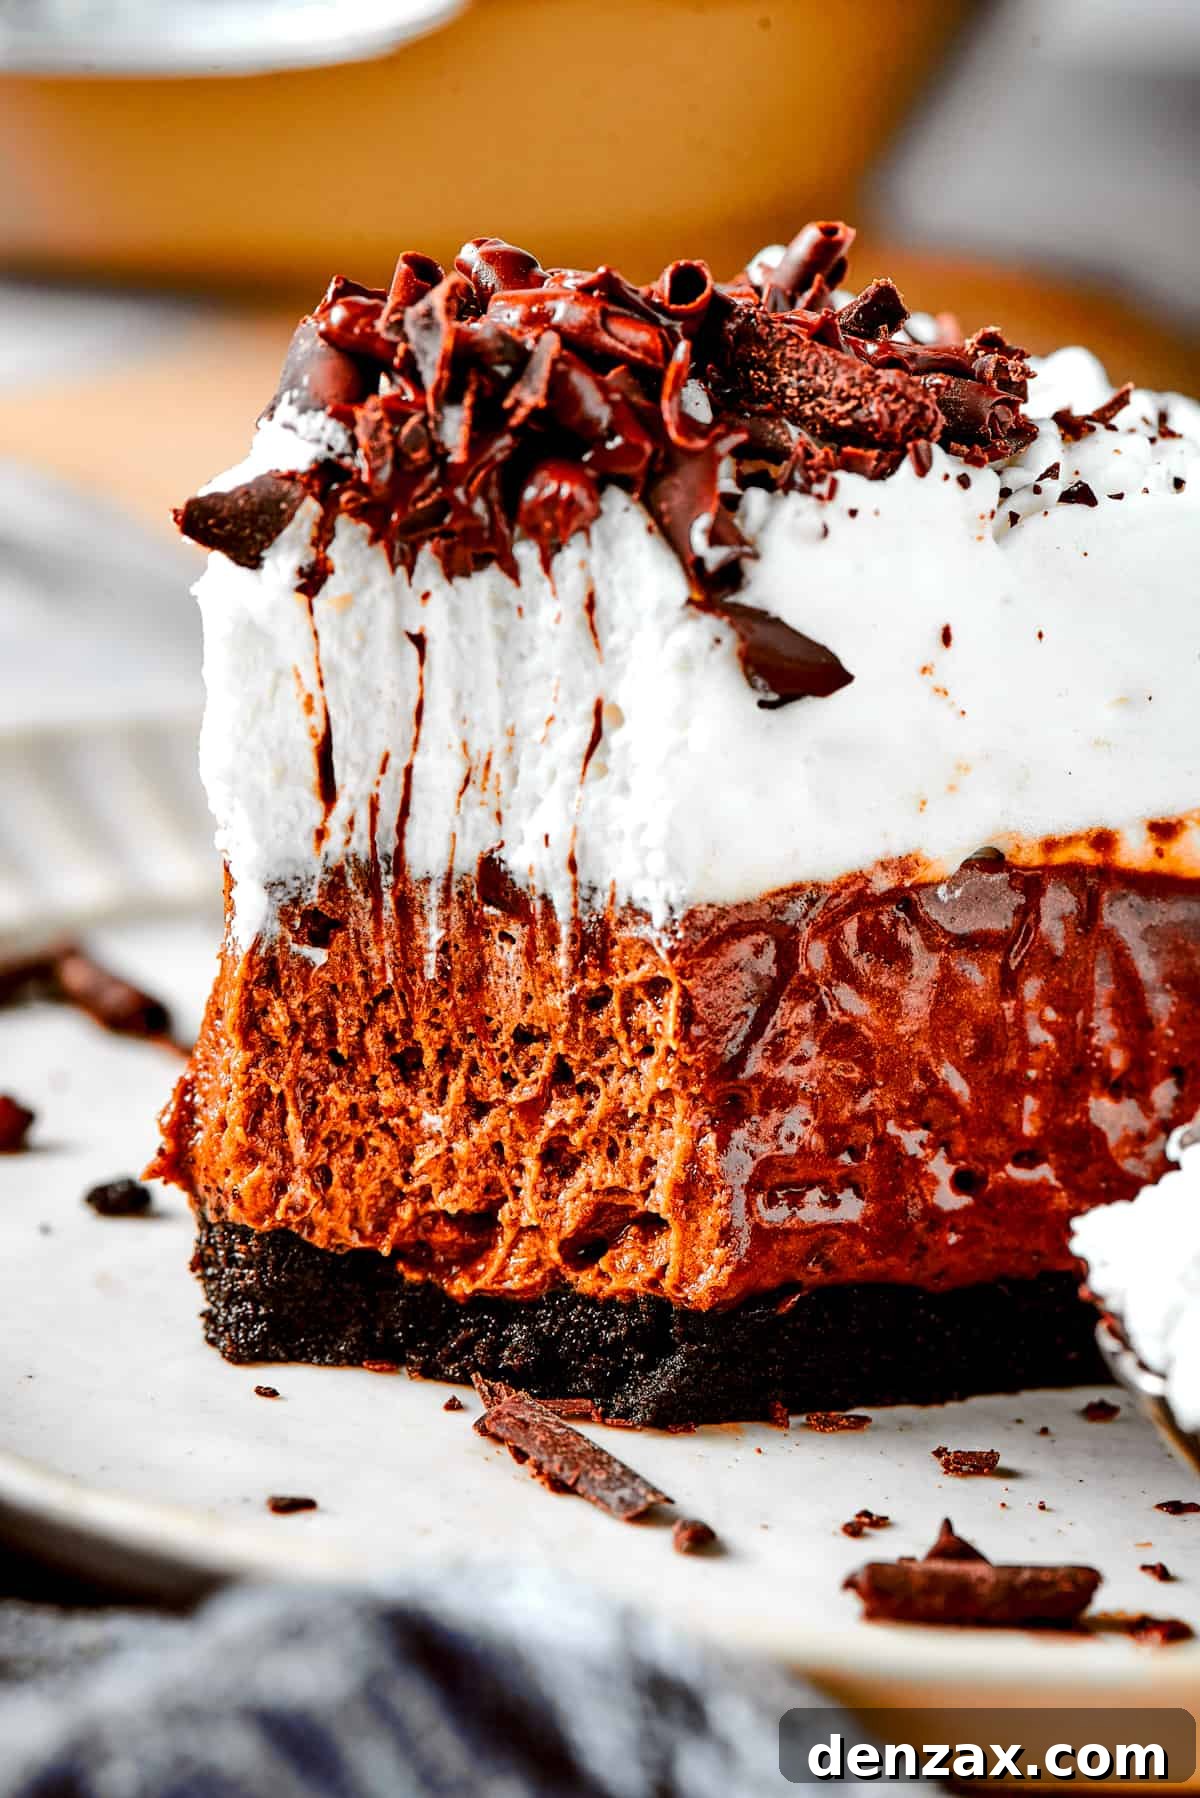
- An Unforgettable Symphony of Textures: This pie offers a delightful interplay of textures that keeps every spoonful exciting. The buttery, slightly crumbly Oreo cookie crust provides a satisfying base, offering a delightful crunch that contrasts beautifully with the light, almost mousse-like chocolate filling. The final layer of soft, cloud-like whipped cream adds an ethereal finish, creating a multi-sensory experience that is truly unparalleled.
- Surprisingly Achievable for Home Bakers: Despite its sophisticated appearance and gourmet taste, this French Silk Pie is relatively easy to make. While it involves several steps, none are overly complicated or require advanced baking skills. Our clear, step-by-step instructions break down the process into manageable parts, making it accessible for anyone eager to create an impressive dessert from scratch. The result is a showstopper that tastes like it came from a high-end patisserie, but with the satisfaction of having made it yourself.
- Deep, Rich Chocolate Flavor: This pie isn’t just sweet; it boasts a profound, complex chocolate flavor that caters to true chocolate lovers. Using high-quality bittersweet or semi-sweet chocolate ensures a deep, intense taste that is both comforting and sophisticated, avoiding overly sweet notes that can sometimes overwhelm other desserts.
- No-Bake Filling for Convenience: While the crust requires a quick chill, the rich chocolate filling is entirely no-bake once the egg mixture is gently cooked. This eliminates the guesswork of oven temperatures and baking times for the filling, simplifying the process and reducing potential baking mishaps.
Essential Ingredients for Your French Silk Pie
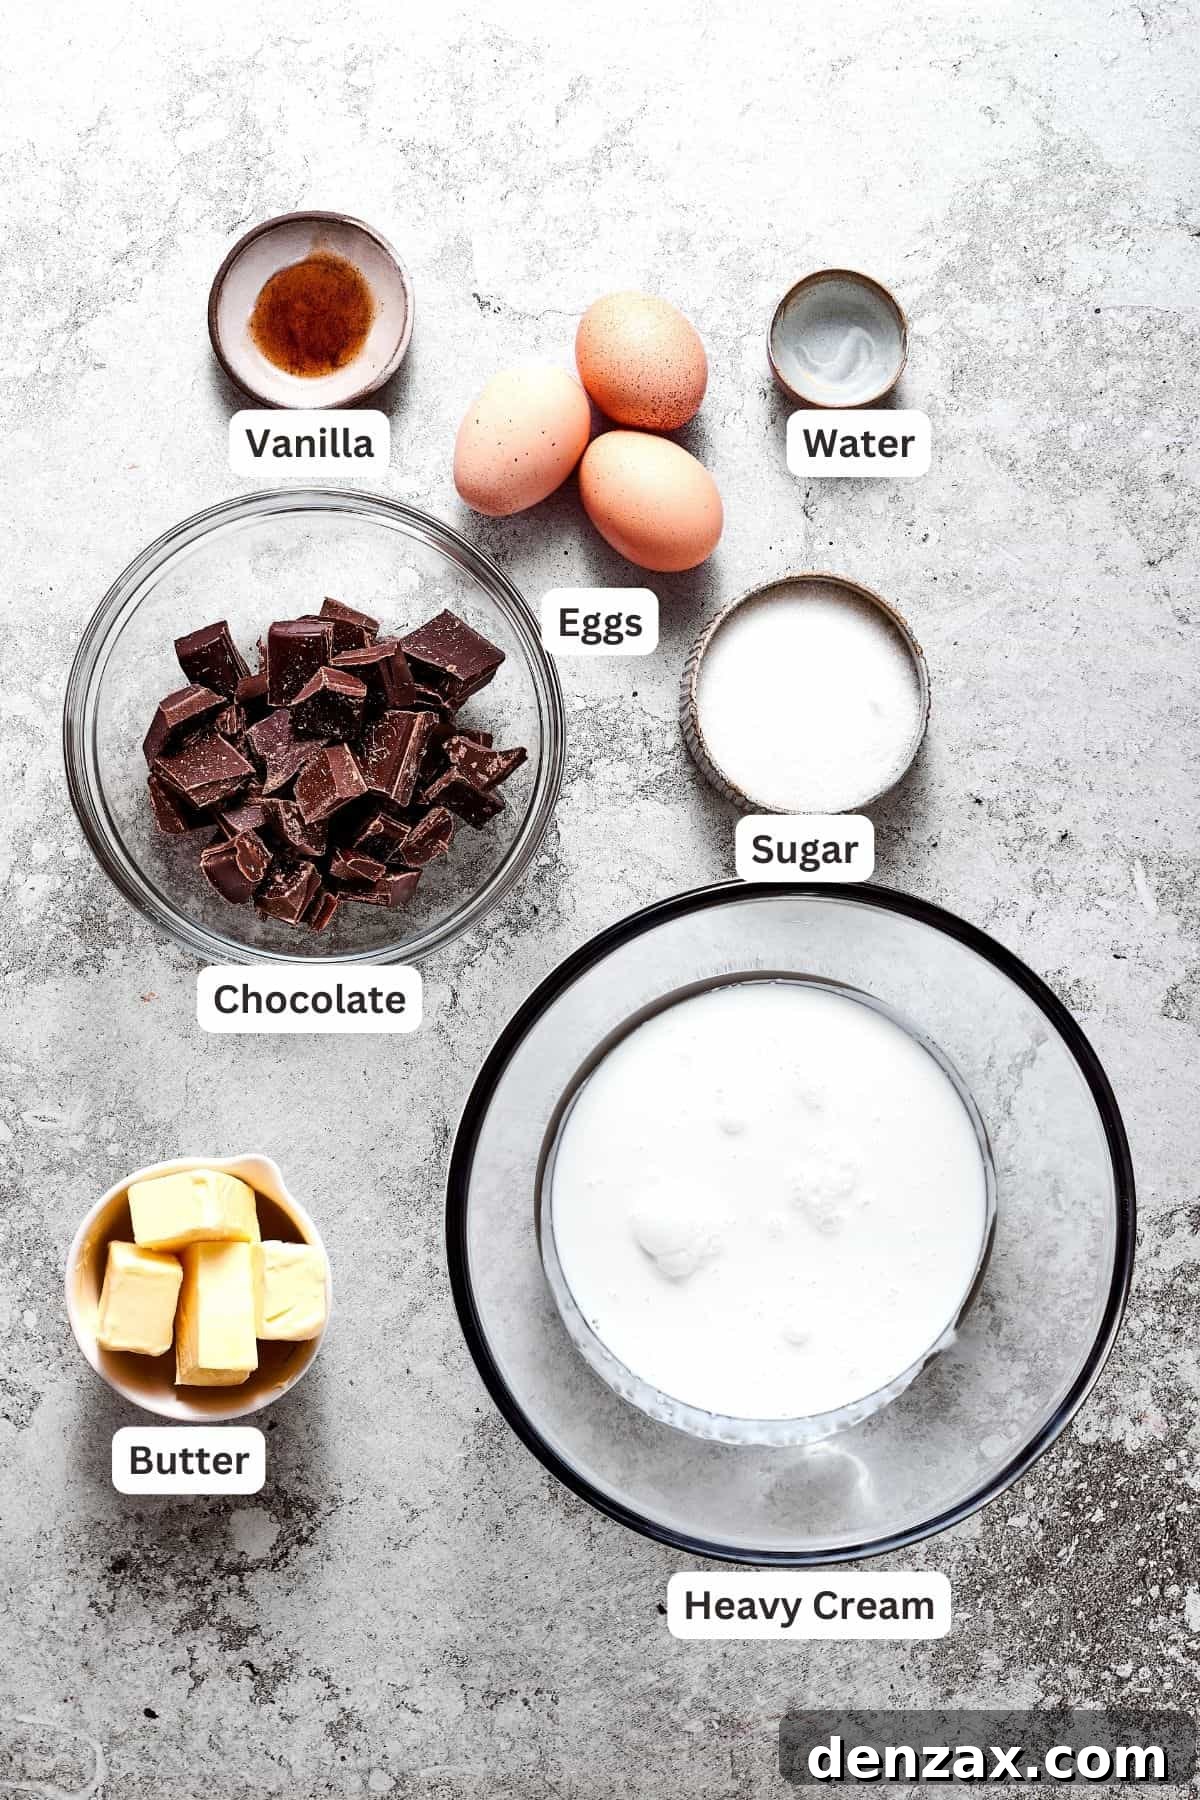
Creating this magnificent French Silk Pie starts with selecting the right ingredients. Each component plays a vital role in achieving the perfect texture and flavor profile. Below is an overview of what you’ll need; precise measurements are typically found in the full recipe card.
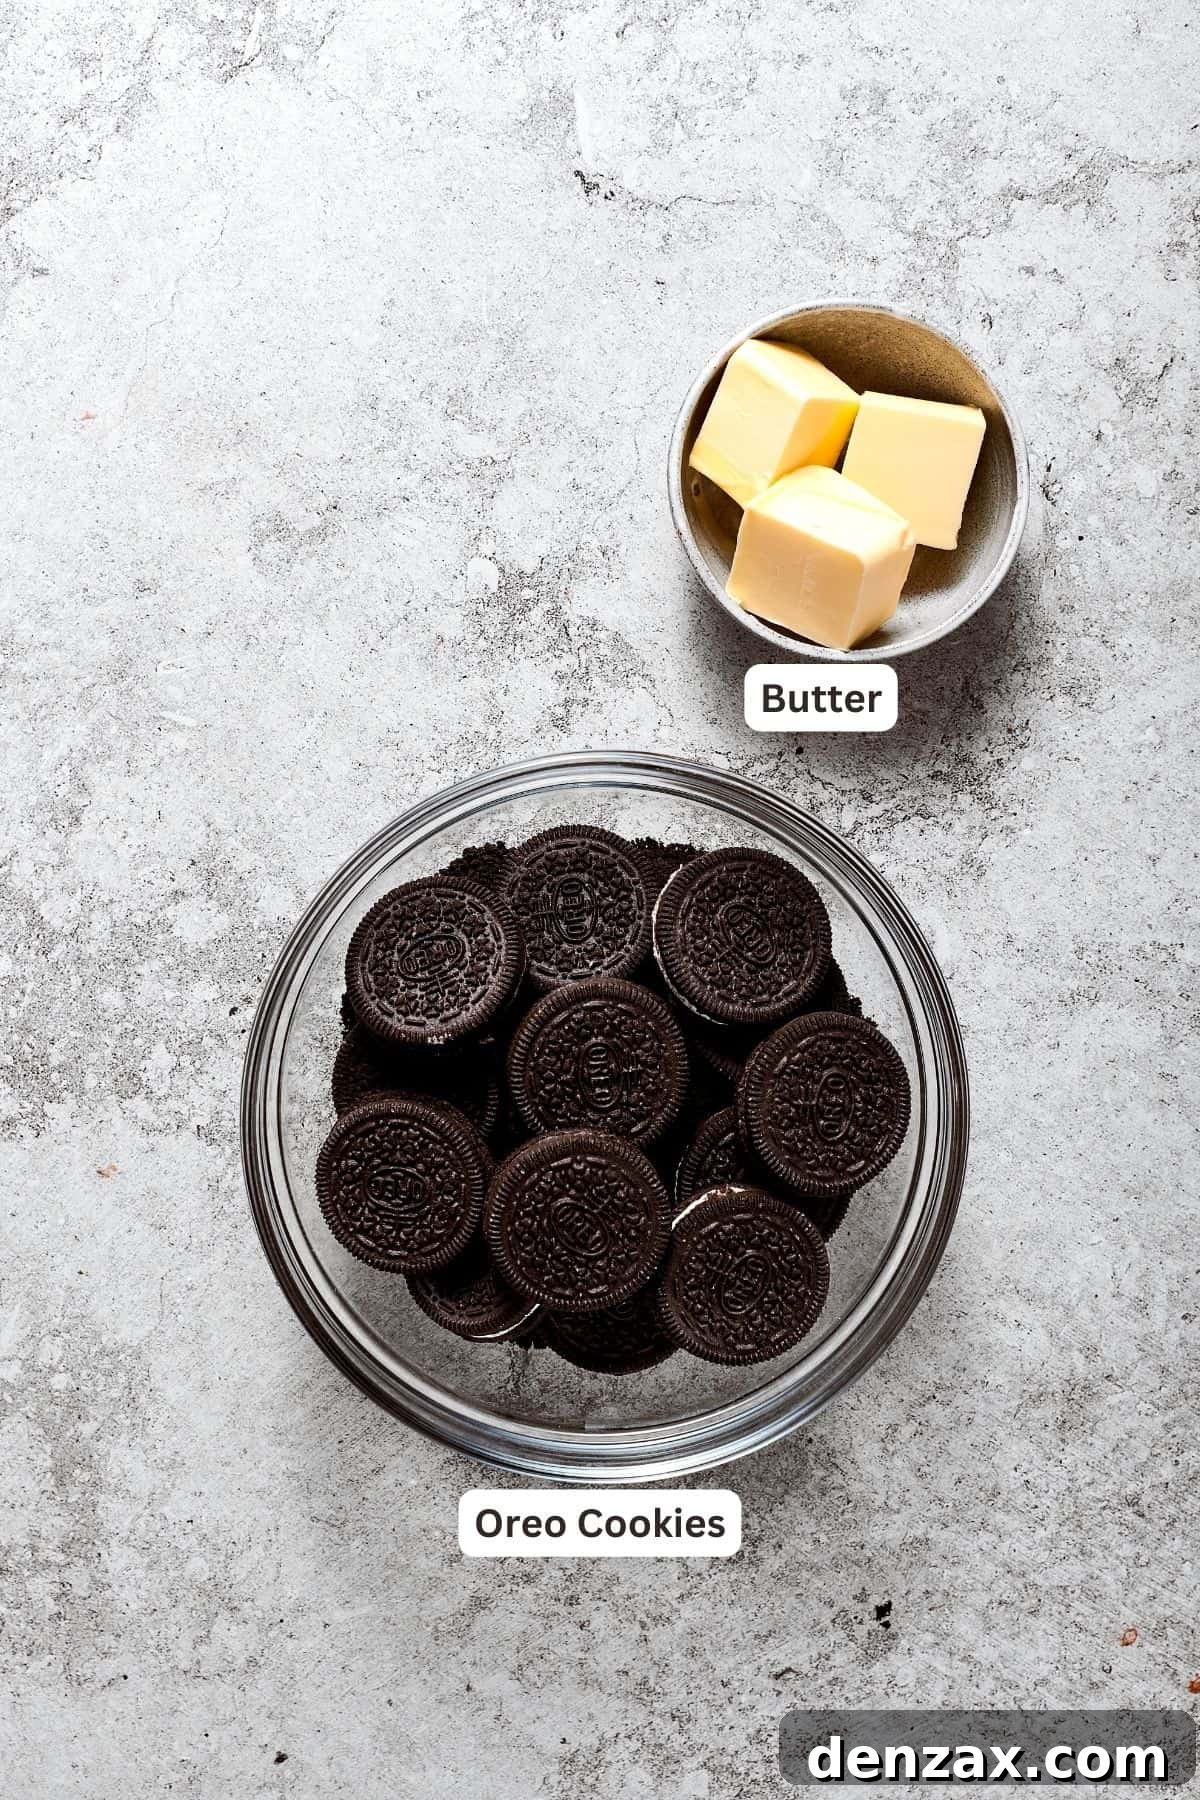
For the Irresistible Oreo Cookie Crust
- Oreo Cookies: These iconic chocolate sandwich cookies form the foundation of our crust. You’ll process them, cream filling and all, into fine crumbs. The cream filling adds moisture and a touch of sweetness, helping the crust bind together beautifully without needing extra sugar. The rich chocolate flavor of the cookies perfectly complements the pie’s filling.
- Unsalted Butter: Melted unsalted butter is crucial for binding the cookie crumbs together. Using unsalted butter allows you to control the overall saltiness of the dessert, ensuring it doesn’t compete with the pie’s sweet and rich chocolate notes. Room temperature butter is ideal for easy incorporation.
For the Silky, Decadent Chocolate Filling
- High-Quality Chocolate (Bittersweet or Semisweet): The star of the show! Opt for a good quality bar chocolate (not chips, which contain stabilizers that prevent smooth melting) that is either bittersweet or semisweet. This provides a deep, robust chocolate flavor that is not overly sweet, allowing the other ingredients to shine. Finely chopping it ensures even melting.
- Large Eggs (at room temperature): Eggs contribute to the filling’s structure and richness. Using large eggs at room temperature is important because they emulsify better and create a smoother, more homogenous mixture when combined with other ingredients. They also warm more evenly when gently cooked, ensuring proper tempering.
- Granulated Sugar: Provides sweetness and helps create a stable base when cooked with the eggs.
- Water: A small amount of water is used in the egg mixture to create a custard-like base, aiding in the gentle cooking process and ensuring a smooth consistency.
- Pure Vanilla Extract: Vanilla is a crucial flavor enhancer in any chocolate dessert. Pure vanilla extract, as opposed to artificial vanilla, will impart the best and most authentic flavor, complementing the chocolate without overpowering it.
- Unsalted Butter (softened to room temperature): Similar to the crust, unsalted butter in the filling adds richness, creaminess, and a luxurious mouthfeel. Softened butter creams up beautifully, incorporating air that contributes to the filling’s light, silky texture.
- Heavy Cream: This is key to making the filling incredibly rich, smooth, and utterly decadent. When whipped and folded into the chocolate mixture, it adds an airy lightness while maintaining a sumptuous density.
For the Fluffy Homemade Whipped Cream Topping
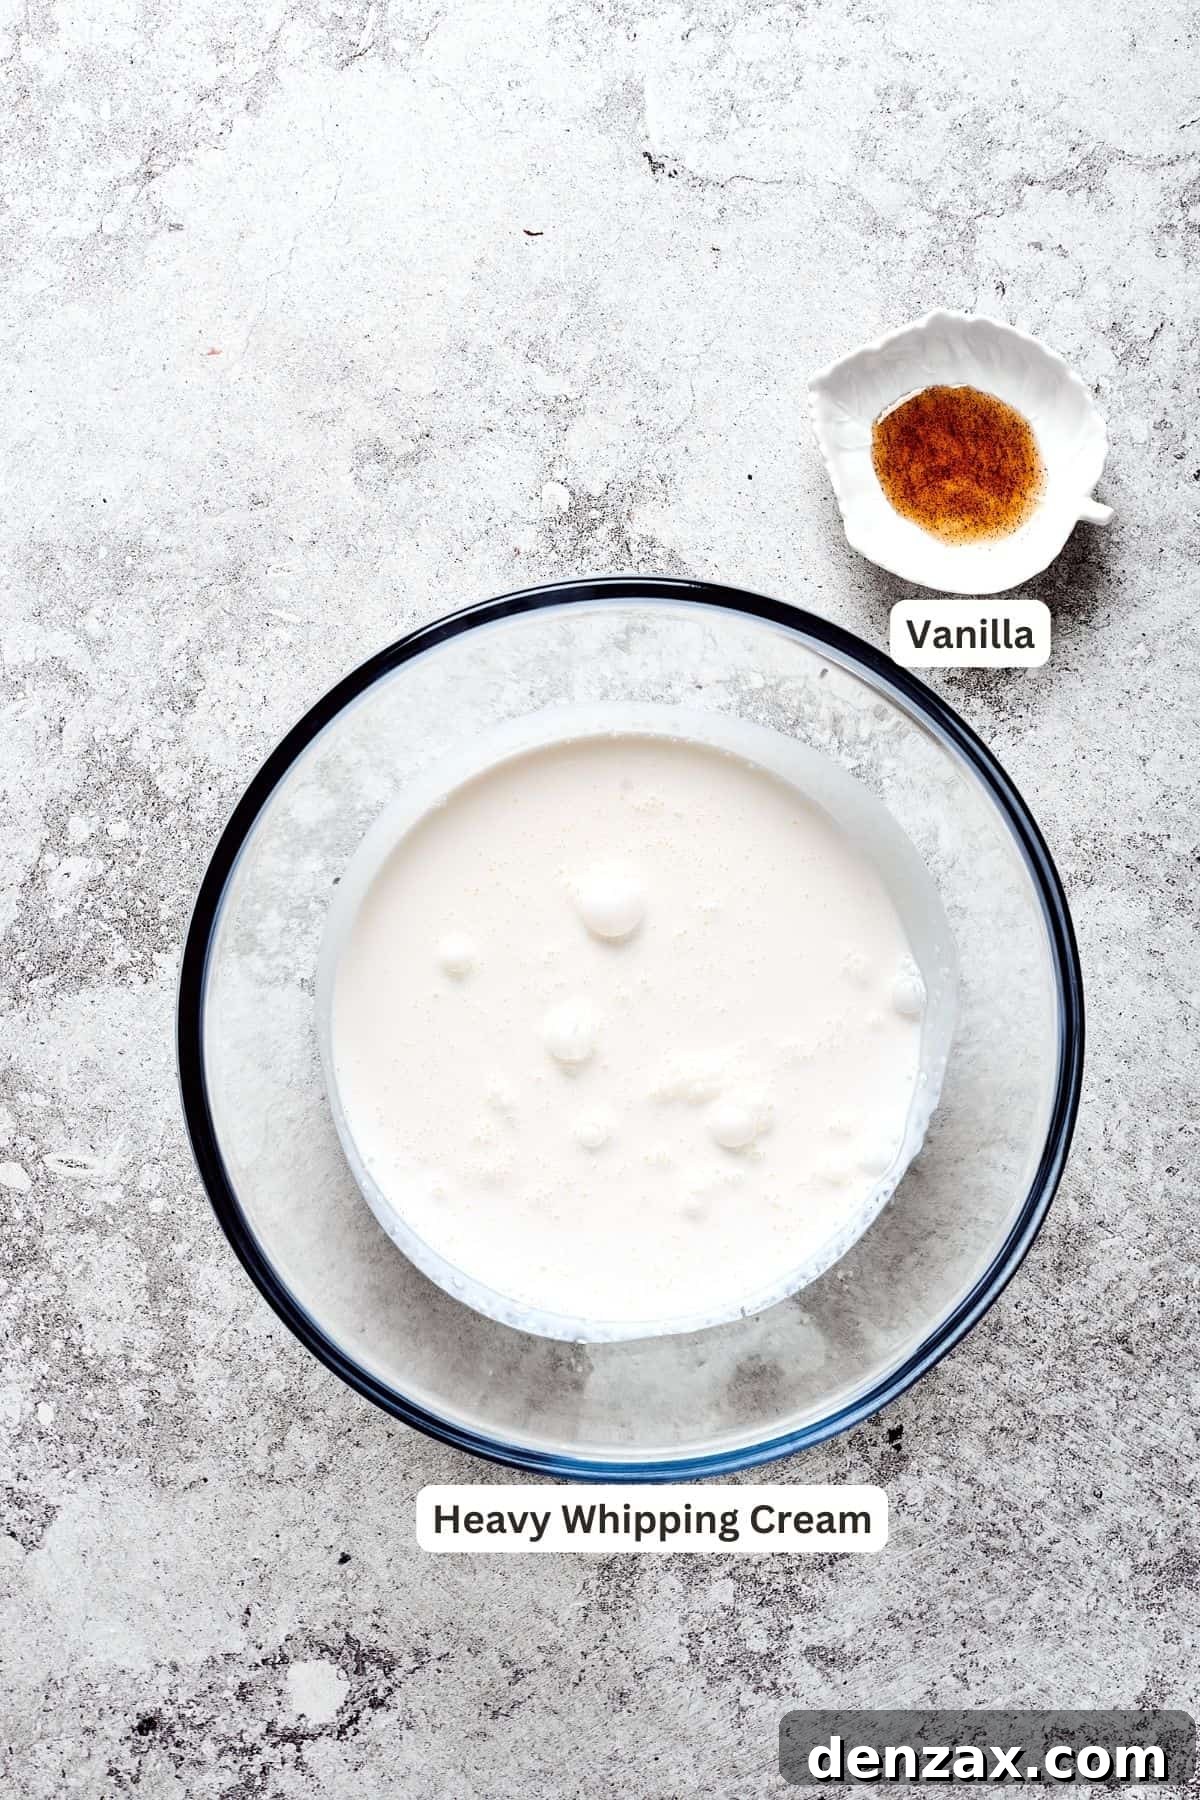
- Chilled Heavy Cream (or Heavy Whipping Cream): The foundation of our homemade topping. Chilling the cream thoroughly before whipping ensures it incorporates air easily and achieves stiff peaks, resulting in a stable and luscious whipped cream.
- Vanilla Bean Paste or Vanilla Extract: Adds a beautiful aromatic sweetness to the whipped cream. Vanilla bean paste will also impart tiny black flecks, giving your topping an elegant, gourmet appearance and a more intense vanilla flavor. Pure vanilla extract is an excellent alternative.
- Chocolate Curls (for decoration): A simple yet elegant garnish that adds a final touch of chocolate flavor and visual appeal, signaling the rich treat that lies beneath. You can easily make these with a vegetable peeler or grater from a chocolate bar.
Crafting Your Decadent French Silk Pie: A Step-by-Step Guide
Making French Silk Pie is a rewarding process that comes together smoothly with a little planning. Follow these detailed steps to create a show-stopping dessert. While the images below provide a visual guide, the comprehensive instructions here ensure you won’t miss a beat.
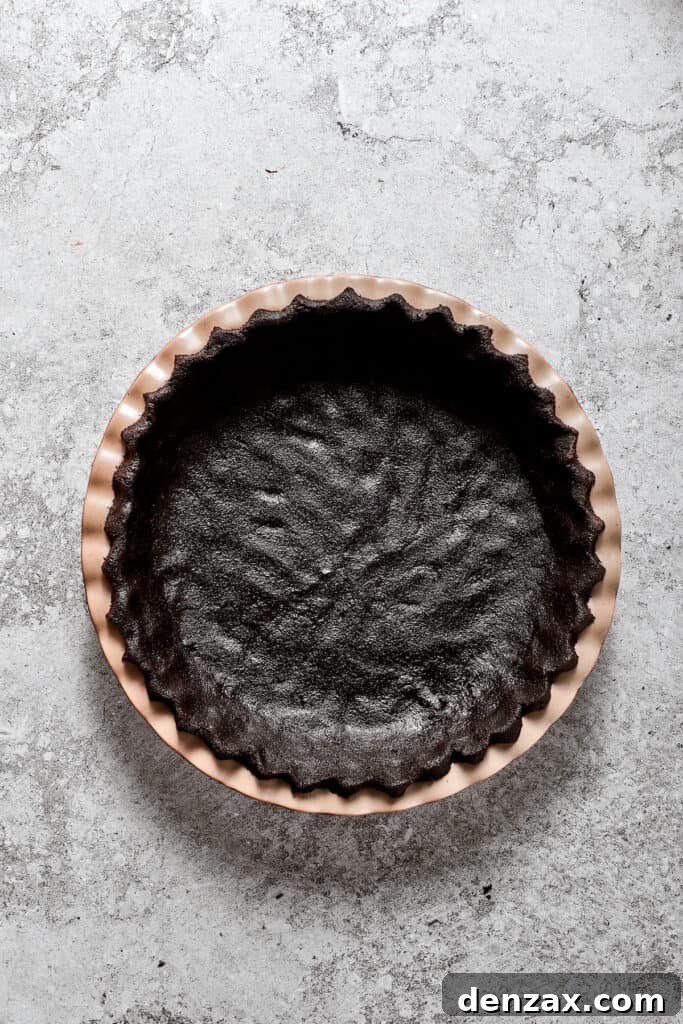
Step 1: Preparing the Perfect Oreo Crust
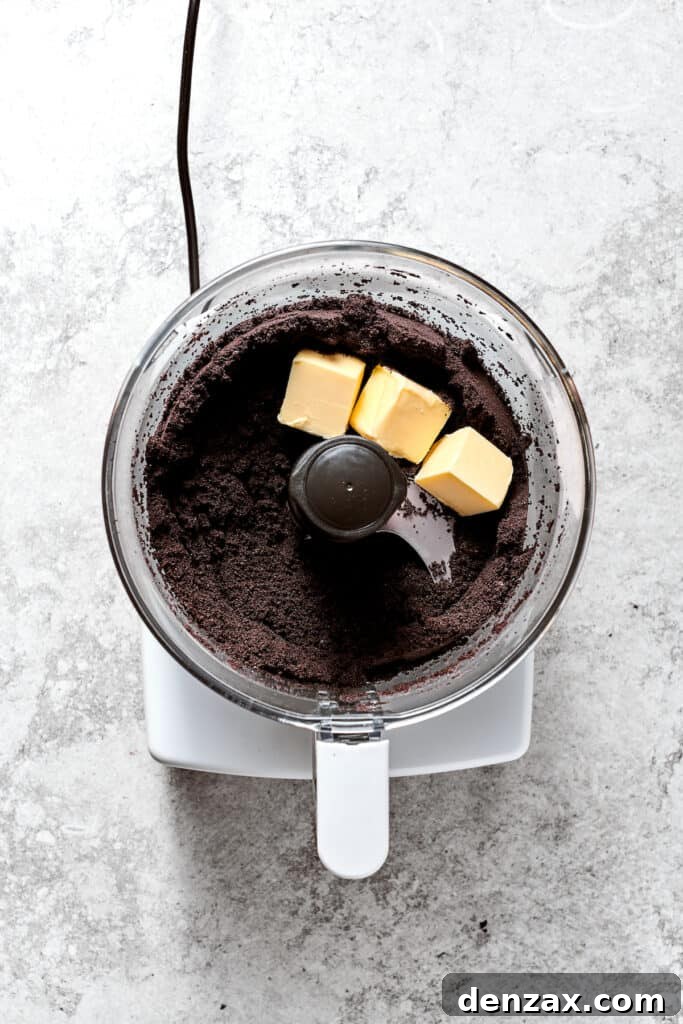
- Crush the Cookies: In a food processor, add the entire package of Oreo cookies, including their creamy filling. Process until very fine, even crumbs form. This ensures a uniform texture for your crust.
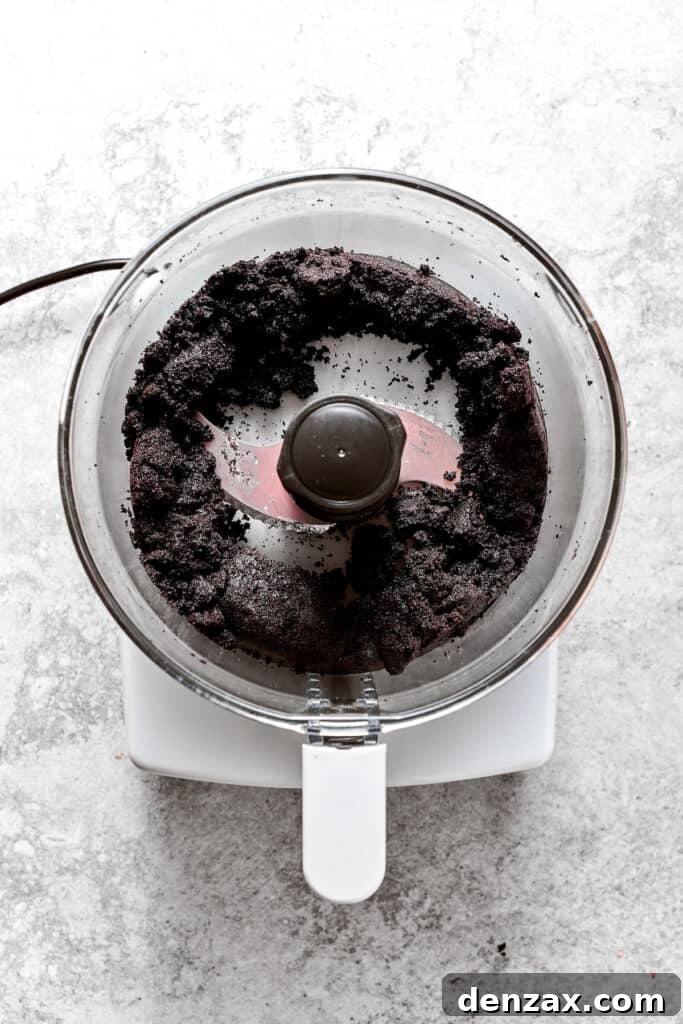
- Incorporate Butter: Add the softened unsalted butter to the food processor with the cookie crumbs. Pulse the mixture a few times until the butter is fully incorporated and the crumbs resemble wet sand. The mixture should hold together when squeezed.
- Form the Crust: Transfer the buttery cookie mixture into a 9-inch pie dish. Using the bottom of a glass or your knuckles, firmly press the mixture into the bottom and evenly up the sides of the pie dish. A well-pressed crust is less likely to crumble when sliced.
- Chill to Set: Place the formed crust in the refrigerator for at least 30 minutes (or longer) while you prepare the filling. Chilling helps the butter solidify, making the crust firm and stable.
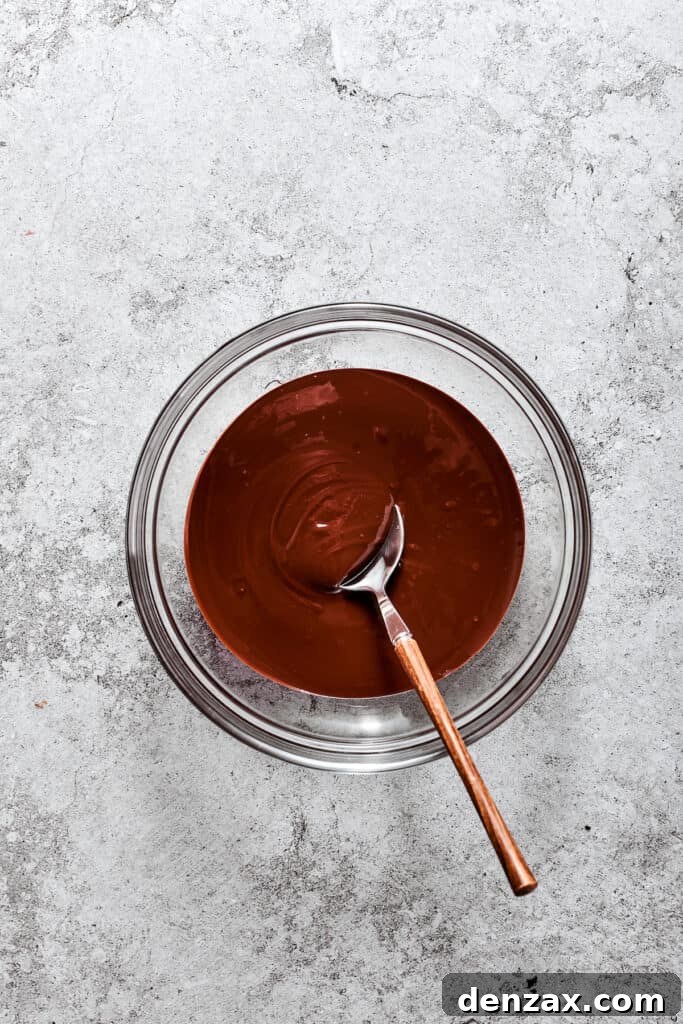
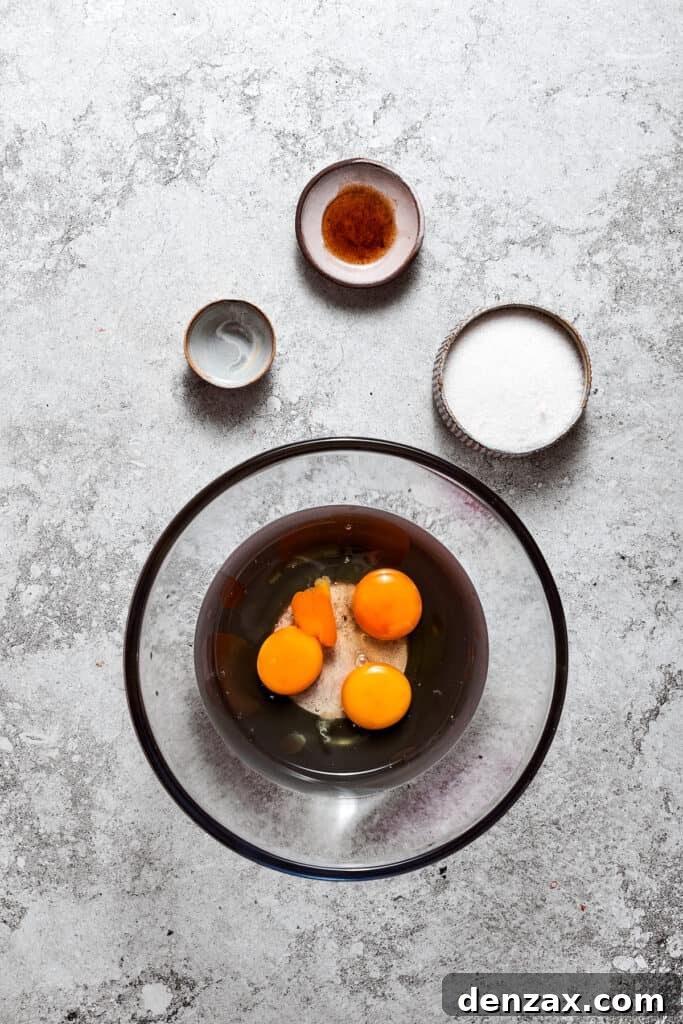
Step 2: Crafting the Velvety Chocolate Filling
- Melt the Chocolate: Begin by melting the finely chopped bittersweet or semisweet chocolate. You can do this in a heatproof bowl set over a pot of simmering water (a double boiler method), stirring gently until completely smooth and free of lumps. Alternatively, melt it in short bursts in the microwave, stirring frequently. Once melted, remove from heat and allow it to cool slightly to prevent it from scrambling the eggs later.
- Prepare the Egg Mixture: In a separate large glass bowl, combine the large room-temperature eggs, granulated sugar, and water. Beat these ingredients with an electric mixer on medium speed until the mixture becomes pale in color and slightly thickened, indicating the sugar has begun to dissolve.
- Gently Cook the Egg Mixture: Place the glass bowl containing the egg mixture over a pot of simmering water, ensuring the bottom of the bowl does not touch the water. This creates a gentle heat. While continuously whisking, heat the mixture until it reaches 160°F (71°C) on a candy thermometer. This step is crucial for safely cooking the eggs and creating a stable, sabayon-like base for your filling.
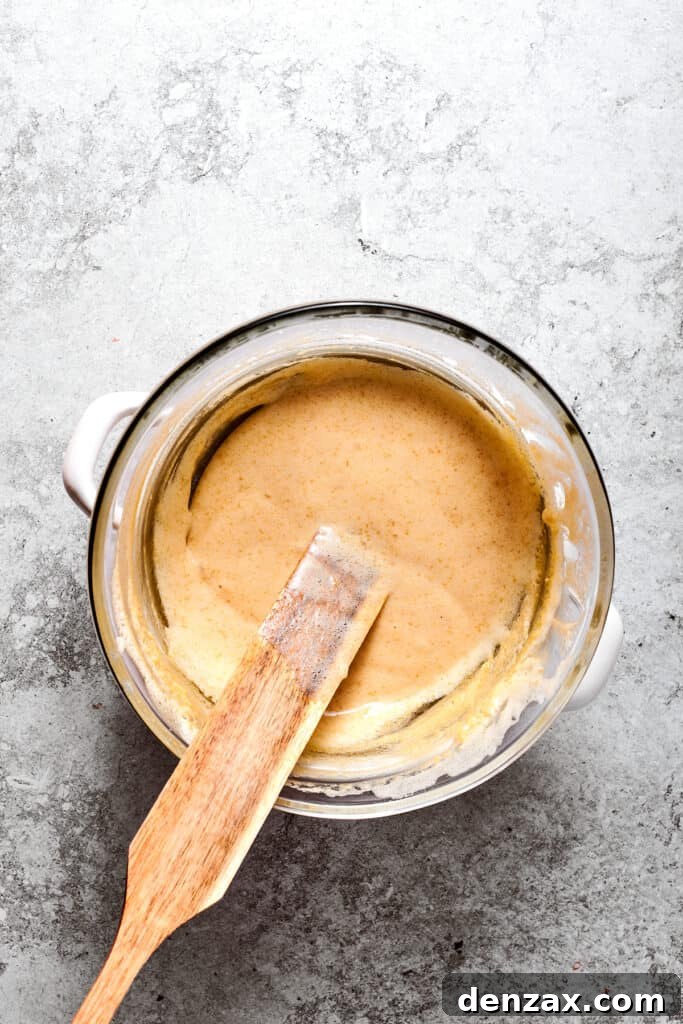
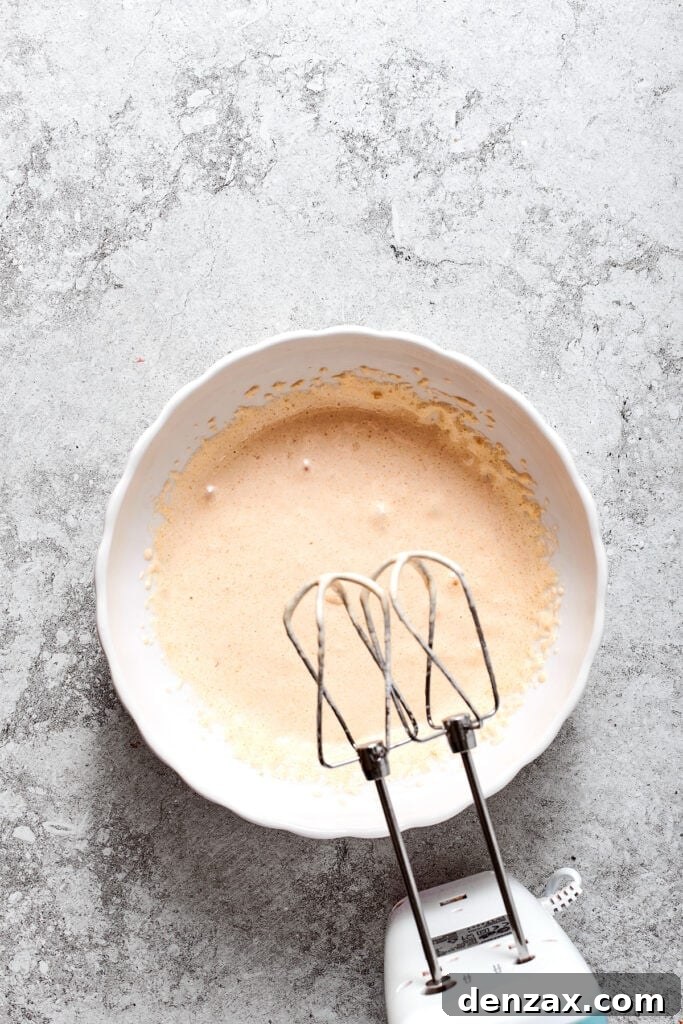
- Cool and Thicken: Immediately remove the bowl from the simmering water. Increase your electric mixer speed to medium-high and continue beating the egg mixture. Beat vigorously until it becomes very thick, pale, and has cooled down to room temperature. This process incorporates air and further stabilizes the mixture.
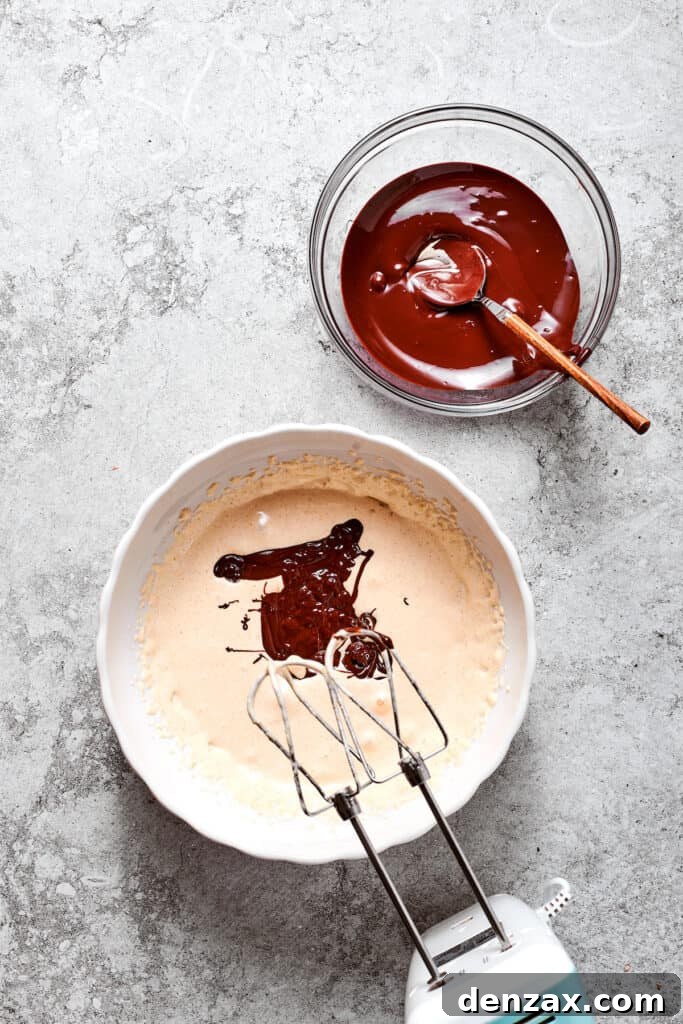
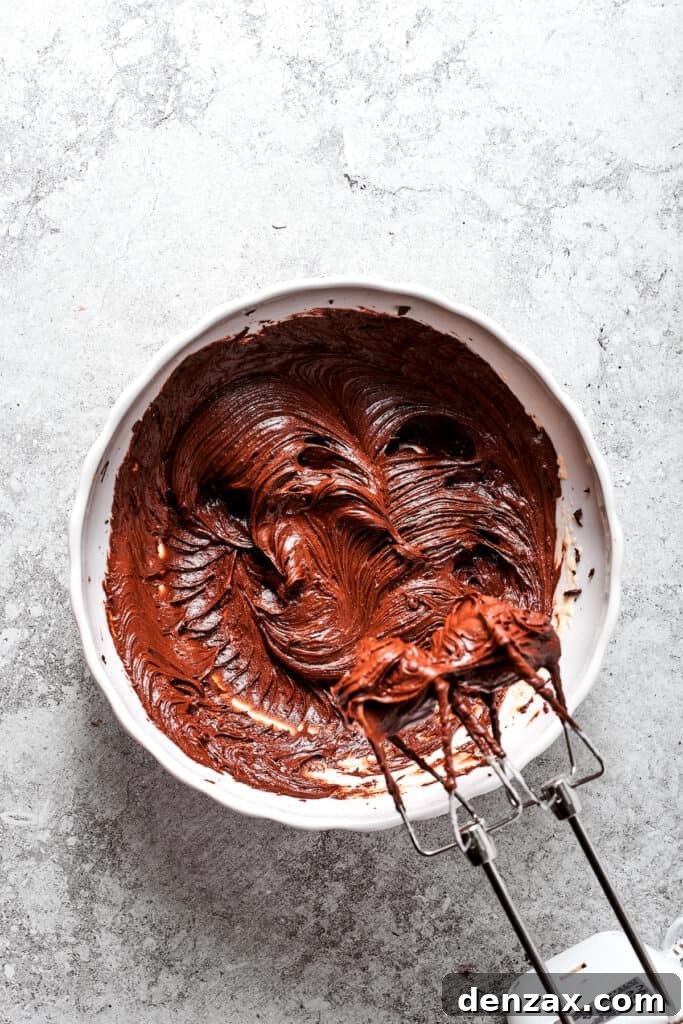
- Combine with Melted Chocolate: Once the egg mixture is cool, gradually add the slightly cooled melted chocolate, beating until thoroughly combined and smooth. This creates a rich chocolate-egg base.
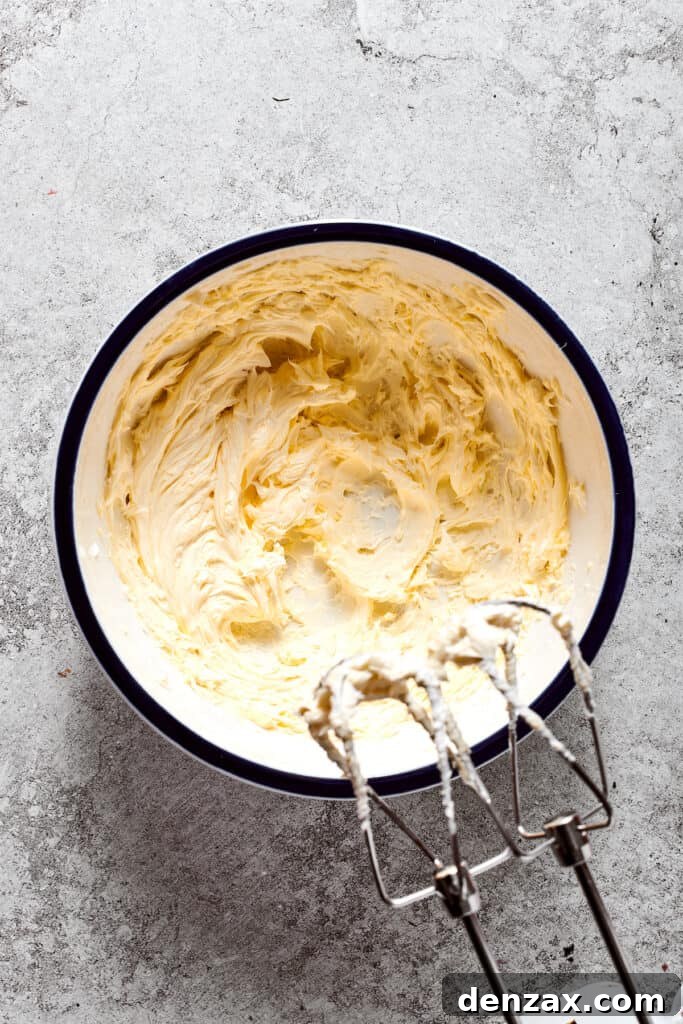
- Cream the Butter: In a separate mixing bowl, beat the softened unsalted butter with an electric mixer on high speed for about 4 to 5 minutes. Continue until the butter is light, fluffy, and has significantly doubled in volume. This step incorporates air, contributing to the filling’s signature lightness.
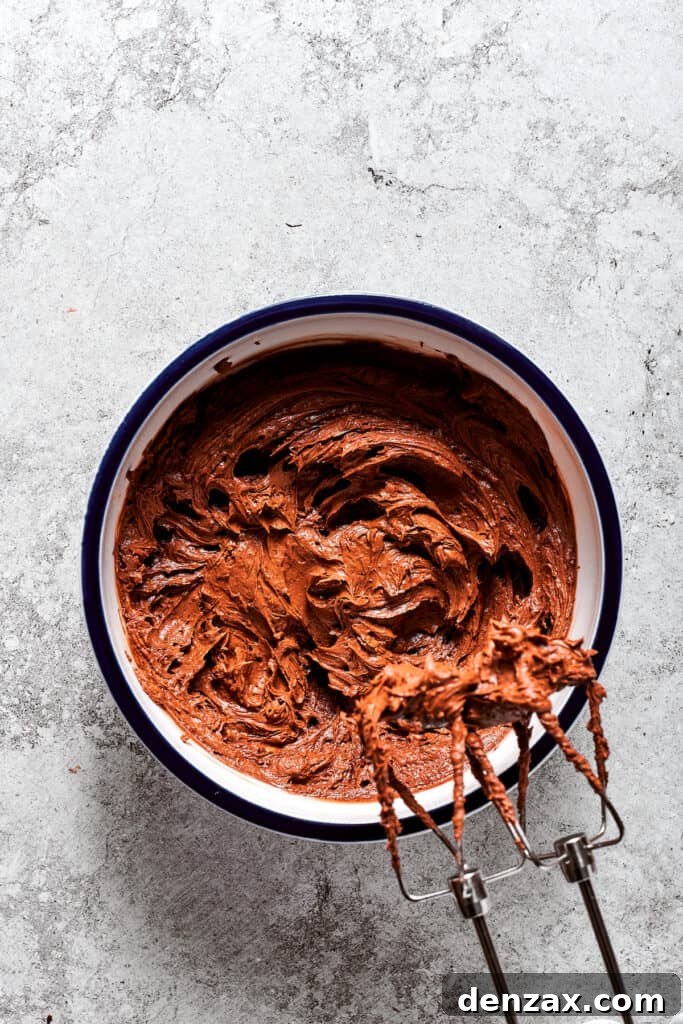
- Gradually Add Chocolate-Egg Mixture to Butter: This is a key step for creating a smooth emulsion. Add the chocolate-egg mixture to the whipped butter in small increments (about ⅓ at a time), beating well after each addition until fully combined. Repeat until all the chocolate-egg mixture has been incorporated, resulting in a perfectly creamy, homogenous chocolate filling.
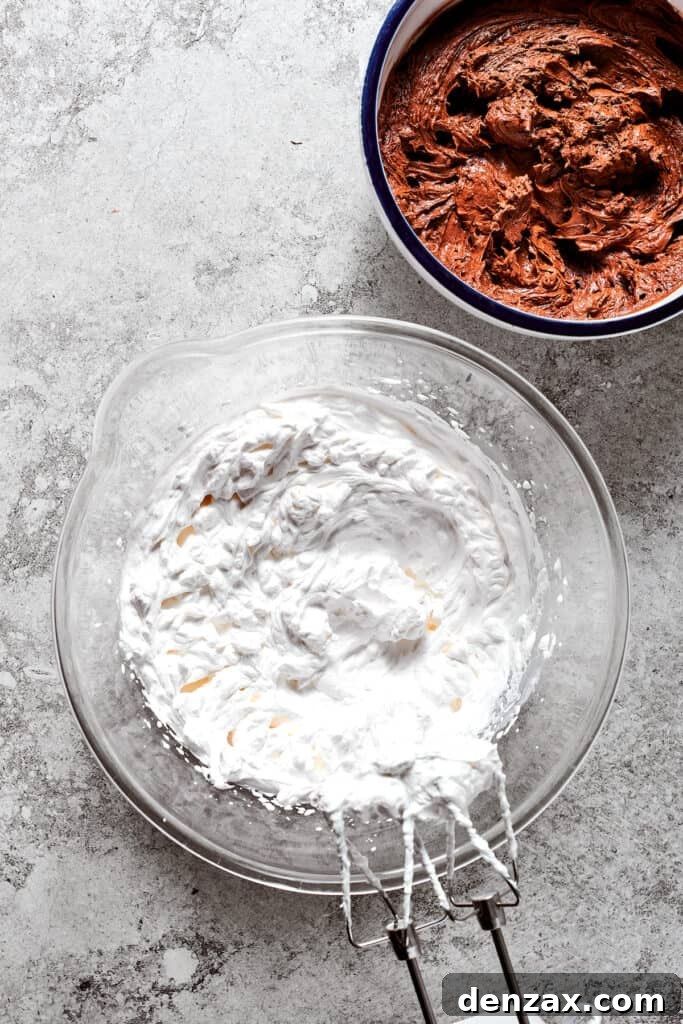
- Whip the Heavy Cream: In another separate, well-chilled bowl (this helps the cream whip faster and better), whip the heavy cream with an electric mixer until stiff peaks form. Be careful not to over-whip, which can turn it grainy.
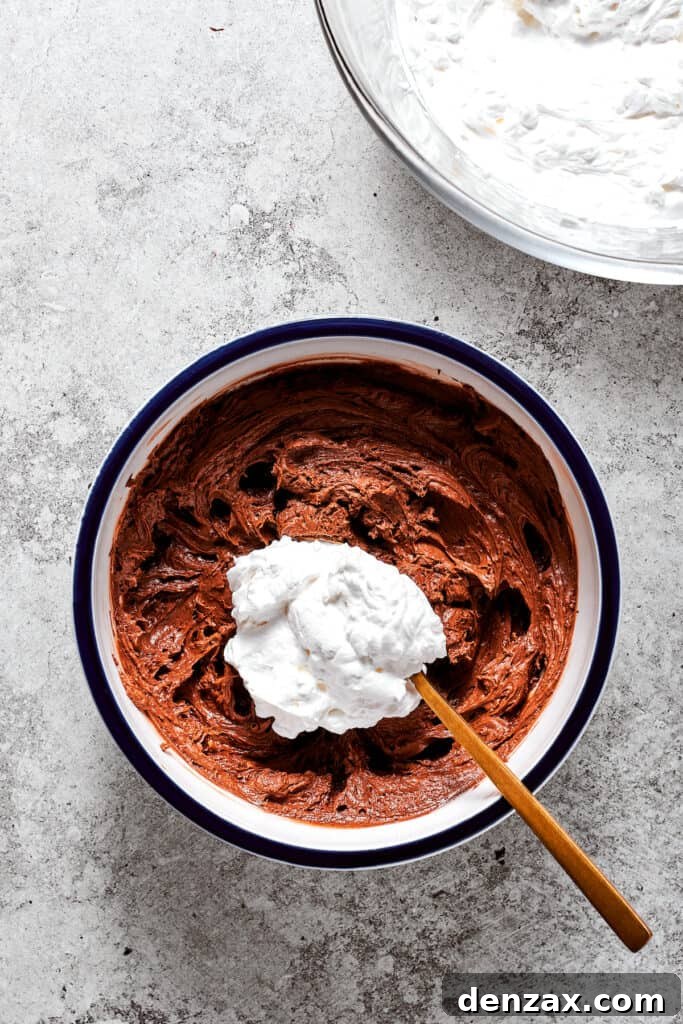
- Fold in Whipped Cream: Gently fold the freshly whipped cream into the creamy chocolate mixture until it is just combined and no streaks of plain whipped cream remain. Use a light hand to preserve the airiness, which contributes to the silkiness of the filling.
Step 3: Assembling and Topping Your Masterpiece
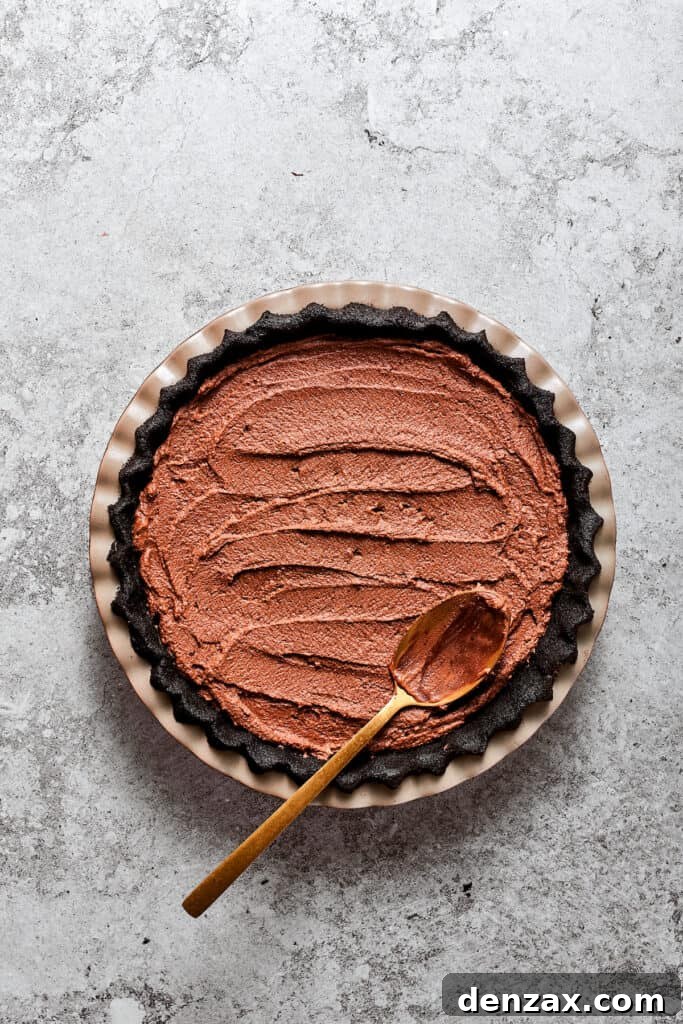
- Fill the Crust: Carefully pour the finished chocolate filling into the chilled Oreo cookie crust. Use a spatula to gently spread it evenly across the bottom.
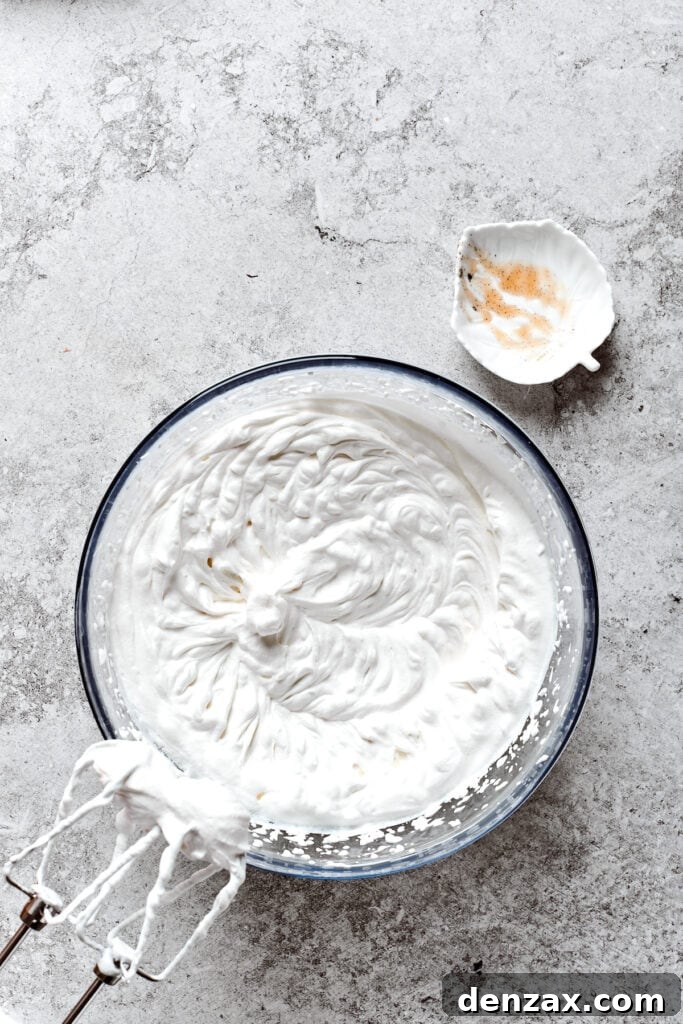
- Prepare the Final Topping: In a separate chilled bowl, whip the cold heavy whipping cream and vanilla bean paste (or extract) until stiff peaks form. This means the cream should hold its shape firmly.
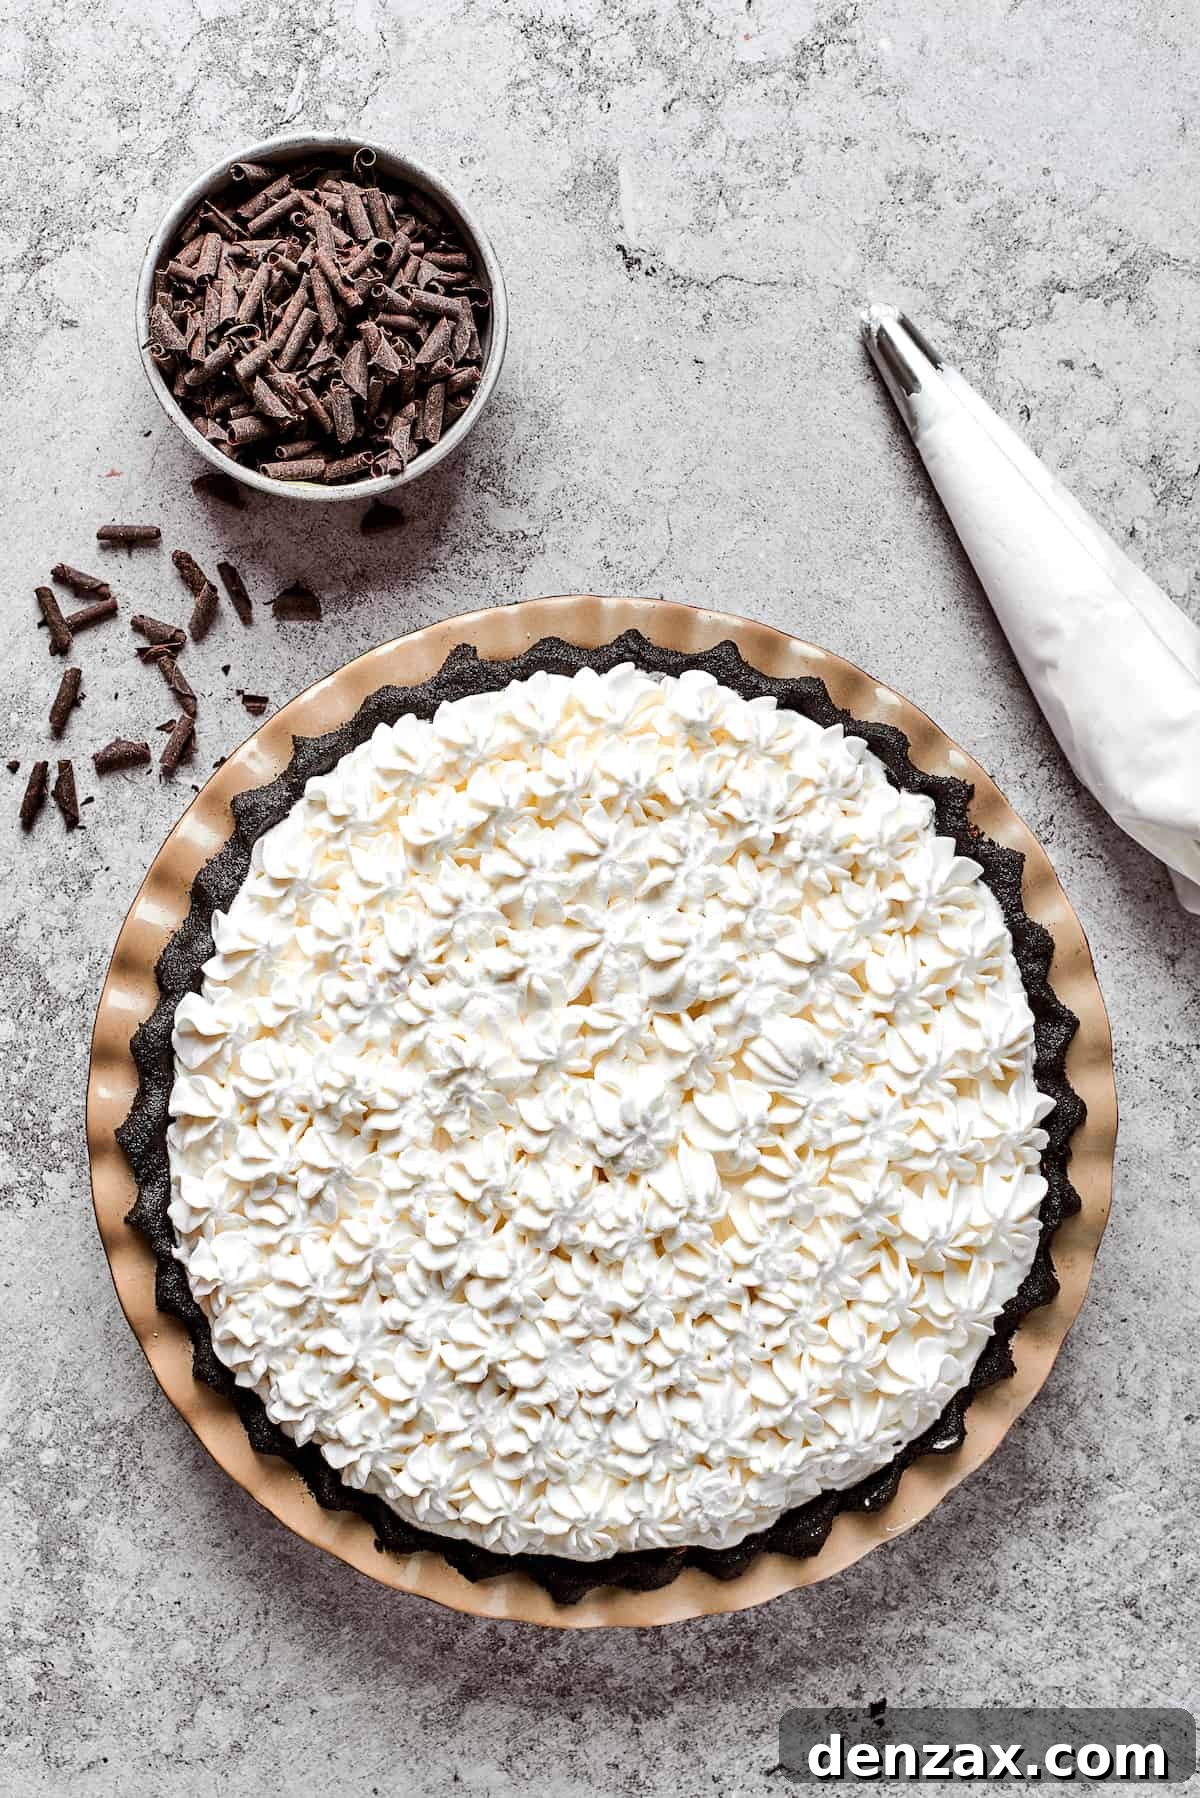
- Adorn with Whipped Cream: You can either spread the whipped cream smoothly over the chocolate filling for a classic look or pipe elegant swirls and dollops using a pastry bag fitted with a star tip for a more decorative finish.
- Garnish and Chill: Finish your pie with delicate chocolate curls or shavings for an extra touch of elegance. Finally, and most importantly, refrigerate the French Silk Pie for at least 4 hours, or ideally overnight, to allow the filling to properly set and firm up. This chilling time is essential for achieving the perfect silky texture and clean slices.
Expert Tips for a Flawless French Silk Pie
Achieving French Silk Pie perfection is easier with these helpful tips:
- Make Ahead for Convenience: This pie is an excellent make-ahead dessert, as it tastes even better after a full night of chilling. You can prepare it a day or two before you plan to serve it. If making ahead, we recommend whipping the fresh cream for the topping on the day of serving to ensure it’s at its freshest and most stable. If you must top it early, place a few toothpicks into the whipped cream before covering it with plastic wrap. This will prevent the plastic from sticking to and deflating your beautiful peaks. Store it in the fridge until ready to serve.
- Experiment with Different Crusts: While the Oreo crust is a beloved classic, don’t hesitate to customize! For a slightly different flavor and texture, consider making a traditional homemade flaky pie crust, a buttery shortbread crust, or a simple graham cracker crust. Each will offer a unique character to the overall dessert.
- Alternative Cookie Crusts: If Oreos aren’t your preference, a plain chocolate wafer cookie crust is another fantastic option that pairs wonderfully with the silky chocolate filling. Simply use a package of chocolate wafer cookies in place of the Oreos, process them into crumbs with butter, and proceed with the recipe as written. You can also try other dark chocolate biscuits for subtle variations.
- Store-Bought Whipped Cream for Speed: While homemade whipped cream is undeniably superior in flavor and texture for this pie, we understand that sometimes time is of the essence. In a pinch, a good quality store-bought whipped cream (from a can or a tub) can be used as a convenient alternative. Just be sure to apply it right before serving for the best appearance.
- Quality Chocolate Matters: The filling is the heart of French Silk Pie, so invest in good quality bittersweet or semi-sweet chocolate bars (around 60-70% cacao) for the best flavor. Chocolate chips often contain stabilizers that can make the filling less smooth.
- Room Temperature Ingredients: Ensure your eggs and butter are at room temperature. This allows them to emulsify properly and create a smoother, more uniform filling without lumps, especially when combining the butter with the chocolate-egg mixture.
- Patience with Chilling: The extended chilling time is not just a suggestion; it’s essential. It allows the butter in the filling to firm up and the flavors to meld, resulting in the perfect sliceable, silky consistency. Rushing this step will lead to a runny pie.
Storing Your French Silk Pie to Maintain Freshness
To enjoy your French Silk Pie for as long as possible, proper storage is key:
- Refrigeration: Cover the pie loosely with plastic wrap or tented foil. This helps prevent the plastic from sticking to the whipped cream and keeps it from drying out. Store it in the fridge for up to 5 days. The flavors will continue to deepen over time, making it a wonderful make-ahead option.
- Freezing for Longer Enjoyment: French Silk Pie freezes exceptionally well! First, chill the pie in the fridge until completely firm. Then, wrap it tightly with a layer of plastic wrap, followed by a layer of aluminum foil. This double-layer protection prevents freezer burn. You can store the pie in the freezer for up to 3 months. When you’re ready to serve, transfer the frozen pie to the refrigerator and allow it to defrost completely, typically overnight, before unwrapping and garnishing.
Explore More Decadent Pie Recipes
If you loved this French Silk Pie, you might enjoy trying these other fantastic pie recipes:
- Classic Pecan Pie
- Homestyle Southern Buttermilk Pie
- Refreshing Fresh Strawberry Pie
- Heartwarming Homemade Apple Pie
French Silk Pie
by Katerina | Easy Weeknight Recipes
Indulge in the ultimate dessert with our French Silk Pie, featuring a crisp Oreo pie crust layered with a decadent, velvety chocolate filling, all topped off with smooth, homemade whipped cream.
Prep Time: 1 hour
Cook Time: 10 minutes
Refrigeration Time: 4 hours
Total Time: 5 hours 10 minutes
Servings: 12 servings
Rating: 5 out of 5 stars from 7 votes
Ingredients
For the Crust
- 24 Oreo cookies
- ¼ cup unsalted butter, at room temperature
For the Filling
- 8 ounces bittersweet chocolate, finely chopped
- 3 large eggs, at room temperature
- ⅔ cup granulated sugar
- 1 tablespoon water
- 2 teaspoons pure vanilla extract
- ⅔ cup unsalted butter, softened
- 1½ cups heavy cream
For the Whipped Cream Topping
- 1 cup chilled heavy whipping cream
- 1 teaspoon vanilla bean paste or vanilla extract
- Chocolate curls, for garnish
Instructions
For the Crust
- In a food processor, process the Oreo cookies (including the filling) until fine crumbs form.
- Add in the room-temperature butter and pulse until well combined.
- Press the mixture into the bottom and up the sides of a 9-inch pie dish to form the crust. Then, place the crust in the refrigerator to set while you prepare the filling.
For the Filling
- Melt the bittersweet chocolate in a heatproof bowl set over simmering water, stirring until smooth. Remove from the heat and allow it to cool slightly.
- In a glass bowl, beat the eggs, sugar, and water with an electric mixer until pale and slightly thickened.
- Place the glass bowl over a pot of simmering water, making sure the water doesn’t touch the bowl’s bottom. While constantly whisking, heat the mixture until it reaches 160˚F on a candy thermometer.
- Remove the bowl from the heat, increase the electric mixer speed to medium-high, and beat until the mixture is thick and cooled to room temperature.
- Add the melted chocolate to the egg mixture, beating until well combined.
- In a separate mixing bowl, beat the butter with an electric mixer until doubled in volume and fluffy, about 4 to 5 minutes.
- Transfer a small amount of the chocolate egg filling to the fluffy butter and combine well. Then add the next amount of chocolate egg filling and combine; repeat until the entire mixture is used up and you get a creamy chocolate mixture.
- In a separate bowl, with an electric mixer whip the heavy cream until stiff peaks form.
- Gently fold the whipped cream into the creamy chocolate filling until well combined and homogenous.
- Pour the filling into the prepared Oreo crust.
For the Whipped Cream Topping
- In a chilled bowl, whip the cold heavy whipping cream and vanilla bean paste until stiff peaks form.
- Spread the whipped cream over the chocolate filling or pipe swirls of whipped cream on top of the pie.
- Finish with curls of chocolate.
- Refrigerate the French Silk Pie for at least 4 hours or overnight to set.
Equipment
- Stand Mixer
- Glass Mixing Bowls
- Double Boiler
- Candy Thermometer (recommended for egg mixture)
Notes
- Read and reread the recipe before you start it to get an idea of everything you need to do. Then, prep all the ingredients and tools before beginning to work on the pie.
- To melt the chocolate, use a double boiler, if you have one, or fill a saucepan with an inch or two of water. Place a heatproof bowl over the pan – make sure it does not touch the water. You just need it to fit snugly over the rim of the pan. Lower the heat to a gentle simmer, add the chopped chocolate to the bowl, and let it melt for 3 to 4 minutes, stirring frequently. You can use the same method for the eggs and sugar mixture.
- For the silkiest filling, ensure all ingredients are at room temperature unless otherwise specified.
Nutrition
Calories: 574kcal | Carbohydrates: 40g | Protein: 5g | Fat: 45g | Saturated Fat: 26g | Polyunsaturated Fat: 3g | Monounsaturated Fat: 13g | Trans Fat: 1g | Cholesterol: 135mg | Sodium: 206mg | Potassium: 231mg | Fiber: 2g | Sugar: 29g | Vitamin A: 1232IU | Vitamin C: 0.3mg | Calcium: 60mg | Iron: 4mg
Nutritional info is an estimate and provided as courtesy. Values may vary according to the ingredients and tools used. Please use your preferred nutritional calculator for more detailed info.