

Welcome to the enchanting world of holiday baking, where tradition meets irresistible delight! These utterly charming Melted Snowman Cookies are not just a dessert; they’re a centerpiece of festive joy, perfect for spreading cheer during the holiday season. Imagine tender, buttery homemade sugar cookies, generously topped with a rich, smooth vanilla frosting that resembles freshly fallen snow. Capping off this winter wonderland is a plump, fluffy marshmallow “snowman head,” whimsically adorned to look as if it’s gently melting into the sweet landscape. These delightful cookies are guaranteed to bring smiles and warm memories to both children and adults alike.

Our family absolutely adores these adorable melted snowman cookies, and we are confident they will become a cherished tradition in your home too! They truly embody the spirit of the holidays, offering a fun and engaging baking project that everyone looks forward to year after year. As you prepare your holiday cookie platters, consider adding these whimsical creations alongside other festive favorites. Imagine a spread featuring these charming snowmen next to Christmas cake mix cookies, classic candy cane cookies, and timeless homemade butter cookies. Don’t forget a side of refreshing minty candy canes to complete the festive presentation!
Why You’ll Fall in Love with Melted Snowman Cookies
These delightful treats offer so much more than just a sweet bite; they bring joy, creativity, and a touch of winter magic to any occasion. Here’s why Melted Snowman Cookies are an absolute must-make:
- Perfect for Engaging Kids. Baking is a wonderful way to create lasting memories with children. These cookies are ideal for little helpers! Involve them from the initial stages of preparing the dough, and then set up all the decorating components. Watch as their imaginations soar, allowing them to personalize each snowman with unique faces, scarves, and buttons. It’s a fantastic activity that fosters creativity and fine motor skills.
- Overflowing with Festive Charm. Nothing quite captures the whimsical essence of winter and the holiday season like a melting snowman. These cookies are impeccably suited for any festive gathering, holiday party, or simply as a cozy treat on a snowy afternoon. Their playful appearance instantly brightens any dessert table and makes them a conversation starter.
- Unleash Your Inner Artist. While we provide plenty of inspiration and guidance, these cookies are a canvas for your creativity. Use our suggestions as a springboard to experiment with different colors, sprinkles, and edible decorations. Each cookie can become a unique work of art, reflecting your personal style and flair. Consider different expressions for the snowmen or varied accessories to make each one truly special.
- Ideal for Party Activities. Looking for a fun and interactive activity for your next holiday gathering? Host a cookie decorating party! Prepare a batch of undecorated sugar cookies and all the frosting and decorating supplies. Guests, both young and old, will love the opportunity to create their own melted snowman masterpieces. It’s an engaging way to connect and celebrate the season together.
- A Simple Yet Impressive Treat. Despite their intricate appearance, these cookies are surprisingly simple to make. Even beginner bakers can achieve stunning results, thanks to straightforward instructions and readily available ingredients. They offer that “wow” factor without requiring hours of complex work, making them perfect for busy holiday schedules.
- Deliciously Irresistible. Beyond their charming looks, these cookies are incredibly tasty. The combination of a tender, buttery sugar cookie base, smooth vanilla frosting, and soft marshmallow creates a harmonious texture and flavor profile that’s simply irresistible. You might find it hard to stop at just one!
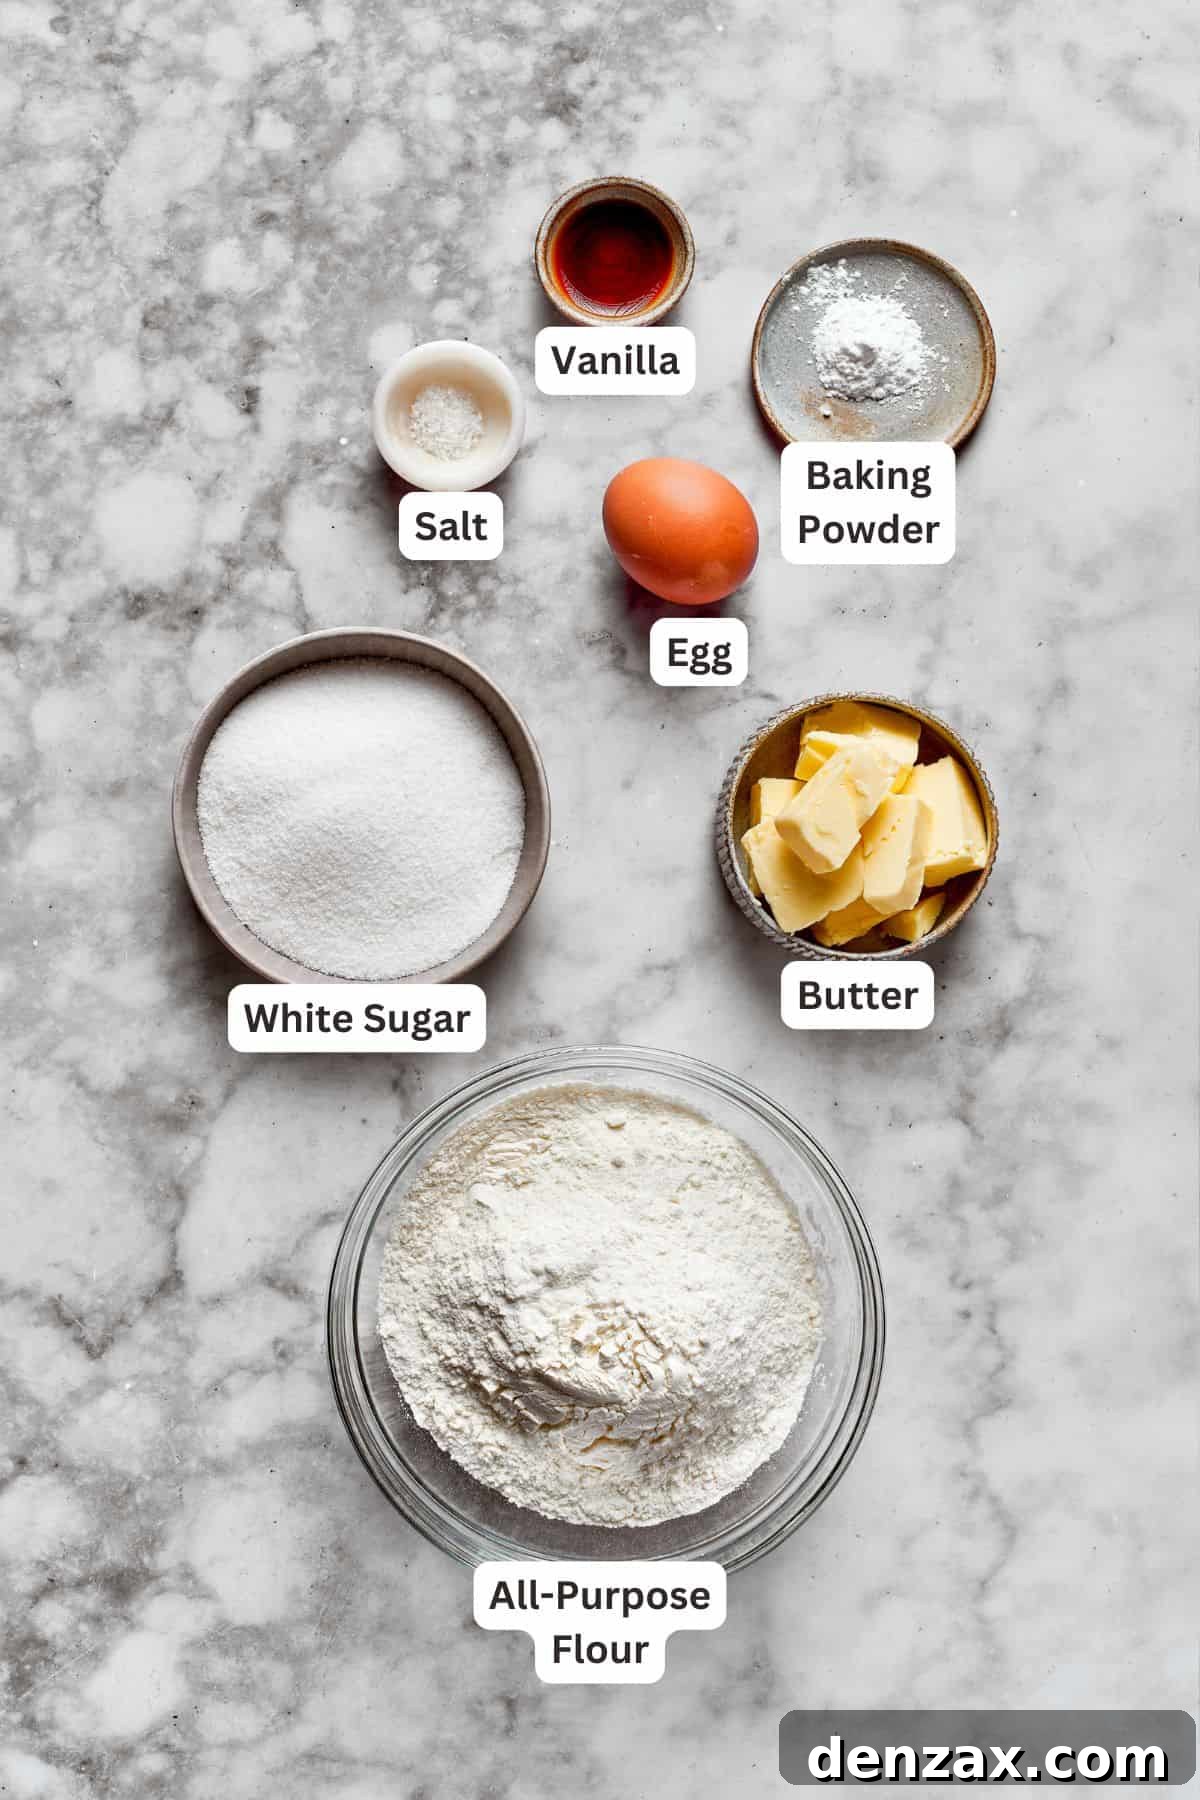
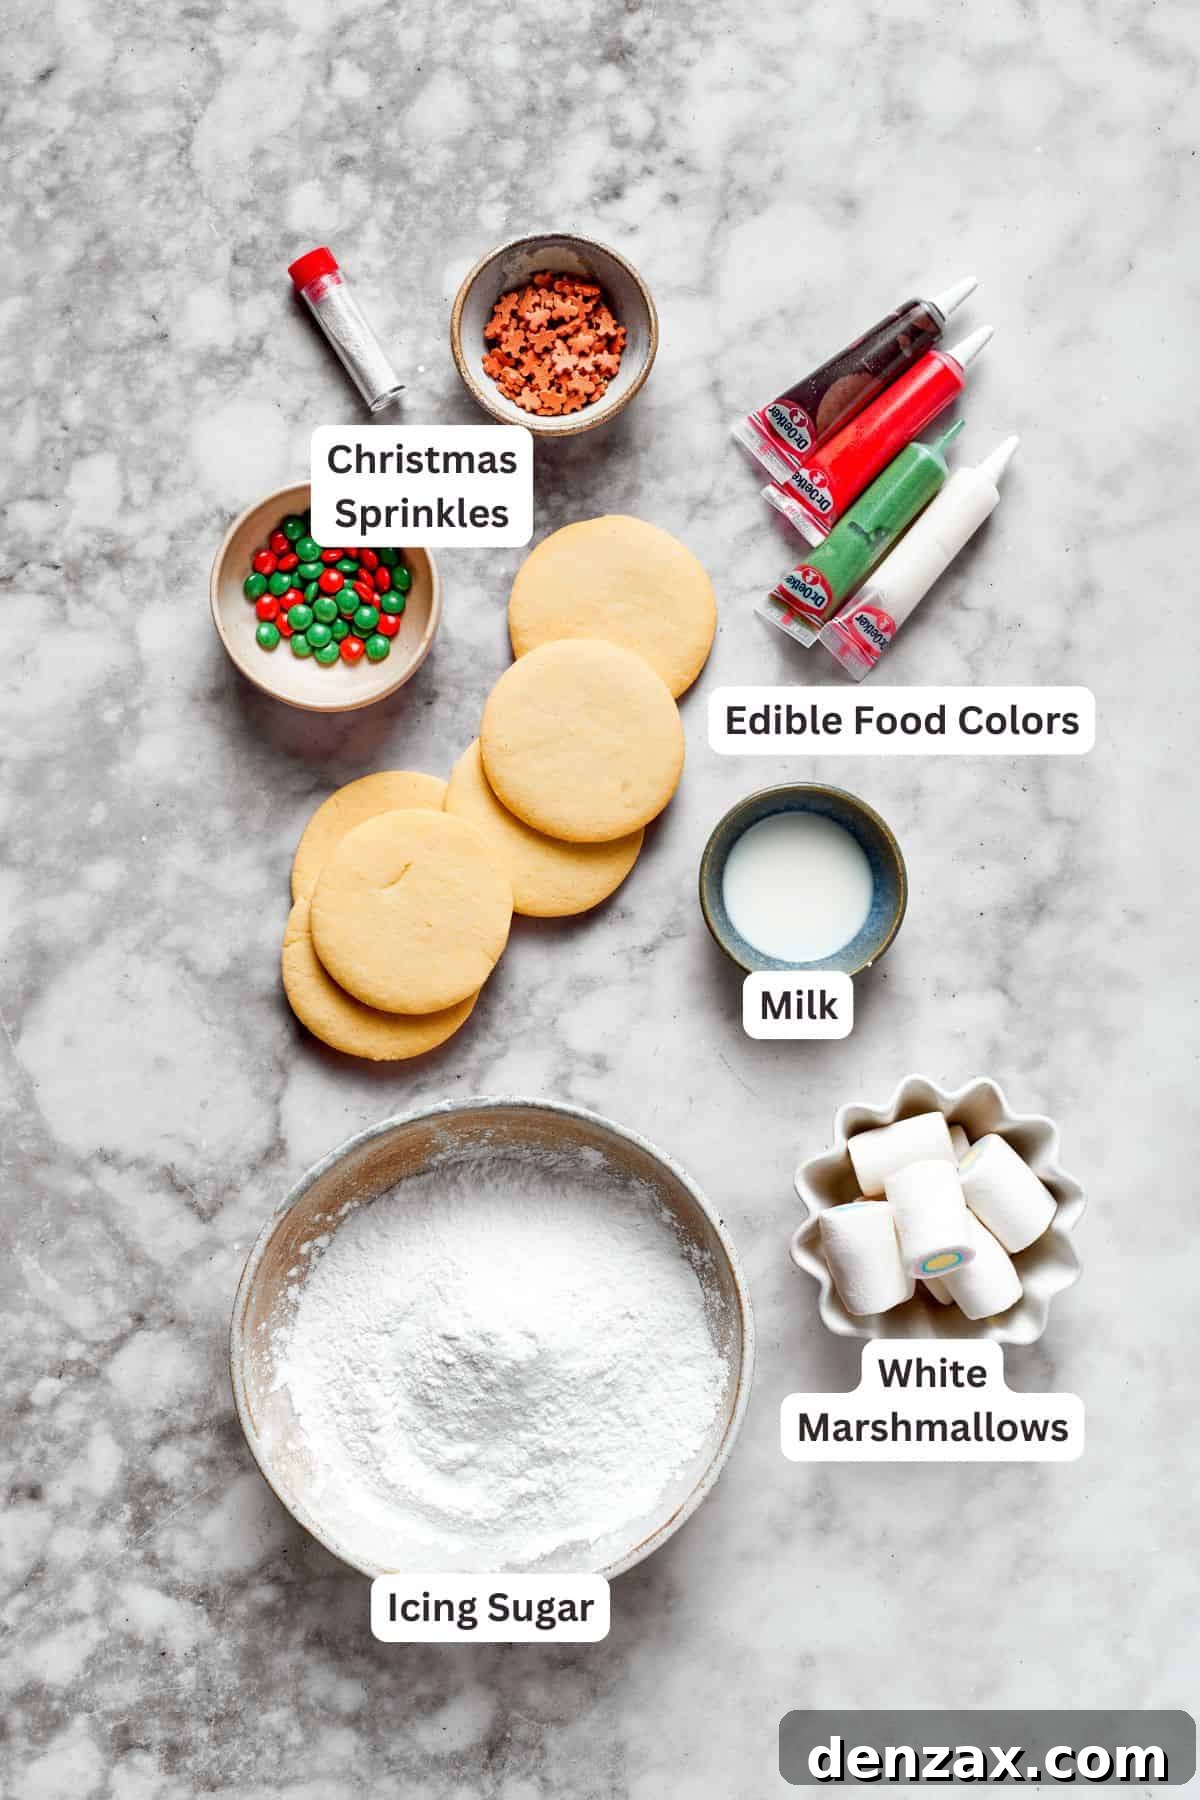
Essential Ingredients for Your Snowman Cookies
Crafting these delightful holiday cookies requires a selection of readily available pantry staples. Each ingredient plays a crucial role in achieving the perfect texture and flavor for both the cookies and their whimsical decorations. Here’s a detailed look at what you’ll need to gather:
- Unsalted Butter: The foundation of our rich, tender sugar cookies. Ensure your butter is softened to room temperature before you begin. This is crucial for creaming it seamlessly with sugar, resulting in a smooth dough and perfectly chewy cookies. Using unsalted butter allows you to control the overall saltiness of the recipe.
- Dry Ingredients: This includes granulated sugar for sweetness, all-purpose flour for structure, baking powder to give the cookies a slight lift and tender crumb, and a pinch of salt to balance the flavors and enhance the sweetness. Sifting your dry ingredients together can prevent lumps and ensure even distribution.
- Large Egg: An essential binder that adds moisture and richness to the cookie dough, helping it come together beautifully. Just like the butter, make sure your egg is at room temperature to ensure it incorporates smoothly into the mixture.
- Flavorings: Pure vanilla extract is non-negotiable for that classic, comforting aroma and taste. For an optional but wonderfully bright twist, consider adding a touch of orange extract. The subtle citrus note complements the sweetness beautifully and adds an extra layer of holiday cheer.
- Powdered Sugar: Also known as confectioners’ sugar, this fine sugar is key for creating a smooth, velvety frosting that perfectly mimics melted snow. Always sift your powdered sugar before mixing to eliminate any pesky lumps, ensuring a silky-smooth icing texture.
- Milk: Whether you opt for whole milk or 2% milk, it’s used to achieve the ideal consistency for your vanilla frosting. Add it gradually to control the thickness, ensuring your “melted snow” spreads easily without being too runny.
- For Decorating: The fun part! You’ll need soft, fluffy marshmallows for the snowman heads. A selection of food coloring or specialized writing (gel) icing pens will allow you to draw adorable faces, buttons, and stick arms. Finally, don’t forget festive sprinkles to add that extra sparkle and holiday cheer!
For precise measurements and comprehensive step-by-step instructions, be sure to refer to the detailed recipe card conveniently located at the end of this post. It contains all the information you’ll need to successfully create these charming Melted Snowman Cookies!

Step-by-Step Guide: Crafting Melted Snowman Cookies
Creating these adorable Melted Snowman Cookies is a fun and rewarding process! If you’re pressed for time, a convenient shortcut is to use store-bought sugar cookies and simply proceed with the decorating steps. However, for that ultimate homemade taste and texture, follow our detailed guide to bake and decorate your own from scratch. Here’s a quick overview of the enchanting journey to making these holiday favorites:
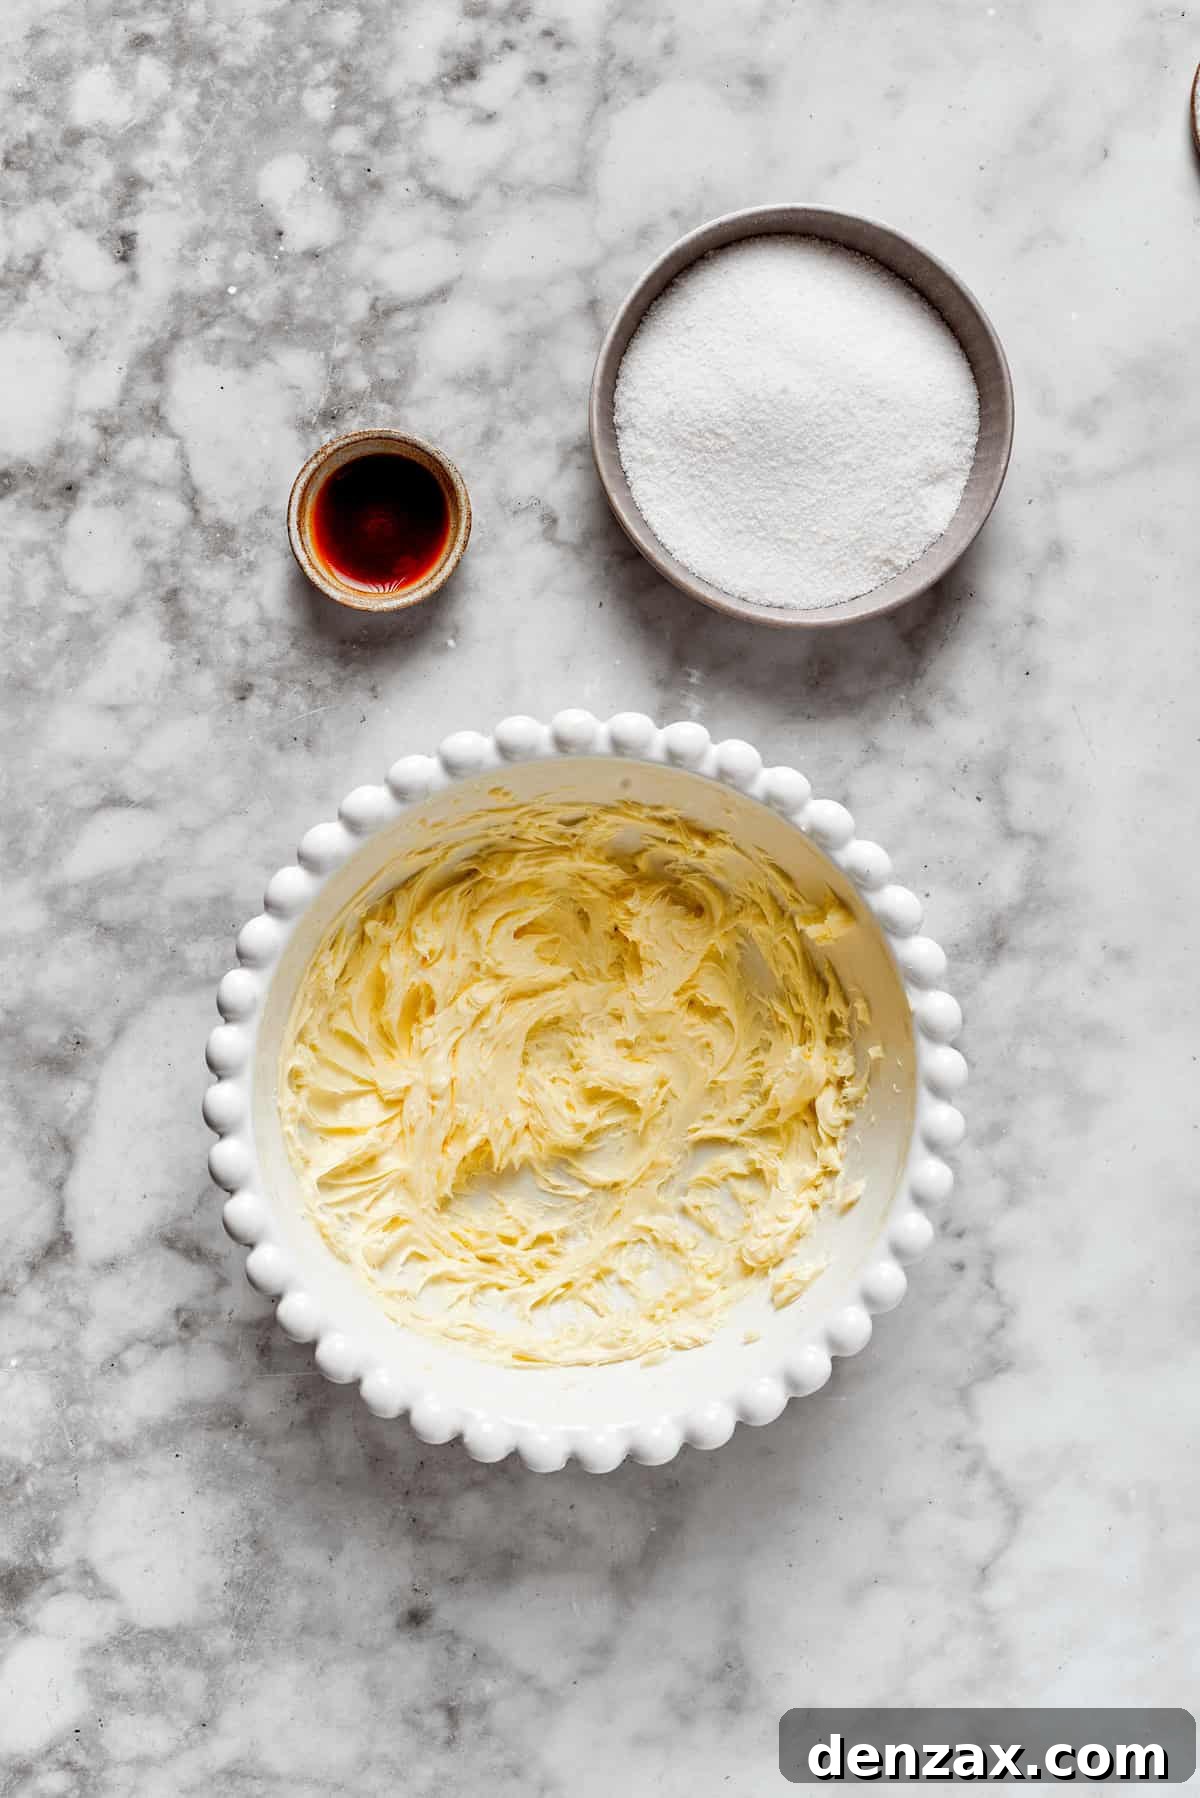
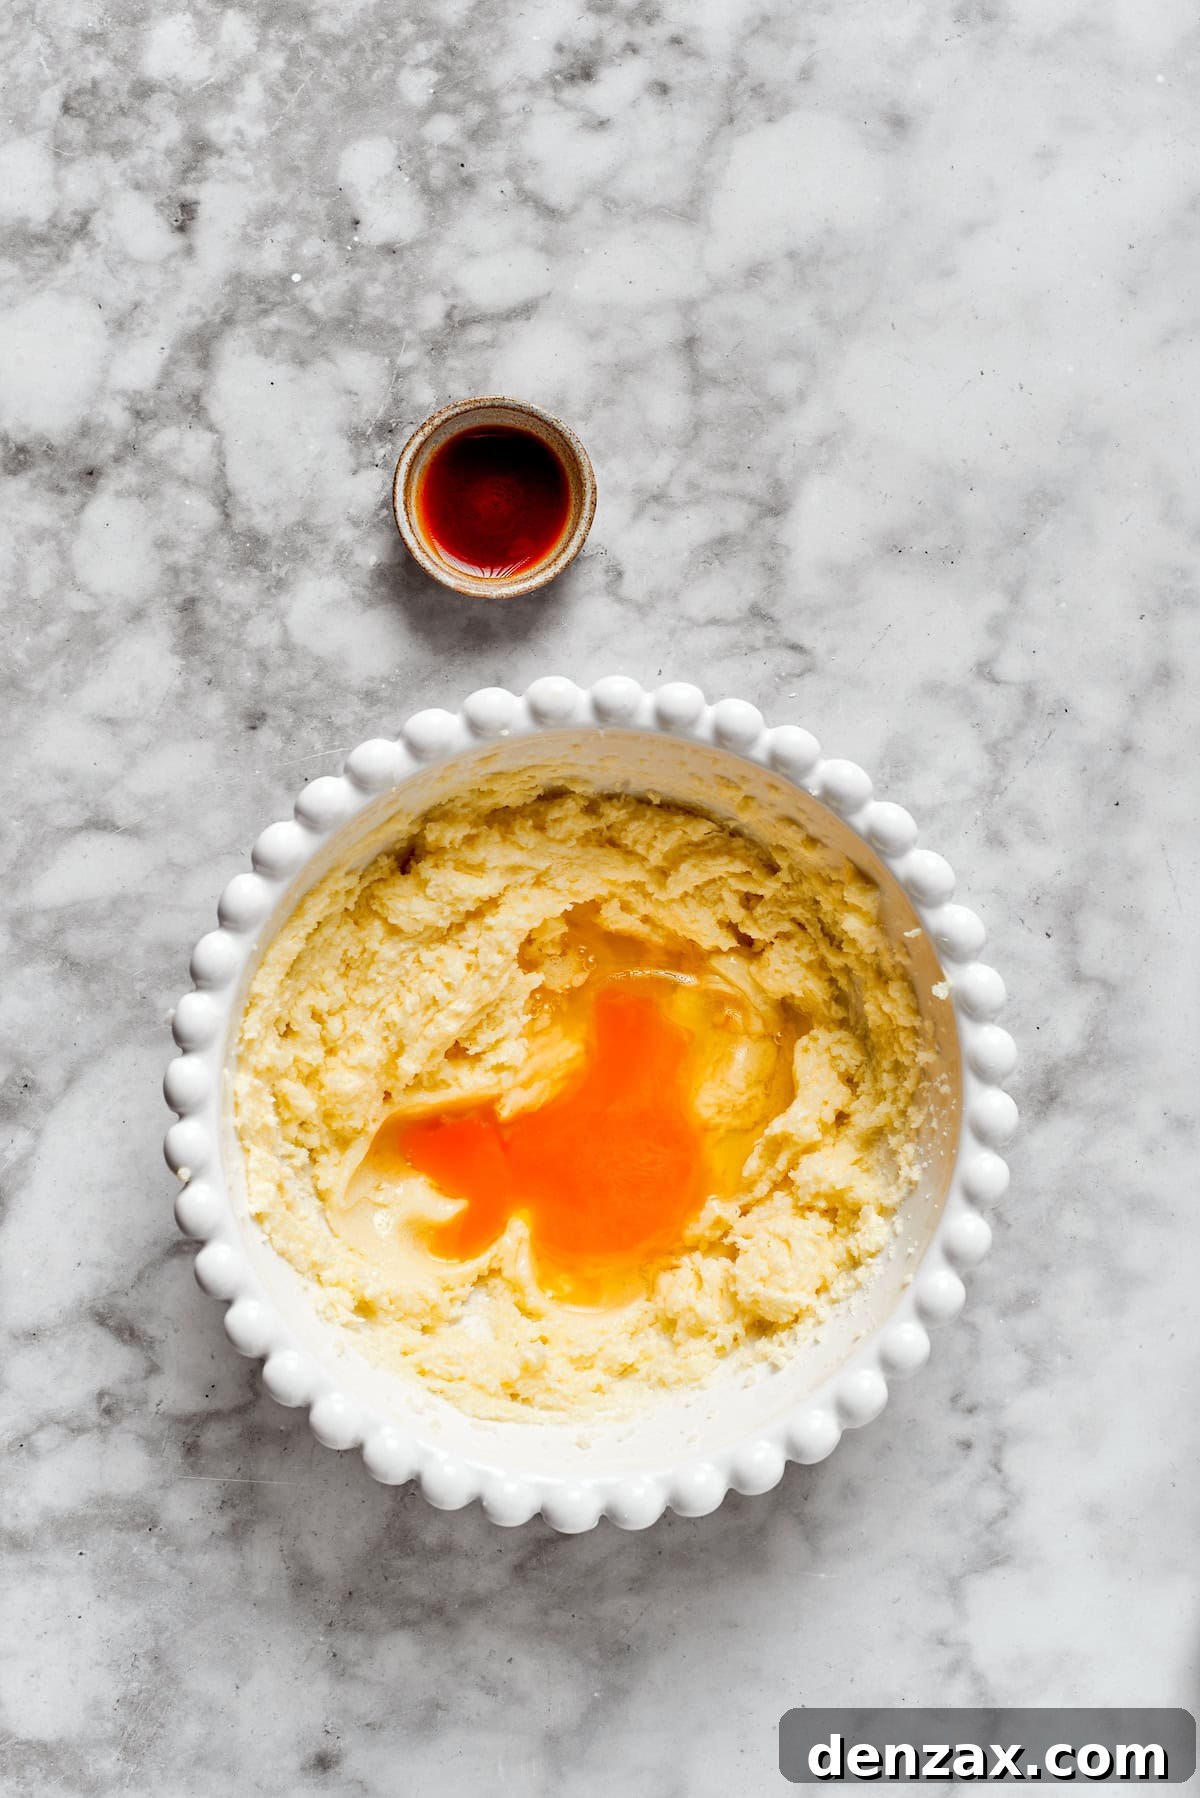
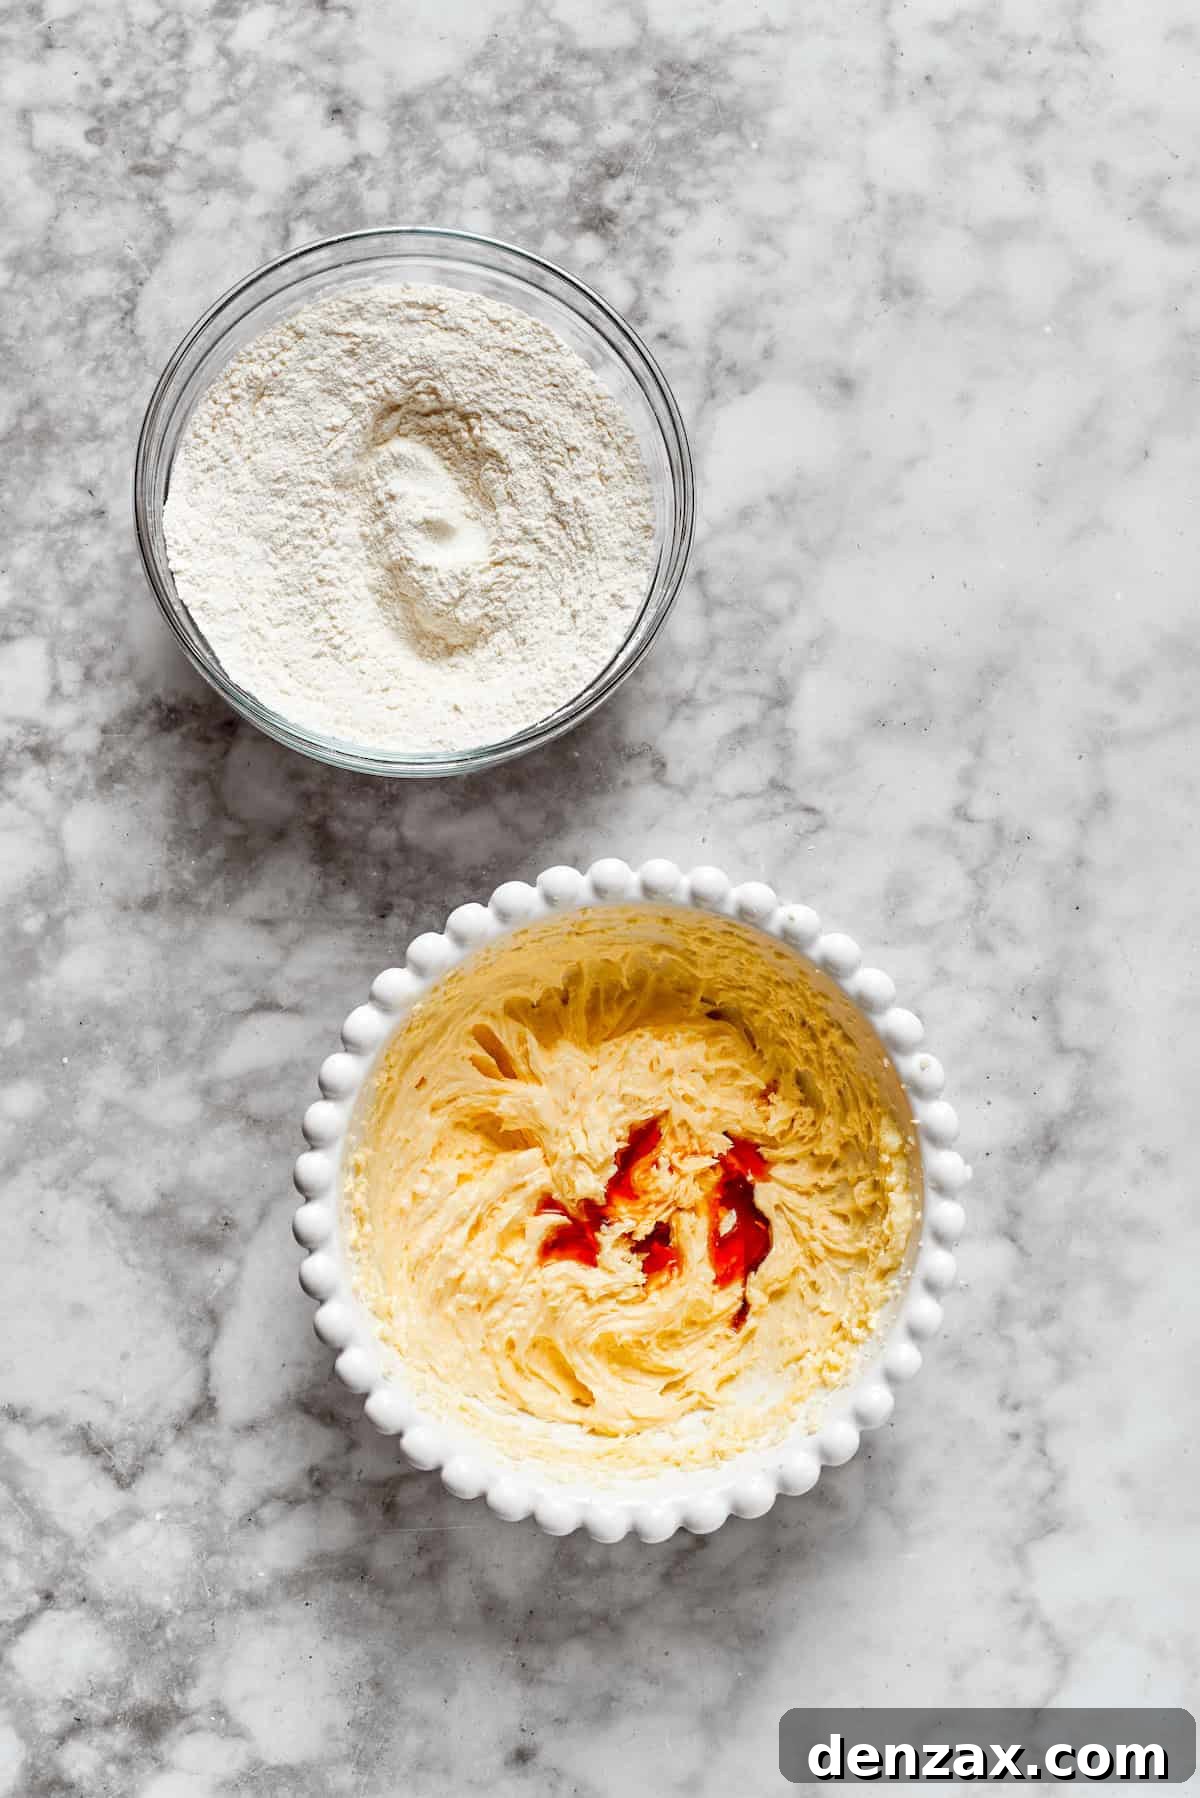
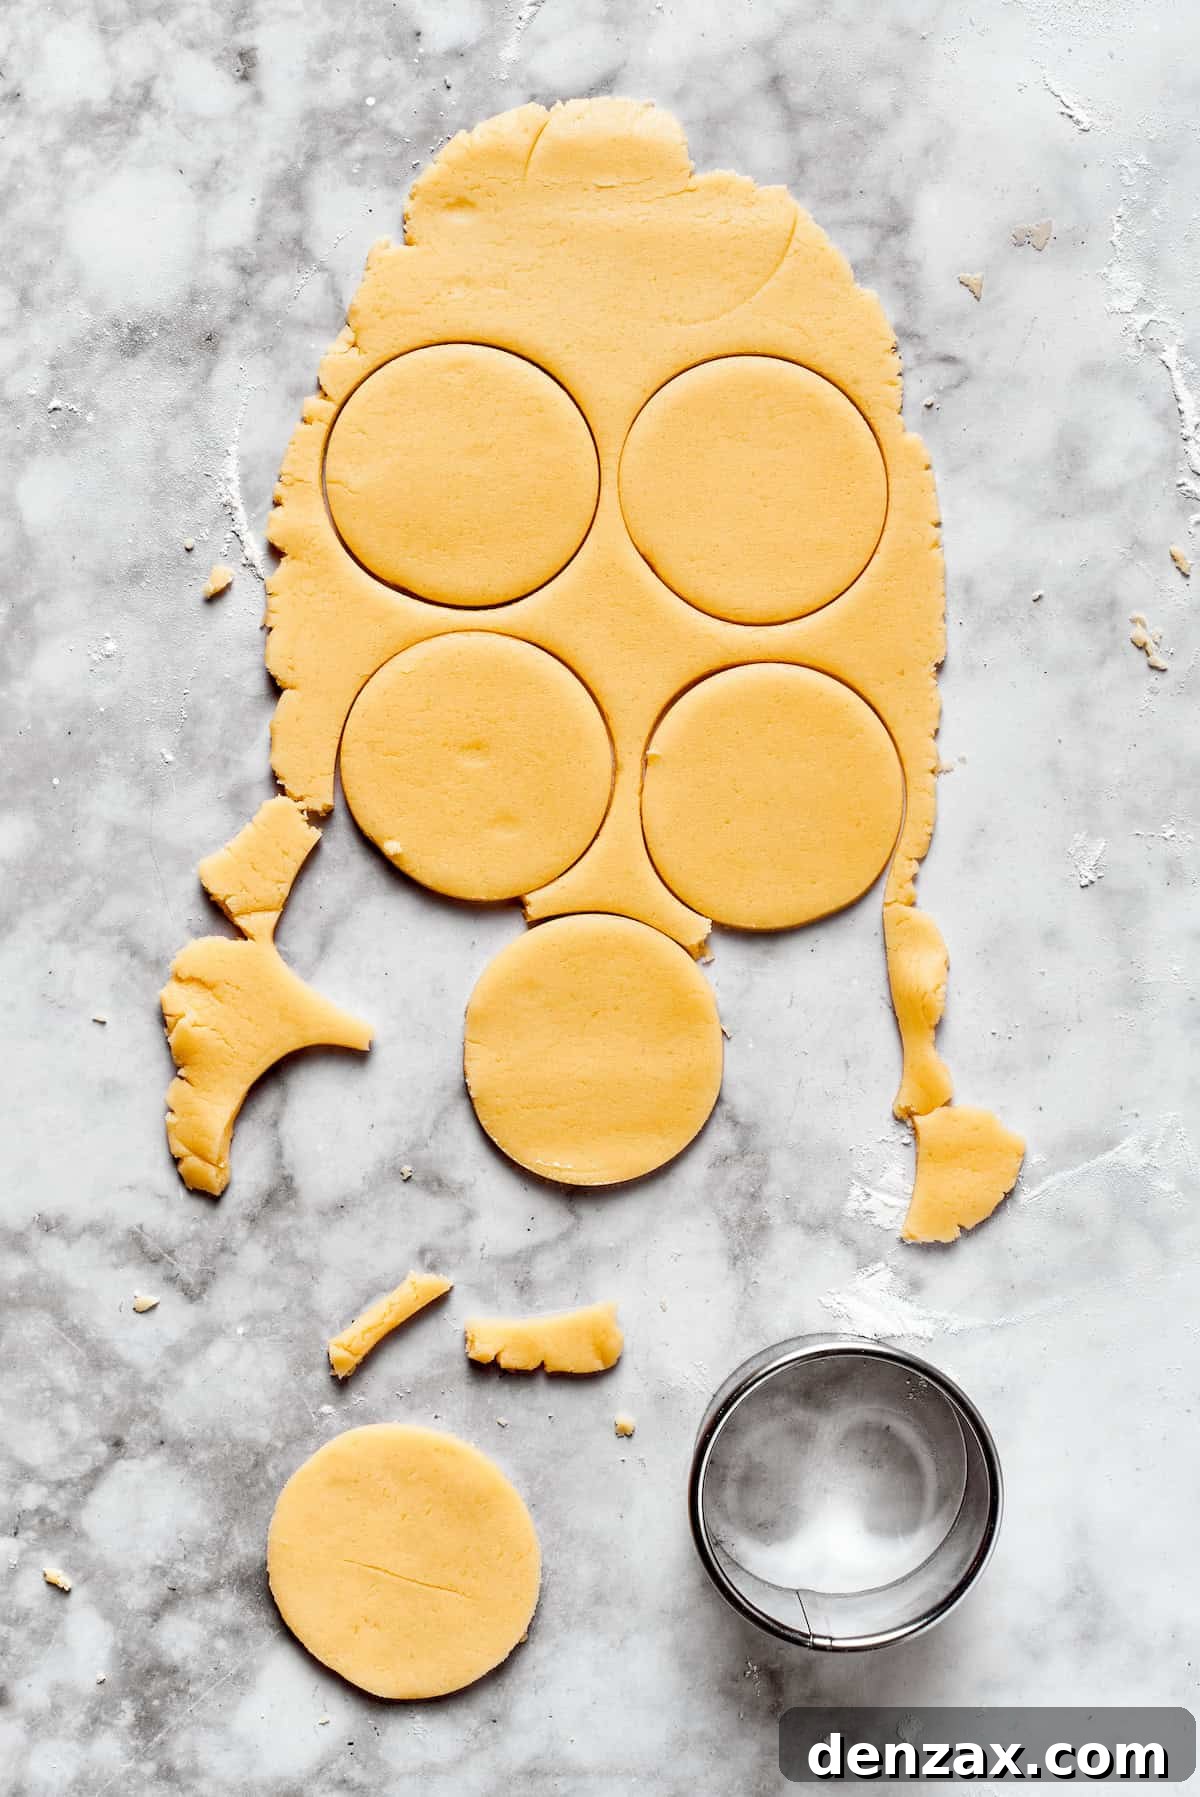
- Prepare the Cookie Dough: In a large mixing bowl, begin by creaming together the softened butter and granulated sugar until the mixture becomes wonderfully light and fluffy. This aeration is key to a tender cookie! Next, beat in the room temperature egg and the pure vanilla extract until everything is smoothly combined.
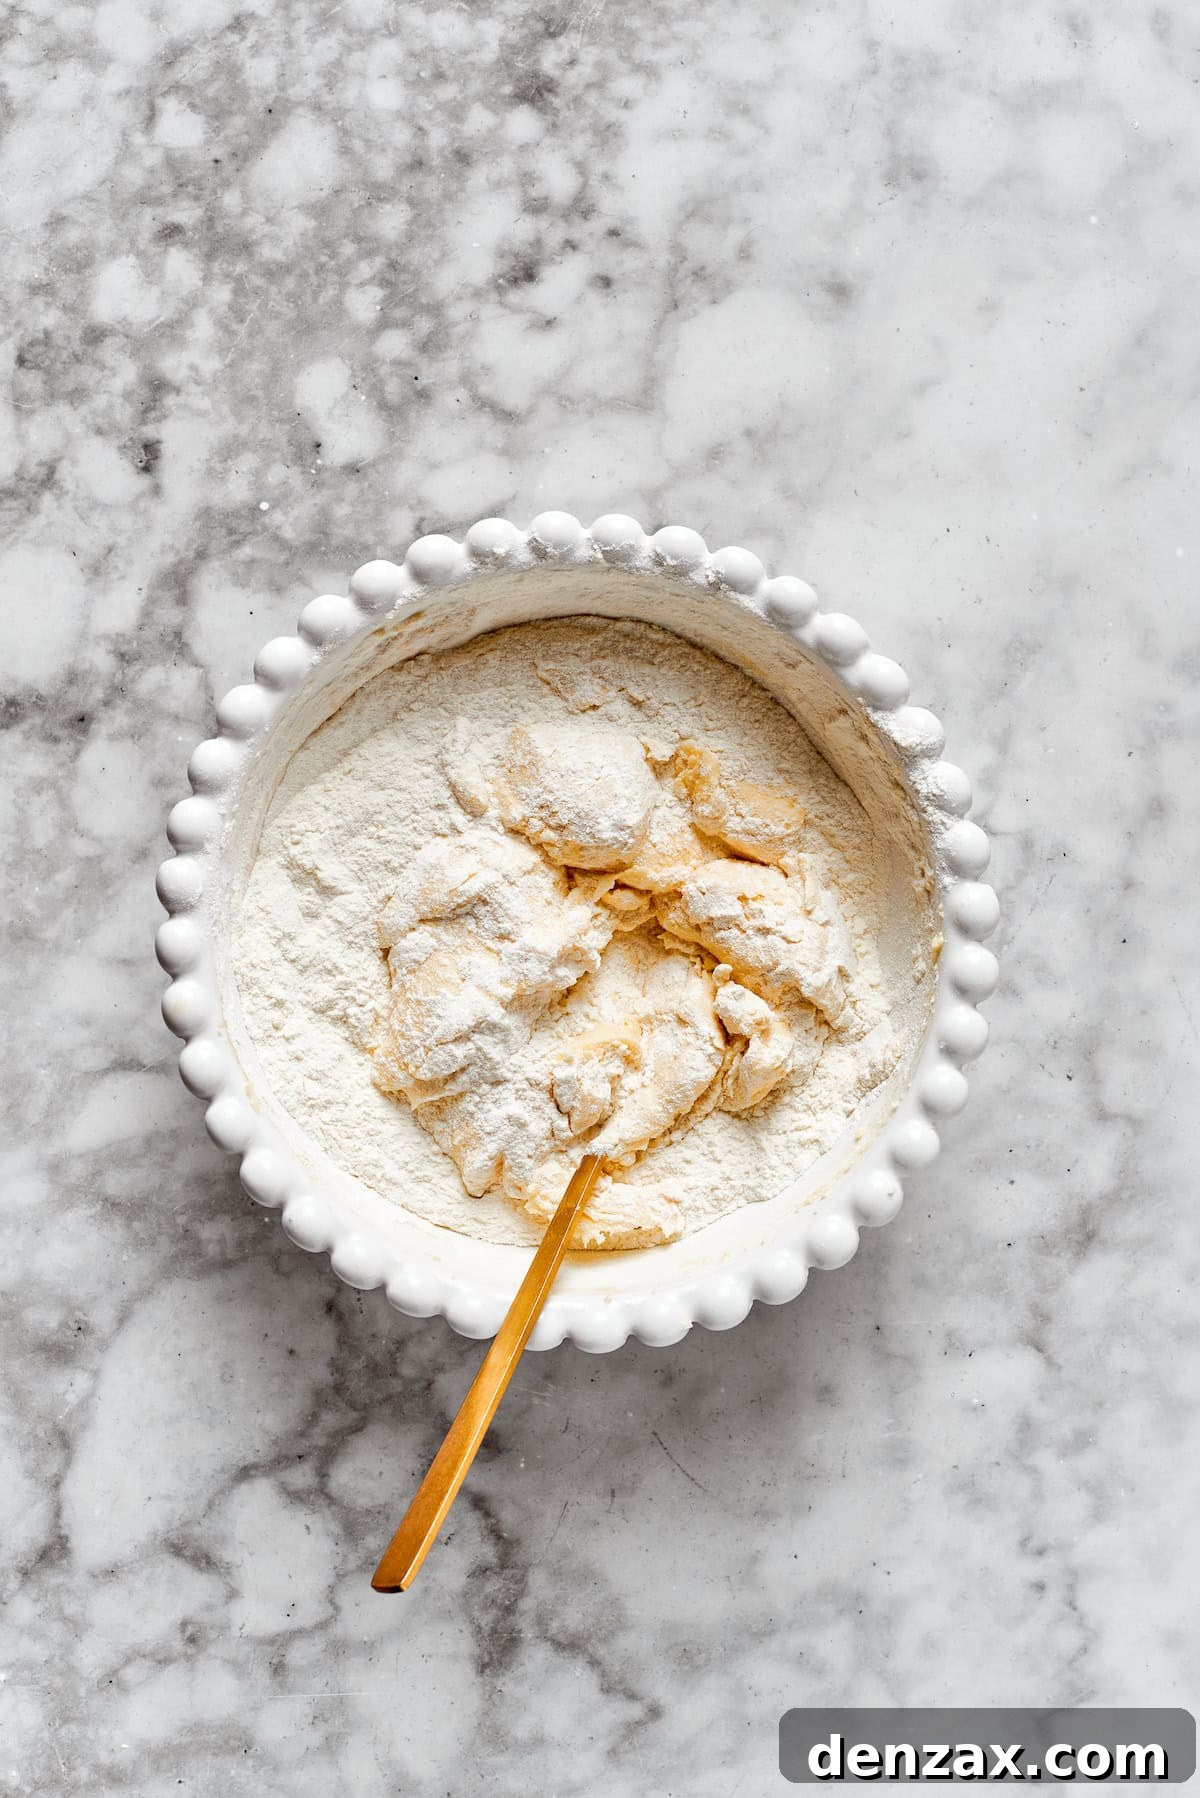
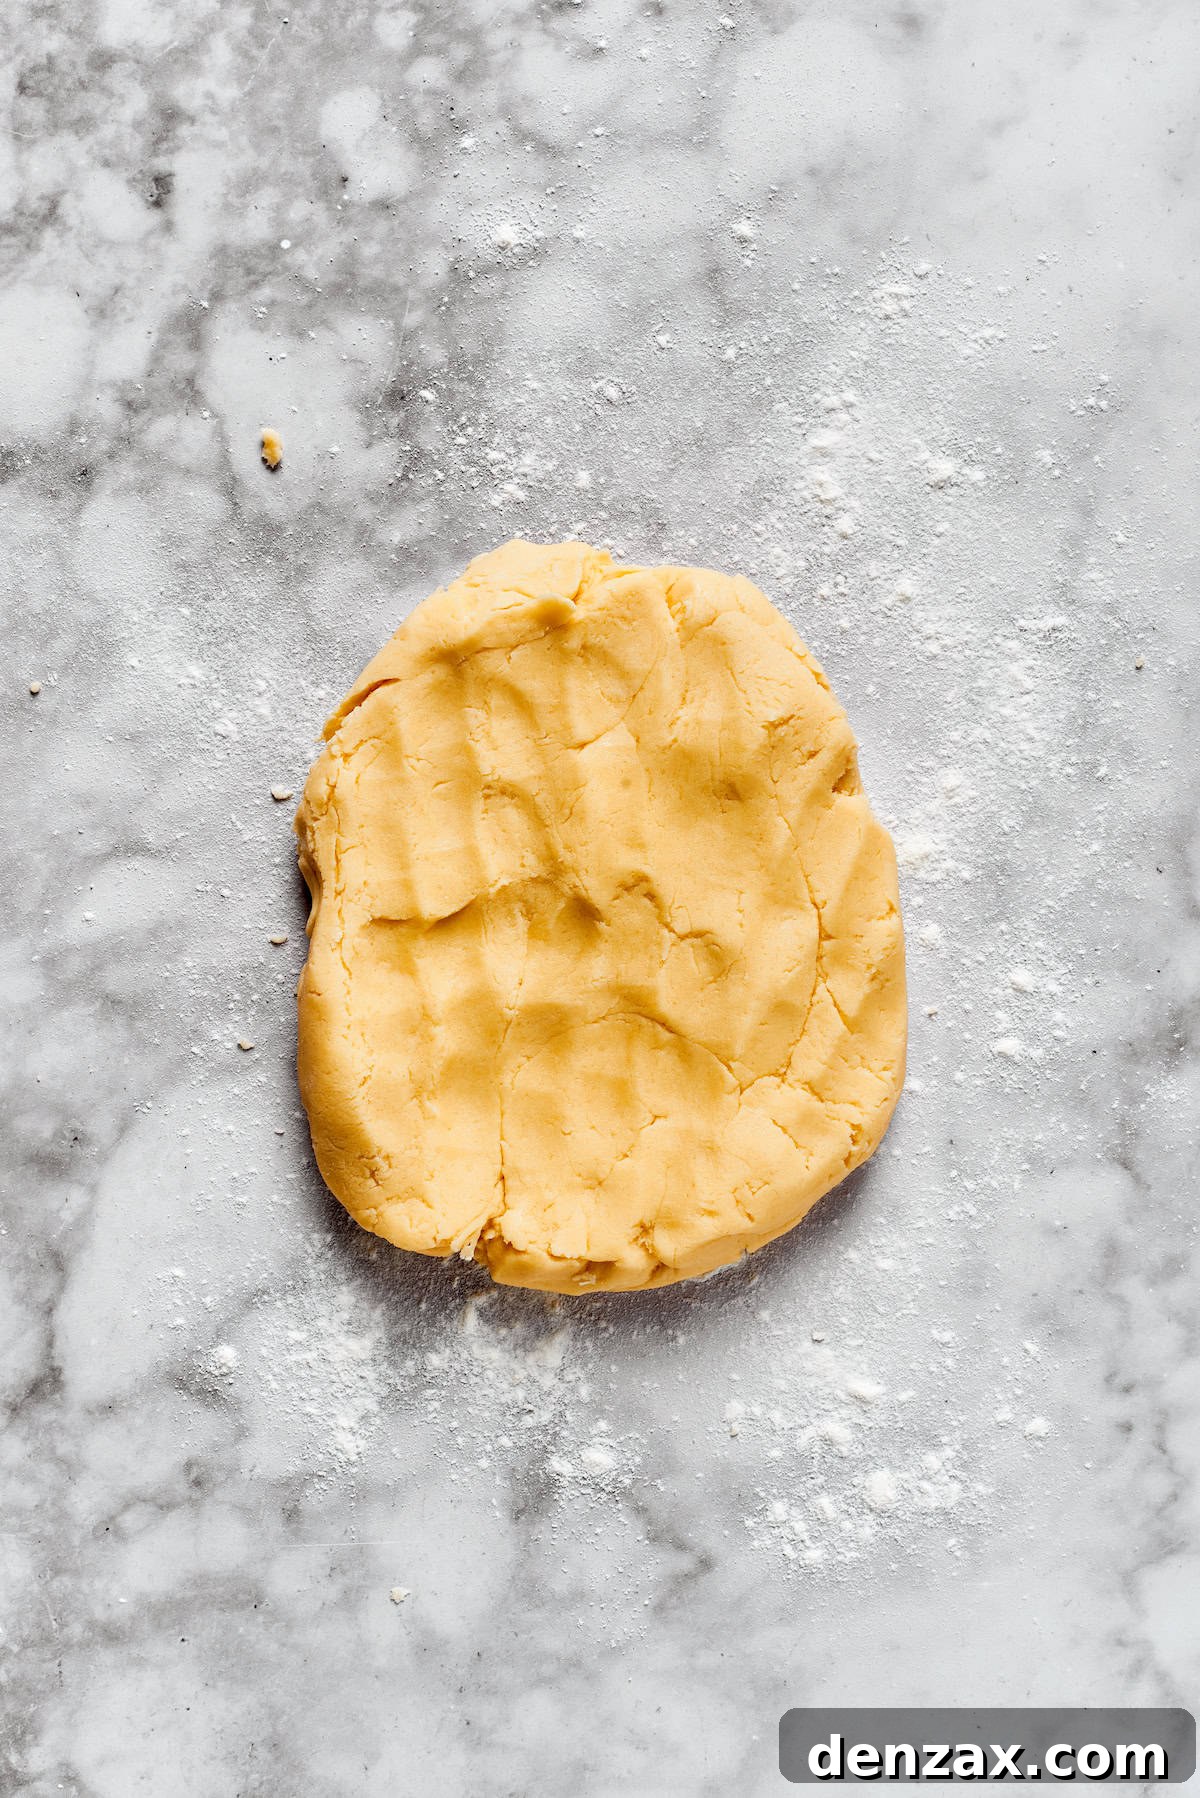
- Combine Wet and Dry Ingredients: In a separate bowl, whisk together your dry ingredients: all-purpose flour, baking powder, and salt. Gradually add this dry mixture into the wet ingredients, mixing on low speed until a soft, cohesive dough forms. Be careful not to overmix, as this can lead to tough cookies.
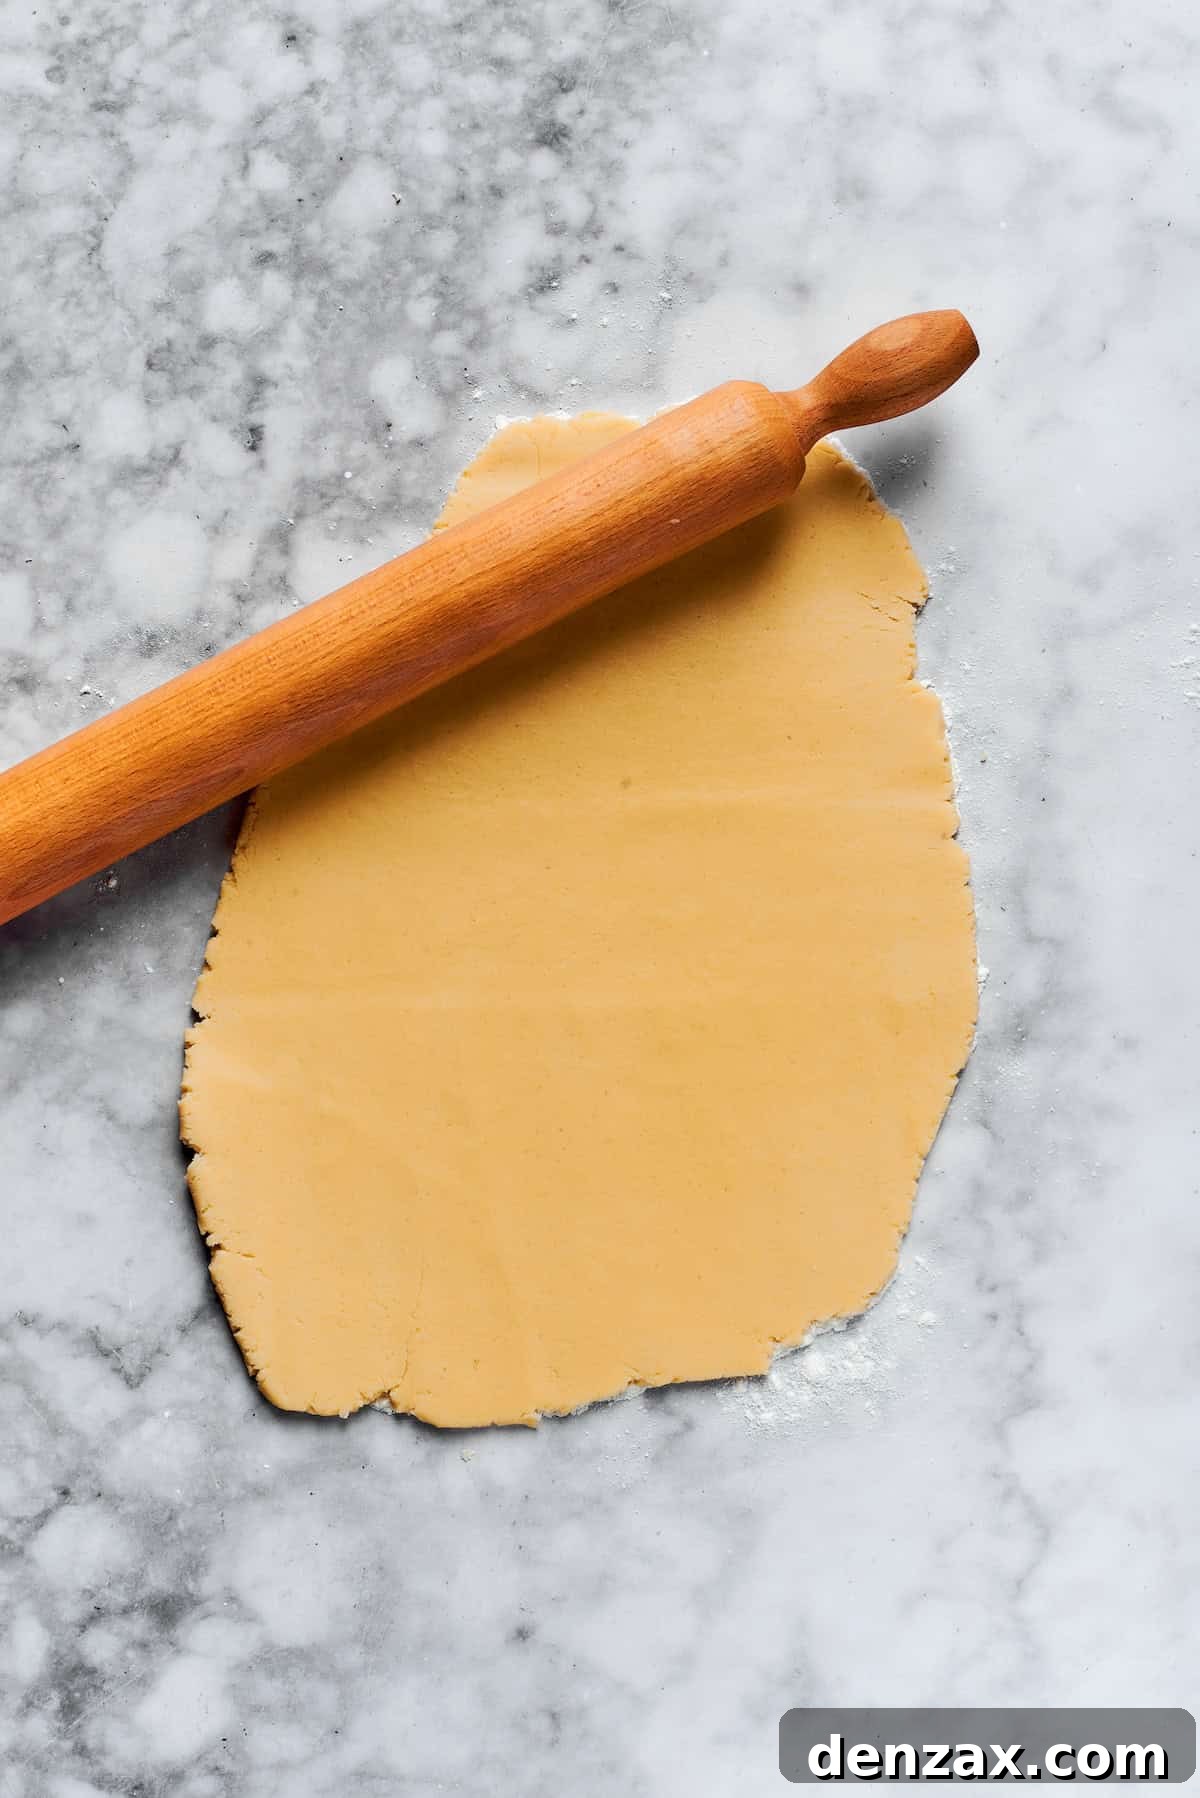
- Roll Out and Cut: Lightly flour your work surface to prevent sticking. Roll out the cookie dough to an even ¼-inch thickness. Use a 2-3 inch round cookie cutter to cut out your cookie shapes. Carefully transfer these rounds to a baking sheet lined with parchment paper, leaving about 2 inches between each cookie. Bake in a preheated oven at 350°F (175°C) for 12-14 minutes, or until the edges are lightly golden. Allow them to cool on the baking sheet for a few minutes before transferring them to a wire rack to cool completely.
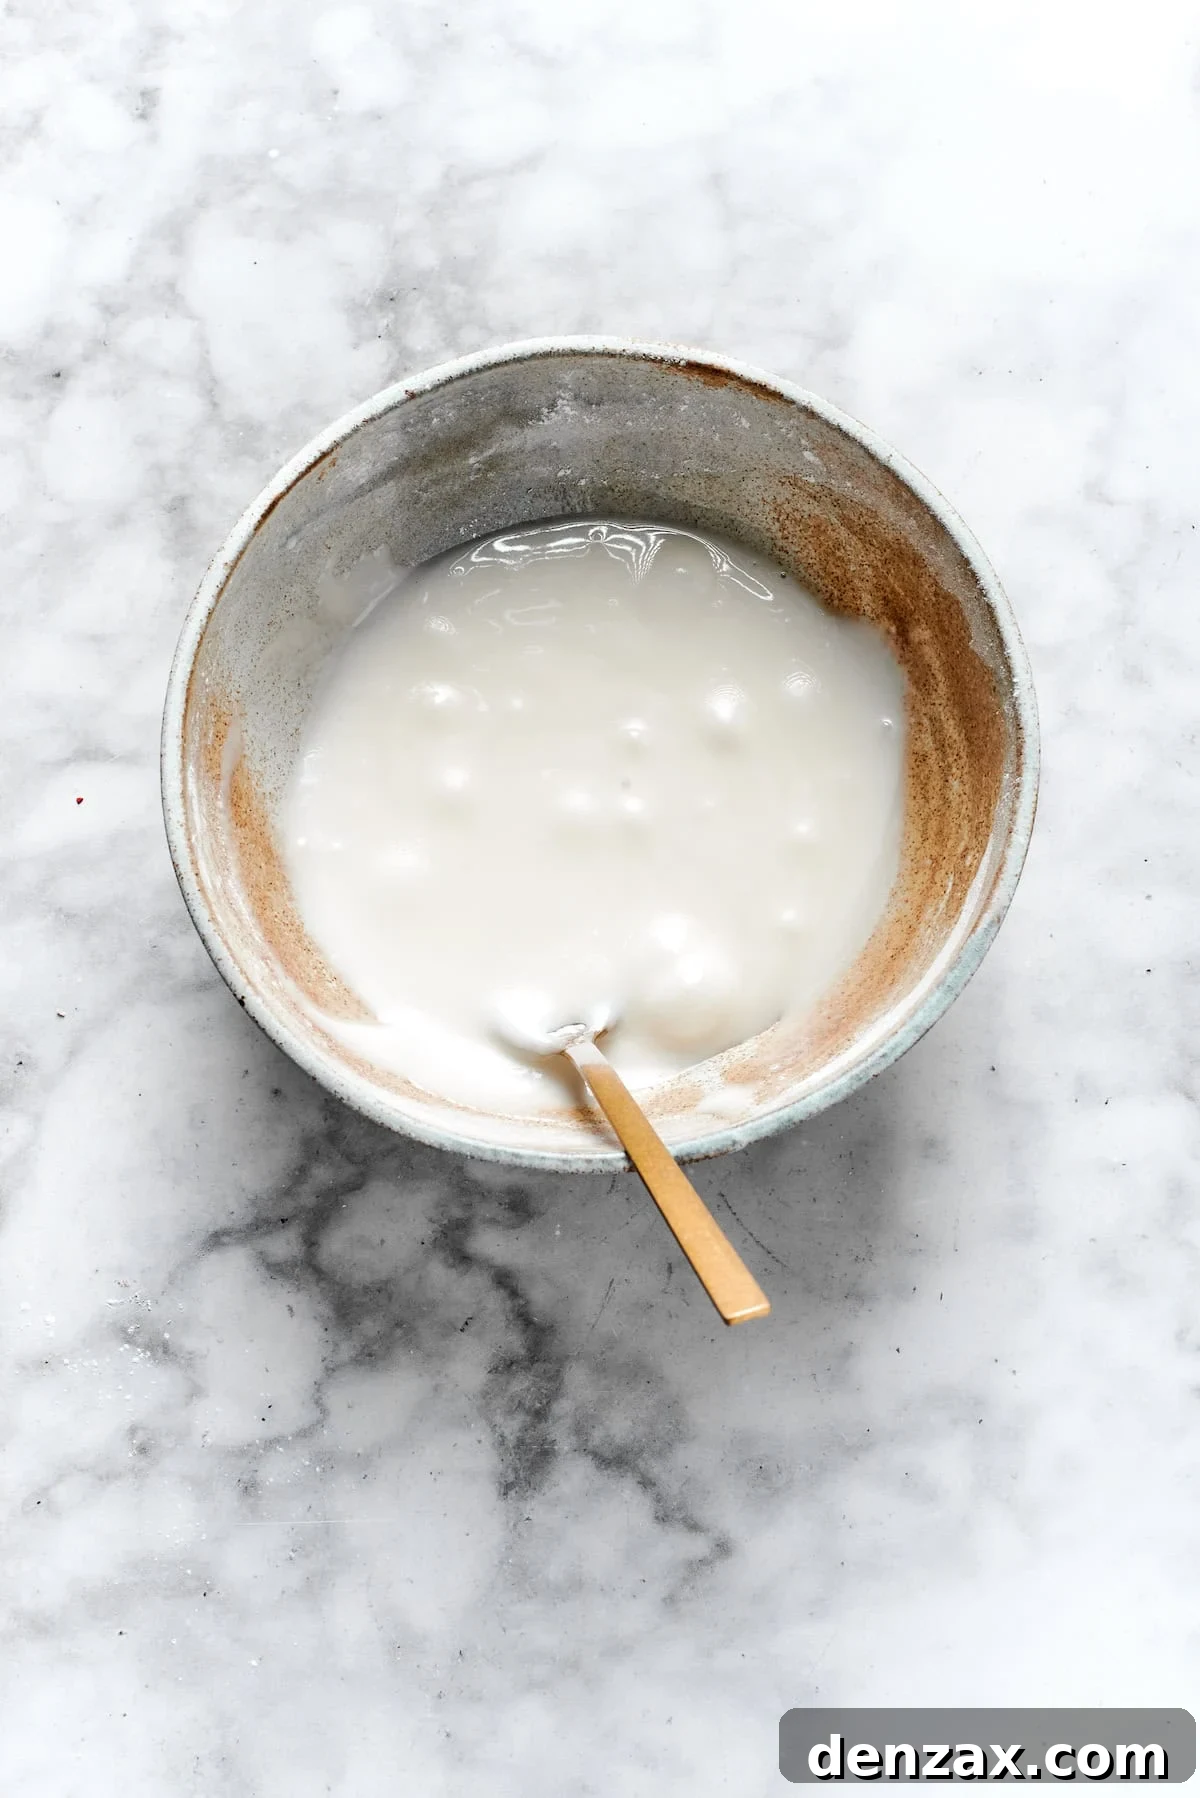
- Prepare the Icing: While your cookies cool, prepare the “melted snow” frosting. In a small bowl, combine the sifted powdered sugar with milk, adding one teaspoon at a time. Mix thoroughly until you achieve a smooth, slightly thick consistency that is spreadable but won’t run off the cookies. Adjust milk as needed.
- Decorate Your Snowmen: Once the cookies are completely cool, spread a generous layer of the prepared white icing over each one, creating the illusion of a snowy puddle. Immediately place one large marshmallow on one side of each frosted cookie – the icing will help it stick in place. Now for the fun part: use edible food coloring markers or writing gel icing to draw adorable faces on the marshmallows (two dots for eyes, a small carrot-like nose). Then, add stick arms, buttons, or even little scarves directly onto the “melted snow” frosting.
- Set and Serve: Allow your beautifully decorated Melted Snowman Cookies to sit undisturbed for about 30 minutes, or until the icing has fully set and the decorations are firm. Once set, they are ready to be admired and devoured!

Expert Tips for Flawless Melted Snowman Cookies
Achieving perfectly adorable and delicious Melted Snowman Cookies is easier with these helpful hints and tricks:
- Embrace Room Temperature Ingredients: This is a golden rule in baking! Always ensure your butter and eggs are at room temperature. Ingredients at a similar temperature emulsify more easily, creating a uniformly smooth dough that bakes evenly and yields the best texture for your cookies. Planning ahead for this small step makes a big difference.
- Prepare Cookies in Advance: To simplify your holiday baking, you can prepare parts of this recipe ahead of time. The cookie dough can be made and frozen for up to a month. Alternatively, bake the sugar cookies, let them cool completely, and then freeze them in an airtight container for up to 3 months. Thaw them thoroughly before you’re ready to frost and decorate. This is a fantastic time-saver during busy periods.
- Opt for Store-Bought Cookies for Convenience: If your schedule is packed or you simply prefer a quicker route, don’t hesitate to purchase a package of plain sugar cookies from your local bakery or grocery store. You can then jump straight to the fun part: preparing the icing and transforming them into charming melted snowmen following our decorating instructions.
- Experiment with White Chocolate for “Melted Snow”: For a richer, slightly different flavor profile and an equally convincing “melted snow” effect, try using melted white chocolate chips instead of the powdered sugar icing. Gently warm the white chocolate until smooth, then spread it over each cooled cookie. The chocolate will harden as it cools, providing a delightful snap and a glossy finish that looks just like melting snow.
- Cool Completely Before Decorating: Patience is a virtue, especially when it comes to frosting cookies! Ensure your cookies are entirely cool before applying the icing. If the cookies are even slightly warm, the icing will melt, run, and lose its perfect “puddle” consistency, making it difficult for the marshmallow to adhere.
- Chill the Dough (Optional but Recommended): For sharper cookie edges and less spread during baking, consider chilling your rolled-out cookie dough rounds in the refrigerator for about 15-20 minutes before baking. This helps the butter solidify, leading to a more defined shape.
- Get Creative with Decorations: Don’t limit yourself to just gel icing for faces. Small chocolate chips can make excellent eyes, mini M&M’s can be colorful buttons, and tiny pretzel sticks can serve as rustic snowman arms. Edible glitter can add extra sparkle to your “snow”!
- Ensure Icing Consistency: The perfect icing consistency is key. It should be thick enough to hold its shape as a “puddle” but still fluid enough to spread smoothly. If it’s too thin, add more sifted powdered sugar; if too thick, add a few drops of milk at a time.

Storage Guidelines for Melted Snowman Cookies
To keep your Melted Snowman Cookies fresh and delicious, proper storage is essential. Here’s how to best maintain their quality and appearance:
Store your finished cookies in an airtight container at room temperature for up to 4 days. It’s generally not recommended to refrigerate or freeze these particular snowman cookies once they are decorated, as the moisture from the fridge can significantly affect the texture of the marshmallows, making them tough or sticky. However, if you wish to slightly extend their shelf life beyond four days, you may place the airtight container in the refrigerator for up to 7 days. If refrigerated, allow the cookies to come back to room temperature for about 15-30 minutes before serving to ensure the best texture and flavor. This also helps the frosting soften slightly and the marshmallow regain its soft, fluffy consistency.
For best results and to preserve the delicate marshmallow texture, try to enjoy these charming cookies within a few days of making them.
More Festive Christmas Cookie Recipes to Explore
If you’re brimming with holiday baking spirit and eager to expand your repertoire of festive treats, we have a wonderful selection of other Christmas cookie recipes that are sure to delight. From dazzling creations to comforting classics, these recipes are perfect for sharing with loved ones or adding to your holiday cookie exchange:
- Stained Glass Cookies: These beautiful cookies aren’t just delicious; their jewel-like centers will shimmer and catch the light, making them a stunning addition to any holiday platter.
- Hot Chocolate Sugar Cookies: Combine two winter favorites into one delectable treat! These cookies capture the rich, comforting flavor of hot chocolate in a tender sugar cookie form.
- White Chocolate Chip Cookies: A classic cookie with a luxurious twist. Soft, chewy cookies studded with creamy white chocolate chips, perfect for a cozy winter evening.
- Gingerbread Men (or Women!) Cookies: A timeless holiday tradition, these spiced cookies are fun to decorate and fill your home with an irresistible aroma.
- Peppermint Bark Cookies: Infuse your cookies with the refreshing zest of peppermint and the rich indulgence of chocolate bark for a truly festive flavor.
- Thumbprint Cookies with Jam: These charming cookies with a soft center filled with fruity jam are simple, elegant, and always a crowd-pleaser.

Print Recipe
Melted Snowman Cookies
Ingredients
For the cookies:
- ½ cup unsalted butter, softened to room temperature
- ¾ cup granulated white sugar
- 1 large egg, at room temperature
- 1 teaspoon pure vanilla extract
- 1 teaspoon orange extract, optional, for a citrusy twist
- 2 cups all-purpose flour
- ½ teaspoon baking powder
- ¼ teaspoon salt
For the Icing:
- 1 cup Icing sugar, sifted to prevent lumps
- 1 tablespoon milk, or more, as needed for desired consistency
For Decorating:
- 16 white large marshmallows
- edible food colors, gel icing or food coloring markers recommended
- Christmas sprinkles, for extra festive touch
Instructions
-
Preparation: Preheat your oven to 350°F (175°C). Line several baking sheets with parchment paper to prevent sticking and ensure easy cleanup. Set these aside while you prepare the dough.
-
Cream Butter and Sugar: In a large mixing bowl, using an electric mixer, cream the softened unsalted butter and granulated sugar together until the mixture is light, fluffy, and pale in color. This process incorporates air, which contributes to a tender cookie. Add the large egg and vanilla extract (and orange extract if using), continuing to mix until all ingredients are smooth and thoroughly combined. Scrape down the sides of the bowl as needed.
-
Combine Ingredients: In a separate, medium-sized bowl, sift together the all-purpose flour, baking powder, and salt. Gradually add these dry ingredients to the wet mixture in the large bowl, mixing on a low speed until a soft, cohesive dough forms. Be careful not to overmix the dough once the flour is added, as this can make the cookies tough.
-
Roll and Cut Cookies: Lightly flour a clean work surface (like a countertop or large cutting board). Turn the cookie dough out onto the floured surface and roll it evenly to a thickness of approximately ¼ inch. Use a 2–3 inch round cookie cutter to cut out the cookie shapes. Carefully transfer these cutouts to your prepared baking sheets, ensuring they are spaced about 2 inches apart to allow for spreading during baking.
-
Bake the Cookies: Place the baking sheets in the preheated oven and bake for 12-14 minutes, or until the edges of the cookies are lightly golden brown. The centers may still appear soft. Remove the baking sheets from the oven and let the cookies cool on the sheets for about 5 minutes before carefully transferring them to a wire rack to cool completely. This prevents them from breaking.
-
Prepare the Icing: In a small bowl, combine the sifted icing sugar with milk. Add the milk one teaspoon at a time, mixing well after each addition, until a smooth, slightly thick consistency is achieved. The icing should be spreadable but thick enough to stay on the cookie without running off the edges, resembling melted snow. Adjust the amount of milk as necessary.
-
Decorate the Cookies: Once the cookies are entirely cool, spread a generous layer of the prepared white icing over each cookie, creating an uneven “puddle” shape to mimic melted snow. While the icing is still wet, carefully place a marshmallow on one side of each cookie (over the icing) to serve as the snowman’s head. Use edible food coloring markers or writing gel icing to draw whimsical faces (dots for eyes, a small triangle for a carrot nose) on the marshmallows. Then, add details like buttons, stick arms, or scarves directly onto the white icing. Feel free to add festive sprinkles for extra sparkle.
-
Set and Serve: Allow your decorated cookies to sit at room temperature for approximately 30 minutes, or until the icing has fully set and the decorations are firm to the touch. Once set, these adorable Melted Snowman Cookies are ready to be served and enjoyed!
Equipment
-
Round Cookie Cutters
-
Electric Mixer (stand or hand mixer)
-
Baking Sheets
-
Parchment Paper
-
Wire Cooling Rack
Nutrition Information
Nutritional information provided is an estimate and offered as a courtesy. Values may vary based on specific ingredients, brands, and tools used. For precise and detailed nutritional information, please use your preferred nutritional calculator.
Did you make this recipe? Leave a ratingWe’d love to hear your feedback!