
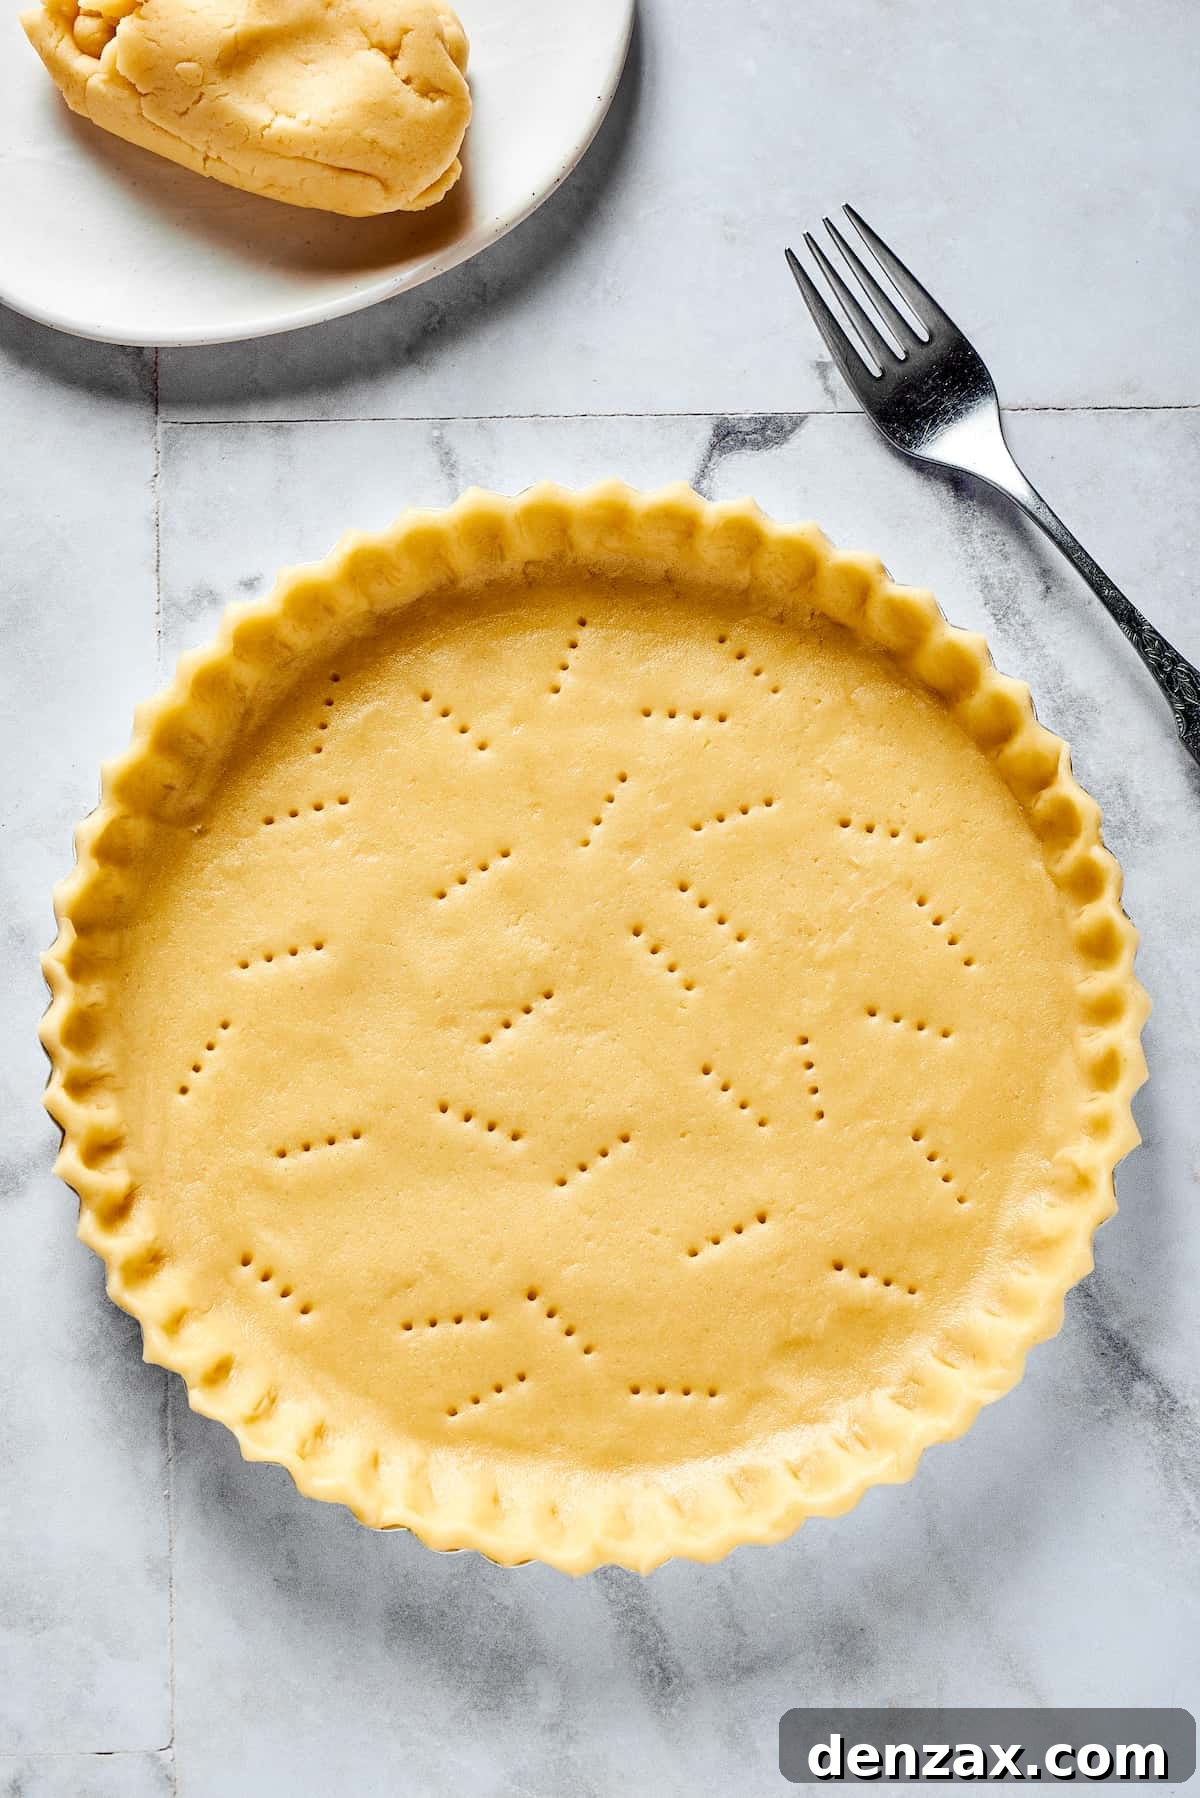
If you’ve been searching for the ultimate, effortlessly delicious Homemade Pie Crust Recipe, your quest ends here! This incredible all-butter crust is renowned for its exceptional flakiness, ease of preparation, and perfect versatility, making it the ideal foundation for virtually any pie filling you can imagine. Elevate your dessert table with timeless classics like our Perfect Pumpkin Pie or a comforting Homemade Apple Pie, adding that unmistakable touch of homemade goodness that truly sets them apart.
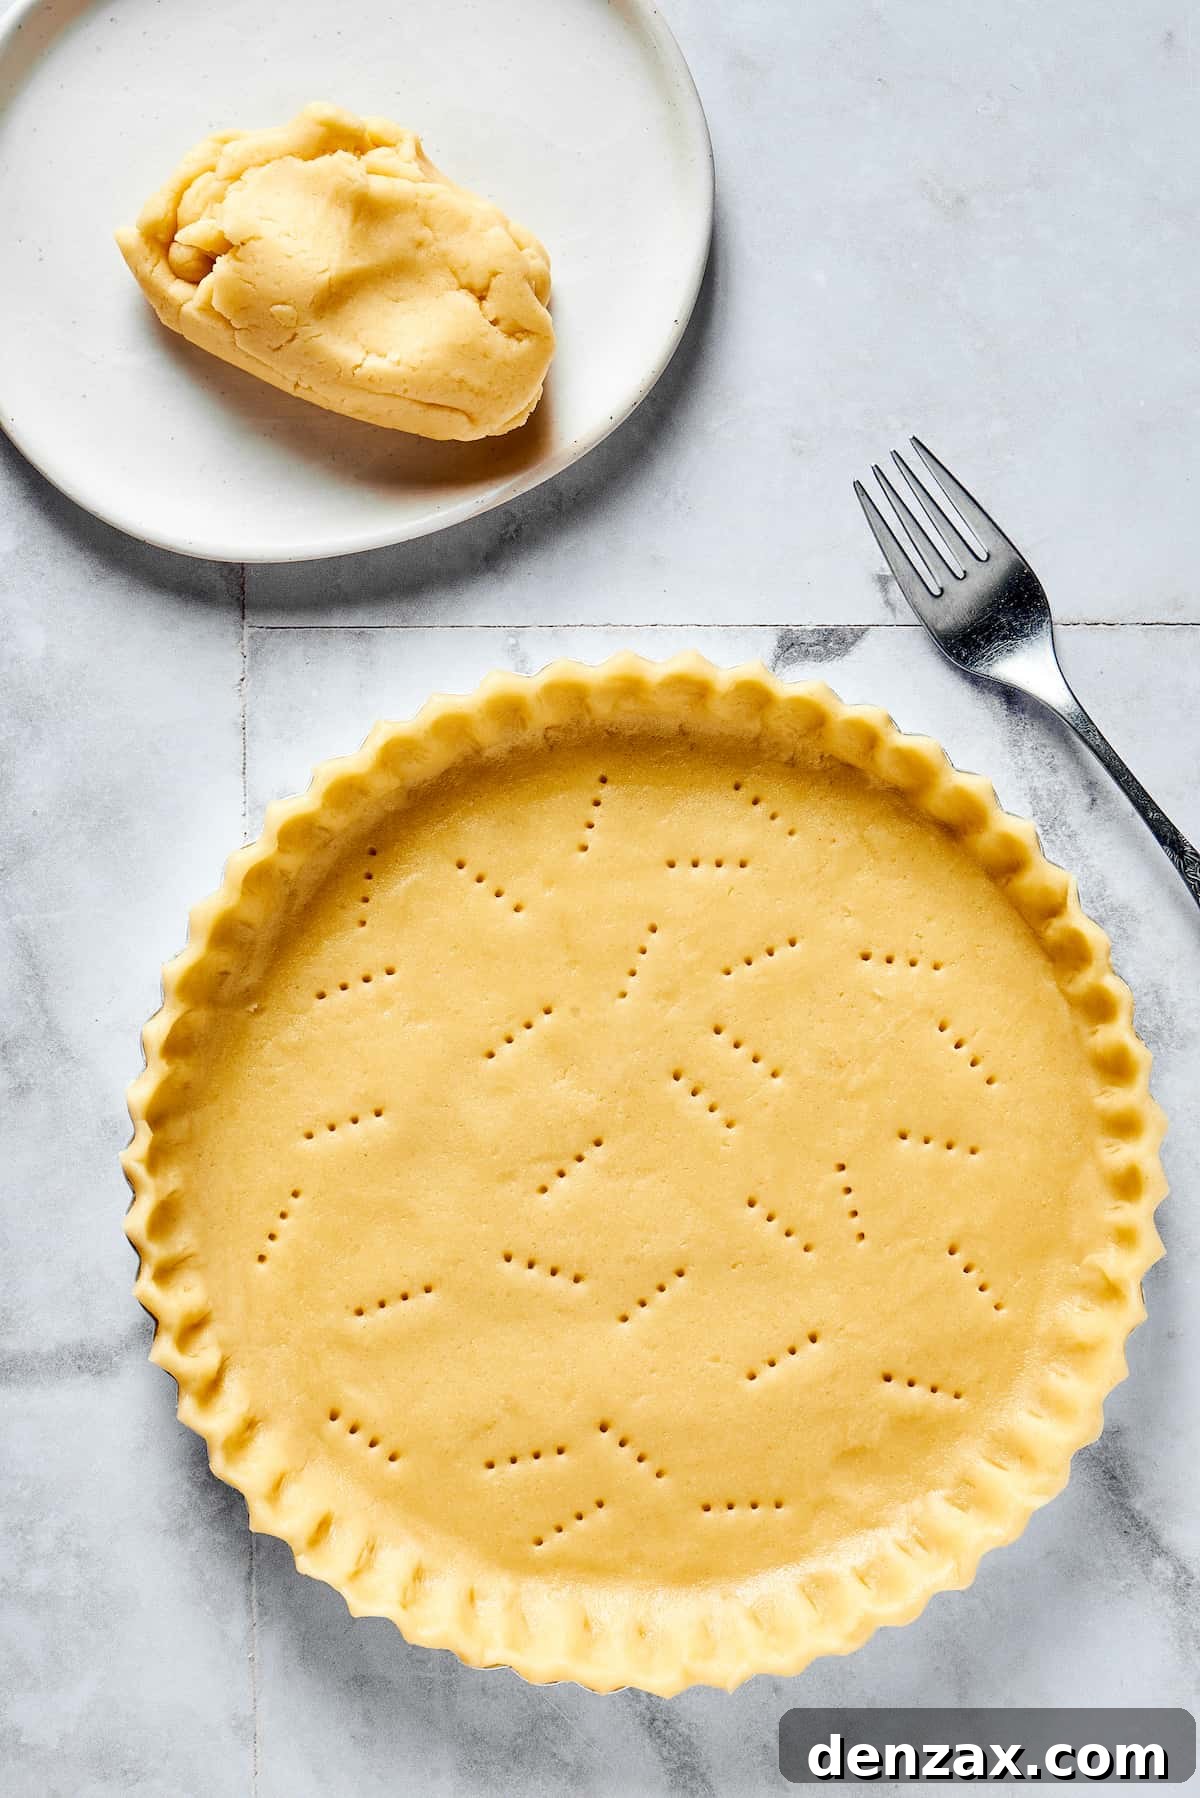
Mastering the Art of Flaky Pie Crust: An Easy All-Butter Recipe
There’s something uniquely comforting about a homemade pie. As holidays approach and cooler weather sets in, pie season truly flourishes, transforming kitchens into fragrant havens. Here, pie isn’t just a dessert; it’s a celebration. Whether it’s a hearty savory chicken pot pie, a vibrant sweet summer strawberry pie, or our beloved holiday staple, Classic Pecan Pie, we wholeheartedly believe that if it features a flaky crust and a scrumptious filling, it’s destined to be a favorite.
While the convenience of store-bought pie crusts is undeniable, the unparalleled richness and tender flakiness of a homemade, all-butter pastry elevate any pie to a true culinary masterpiece. Many bakers are intimidated by the thought of making pie crust from scratch, but I’m here to tell you: it’s surprisingly straightforward and immensely rewarding. Don’t let apprehension hold you back! This simple, foolproof recipe will guide you through each step, and you might just discover a new passion for crafting homemade pie crusts. The difference in taste and texture is truly remarkable!
Understanding the Simple Ingredients of Homemade Pie Crust
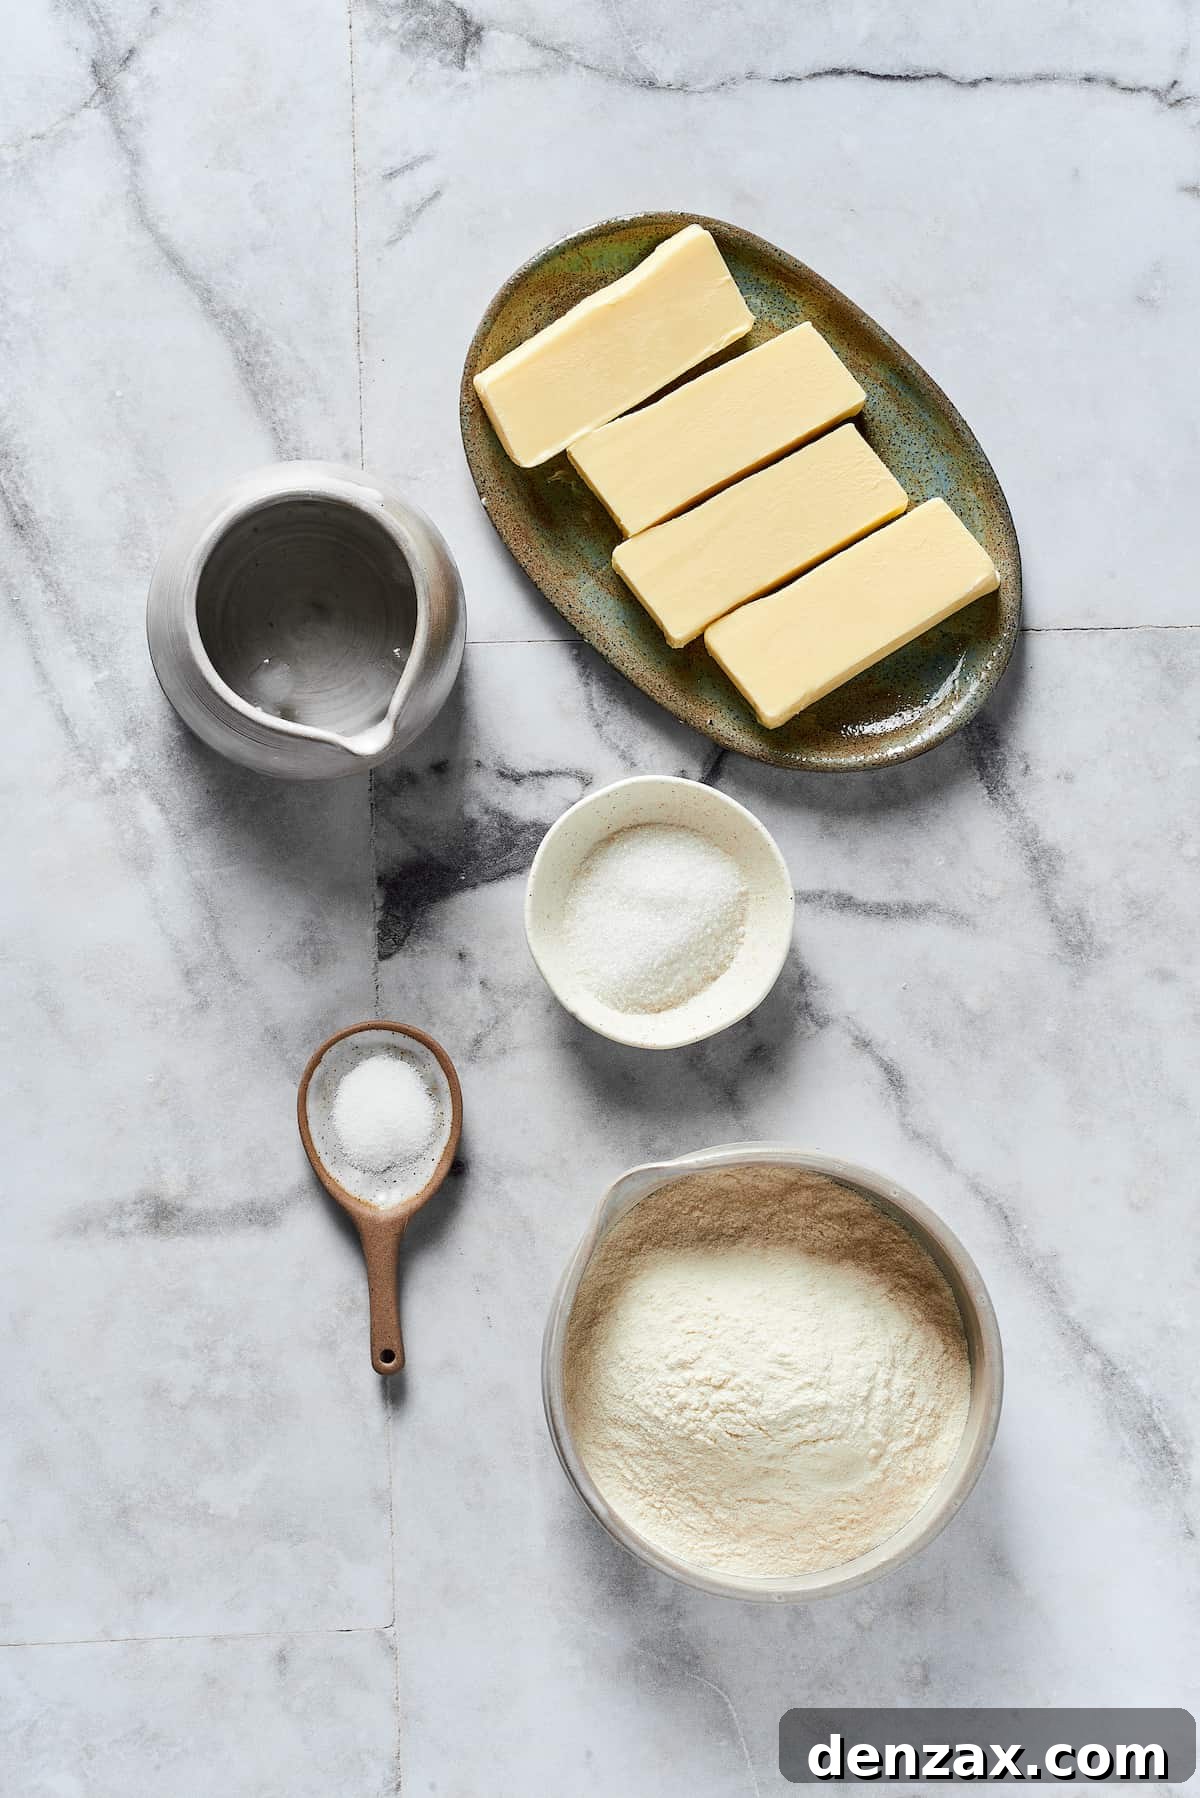
My signature from-scratch pie crust relies on just a handful of high-quality ingredients, each playing a crucial role in achieving that perfect flaky texture and rich flavor. Let’s break down the components:
- All-Purpose Flour: This forms the structural backbone of your pie crust. For this basic recipe, standard all-purpose flour works beautifully, providing the right balance of protein for a tender yet manageable dough.
- Granulated Sugar: A touch of regular granulated sugar enhances the crust’s flavor profile, adding a subtle sweetness that complements both sweet and savory fillings, and contributes to a lovely golden-brown finish. While other sugars can be substituted, be mindful that coarser varieties might not integrate as smoothly into the dough.
- Salt: Essential for balancing flavors, salt prevents the crust from tasting bland. I prefer sea salt for its clean taste, but any fine salt you have on hand will work.
- Cold Unsalted Butter: This is the star ingredient for an all-butter crust! The butter must be kept exceptionally cold and diced into small, even pieces. Cold butter is key to creating those desirable flaky layers, as it melts slowly in the oven, releasing steam that pushes apart the layers of dough. Using unsalted butter allows you to control the overall saltiness of the crust.
- Ice Water: Just like the butter, the water needs to be ice-cold. This ensures that the butter remains solid and doesn’t melt prematurely during mixing. Ice water also helps bind the dough together without overworking the gluten, which can lead to a tough crust. Adding a few actual ice cubes to the water before measuring is a great way to guarantee it’s sufficiently chilled.
Butter vs. Shortening: The Flakiness Debate
The choice between butter and vegetable shortening (like Crisco) for pie crust is a long-standing debate among bakers. Some swear by shortening’s higher melting point for achieving an extra-flaky crust. Shortening also tends to be easier to work with as it doesn’t melt as quickly as butter. However, I am a firm believer that an all-butter crust delivers a superior flavor and a wonderfully tender texture that shortening simply cannot match. With the right technique—keeping your ingredients impeccably cold and handling the dough as minimally as possible—you can achieve an incredibly flaky crust with butter alone. If you prefer a hybrid approach or want to experiment with shortening, you can substitute roughly half of the butter with shortening for a crust that offers both flakiness and some of butter’s rich taste.
Crafting the Perfect Pie Crust from Scratch: A Step-by-Step Guide
Making homemade pie crust is a simple process, provided you keep two crucial rules in mind: First, always ensure your ingredients, especially the butter and water, are kept as cold as possible. Second, avoid over-handling the dough. Adhering to these principles will guarantee a beautifully light, tender, and incredibly flaky crust every single time!
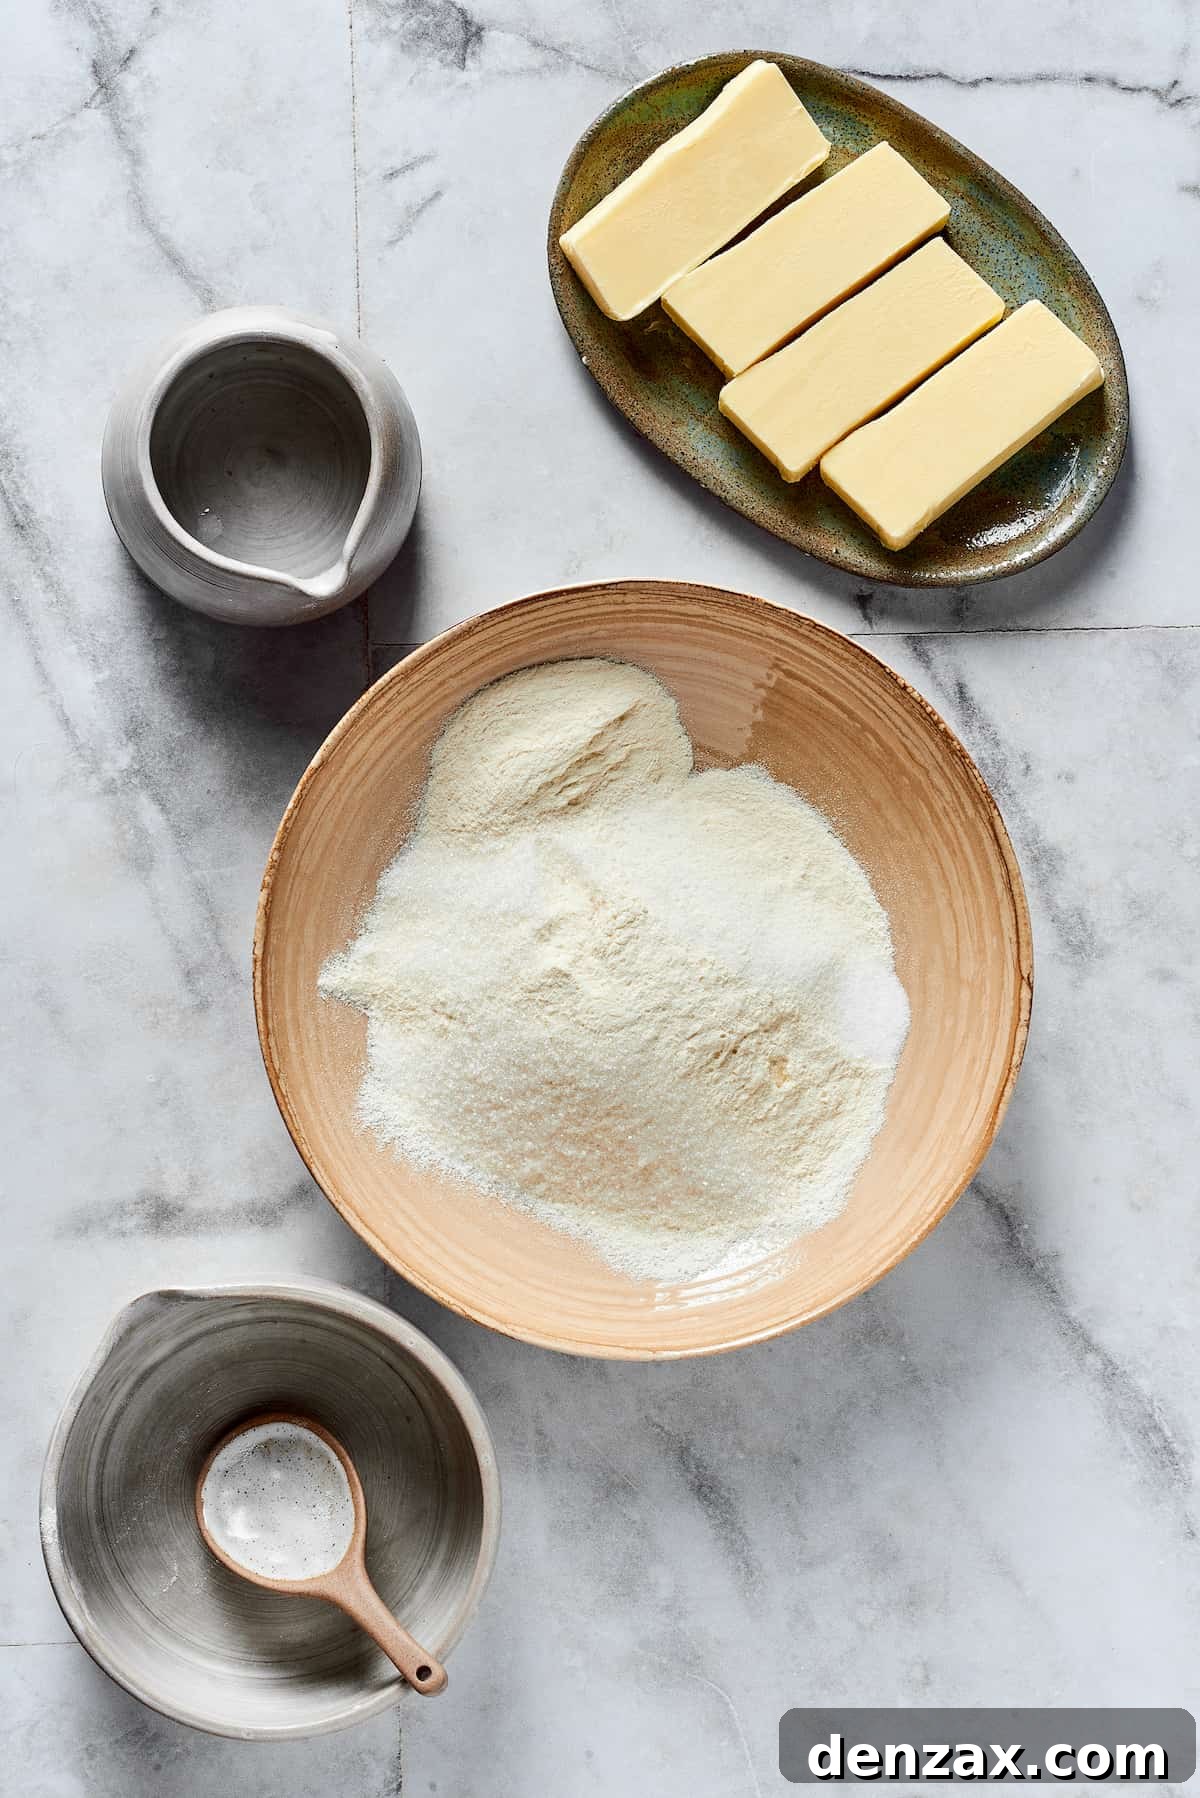
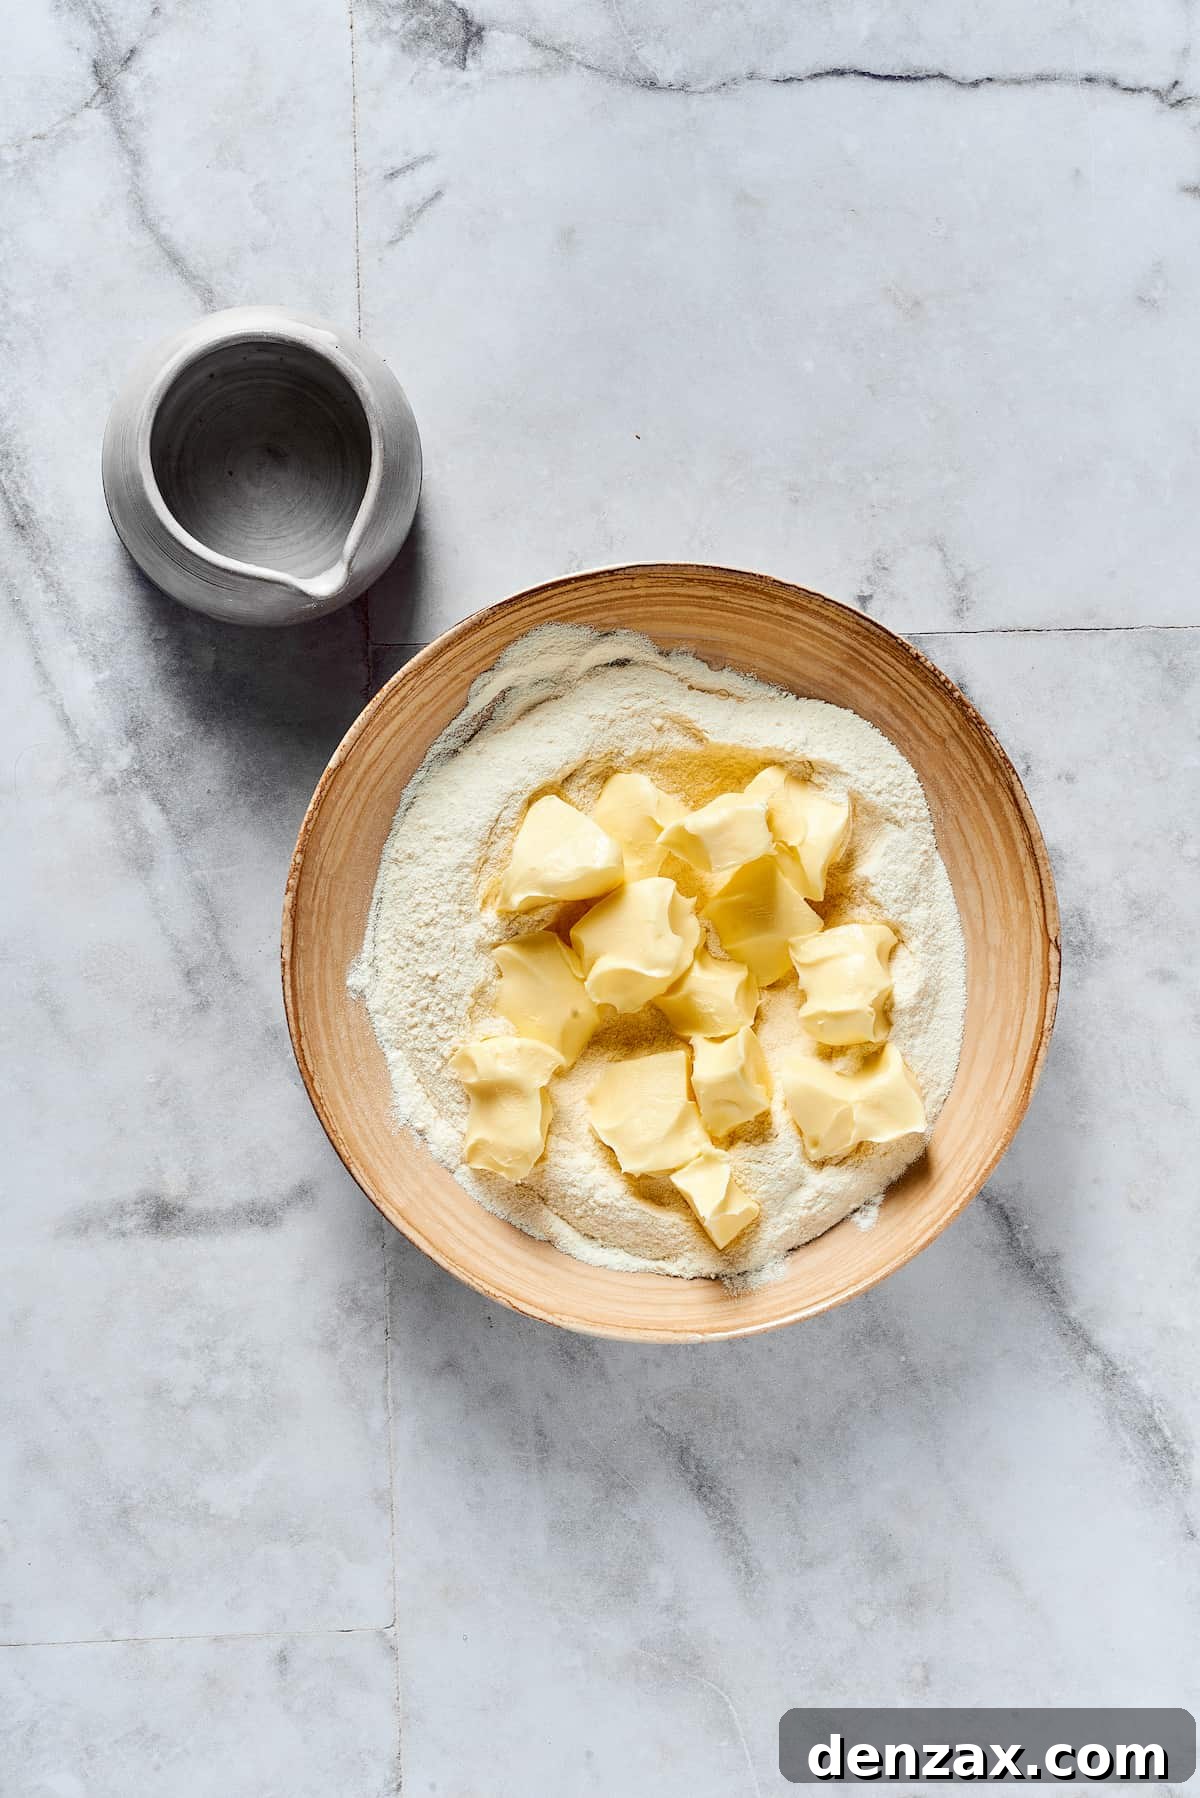
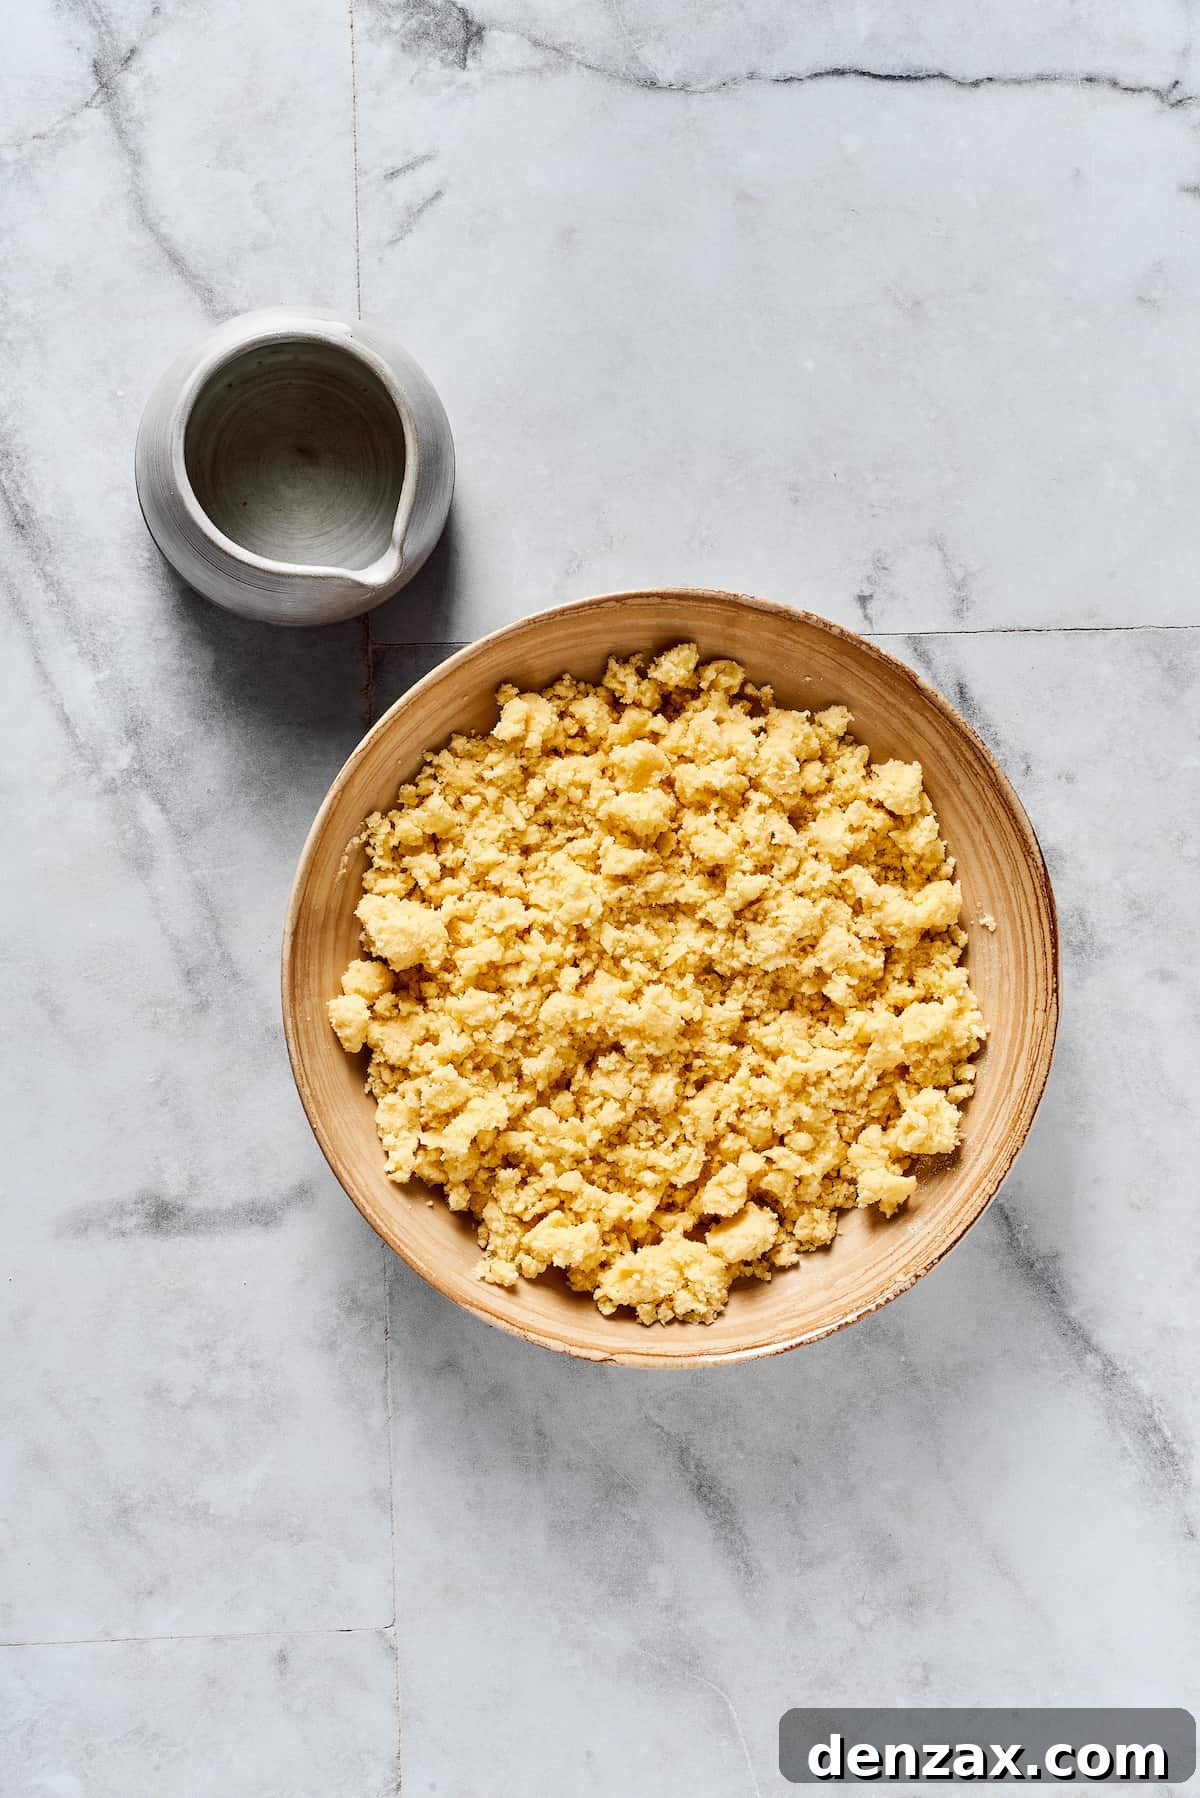
- Step 1: Combine Dry Ingredients and Incorporate Butter. Begin by taking out a large, spacious mixing bowl. Add the all-purpose flour, granulated sugar, and sea salt. Use a whisk or fork to thoroughly combine these dry ingredients, ensuring an even distribution. Next, scatter the diced, super-cold butter pieces over the dry mixture. The key here is to quickly work the butter into the flour, either using your fingertips or a pastry cutter. Aim for a crumbly texture with visible, pea-sized pieces of butter remaining. Speed is important to prevent the butter from warming up too much; a slightly imperfect mixture is far better than warm, over-worked butter.
- Step 2: Gradually Add Ice Water. Now, it’s time to bring the dough together. Drizzle the ice-cold water over the crumbly mixture, adding it one tablespoon at a time. After each addition, use a fork to gently mix the dough. You’ll be surprised how quickly it starts to come together! You are looking for a cohesive, yet still somewhat dry, mixture—not a soft, pliable cookie dough consistency. Resist the urge to knead the dough, as this will develop too much gluten and result in a tough crust.
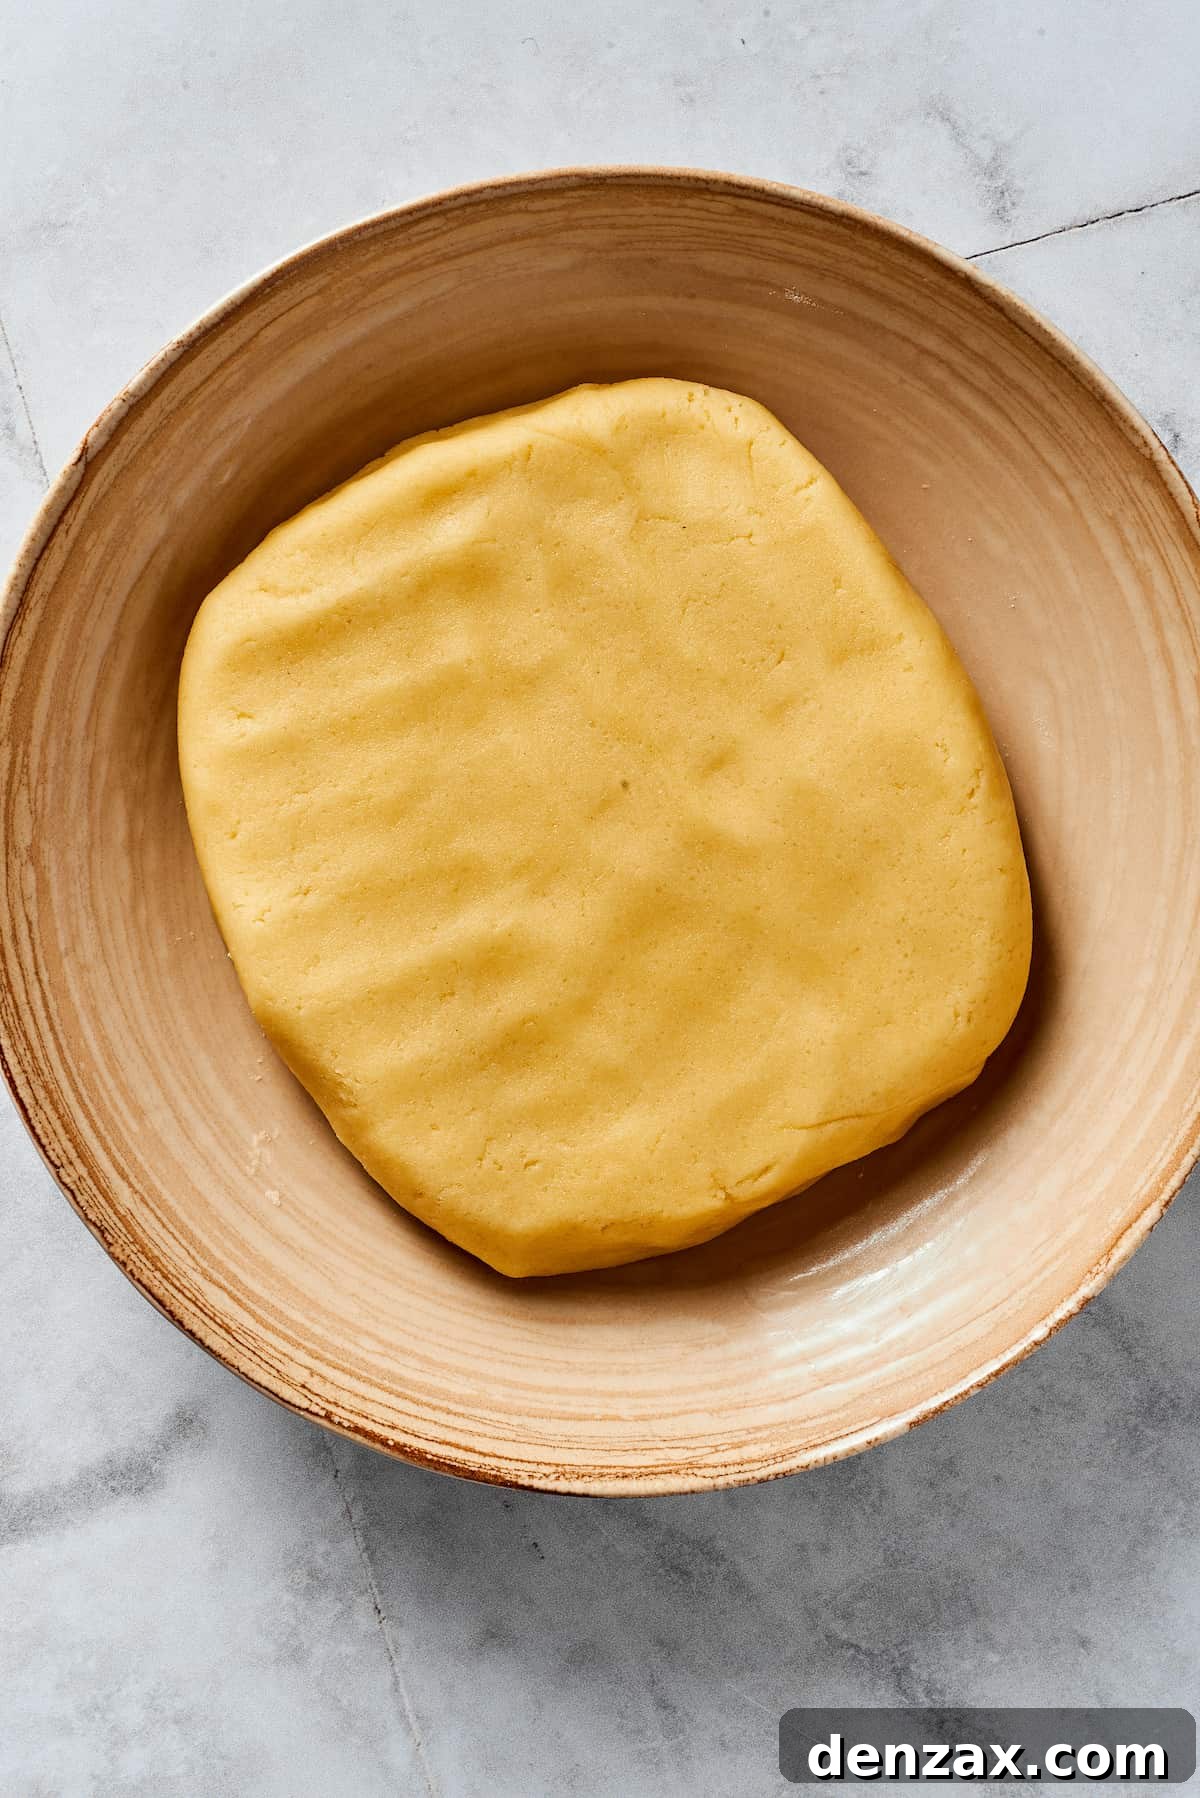
- Step 3: Chill the Dough. Once the dough is just moist enough to hold together when squeezed or pressed with a fork, gather it into a ball. Gently flatten this ball into a disc shape, which will make it easier to roll out later. Wrap the disc tightly in plastic wrap or aluminum foil and place it in the refrigerator. Allow it to chill and rest for at least 45 minutes. This chilling period is crucial as it allows the gluten to relax and the butter to firm up, contributing to a more tender and flaky crust.
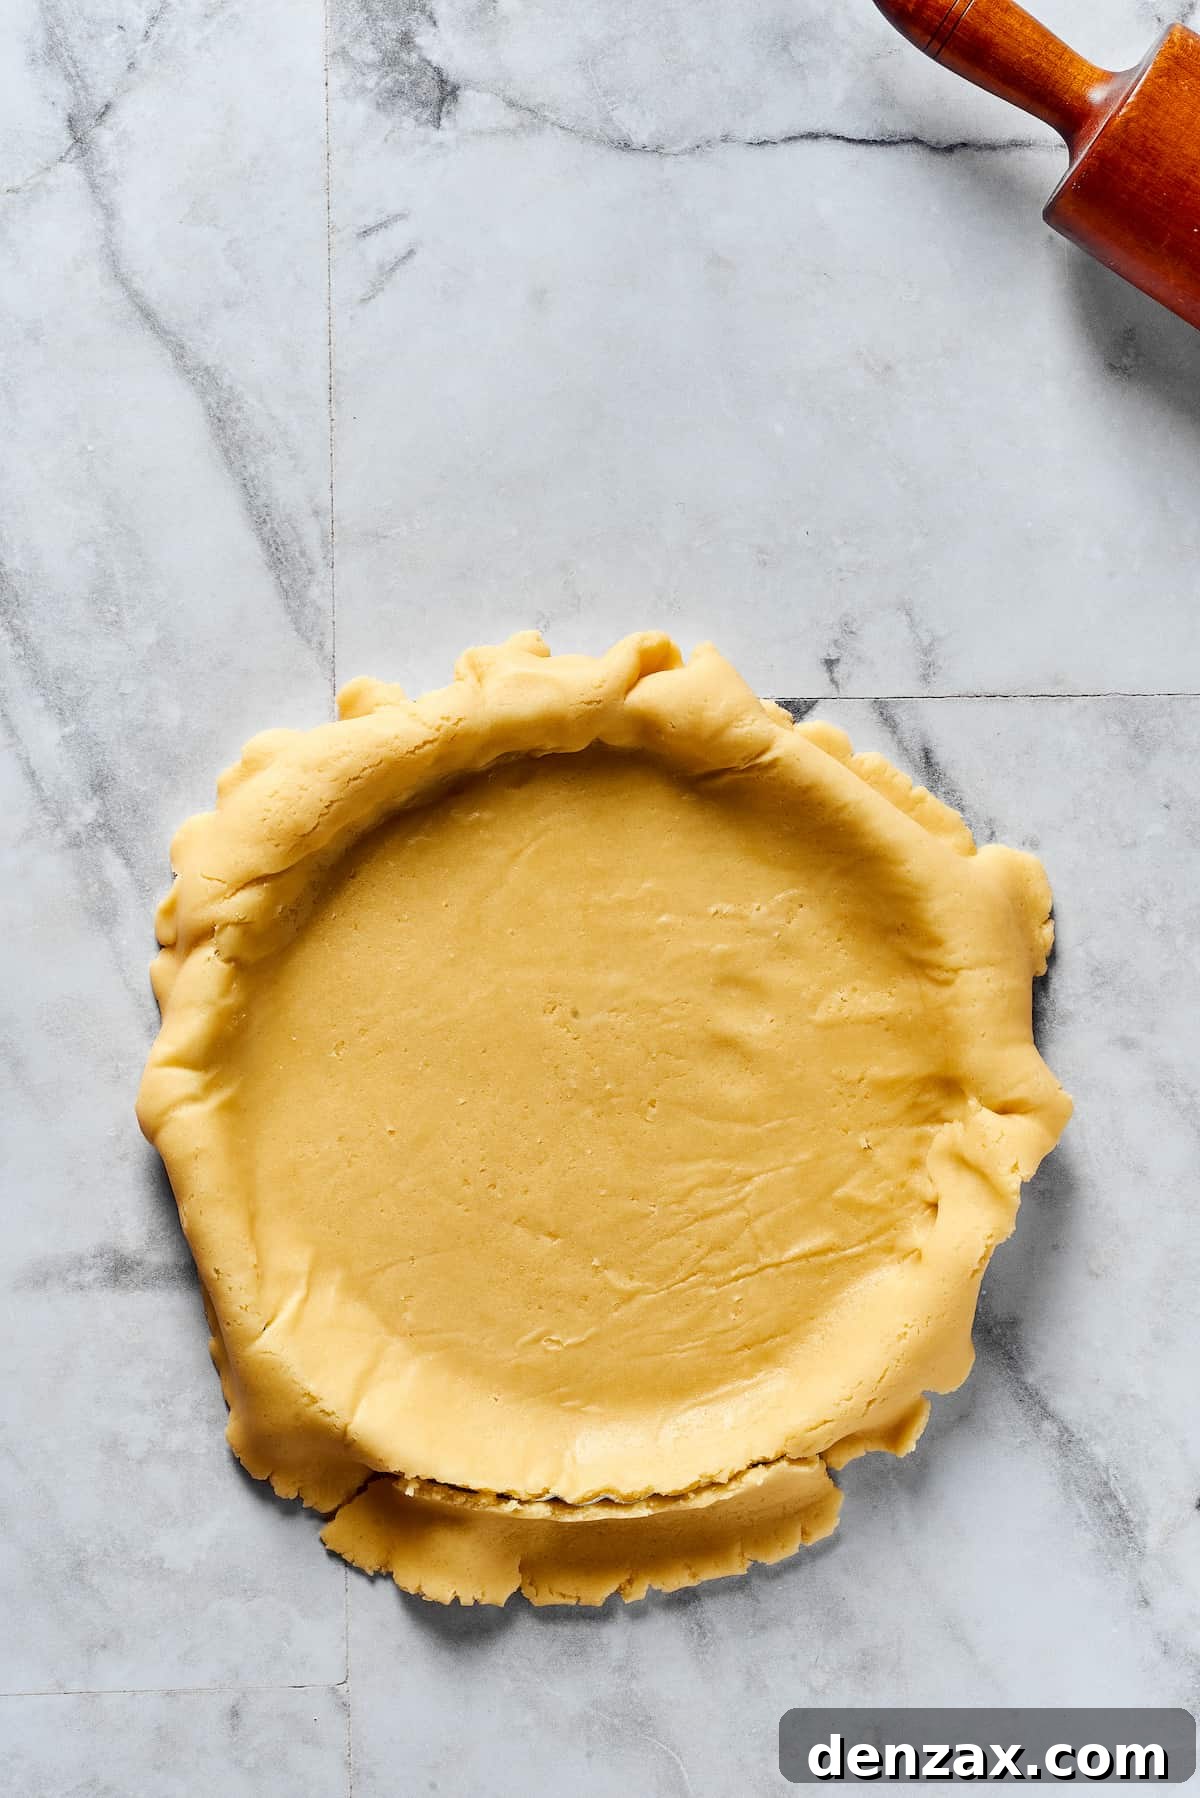
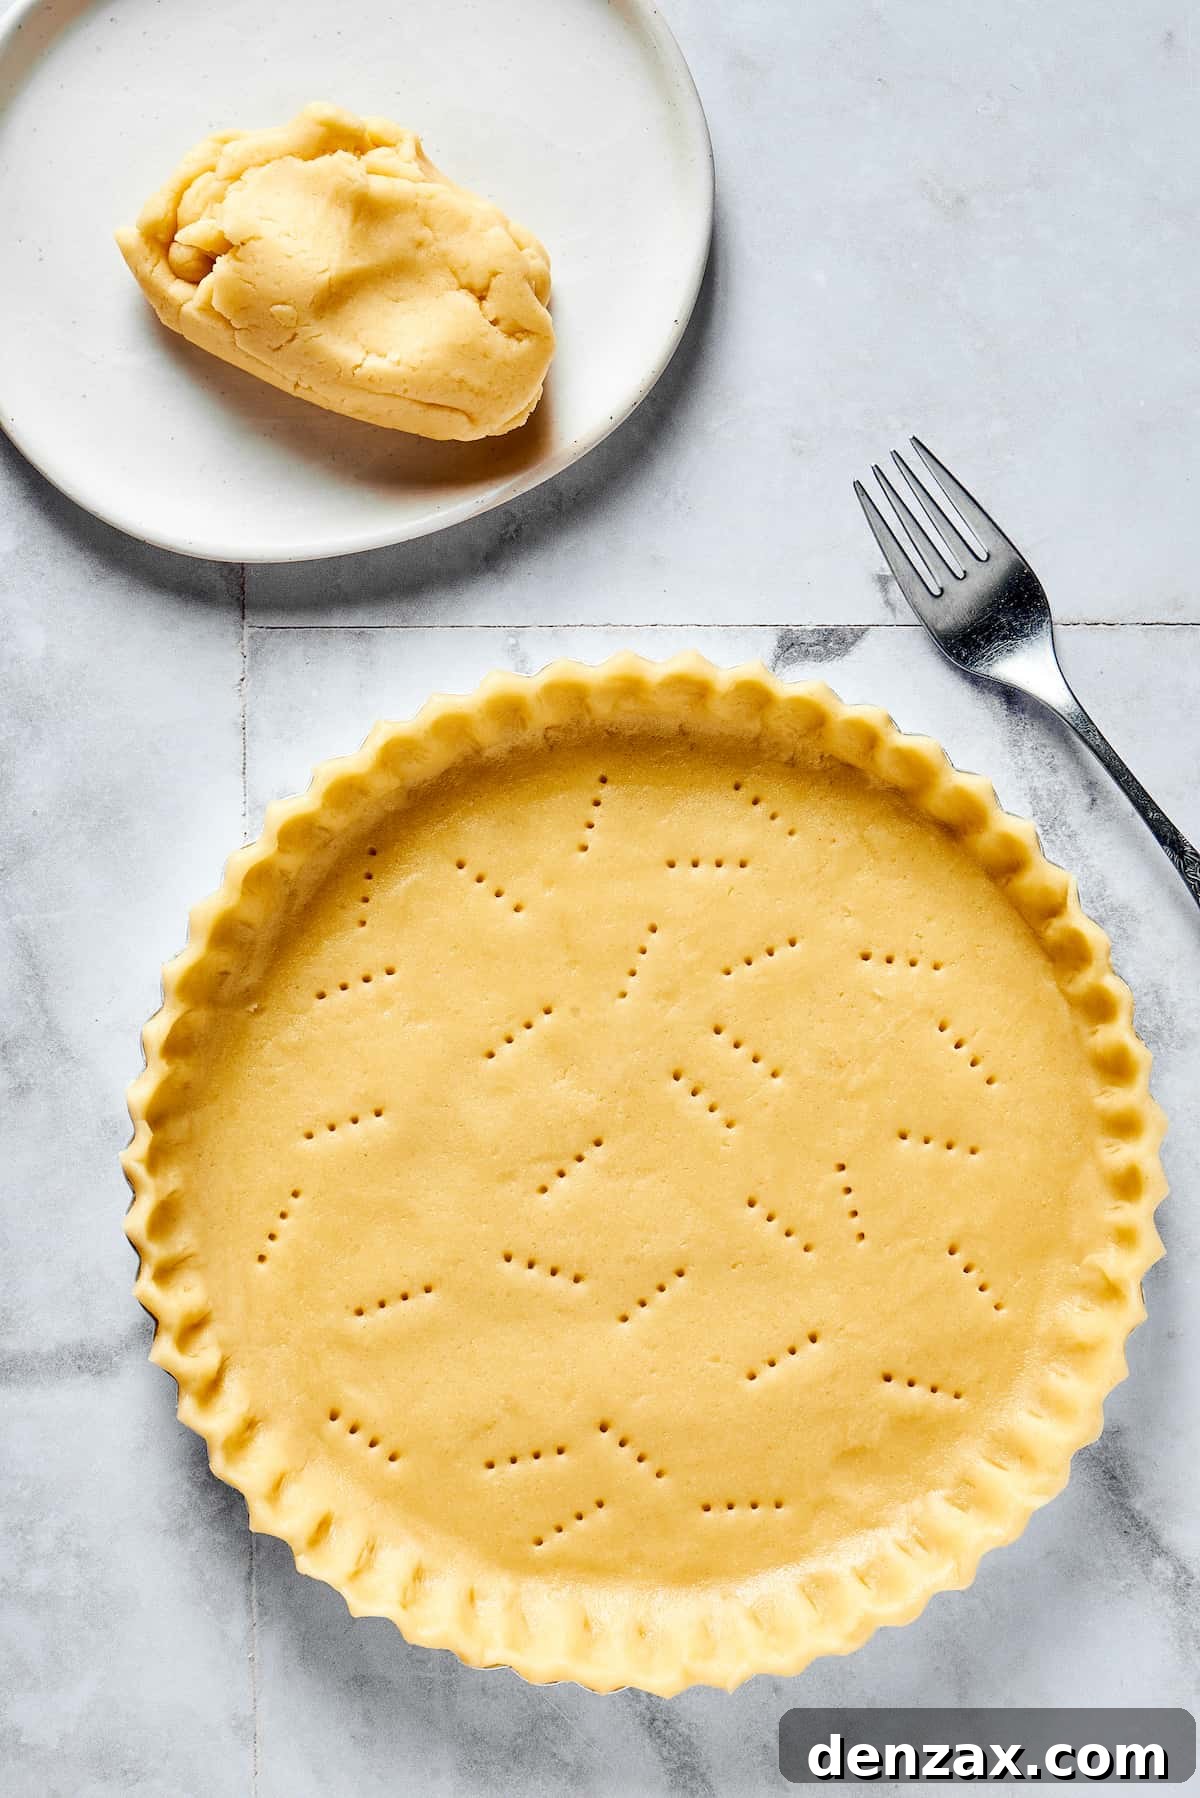
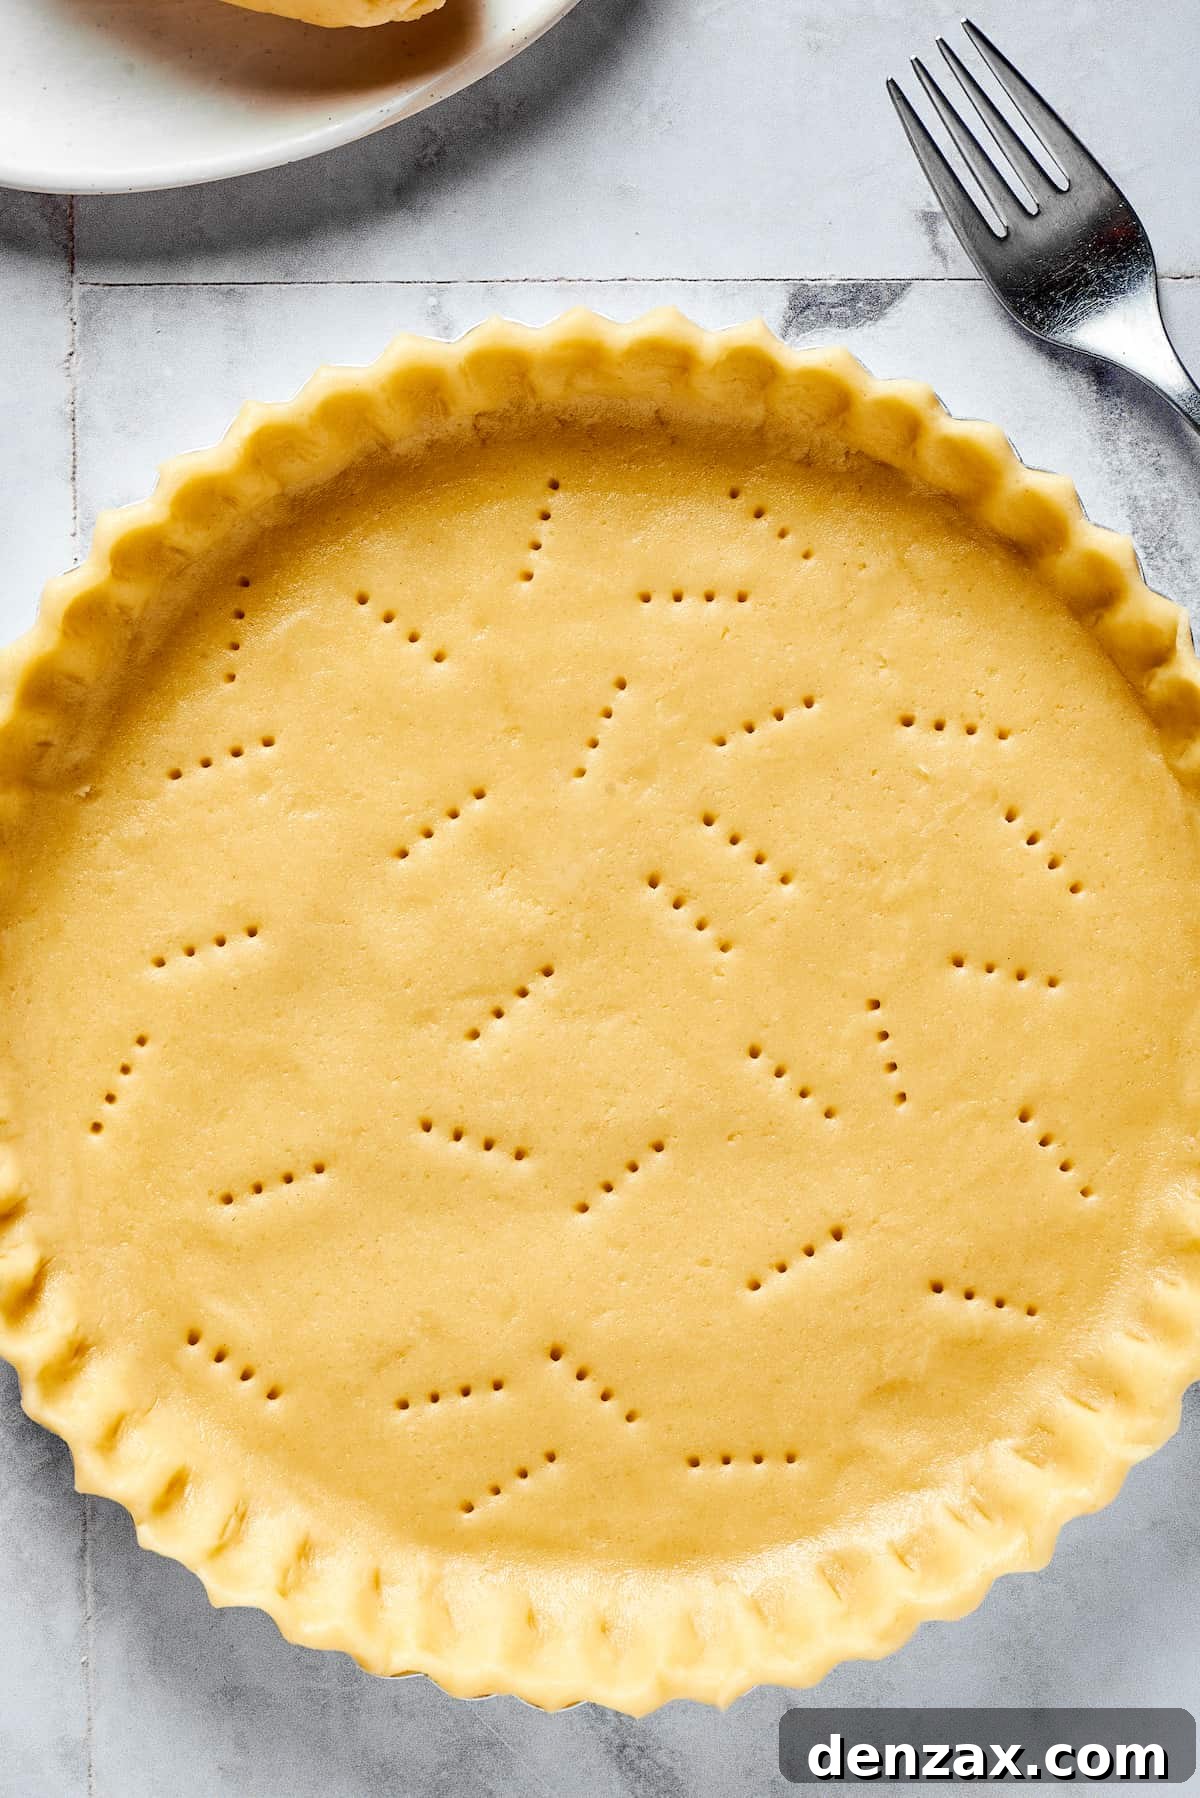
- Step 4: Shape the Pie Crust (or Prepare for Freezing). After the dough has thoroughly chilled, remove it from the refrigerator. Lightly flour a clean work surface and your rolling pin. Place the dough disc on the floured surface and, working quickly and with light pressure, roll it out into a circle approximately ⅛ to ¼ inch thick. Carefully drape the rolled-out crust over your pie dish, gently pressing it into the corners and sides to fit. Trim any excess dough from the edges, leaving about an inch of overhang to create a decorative crimped edge if desired. (If you’re not ready to bake immediately, please refer to the “Can I Freeze This?” section below for detailed freezing instructions.)
- Step 5: Use or Store. With your pie crust shaped and ready, you can now proceed with your chosen pie recipe, adding your favorite filling and baking as directed. Alternatively, if you plan to bake within a couple of days, you can store the prepared pie crust (in its dish) directly in your refrigerator. Ensure it is well-covered with plastic wrap to prevent it from drying out or absorbing odors.
Homemade Pie Crust Recipe: Essential Tips for Success
Are you excited to embark on your journey to homemade pie crust perfection? I truly hope so, because this recipe offers an incredibly rewarding experience that, once mastered, will bring immense joy to your baking endeavors. Everyone adores a homemade, flaky crust, and this recipe makes it entirely achievable. These additional tips will further enhance your success:
- Precise Flour Measurement is Key: One common pitfall for an overly-dry or tough crust is incorrect flour measurement. To avoid this, always “fluff” your flour first with a clean, dry fork or knife. Then, gently spoon the flour into your measuring cup until it overflows, taking care not to pack it down. Finally, use the flat edge of a knife to scrape off any excess flour level with the top of the measuring cup. This method ensures you get an accurate, aerated measurement.
- Be Judicious with Water Addition: It might feel counterintuitive, but just a few tablespoons of ice water are often enough to bring the entire dough together. The trick is patience and observation. On the other hand, adding too much water too quickly can instantly transform your dough into a gummy, sticky, and unmanageable mess. Therefore, approach this step with caution, adding one spoonful of water at a time and mixing gently with a fork. Stop adding water the moment the dough can be pressed together with your hand or fork without crumbling.
- Food Processor: An Optional Time-Saver: While a pastry cutter or your hands work perfectly fine, a food processor can be an excellent tool for making pie dough, especially if you prefer to minimize hand contact or are short on time. It is remarkably efficient at quickly cutting the cold butter into the flour and then incorporating the water. Just be careful not to overmix, pulsing only until the dough just comes together.
- The Science of Flakiness: The secret to a truly flaky crust lies in the cold butter. When you cut cold butter into the flour, it creates tiny pockets of butter throughout the dough. As the pie bakes, these butter pieces melt, releasing steam that pushes apart the layers of flour, resulting in a distinctively flaky texture. Overworking the dough or using warm butter melts these pockets prematurely, leading to a tough, rather than flaky, crust.
- Resting is Essential: Don’t skip the chilling step! Resting the dough in the refrigerator allows the gluten developed during mixing to relax, making the dough easier to roll out and preventing shrinkage during baking. It also re-firms the butter, ensuring those precious pockets of flakiness.
Storing Your Homemade Pie Crust
Once you’ve lovingly prepared your homemade pie crust, you have a couple of excellent options for storage before baking. If you plan to use it within a short timeframe, the refrigerator is your best bet. Simply place the prepared pie crust (in its pie dish, if already shaped) or the dough disc, wrapped completely in plastic wrap, into your refrigerator. It will stay fresh and perfectly ready for baking for up to two days. Thorough wrapping is essential to prevent it from drying out and to protect it from absorbing any unwanted odors from other foods in the fridge.
Can I Freeze Homemade Pie Dough? Absolutely!
Yes, absolutely! Freezing homemade pie dough is a fantastic way to prepare ahead and have a delicious, ready-to-use crust on hand whenever the craving strikes. To freeze, ensure your dough disc is tightly wrapped in several layers of plastic wrap, and then an additional layer of aluminum foil. This double-layer protection helps prevent freezer burn. Label with the date and freeze for up to three months. When you’re ready to bake, transfer the frozen dough to the refrigerator and allow it to thaw slowly overnight. Once thawed, you can roll it out and use it just as you would freshly made dough.
Versatile Uses for Your Perfect Pie Crust
This all-butter pie crust isn’t just for traditional fruit pies! Its rich flavor and flaky texture make it incredibly versatile for a wide range of desserts and even savory dishes. Consider using it for:
- Quiches and Savory Tarts: A sturdy, flavorful base for your favorite quiche fillings, from classic Lorraine to spinach and feta.
- Pot Pies: Elevate a chicken or beef pot pie with a homemade top or bottom crust.
- Custard Pies: The tender texture is perfect for delicate custard fillings like buttermilk, coconut cream, or chocolate silk pies.
- Mini Pies or Hand Pies: Cut out smaller circles for individual desserts, perfect for parties or lunchboxes.
- Galettes: A rustic, free-form tart that’s easy to assemble and showcases the beautiful flakiness of the crust.
Explore More Delicious Pie Recipes
Now that you’ve mastered the foundational pie crust, it’s time to put it to good use! Here are some more of our favorite pie recipes that will shine with your homemade crust:
- Southern Buttermilk Pie
- French Silk Pie
- Dutch Apple Slab Pie
Homemade All-Butter Pie Crust
Katerina | Easy Weeknight Recipes
20 minutes
45 minutes
1 hour 5 minutes
1 Pie Crust
Ingredients
- 1¼ cups all-purpose flour
- 1 tablespoon granulated sugar
- ½ teaspoon sea salt
- ⅔ cup cold unsalted butter, diced
- 3 to 5 tablespoons ice water
- 2 to 3 ice cubes (for making ice water)
Instructions
- Combine flour, sugar, and salt in a large bowl. Add the diced cold butter to the dry ingredients, and quickly rub in the butter using your hands or a pastry cutter until the dough is crumbly but still contains some small pieces of butter (pea-sized).
- Drizzle the dough with ice water, one tablespoon at a time. Mix gently with a fork after each addition until the dough just starts to come together. Avoid kneading the dough.
- Form the dough into a ball, then flatten it into a disc. Wrap the disc tightly in plastic wrap or foil and place it in the refrigerator for at least 45 minutes to chill and rest.
- When the dough has rested, turn it out onto a clean, lightly floured work surface. Form it into a round, flat disk, working quickly and being careful not to over-handle the dough. Use a lightly floured rolling pin to roll out the dough to a thickness of about 1/8 to 1/4 inch.
- Carefully transfer the rolled-out dough to your pie mold and gently shape it to fit. Trim any excess dough. If you are not using it right away, cover it well and store it in the refrigerator for up to 2 days. Alternatively, you can securely wrap the dough (as a disc or in the pie plate) and store it in the freezer for up to 3 months; thaw overnight in the refrigerator before use.
Nutrition
Calories: 1700 kcal |
Carbohydrates: 131 g |
Protein: 17 g |
Fat: 124 g |
Saturated Fat: 78 g |
Polyunsaturated Fat: 5 g |
Monounsaturated Fat: 32 g |
Trans Fat: 5 g |
Cholesterol: 325 mg |
Sodium: 2143 mg |
Potassium: 204 mg |
Fiber: 4 g |
Sugar: 12 g |
Vitamin A: 3782 IU |
Calcium: 63 mg |
Iron: 7 mg
Nutritional info is an estimate and provided as a courtesy. Values may vary according to the specific ingredients and tools used. Please use your preferred nutritional calculator for more detailed information.