
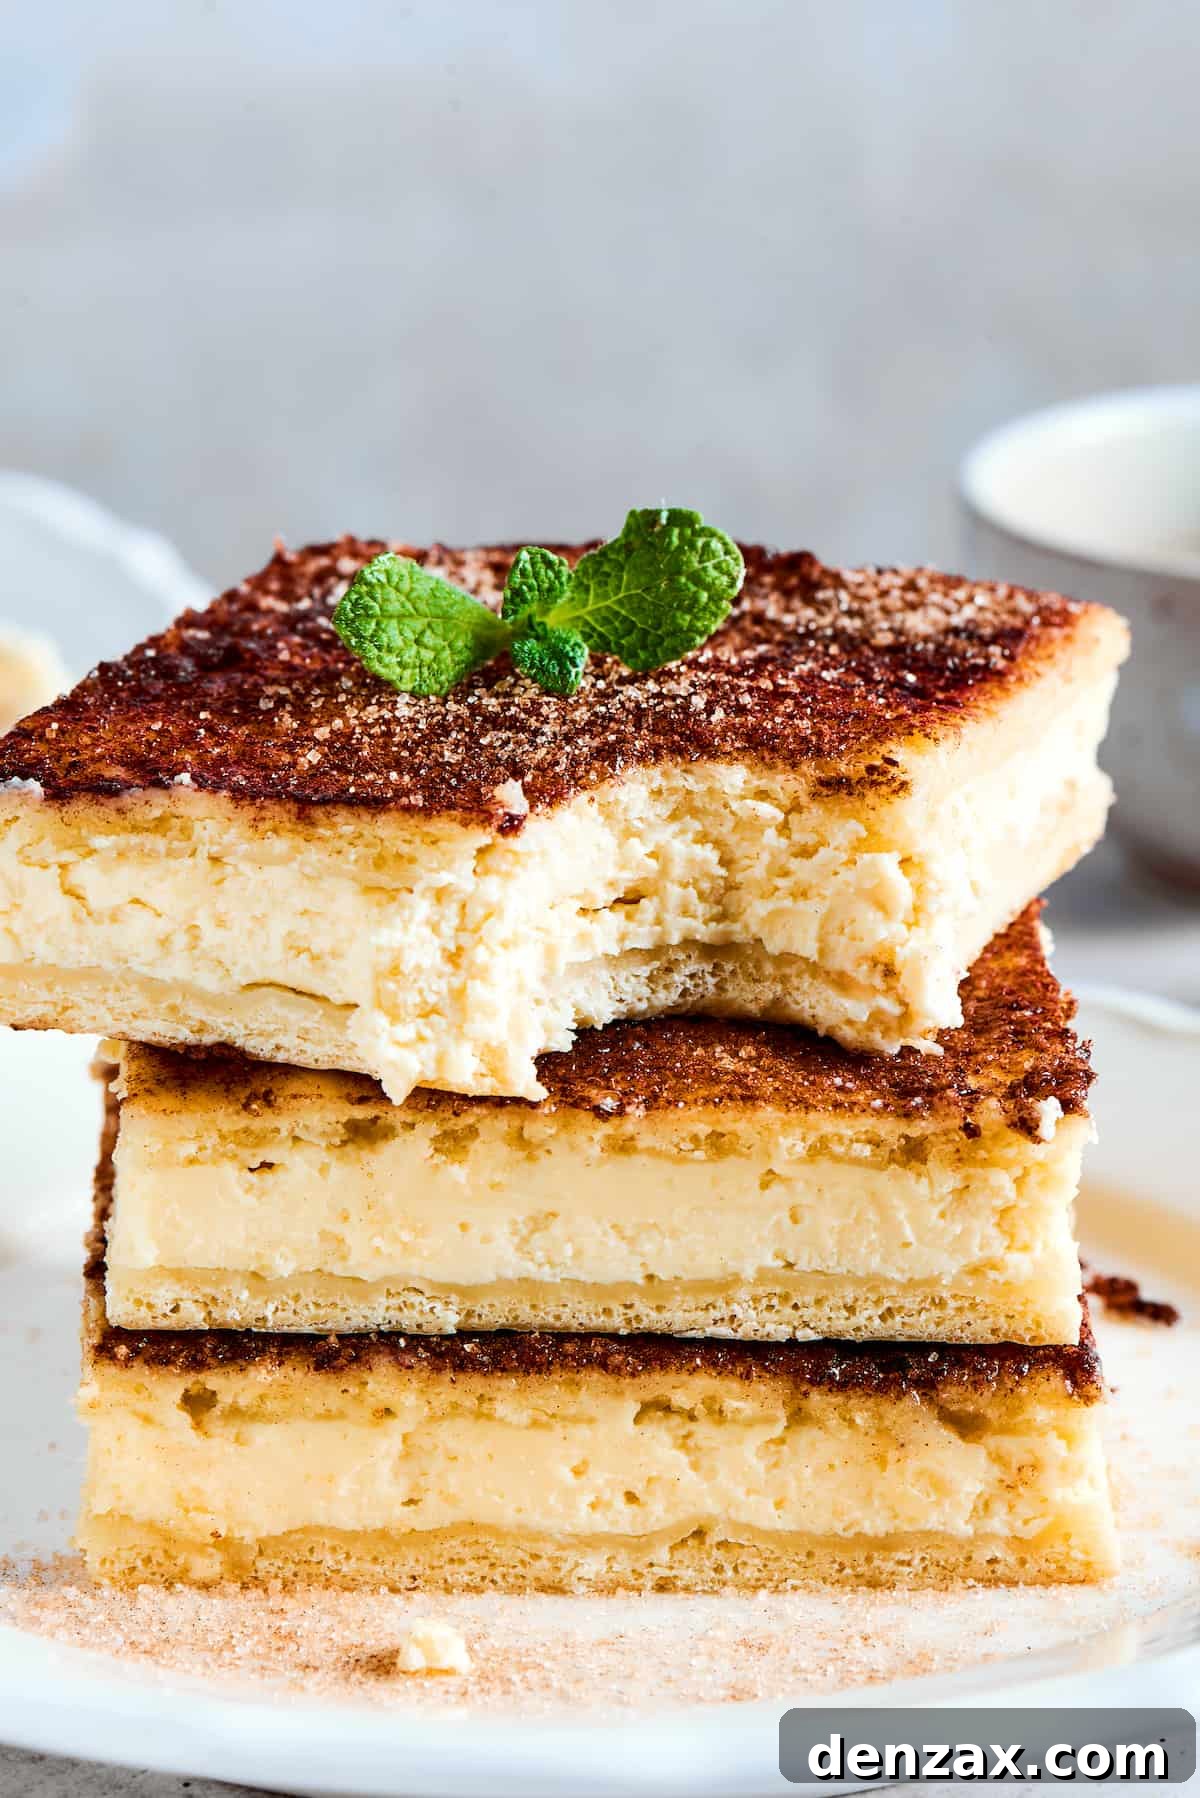
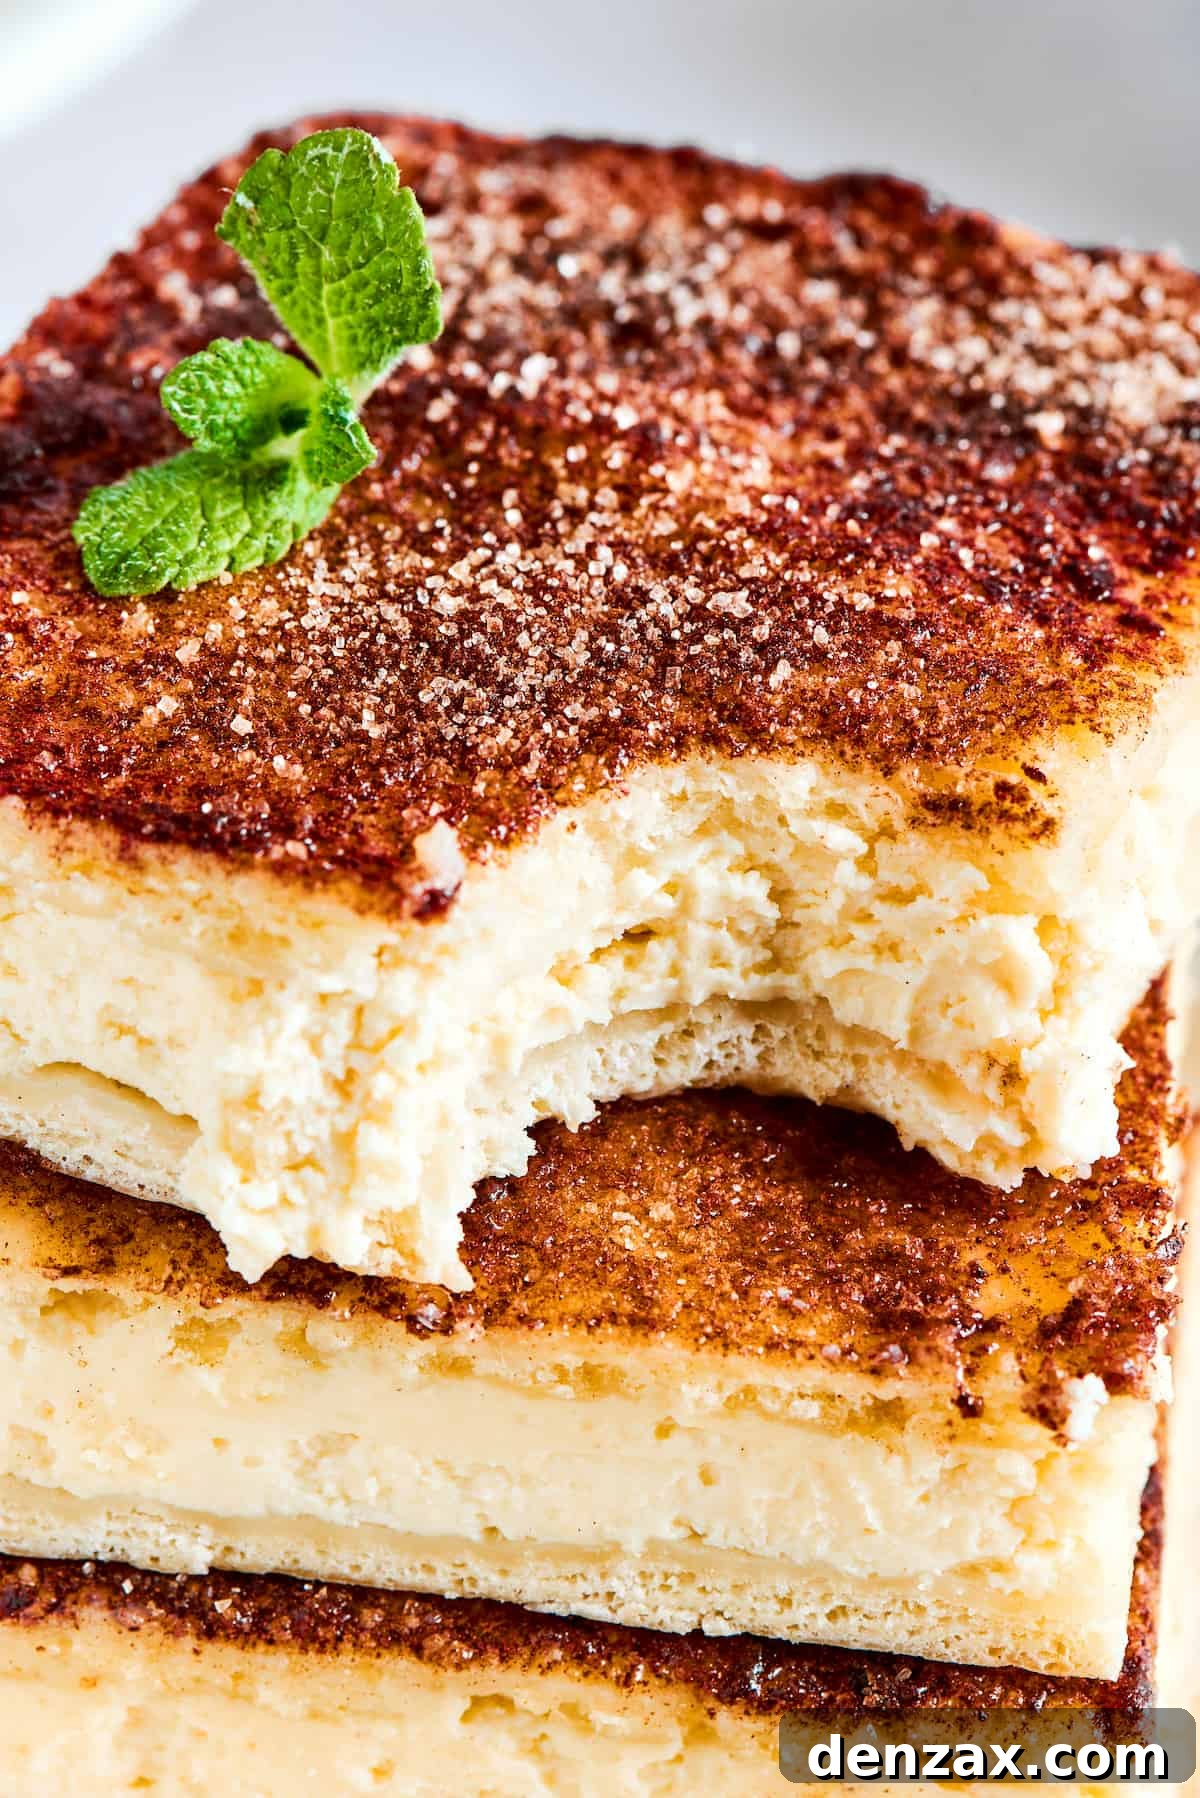
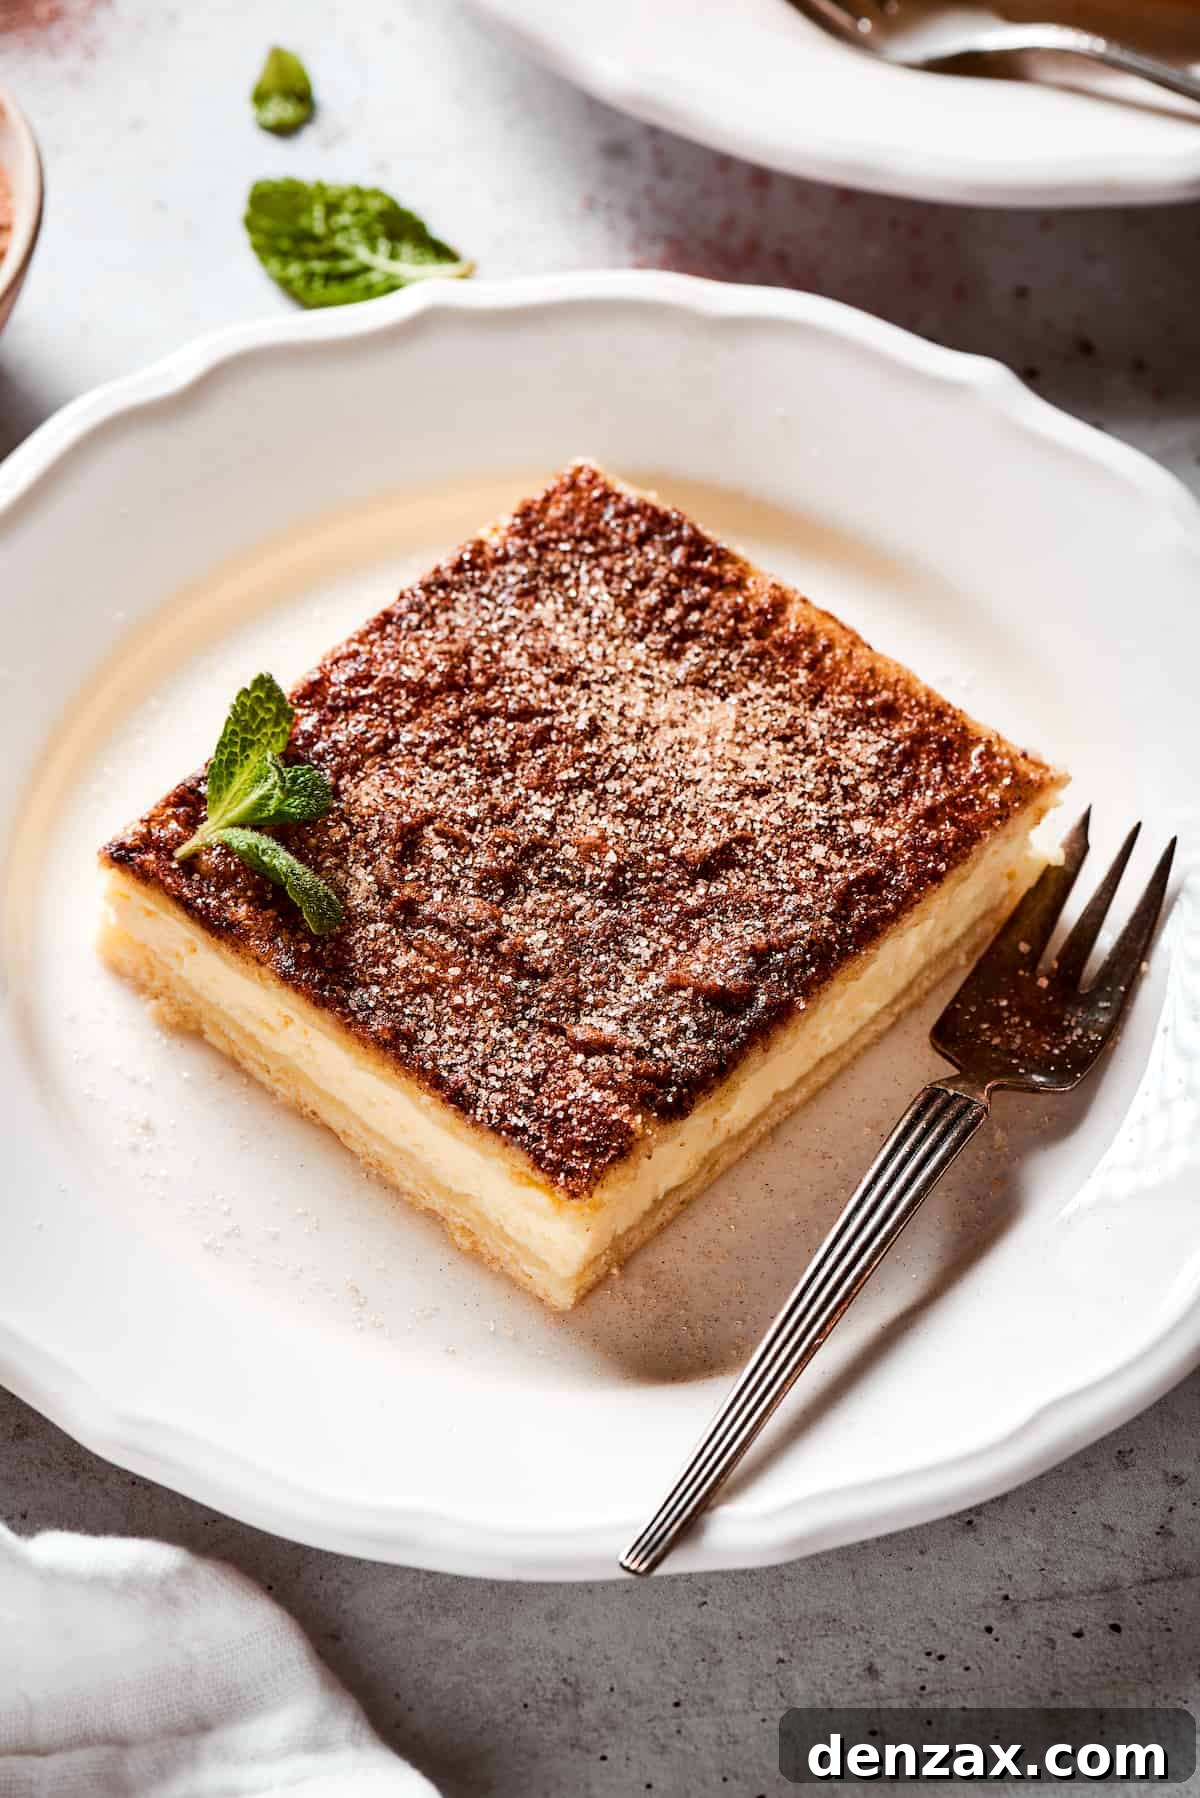
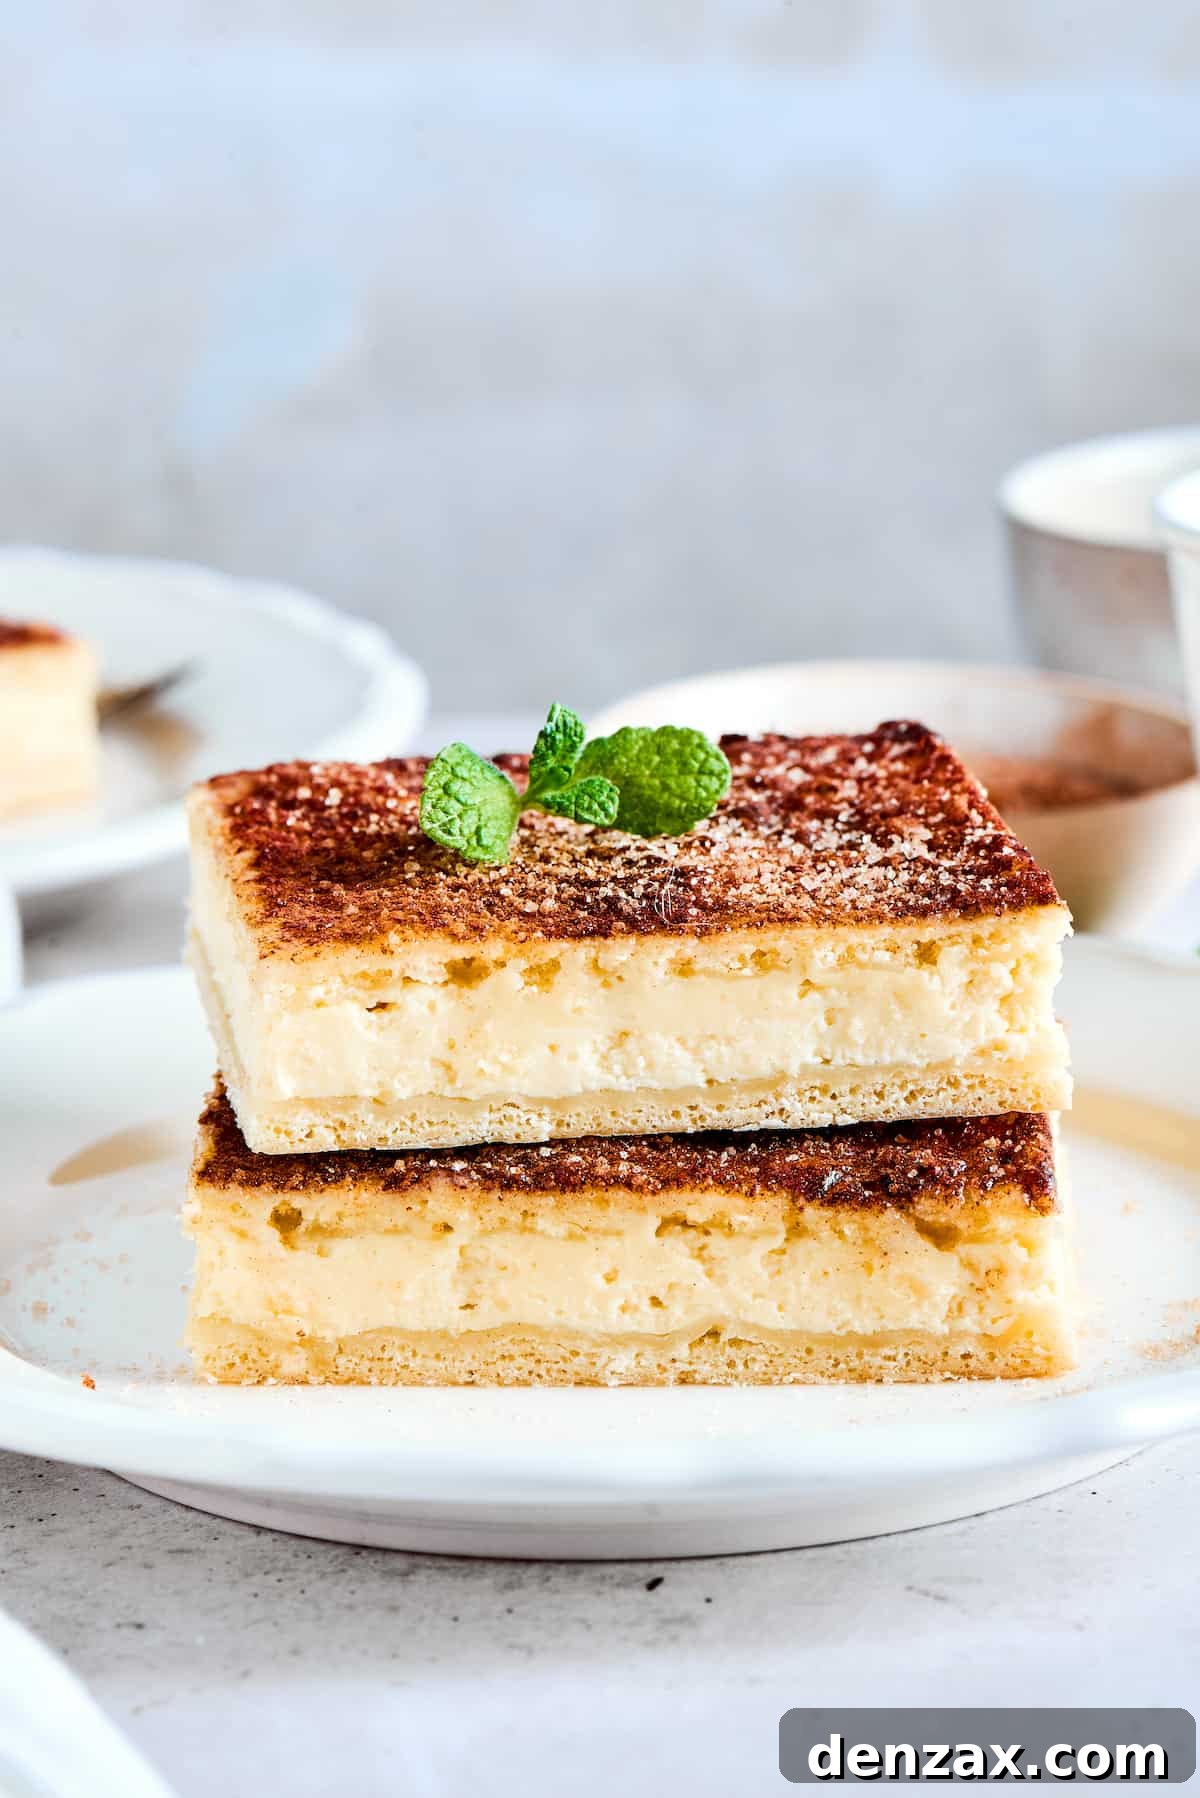
Prepare to be enchanted by a dessert that combines the comforting layers of a classic cheese Danish with the delightful spiced sweetness of a Mexican sopapilla, all in the irresistible form of a cheesecake. This easy-to-make Sopapilla Cheesecake is a true crowd-pleaser, featuring a luscious cream cheese filling nestled between two tender layers of fluffy crescent dough, all crowned with a golden, cinnamon-sugar topping.
If you’re a fan of rich, creamy cheesecakes but desire a simpler, quicker preparation, this recipe is your dream come true. Unlike traditional cheesecakes that often require a water bath and meticulous cooling, this Sopapilla Cheesecake uses ready-made crescent roll dough to create a wonderfully soft and buttery crust with minimal effort. It’s perfect for both novice bakers and seasoned pros looking for a delicious dessert without the fuss.
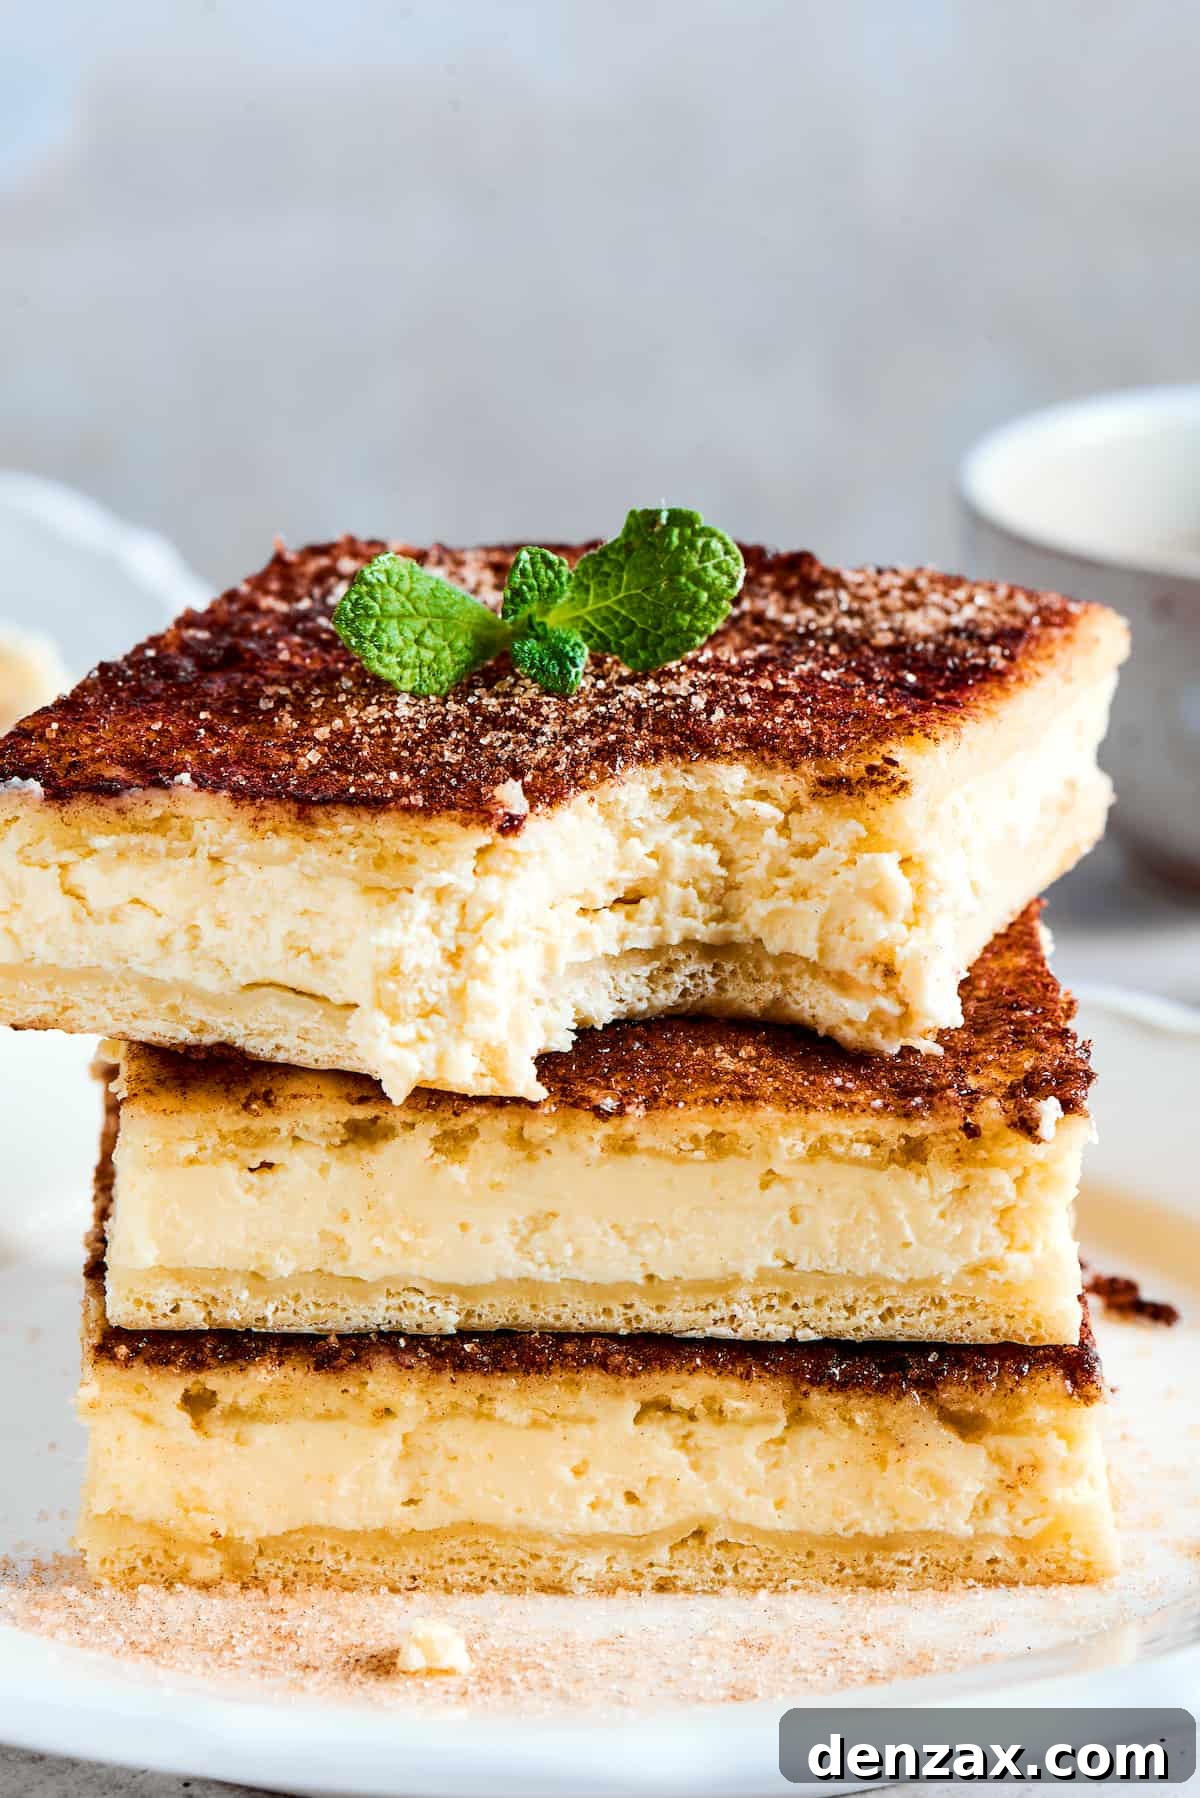
This dessert is designed for convenience and maximum flavor impact, making it ideal for any gathering. Whether it’s a family dinner, a potluck with friends, or a holiday celebration, this 9×13 inch pan of pure cinnamon and cream cheese bliss is guaranteed to disappear quickly. The light, buttery crescent dough provides a delightful contrast to the rich, tangy filling, creating a symphony of textures and flavors that will have everyone reaching for another square (or attempting to claim the entire pan!). It’s the same versatile dough that makes fantastic treats like pumpkin cheesecake crescent rolls, proving its versatility.
The magic lies in its simplicity: layer the refrigerated crescent roll dough, spread on a velvety smooth cream cheese filling, and then brush with melted butter before sprinkling generously with cinnamon sugar. A quick bake in the oven and a few hours of chilling time are all that stand between you and this festive, flavor-packed dessert. The end result is a golden-brown, lightly crisp top layer giving way to a soft, cinnamon-kissed cream cheese center and a tender bottom crust – truly a dessert experience that appeals to all senses.
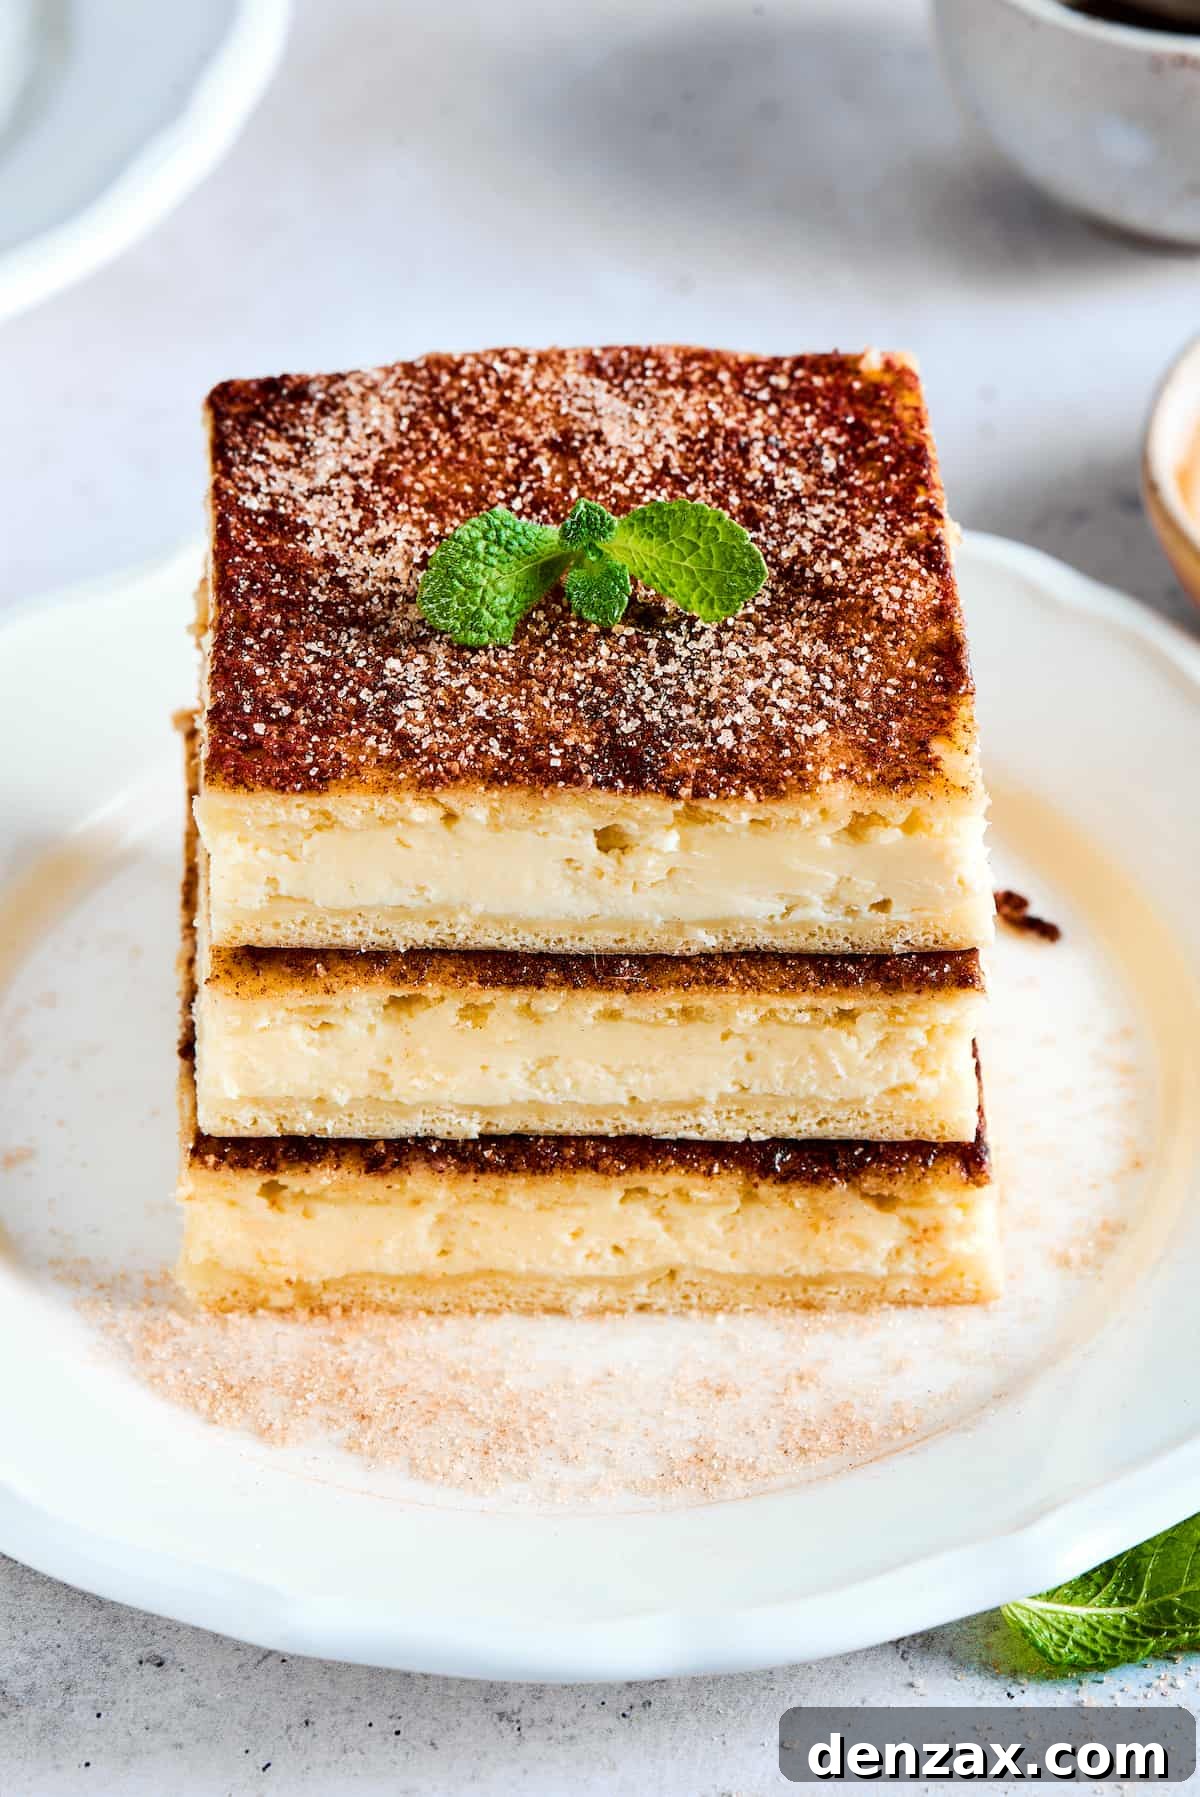
What Is Sopapilla Cheesecake?
To truly appreciate this unique dessert, it helps to understand its origins. The name “Sopapilla” (sometimes spelled “Sopaipilla”) harks back to an ancient Spanish word, “sopaipa” or “xopaipa,” which translates to “bread in oil.” This refers to a type of fried dough, believed to have originated in parts of Spain influenced by Moorish culture. Centuries ago, the Spanish brought these versatile fried breads to the Americas, where they evolved into various forms, most commonly served as a sweet dessert.
Traditional sopapillas in many Latin American cultures are light, airy squares of dough, deep-fried until puffed and golden, then often drizzled with honey or sprinkled with cinnamon sugar. They are a beloved treat, especially in the American Southwest and Mexico, frequently enjoyed warm. Our Sopapilla Cheesecake cleverly reimagines this concept by combining the irresistible cinnamon-sugar topping and a tender, bread-like crust (achieved with crescent dough) with a rich, creamy cheesecake filling. It’s a delightful fusion of cultures and flavors, offering the comforting essence of a sopapilla with the decadent texture of a cheesecake.
This recipe embraces the spirit of sopapillas by creating a dessert that is both warm, comforting, and wonderfully sweet, with that distinct cinnamon note that makes traditional sopapillas so appealing. It’s an approachable way to experience a taste of this cultural classic in a new, exciting format.
Essential Ingredients for Your Sopapilla Cheesecake
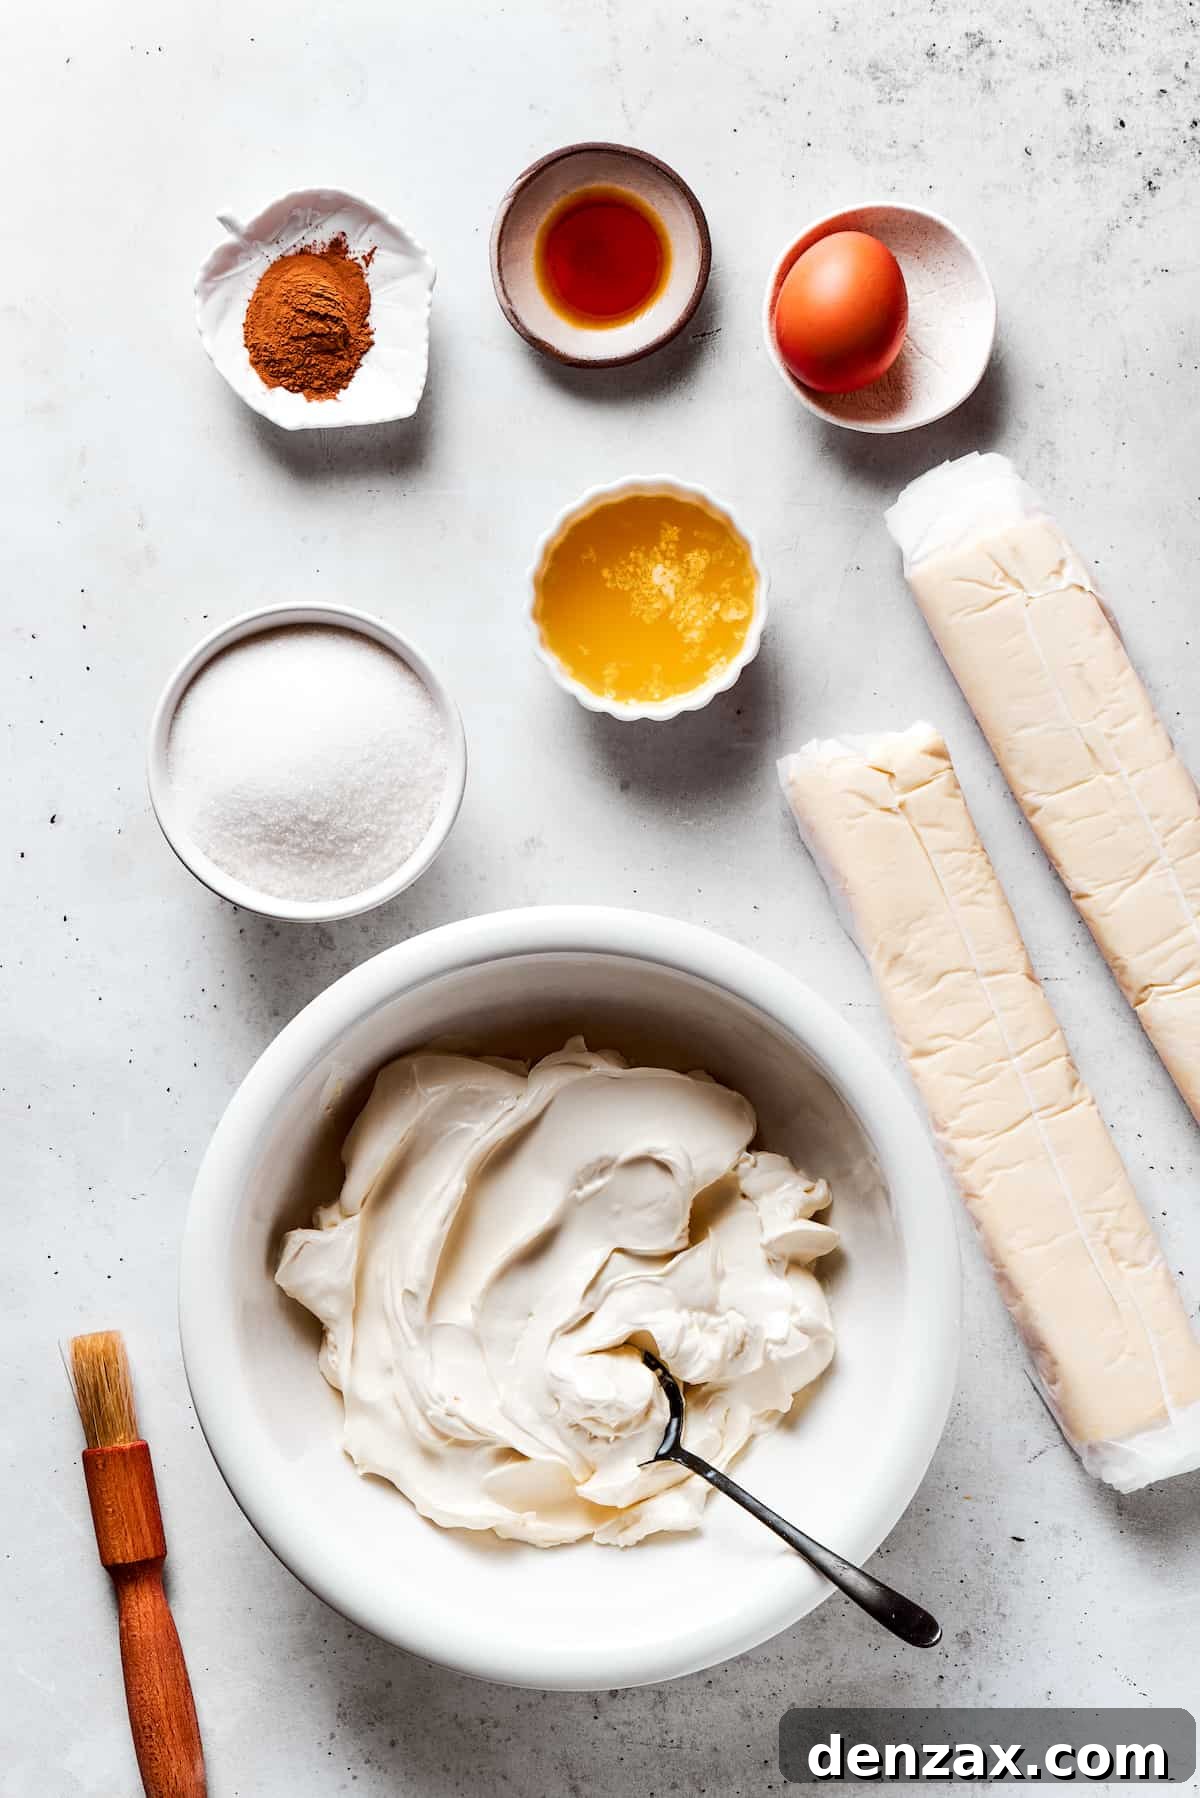
One of the many beauties of this Sopapilla Cheesecake recipe is its reliance on readily available ingredients. You won’t need to hunt for exotic items; everything you need can be found at your local grocery store. Below is a breakdown of the key components. For the exact measurements and full recipe details, please refer to the complete recipe card at the end of this article.
Creamy Cheesecake Filling Ingredients
- Crescent Roll Dough: Two tubes of refrigerated crescent rolls form both the bottom and top crusts. This shortcut is what makes the recipe so incredibly easy and gives the cheesecake its signature fluffy, buttery texture. Make sure to get the full-sheet style if available, or simply pinch together the perforations of the triangle rolls.
- Cream Cheese: This recipe calls for four standard 8-ounce blocks of full-fat cream cheese. For the smoothest, lump-free filling, it’s crucial to let your cream cheese come to room temperature before mixing. This allows it to blend seamlessly with the other ingredients, creating that velvety texture we all crave in a cheesecake.
- Granulated Sugar: Provides the perfect amount of sweetness to balance the tang of the cream cheese. Regular granulated sugar works beautifully here.
- Large Egg: Acts as a binder, helping the cheesecake filling to set properly during baking. Like the cream cheese, having the egg at room temperature aids in creating a perfectly smooth mixture.
- Pure Vanilla Extract: A splash of vanilla elevates the overall flavor profile, adding warmth and depth to the creamy filling. Opt for pure vanilla extract for the best taste, or vanilla bean paste if you prefer a more intense vanilla essence.
Signature Cinnamon-Sugar Topping Ingredients
- Unsalted Butter: Melted unsalted butter is brushed over the top crescent dough before baking. This creates a rich base for the cinnamon sugar and contributes to the golden, slightly crisp top layer. Using unsalted butter gives you control over the overall saltiness of the dessert.
- Granulated Sugar & Ground Cinnamon: The classic duo that gives this cheesecake its “sopapilla” essence. Granulated sugar provides the sweetness, while ground cinnamon infuses it with that irresistible warm spice. You can use regular granulated sugar, or for a slightly coarser texture and sparkle, raw sugar can also be a delightful choice.
How to Create Your Irresistible Sopapilla Cheesecake
The true brilliance of this sopapilla cheesecake recipe lies in its incredibly straightforward preparation. Forget complicated techniques or lengthy baking processes; this dessert comes together with simple layering and baking steps. Even if you’re new to baking, you’ll find this recipe incredibly forgiving and rewarding. Here’s a detailed guide to crafting your delicious cheesecake, complete with visual cues to help you every step of the way:
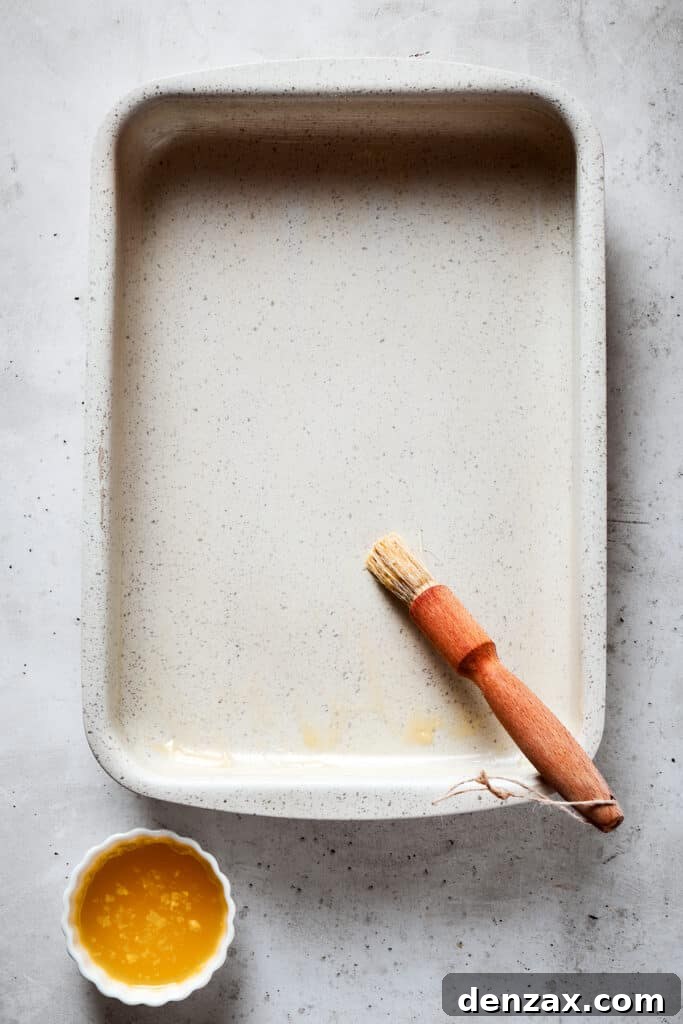
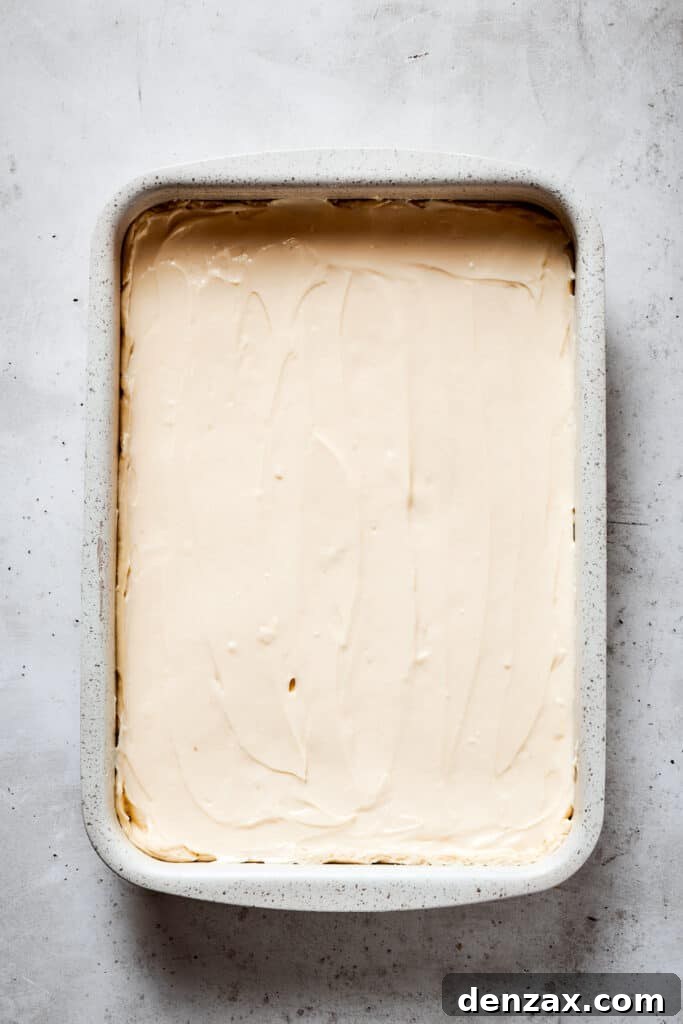
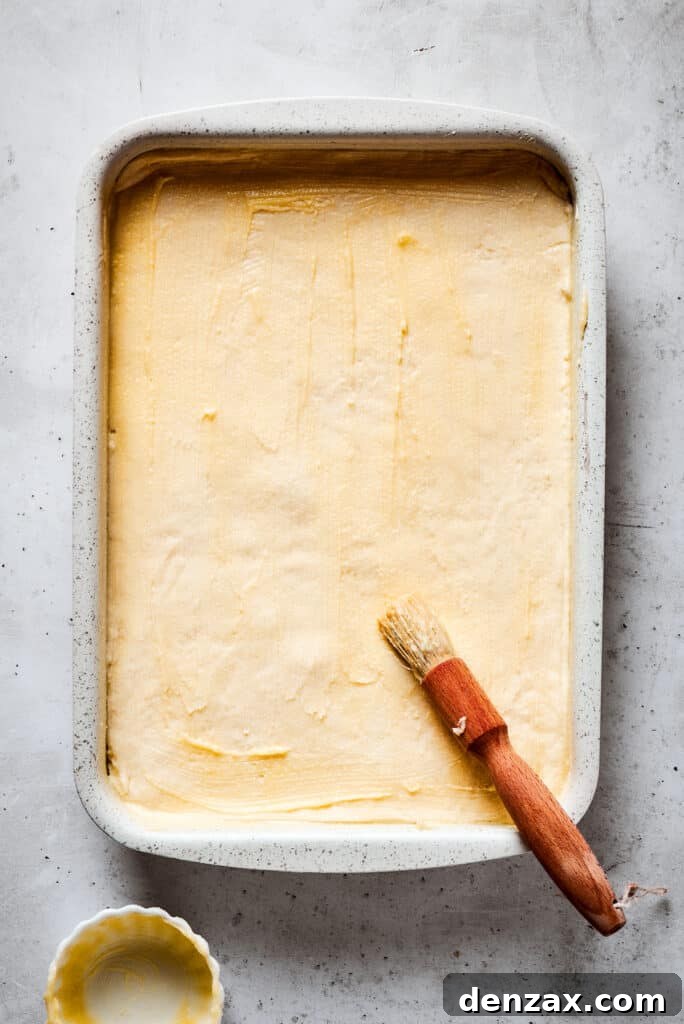
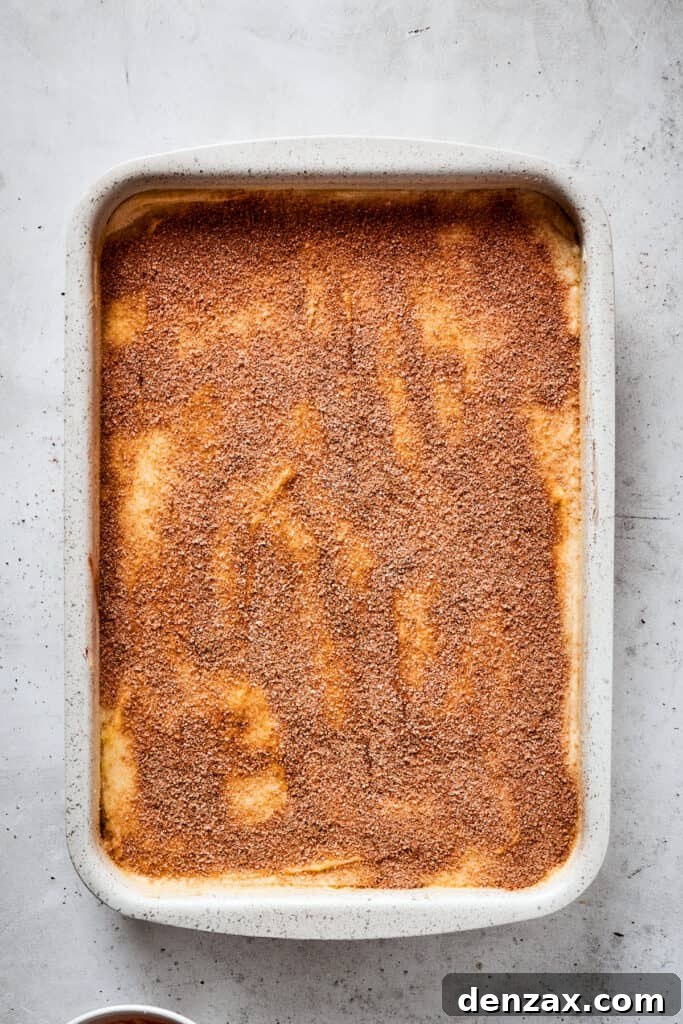
- Preheat Oven and Prepare Pan: Begin by preheating your oven to a consistent 350°F (175°C). While the oven heats, lightly grease a 9×13 inch glass or ceramic baking dish with a non-stick cooking spray. This crucial step prevents the dough from sticking and ensures easy removal of your cheesecake squares later.
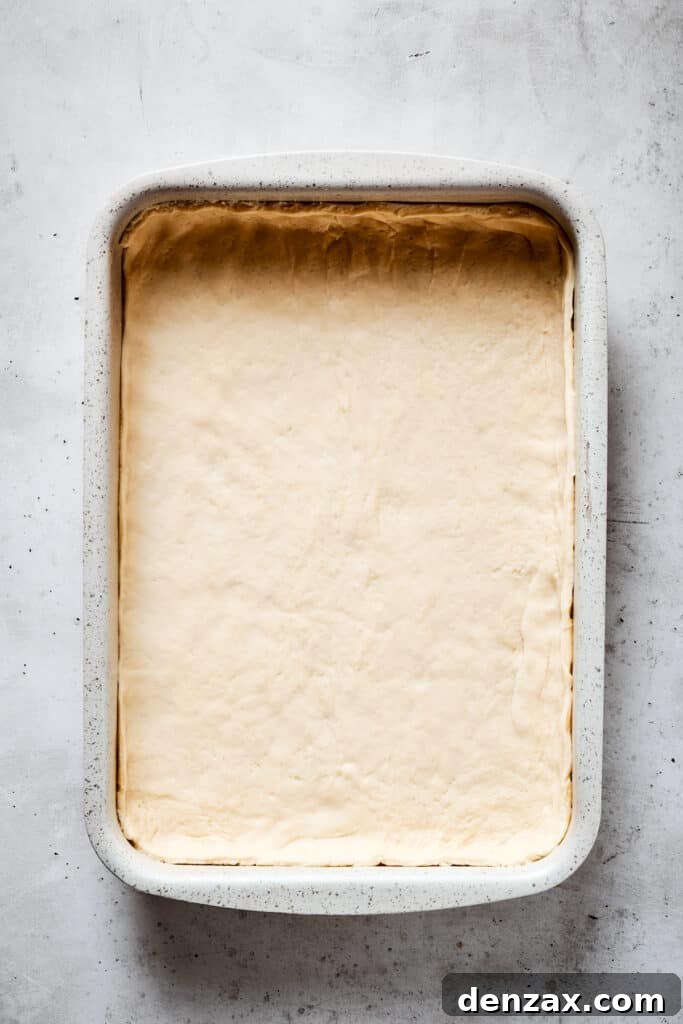
- Lay the Bottom Crust: Carefully open one can of refrigerated crescent roll dough. Unroll it gently and press it firmly and evenly into the bottom of your prepared baking dish. If your crescent dough comes in triangles, simply pinch the seams together to form a solid sheet. Ensure the dough extends slightly up the sides of the pan to form a complete crust.
- Prepare the Cream Cheese Filling: In a large mixing bowl, combine the softened cream cheese, granulated sugar, and pure vanilla extract. Beat these ingredients together using an electric mixer until the mixture is completely smooth and creamy, with no lumps remaining. Once smooth, add the room temperature egg and whisk it in until it’s just incorporated. Be careful not to overmix after adding the egg.
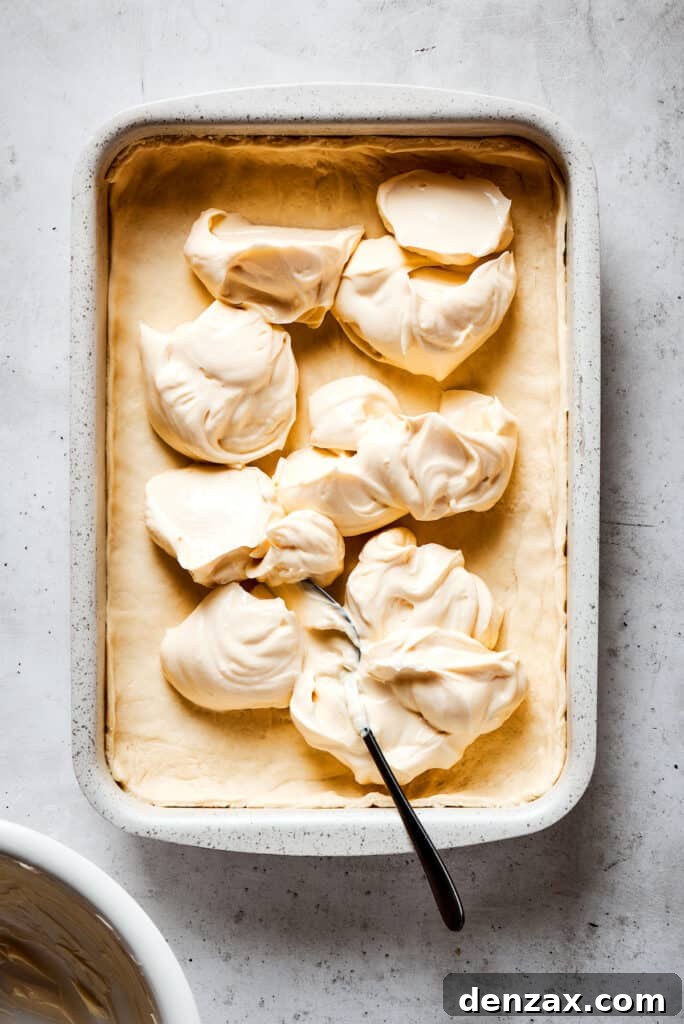
- Spread the Luxurious Filling: Pour the smooth cream cheese batter over the crescent roll dough in the baking dish. Using a spatula or the back of a spoon, gently spread the filling out into an even layer, reaching all corners of the pan. Take care not to tear the delicate crescent dough underneath.
- Add the Top Crust: Open the second can of crescent roll dough. Unroll it carefully and gently place it directly over the cream cheese layer, forming the top crust of your cheesecake. Again, if using pre-cut triangles, pinch the seams together to create a seamless top layer.
- Apply the Signature Topping: Melt the unsalted butter in a small bowl. Using a pastry brush, evenly brush the melted butter over the entire surface of the top crescent dough layer. In a separate small bowl, stir together the remaining granulated sugar and ground cinnamon until well combined. Generously sprinkle this fragrant cinnamon-sugar mixture evenly over the buttered top crust. This will create that classic golden, spiced crust.
- Bake to Perfection: Carefully slide your Sopapilla Cheesecake into the preheated oven. Bake for 30 to 35 minutes, or until the top crust is beautifully golden brown and the cheesecake filling appears set (it shouldn’t jiggle excessively in the center when gently shaken).
- Cool and Chill: Once baked, remove the cheesecake from the oven and place it on a wire rack to cool completely to room temperature. This cooling process is important for the cheesecake’s structure. After it has reached room temperature, transfer the dish to the refrigerator and allow it to chill for several hours, ideally 3-4 hours, before slicing and serving. Chilling helps the filling firm up, making for clean cuts and a perfect texture.
- Serve and Enjoy: Once thoroughly chilled, cut the Sopapilla Cheesecake into squares. Serve plain, or with your favorite toppings for an extra touch of indulgence.
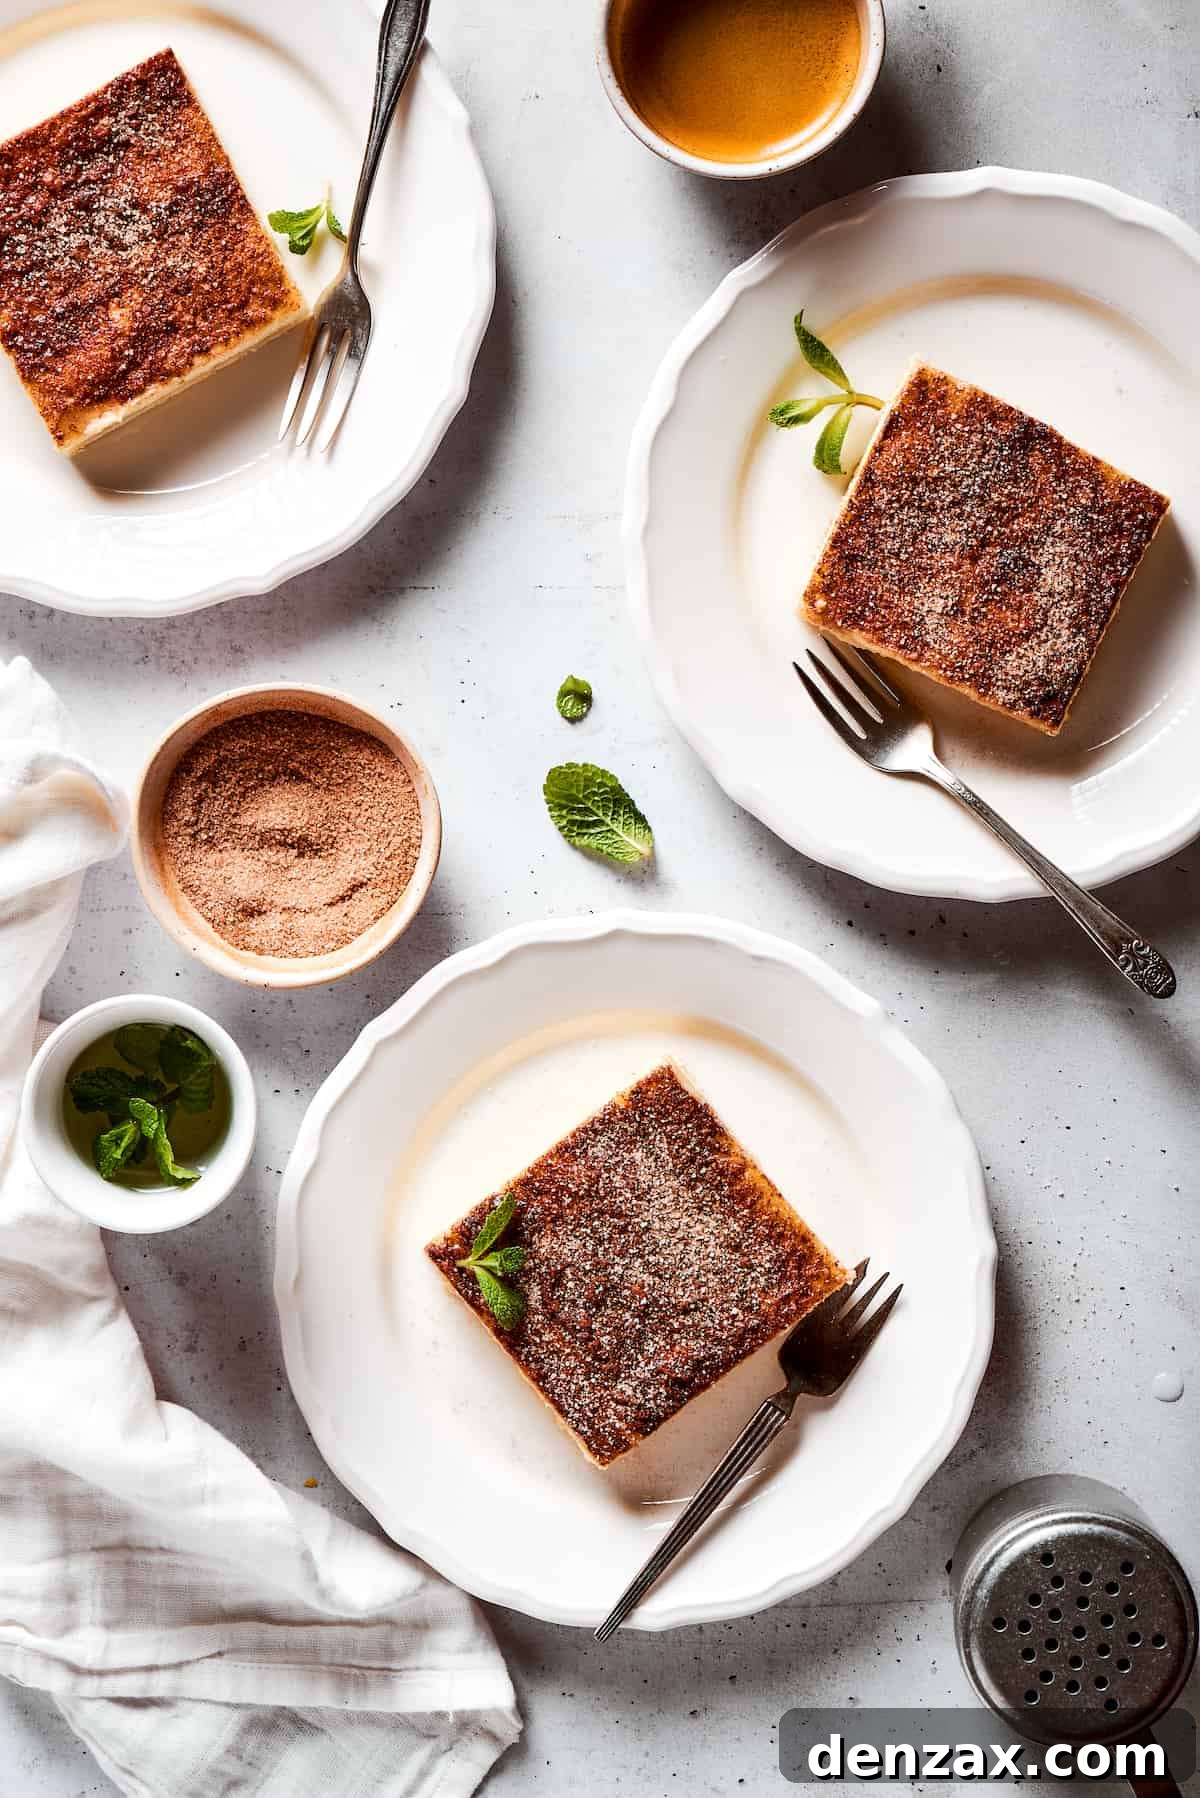
Baker’s Tips for the Perfect Sopapilla Cheesecake
This Sopapilla Cheesecake is a truly delightful dessert, offering a creamy, dreamy, and utterly delicious experience. It’s ideal for a casual coffee date with friends, a celebratory Cinco De Mayo feast, or simply as a comforting treat at home. To ensure your cheesecake turns out flawlessly, here are some invaluable baker’s tips:
- Achieve Room Temperature Ingredients: This is perhaps the most important tip! Ensure your cream cheese and egg are at room temperature before you begin mixing. Cold cream cheese will result in a lumpy filling that is difficult to spread evenly. Room temperature ingredients blend together smoothly, creating the luscious, creamy texture that defines a perfect cheesecake filling.
- Gentle Spreading is Key: When spreading the cream cheese mixture over the bottom crescent dough, do so gently and evenly. You want to create a consistent layer that will bake uniformly, but you must avoid tearing the delicate dough. Similarly, carefully place the top layer of crescent dough to prevent any rips.
- The Right Tool for Butter: A pastry brush is your best friend for evenly spreading the melted butter over the top layer of dough. If you don’t have one, you can improvise by using the rounded back of a spoon or even the corner of a clean tea towel to gently dab and spread the butter without damaging the dough.
- Patience with Cooling and Chilling: Allowing the cheesecake to cool completely to room temperature before transferring it to the refrigerator is vital. Rushing this step can lead to a cheesecake that doesn’t set properly or has a less firm texture. The several hours of chilling time in the fridge are non-negotiable for achieving that perfectly firm, sliceable consistency.
- Enhance with Extra Cinnamon Sugar: For an extra burst of flavor and a visually appealing presentation, consider sprinkling a little extra cinnamon sugar over the cooled and chilled cheesecake just before serving. This adds a fresh sparkle and intensifies the cinnamon aroma.
- Mindful Serving and Storage: While tempting to leave out for easy access, sopapilla cheesecake, like most dairy-based desserts, should not be left at room temperature for more than two hours. Always store any leftovers promptly in the refrigerator to maintain freshness and safety.
- Even Dough Layer: When pressing the crescent dough into the pan, try to make it as even as possible, especially if using the perforated triangles. This ensures an even bake for both the crusts.
Delicious Variations to Customize Your Sopapilla Cheesecake
While this Sopapilla Cheesecake is absolutely perfect as is, it also serves as a fantastic canvas for creative customization. If you’re looking to add even more flavor magic or a personal touch, here are a few ideas to inspire you:
- A Symphony of Sweet Drizzles: Elevate each serving with a delightful drizzle! A rich chocolate sauce, a gooey caramel sauce, a vibrant strawberry sauce, or even a classic honey drizzle would all complement the cinnamon-spiced cream cheese beautifully. Offer a variety of drizzles so guests can customize their own slice.
- Fruity Pie Filling Layers: Introduce a burst of fruity goodness by adding a layer of your favorite pie filling. After spreading the cream cheese mixture, gently spoon and spread a can of peach, blueberry, or even apple pie filling over it before adding the top crescent dough layer. The fruit will bake down beautifully, adding moisture and a delicious contrast to the creamy filling.
- Nutty Almond Infusion: The combination of cream cheese and cinnamon pairs wonderfully with almonds. For a subtle yet sophisticated flavor, try adding just a tiny amount (about ¼ teaspoon) of almond extract to the cream cheese filling. For added texture and visual appeal, scatter some slivered almonds over the top cinnamon-sugar layer before baking. The almonds will toast slightly, adding a lovely crunch and nutty aroma.
- Citrus Zest Brightness: For a lighter, brighter flavor profile, consider adding a teaspoon of finely grated orange or lemon zest to the cream cheese filling. The citrus notes will cut through the richness and add a refreshing twist.
- Spice it Up: Experiment with other warm spices! A pinch of nutmeg or a dash of cardamom in the cinnamon sugar topping can add a new layer of complexity to the classic flavor.
Storing and Freezing Your Sopapilla Cheesecake
One of the great advantages of this Sopapilla Cheesecake is how well it stores, making it perfect for meal prepping desserts or enjoying leftovers days later. Proper storage ensures your cheesecake remains fresh and delicious.
- Refrigeration: For short-term storage, once the cheesecake has completely cooled to room temperature, cover the entire baking dish tightly with plastic wrap or aluminum foil. You can then refrigerate it for up to 3 to 4 days. Storing it in an airtight container is also an excellent option to prevent it from absorbing any refrigerator odors.
- Freezing for Longer Enjoyment: This cheesecake freezes beautifully! To preserve its quality, we recommend cutting the chilled cheesecake into individual squares first. Wrap each square separately in a layer of plastic wrap, ensuring it’s completely sealed. Then, place all the individually wrapped squares into an airtight freezer-safe container or a heavy-duty zip-top freezer bag. Freeze for up to 3 months.
- Thawing Instructions: When you’re ready to enjoy a frozen slice, simply transfer the desired number of wrapped squares to your refrigerator and let them thaw overnight. You can also quickly thaw individual slices at room temperature for about 30-60 minutes, though refrigeration is generally preferred for best texture.
More Delightful Dessert Recipes to Explore
If you loved the ease and deliciousness of this Sopapilla Cheesecake, you’re in for a treat! We have a collection of other festive and simple dessert recipes that are perfect for any occasion. Expand your baking repertoire with these irresistible ideas:
- Cream Cheese Swirl Brownies
- Decadent Millionaire Bars
- Fun & Easy Cake Pops
- Sweet Cherry Kuchen Bars
- Light & Airy Strawberry Pavlova
- Classic Cherry Cheesecake
- Rich Red Velvet Cheesecake
★
★
★
★
Sopapilla Cheesecake
Katerina | Easy Weeknight Recipes
15 minutes
35 minutes
3 hours
4 hours
9 squares
Ingredients
- 2 tubes crescent rolls, (8 ounces each)
- 32 ounces cream cheese, (4 blocks) at room temperature
- ¾ cup granulated sugar
- 1 large egg, at room temperature
- 1 teaspoon pure vanilla extract
For the topping:
- ¼ cup unsalted butter, melted
- ⅓ cup granulated sugar
- 1 teaspoon ground cinnamon
Instructions
-
Preheat your oven to 350°F (175°C). Lightly grease a 9×13 inch glass or ceramic pan with non-stick cooking spray.
-
Unroll one can of crescent roll dough and press it into the bottom of the greased baking dish, pinching any seams together to form a solid crust.
-
In a large mixing bowl, beat together the room temperature cream cheese, granulated sugar, and vanilla extract until smooth and creamy. Add the room temperature egg and whisk it into the mixture until just combined. Do not overmix.
-
Pour the cream cheese batter over the bottom crescent roll dough in the baking dish and spread it evenly over the dough with a spatula, taking care not to tear the crust.
-
Unroll the second can of crescent roll dough and carefully place it on top of the cream cheese layer, again pinching any seams.
-
Using a pastry brush, evenly brush the melted butter over the top of the second crescent roll dough layer.
-
In a small bowl, whisk together the remaining ⅓ cup of granulated sugar and 1 teaspoon of ground cinnamon. Sprinkle this cinnamon-sugar mixture evenly over the buttered dough.
-
Bake the sopapilla cheesecake in the preheated oven for 30 to 35 minutes, or until the top is golden brown and the cheesecake is set (the center should have a slight jiggle, but not be liquid).
-
Remove the cheesecake from the oven and let it cool completely to room temperature on a wire rack.
-
Once at room temperature, chill the cheesecake in the fridge for at least 3 hours (preferably longer) before serving to allow it to firm up properly.
-
Cut into squares and enjoy your homemade Sopapilla Cheesecake!
Equipment
-
9×13 Glass Baking Dish
-
Pastry Brush
-
Electric Mixer
-
Whisks
Notes
- Ensure cream cheese and eggs are at room temperature before mixing. This guarantees a creamy, lump-free filling and proper blending.
- Spread the cream cheese mixture gently and evenly over the dough. Avoid tearing the crescent roll layers to maintain the integrity of the crusts.
- A pastry brush is ideal for applying melted butter to the top dough. If unavailable, use the back of a spoon or a clean tea towel corner with light, even strokes.
- After baking, let the cheesecake cool completely to room temperature before refrigerating. This gradual cooling helps the cheesecake set correctly and achieve a firm, sliceable texture.
- Sopapilla cheesecake should not be left at room temperature for more than two hours. Always return leftovers to the fridge promptly.
- Store the cheesecake in the fridge for 3 to 4 days, or freeze individual wrapped squares for up to 3 months. Thaw in the refrigerator before serving.
Nutrition
Calories: 676kcal |
Carbohydrates: 50g |
Protein: 9g |
Fat: 51g |
Saturated Fat: 28g |
Polyunsaturated Fat: 5g |
Monounsaturated Fat: 12g |
Trans Fat: 0.2g |
Cholesterol: 134mg |
Sodium: 720mg |
Potassium: 143mg |
Fiber: 0.1g |
Sugar: 33g |
Vitamin A: 1538IU |
Vitamin C: 0.01mg |
Calcium: 105mg |
Iron: 1mg
Nutritional info is an estimate and provided as courtesy. Values may vary according to the ingredients and tools used. Please use your preferred nutritional calculator for more detailed info.