
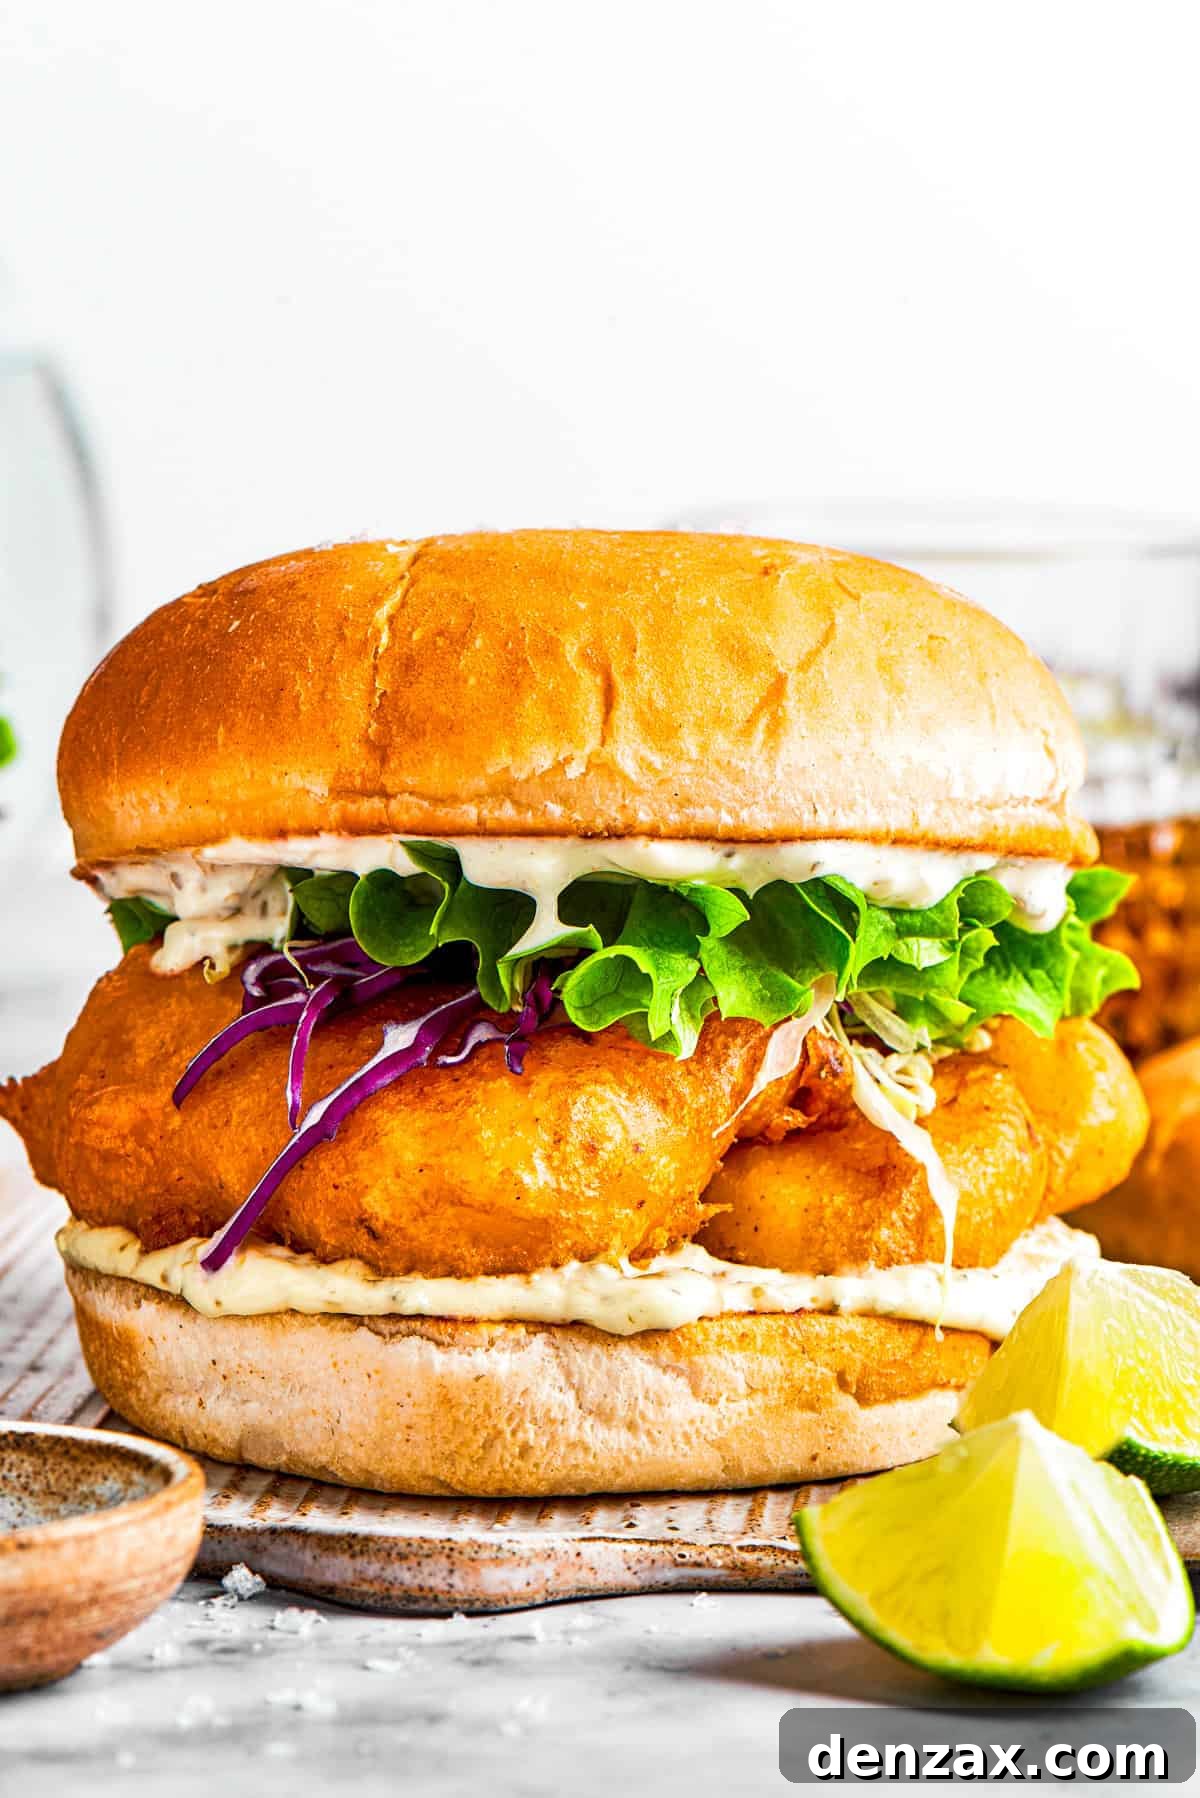
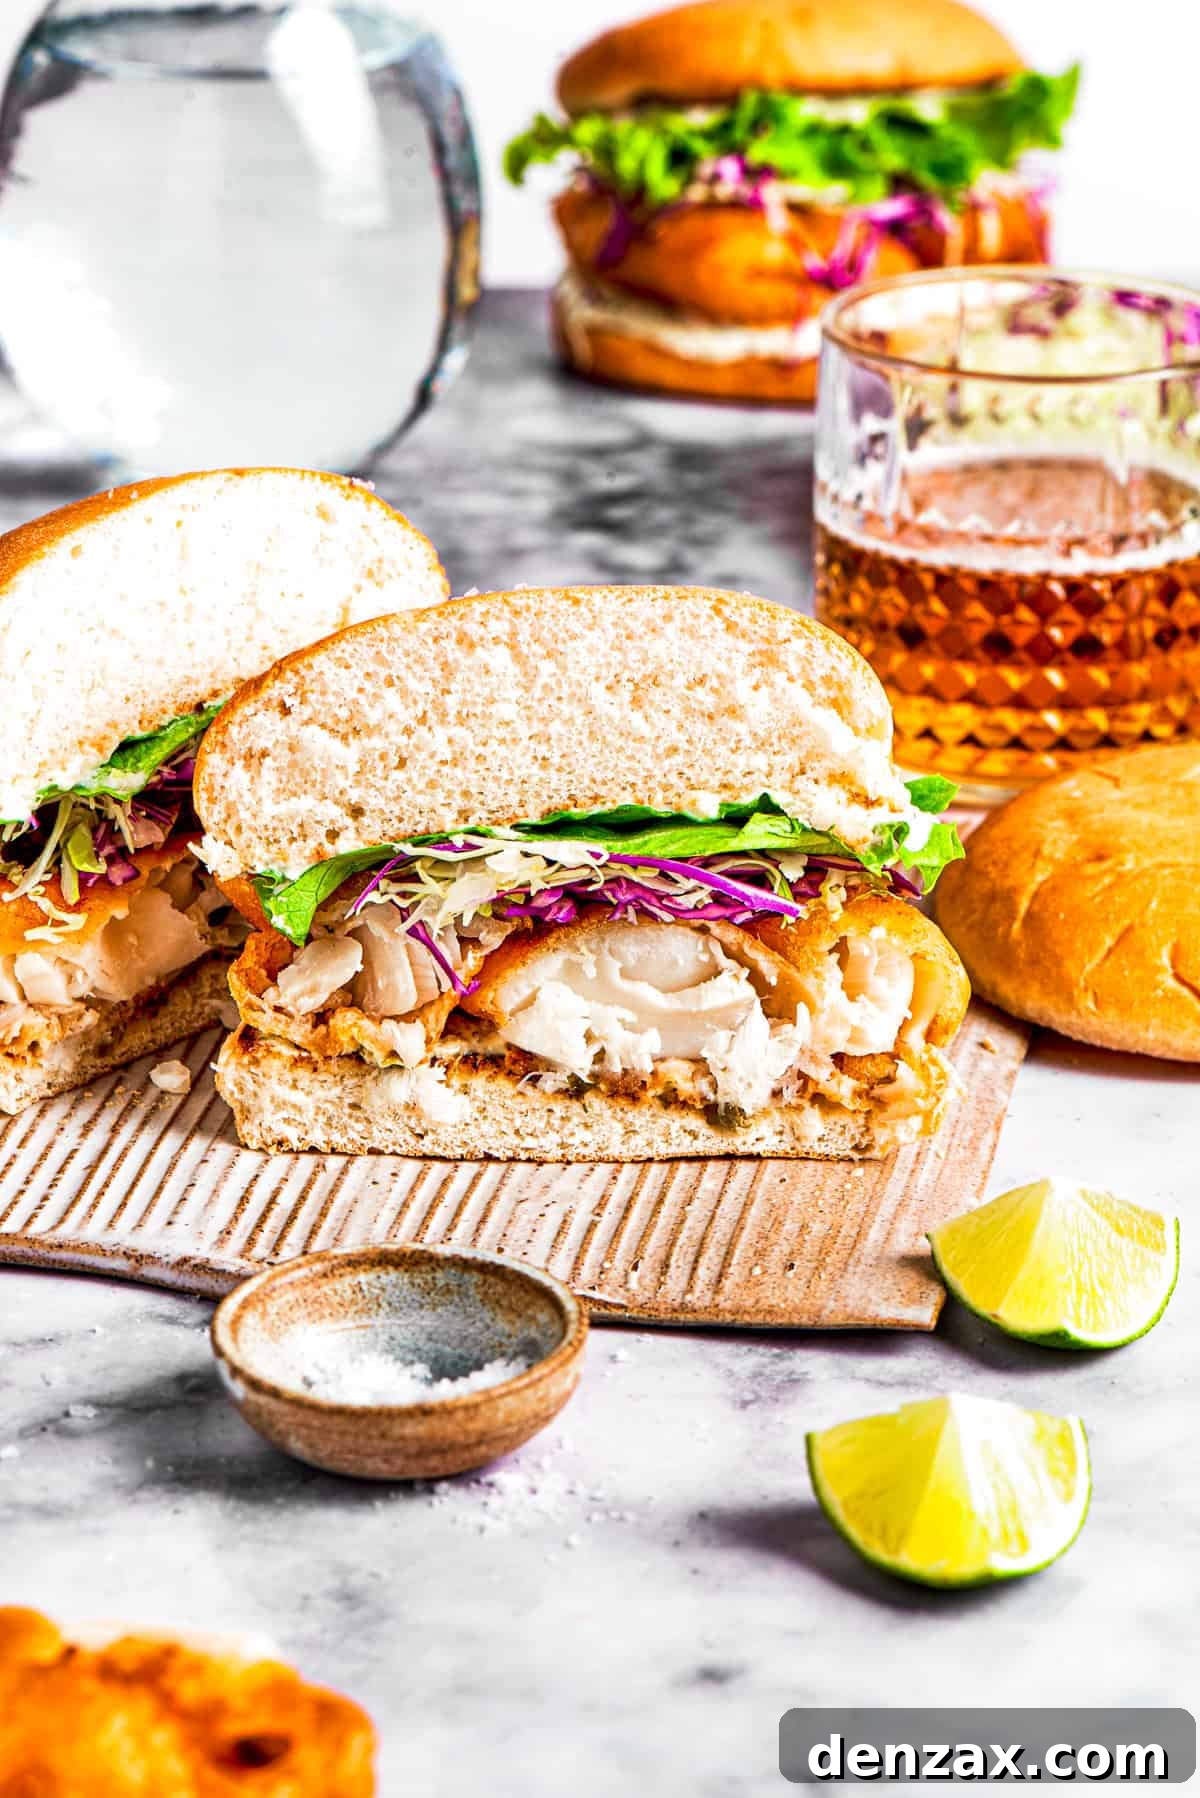
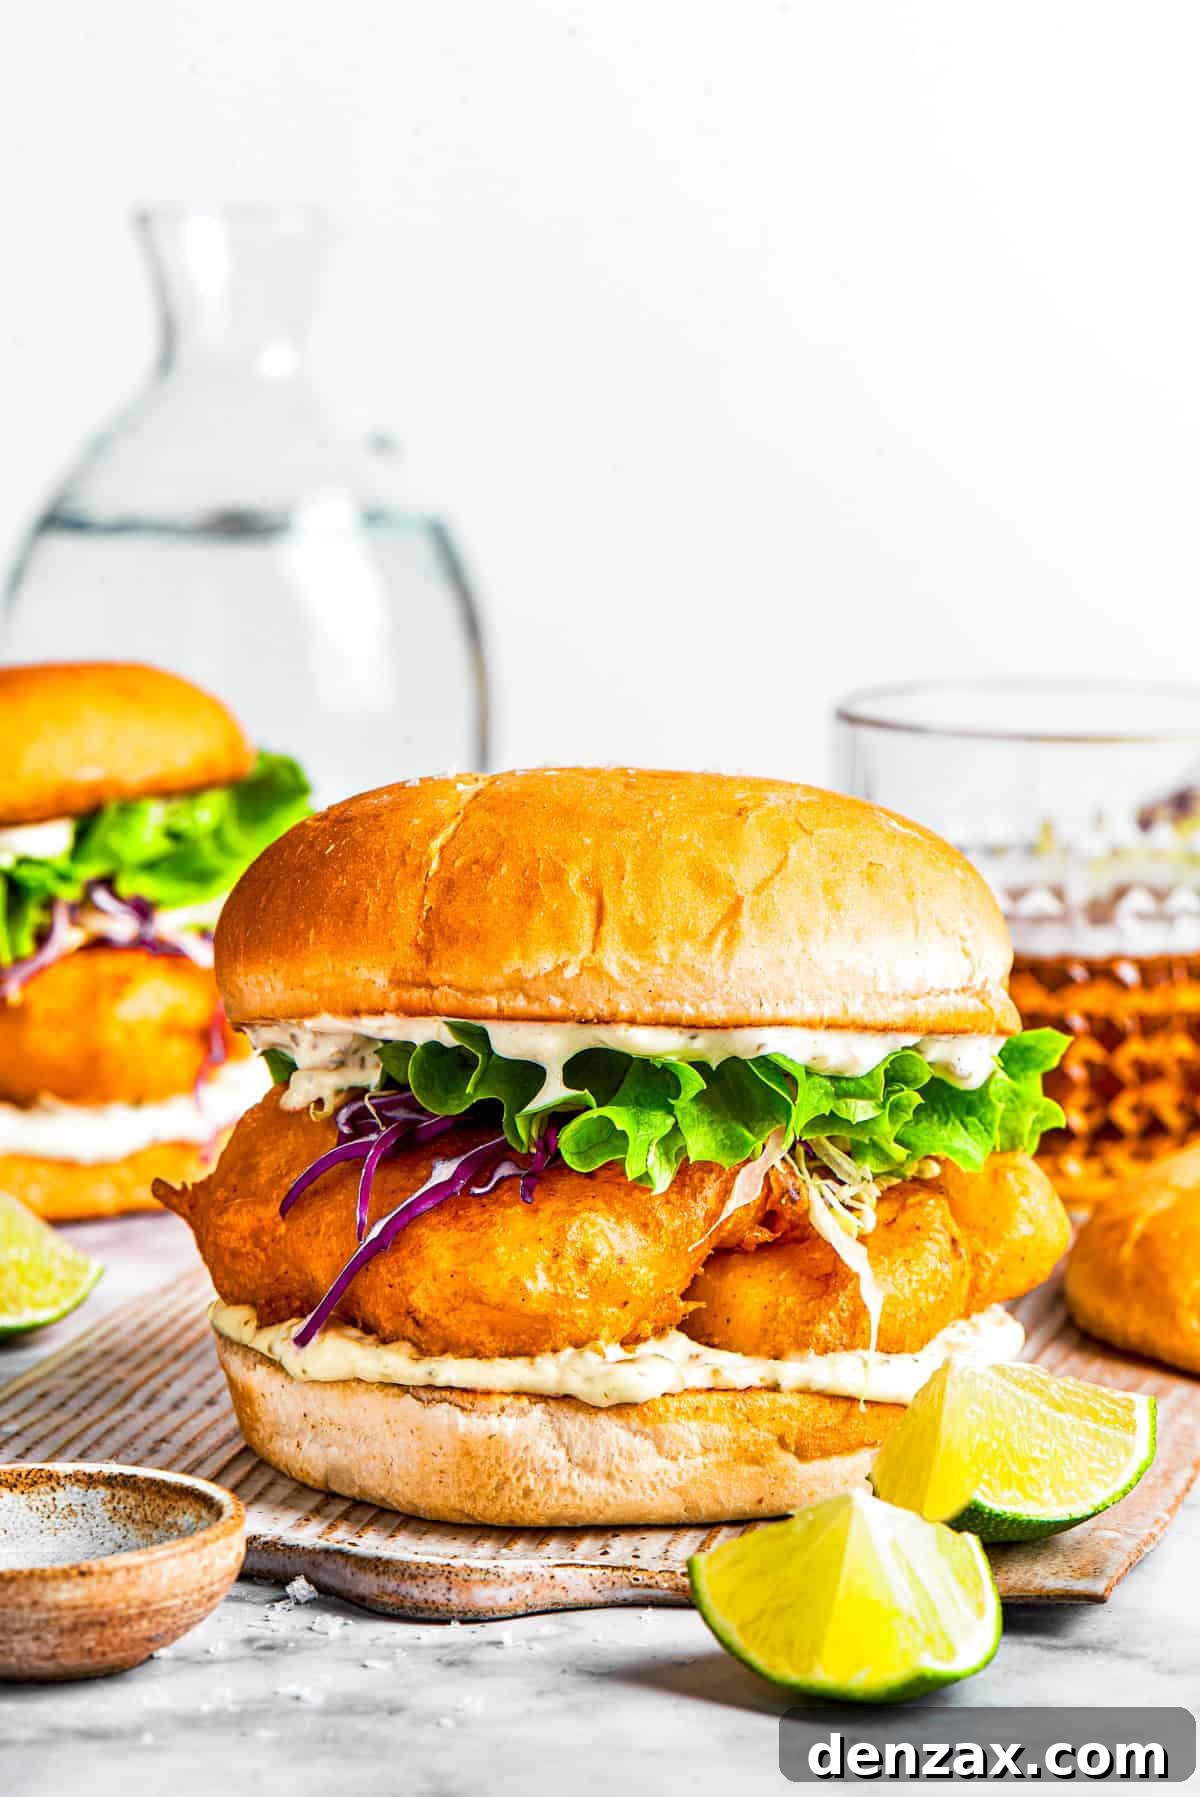
Indulge in the ultimate homemade delight: a crispy, crunchy fish sandwich, perfectly nestled on a toasted sweet roll, brightened by zesty lemon tartar sauce and a squeeze of fresh lime. This isn’t just any fish sandwich; it’s a culinary experience that elevates a simple meal into an unforgettable feast. Featuring mild, flaky white fish enveloped in a light, flavorful beer batter, this easy-to-follow recipe is designed to be a standout – a dish that promises to impress with minimal effort.
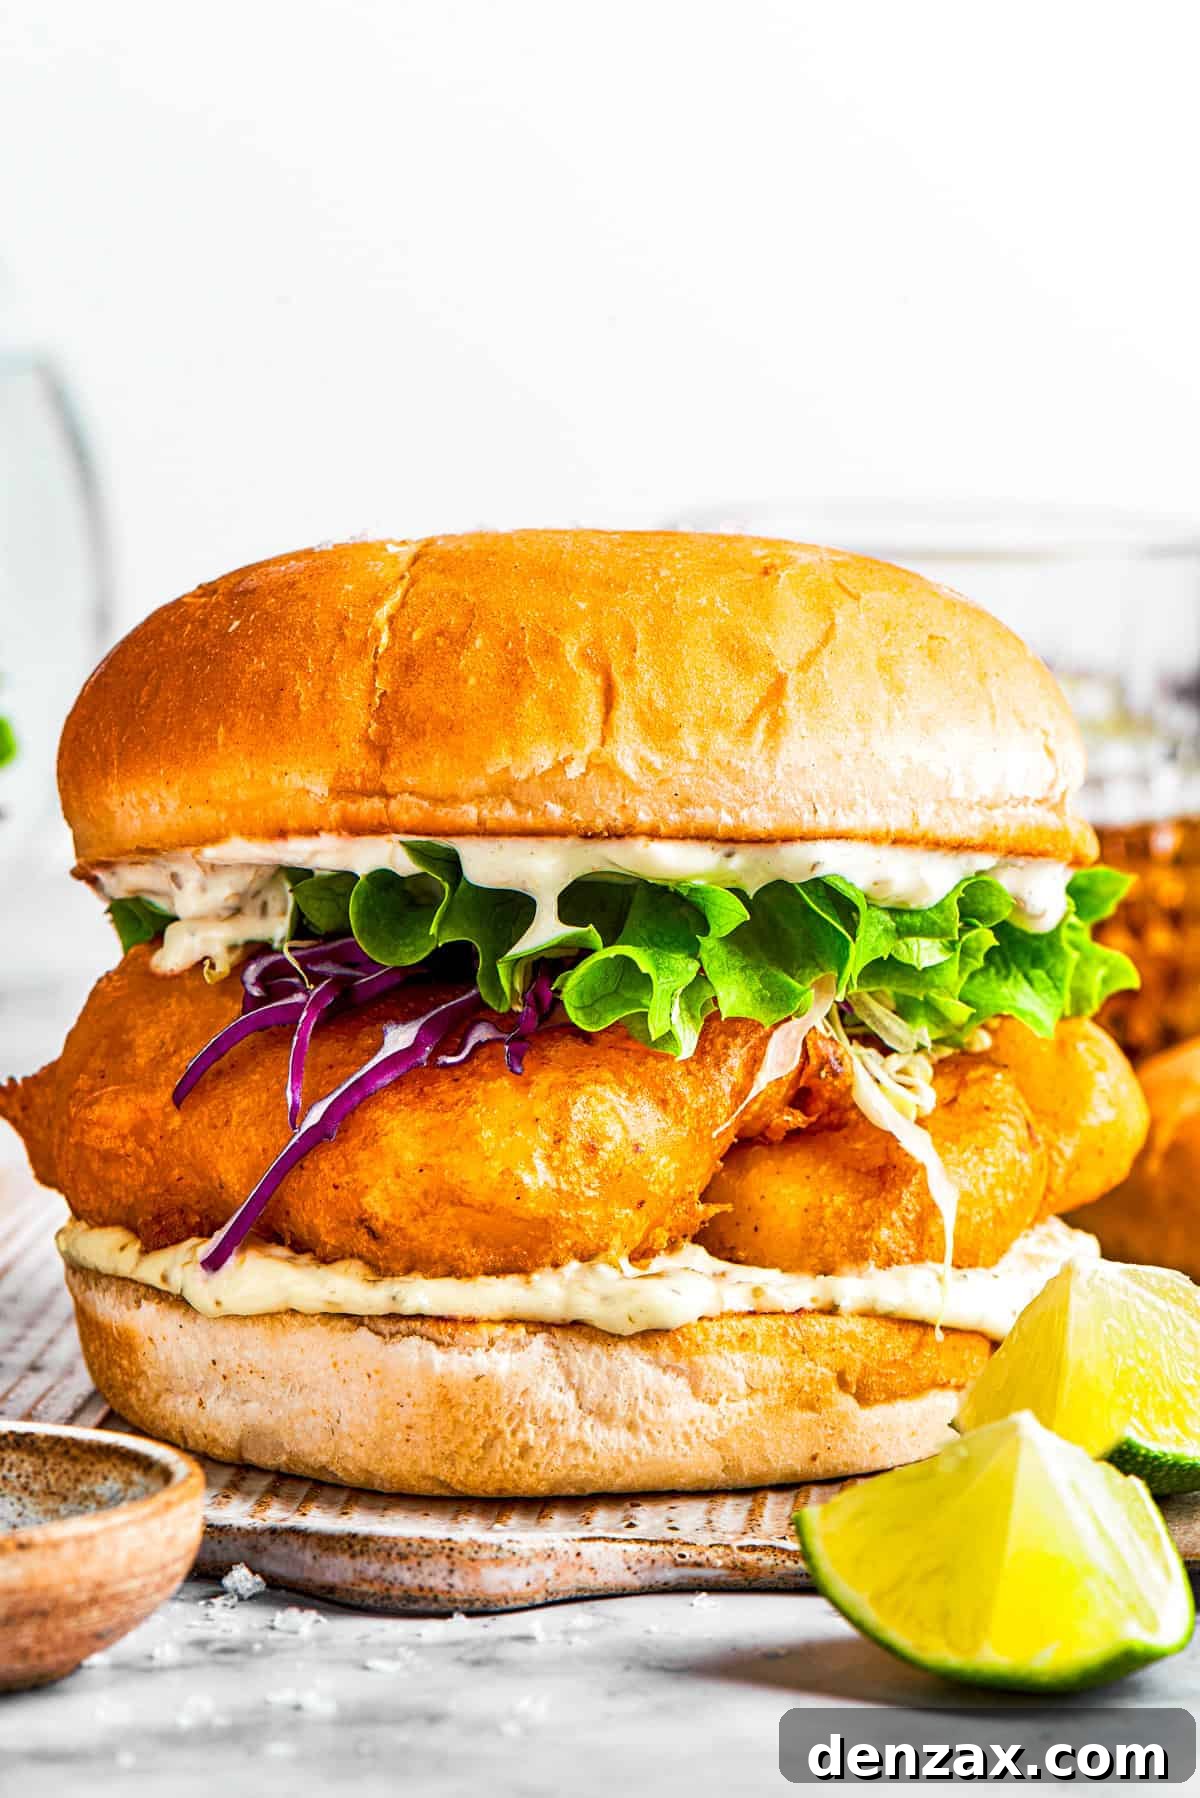
Just like a perfectly executed beer-battered fish or a savory battered chicken, the magic of this fish sandwich lies in its exquisitely flavorful, crisp beer batter. This golden coating locks in the moisture, ensuring each bite reveals tender, flaky fish fillets. Once fried to golden perfection, these culinary gems are carefully placed on soft, toasted brioche buns, layered with a generous dollop of creamy tartar sauce and a bed of crisp shredded cabbage. For an authentic pub-style experience right in your own home, I highly recommend serving these sandwiches with a towering pile of savory garlic fries and a chilled glass of your favorite beer on the side. It’s the ideal combination for a relaxed weekend lunch or a satisfying weeknight dinner that feels like a special occasion.
Why You’ll Adore These Golden & Crispy Fish Sandwiches
Prepare to fall in love with this homemade crispy fish sandwich recipe. It’s more than just a meal; it’s a testament to how simple ingredients, when prepared with care, can create something truly extraordinary. Here’s why this recipe deserves a permanent spot in your culinary repertoire:
- Unrivaled Lightness and Crispness: The texture is paramount in any fried dish, and this fish sandwich truly delivers. Imagine a satisfyingly loud crunch on the outside, giving way to an incredibly hot, tender, and flaky interior. The beer batter creates a delicate, airy crust that never feels heavy or greasy, making each bite a pure delight.
- Versatile for Any Meal: Whether you’re planning a leisurely weekend lunch with friends or need a satisfying, quick dinner after a long day, these fish sandwiches fit the bill perfectly. They’re hearty enough to be a main course but also light enough for a substantial midday meal. To transform it into an even more indulgent and filling dinner, pair it with a side of chili cheese fries for a truly decadent spread.
- Remarkably Quick & Convenient: We all cherish recipes that don’t demand hours in the kitchen, and this one is a champion of efficiency. You’ll only need about 10 minutes of active cooking time to fry the fish, bringing the total preparation and cooking time to under 30 minutes. That’s a gourmet-quality meal ready faster than most takeout options – truly my kind of recipe!
- Superior to Fast Food Alternatives: While we might occasionally succumb to the convenience of fast-food fish sandwiches, the homemade version is in a league of its own. Crafting these sandwiches from scratch allows you to control the quality of ingredients, customize the flavors to your exact preferences, and enjoy them at their absolute peak freshness. Experiment with different types of buns, homemade sauces, or unique toppings to create your signature sandwich – an experience fast food simply cannot replicate.
- Customizable Flavor Profiles: Beyond just the bun and sauce, this recipe is a fantastic canvas for your culinary creativity. Want a spicier kick? Add a pinch of cayenne to the batter. Prefer a hint of sweetness? A touch of honey in the tartar sauce can do wonders. The possibilities are endless, ensuring you can tailor this sandwich to satisfy any craving.
Essential Recipe Ingredients for Your Perfect Fish Sandwich
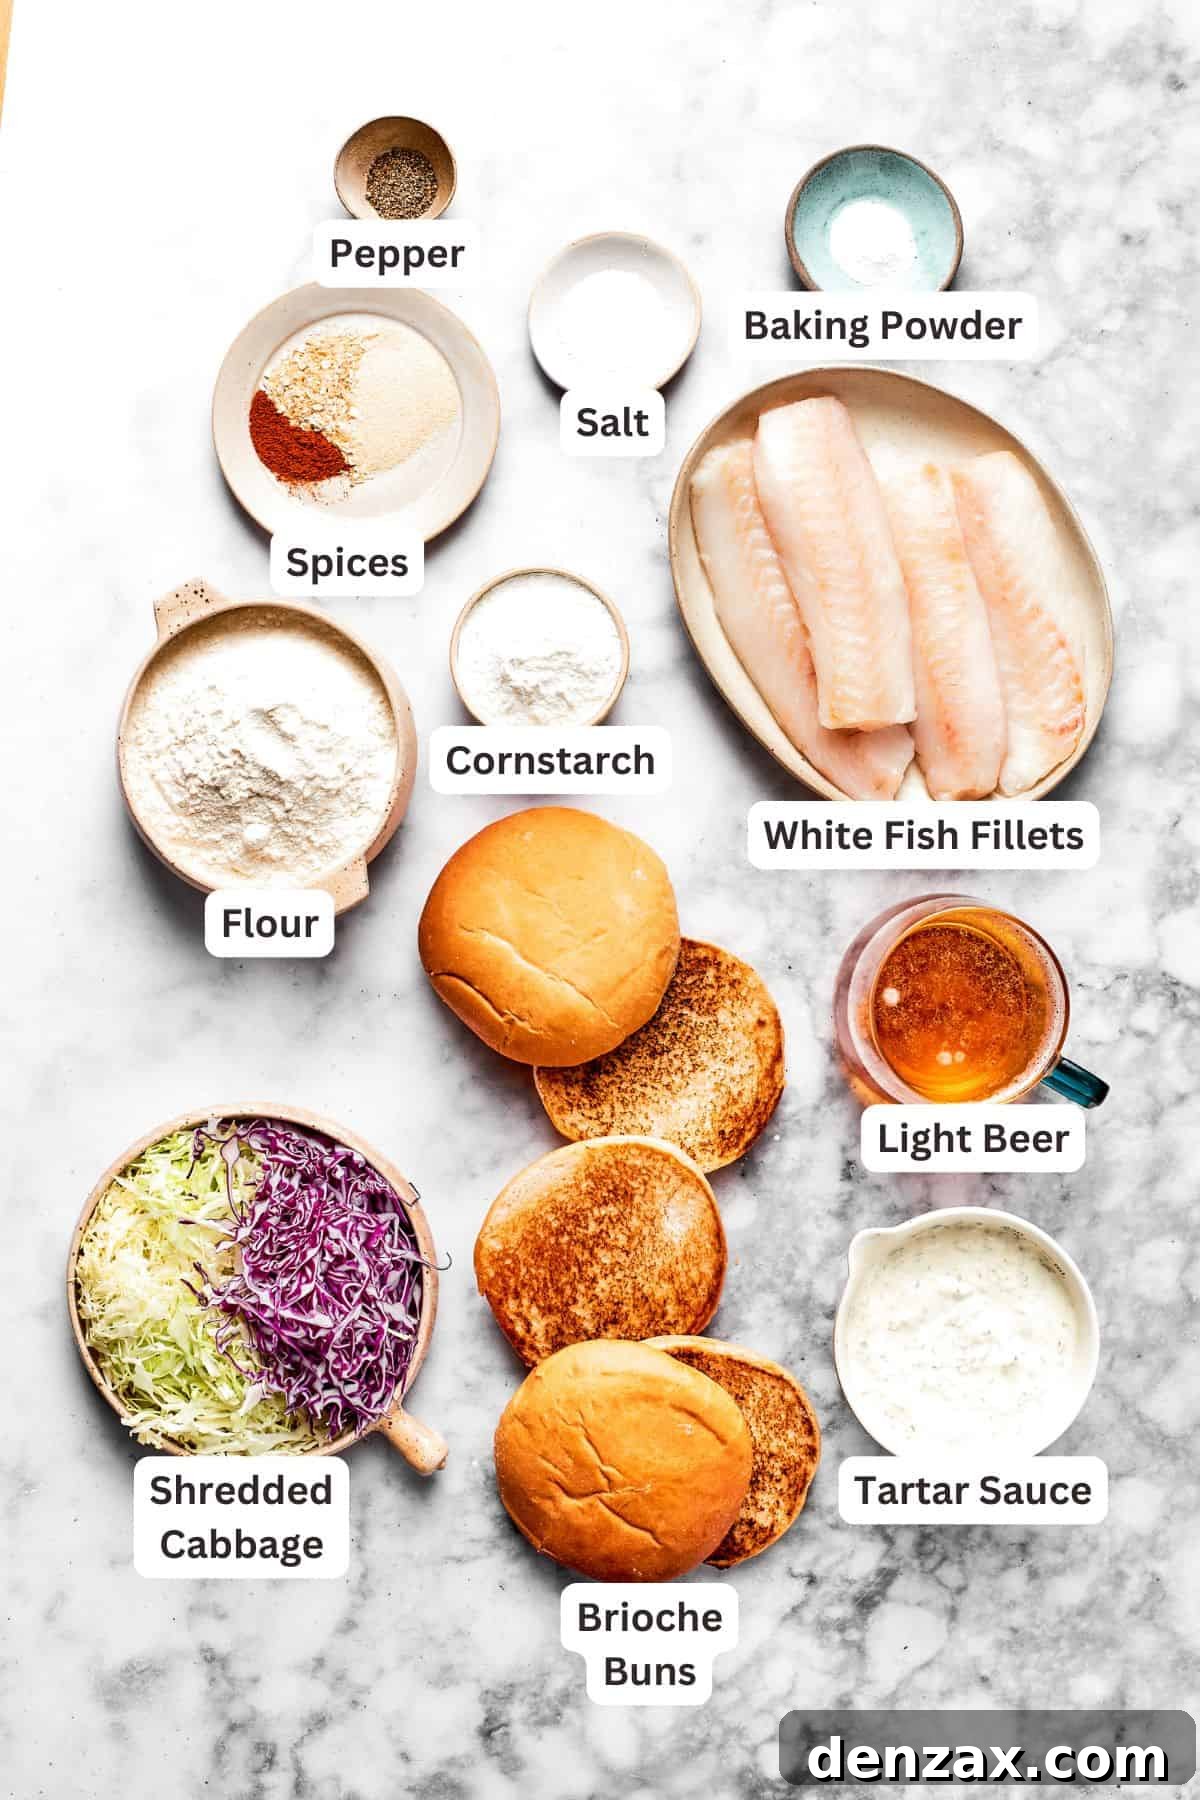
Crafting the perfect fish sandwich begins with selecting the right ingredients. Each component plays a vital role in achieving that sought-after crispy exterior and tender interior, all brought together by fresh, complementary flavors.
- Fish – The Star of the Show: Opt for a firm, mild white fish fillet. Haddock and cod are excellent choices, renowned for their flaky texture and subtle flavor that holds up beautifully to frying. For a more budget-friendly option without sacrificing quality, flounder is a fantastic alternative that fries up just as deliciously. Ensure your fillets are about 1-inch thick for even cooking.
- Flour – The Foundation: All-purpose flour serves a dual purpose in this recipe. A portion is used for dredging the fish fillets, creating a dry surface that allows the batter to adhere perfectly. The remainder is incorporated into the batter itself, providing structure and contributing to the light, crisp coating.
- Flavorful Batter – The Golden Embrace: Our signature beer batter is a blend of all-purpose flour, cornstarch (for extra crispiness!), baking powder (for that airy puff), aromatic garlic powder, onion powder, and a touch of sweet paprika for color and subtle warmth. Seasoned with salt and freshly ground pepper, the dry ingredients are brought to life with the addition of light beer, which creates a carbonated, airy batter that fries up beautifully.
- Vegetable Oil – For Frying Perfection: To achieve that irresistible golden-brown crispness, you’ll need enough vegetable oil for deep frying. A neutral-flavored oil like canola, sunflower, or peanut oil works best. Peanut oil is particularly favored for frying due to its high smoke point and ability to impart a clean, crisp finish to fried foods.
- Serving Components – Building Your Masterpiece:
- Brioche Buns: These slightly sweet, incredibly soft, and rich buns are the ideal vehicle for your crispy fish. Their sturdy yet yielding texture holds up well to the fillings. Feel free to use your favorite type of bun if brioche isn’t available – potato rolls or even regular hamburger buns can work.
- Fresh Lettuce: A crisp leaf of fresh lettuce (romaine or green leaf are great) adds a refreshing crunch and vibrant color, cutting through the richness of the fried fish and sauce.
- Tartar Sauce: The classic companion! A creamy, tangy tartar sauce with a hint of lemon is essential for balancing the flavors. Homemade is always best, but a good quality store-bought version works in a pinch.
- Shredded Red & Green Cabbage: This colorful mix provides an additional layer of crunch and a refreshing, slightly peppery bite that complements the fish beautifully. It’s a wonderful textural contrast.
- Lime Wedges: A final squeeze of fresh lime juice over the finished sandwich adds a bright, zesty acidity that ties all the flavors together and elevates the dish. Don’t skip this crucial finishing touch!
Expert Tips and Delicious Variations
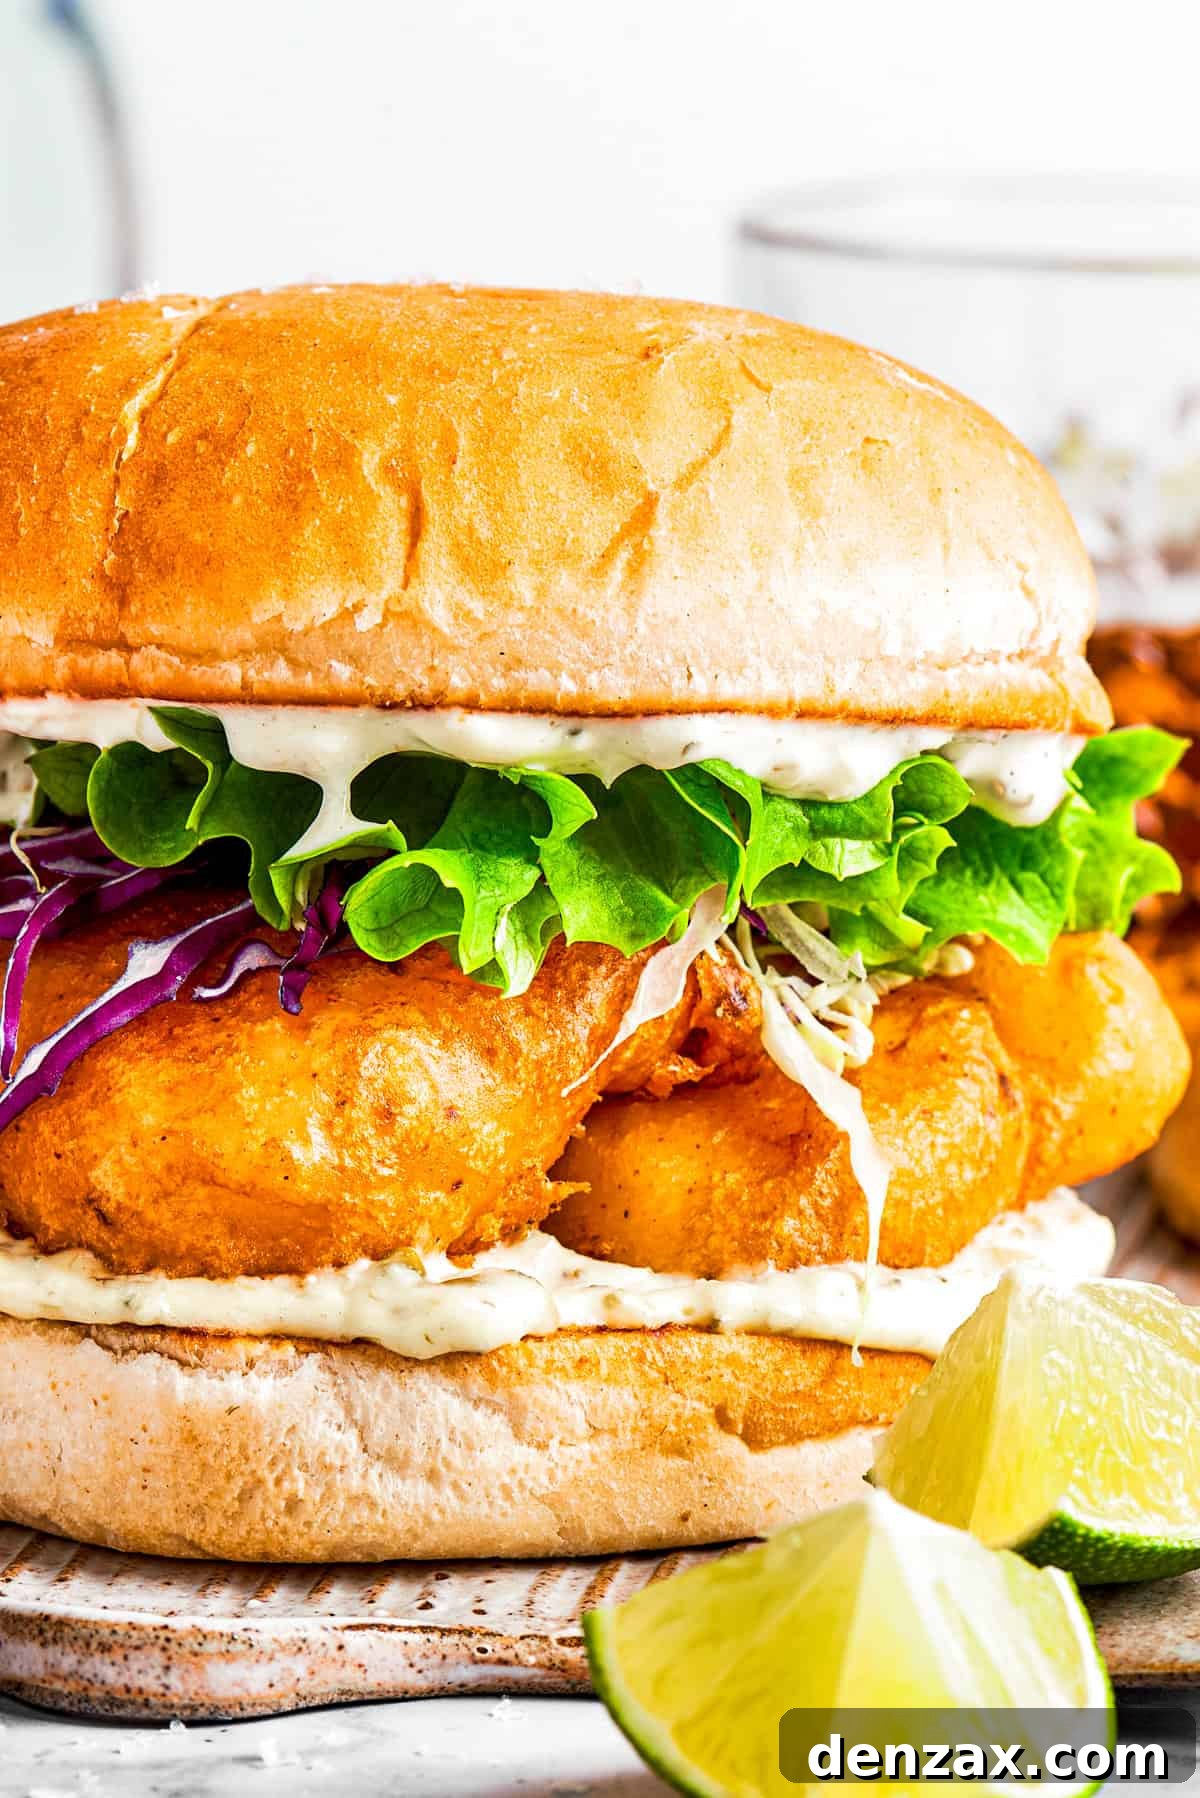
Elevate your fish sandwich game with these helpful tips and creative variation ideas:
- Choosing the Right Beer: The type of beer you use significantly impacts the batter’s flavor and texture. For the best results, opt for a pale ale or a light lager. These beers have a milder flavor profile that won’t overwhelm the delicate taste of the fish. Avoid darker, heavier beers like IPAs or stouts, which can impart bitterness or a dominant malt flavor. Excellent choices include Sierra Nevada Pale Ale, Deschutes Mirror Pond, Miller Lite, or Coors Light for a truly light option.
- Keep Your Beer Chilled: This is a crucial tip for achieving that signature light and crispy coating. Ensure the beer is very cold when you add it to the batter. The temperature difference between the cold batter and hot oil creates a steam effect, resulting in a delightfully airy and crisp crust.
- Kid-Friendly & Alcohol-Free Options: Don’t let the beer in the batter deter you from making this for the whole family. The alcohol in the beer dissipates almost entirely during the cooking process, leaving behind only its flavor and leavening properties. However, if you have concerns or prefer to avoid alcohol altogether, you can easily substitute it with a non-alcoholic beer or even sparkling water for a similar bubbly effect in the batter.
- Air Fryer Alternative: For a slightly healthier (and less messy) cooking method, you can make the fish in an air fryer. Inspired by my air fryer tilapia recipe, preheat your air fryer to 380°F (195°C). Place the battered fish in the air fryer basket in a single layer, ensuring not to overcrowd. Lightly spray the fish with nonstick cooking spray. Cook for about 12-15 minutes, flipping halfway through, until the fish is golden brown and crisp. While delicious, keep in mind the texture will be slightly different from deep-fried fish – typically less greasy but with a firmer crust.
- Add a Cheesy Twist: For an extra layer of indulgence, add a slice or two of your favorite cheese to the top of the hot fish as you assemble the sandwich. American, cheddar, or Monterey Jack are classic choices that will gently melt into the warm fish and bun, creating a wonderfully gooey texture and enhancing the savory profile.
- Homemade Tartar Sauce: While store-bought tartar sauce is convenient, a homemade version truly elevates the sandwich. Combine mayonnaise, finely chopped dill pickles or capers, a squeeze of lemon juice, fresh dill or parsley, and a touch of Dijon mustard. Taste and adjust seasonings to your preference for a truly fresh and vibrant sauce.
- Spice It Up: If you enjoy a bit of heat, consider adding a pinch of cayenne pepper or a dash of hot sauce to your batter. Alternatively, mix some finely chopped jalapeños or a sriracha mayo into your tartar sauce for a spicy kick.
- Optimal Oil Temperature: Maintaining a consistent oil temperature of 350°F (175°C) is key to perfectly fried fish. Too low, and the fish will absorb too much oil, becoming greasy. Too high, and the batter will brown too quickly, leaving the fish undercooked inside. A kitchen thermometer is your best friend here.
- Resting the Batter: Allowing the batter to rest for 10-15 minutes before frying gives the flour time to fully hydrate and the gluten to relax. This results in a lighter, more tender, and crispier coating.
Perfect Pairings: What Can You Serve On the Side?
A great fish sandwich deserves equally great accompaniments. While traditional fries are an absolute classic, don’t be afraid to branch out and explore other delicious side dishes that complement the crispy fish and fresh toppings. Here are some fantastic ideas to complete your meal:
- Classic Fries: You can never go wrong with a pile of perfectly golden, salty french fries. They are the quintessential partner to any fried fish.
- Gourmet Fry Alternatives:
- Garlic Fries: Elevate your fry game with a generous sprinkle of garlic and herbs.
- Asparagus Fries: A lighter, greener option, these oven-roasted or air-fried asparagus spears offer a delicate crispness.
- Air Fryer Zucchini Fries: Achieve a satisfying crunch with these healthy, flavorful zucchini sticks.
- Crisp Zucchini Chips: Thinly sliced and baked or fried until crisp, these are a delightful, savory snack.
- Hearty Salads & Veggies: To add balance and fresh flavors, consider these options:
- Creamy Coleslaw: A refreshing coleslaw with a tangy dressing offers a wonderful textural contrast to the crispy fish.
- German Potato Salad: A warm, vinegary potato salad provides a hearty and flavorful counterpoint.
- Garlicky Grilled Vegetables with Lemon Vinaigrette: A medley of seasonal grilled vegetables dressed with a bright lemon vinaigrette adds freshness and nutrients.
- Corn on the Cob: Sweet, juicy corn, grilled or boiled, is a simple yet satisfying summer favorite.
- Sweet & Savory Sides:
- Roasted Sweet Potatoes: A salty-sweet side of tender, caramelized roasted sweet potatoes offers a comforting and delicious contrast.
- Fresh Fruit Salad: For a lighter, refreshing touch, a simple bowl of seasonal fruit can be surprisingly delightful alongside the rich sandwich.
How to Store and Reheat Leftover Fish Sandwiches
While a fresh, hot fish sandwich is undoubtedly at its peak, sometimes you might have leftovers, or you might want to prepare components ahead of time. Here’s how to best store and reheat your crispy fish sandwich to retain as much of its deliciousness as possible:
- Storing the Fish: If you’re preparing the fish ahead or have leftover fried fillets, allow them to cool completely before storing. Wrap the fried fish tightly in aluminum foil or place it in an airtight container. Store in the fridge for up to 3 days. It’s best to store the fish separately from the buns and toppings to prevent sogginess.
- Storing Assembled Sandwiches: If you have fully assembled sandwiches, they can be wrapped individually in plastic wrap or foil and stored in the fridge for up to 1-2 days. However, be aware that the crispiness of the fish and the freshness of the lettuce will diminish.
- Reheating – Oven Method (Recommended): For the best results in regaining some crispness, reheating in the oven is ideal. Preheat your oven to 300°F (150°C). If you stored the fish and buns separately, place the fish on a wire rack set over a baking sheet and heat for about 10-15 minutes, or until warmed through and the batter has crisped up again. Toast your buns separately if desired. If reheating an assembled sandwich, place it directly on a baking sheet and heat for about 15-20 minutes, or until warm throughout and the bun is lightly toasted.
- Reheating – Air Fryer Method: An air fryer is another excellent option for reheating fried fish, as it helps restore crispness. Place the cooled fish fillets in a single layer in the air fryer basket. Air fry at 350°F (175°C) for 5-7 minutes, or until hot and crispy. Avoid reheating an assembled sandwich in the air fryer as the lettuce and sauce will likely become wilted and messy.
- Avoid Microwave Reheating: While convenient, the microwave is generally not recommended for reheating fried fish. It tends to make the batter soggy and the fish rubbery.
Always remember that the fresher the fried fish, the better. But with these storage and reheating tips, you can still enjoy a delicious homemade fish sandwich even a day or two later!
More Hearty Sandwiches to Savor
If you’re a fan of satisfying, flavor-packed sandwiches, then your culinary adventure doesn’t have to end with this incredible fish sandwich. Explore these other fantastic recipes for hearty, homemade sandwiches that are perfect for any meal:
- Classic Reuben Sandwich Recipe: A timeless deli favorite featuring corned beef, Swiss cheese, sauerkraut, and Russian dressing on rye bread.
- Comforting Tuna Grilled Cheese Sandwich: A delightful twist on two classics, combining creamy tuna salad with gooey melted cheese between toasted bread.
- Copycat Crispy Chicken Sandwich (KFC Style): Recreate the popular fast-food sensation with a perfectly seasoned and fried chicken fillet on a soft bun.
- Philly Cheesesteak Burger Fusion: Experience the best of both worlds with a juicy burger patty topped with thinly sliced steak, peppers, onions, and melted cheese, inspired by the iconic Philly cheesesteak.
Each of these recipes offers a unique flavor profile and satisfying experience, ensuring there’s always a delicious sandwich waiting to be discovered in your kitchen!

Crispy & Flaky Fish Sandwich
Katerina | Easy Weeknight Recipes
20
10
30
4
servings
Ingredients
For the Crispy Fish
-
1½
pound
haddock, cod, or other firm white fish fillet, cut into 4 equal sandwich-size fillets -
1½
cups
all-purpose flour, divided -
½
cup
cornstarch -
1½
teaspoons
baking powder -
1
teaspoon
granulated garlic -
1
teaspoon
granulated onion -
½
teaspoon
sweet paprika -
1
teaspoon
Kosher salt, plus ½ teaspoon more for seasoning the fish -
½
teaspoon
freshly ground pepper -
1 to 1¼
cup
light beer (chilled) -
1½
quarts
vegetable oil for deep frying (or peanut oil)
For Assembling the Sandwiches
-
4
toasted brioche buns (or sweet rolls of your choice) -
4
leaves
of fresh lettuce - tartar sauce (lemony, homemade preferred)
-
½
cup
shredded red cabbage -
½
cup
shredded green cabbage - Kosher salt, to taste
- lime wedges, for serving
Instructions
-
1. Prepare the Fish: Begin by thoroughly patting the fish fillets dry with paper towels. This crucial step helps the seasoning adhere and ensures a crispier batter. Lightly season both sides of each fillet with Kosher salt. Set the seasoned fish aside while you prepare the batter and heat the oil.
-
2. Create the Perfect Batter: In a medium mixing bowl, whisk together 1 cup of the all-purpose flour, cornstarch, baking powder, granulated garlic, granulated onion, sweet paprika, 1 teaspoon of Kosher salt, and the freshly ground black pepper. Gradually pour in the very cold light beer, whisking continuously until a smooth and consistent batter forms. The ideal consistency should be similar to pancake batter – thick enough to generously coat the fish without being overly heavy, yet still pourable. Allow the batter to rest at room temperature for about 10 minutes. This resting period allows the flour to fully hydrate and the gluten to relax, which contributes to a lighter, crispier coating.
-
3. Heat the Frying Oil: While the batter rests, prepare your frying station. Pour 1½ quarts of vegetable oil (or peanut oil for a cleaner taste) into a sturdy, heavy-bottomed pot or a deep fryer. Heat the oil over medium-high heat until it reaches a consistent temperature of 350°F (175°C). Use a kitchen thermometer to ensure accuracy, as maintaining the correct oil temperature is vital for perfectly fried fish that is crisp, not greasy.
-
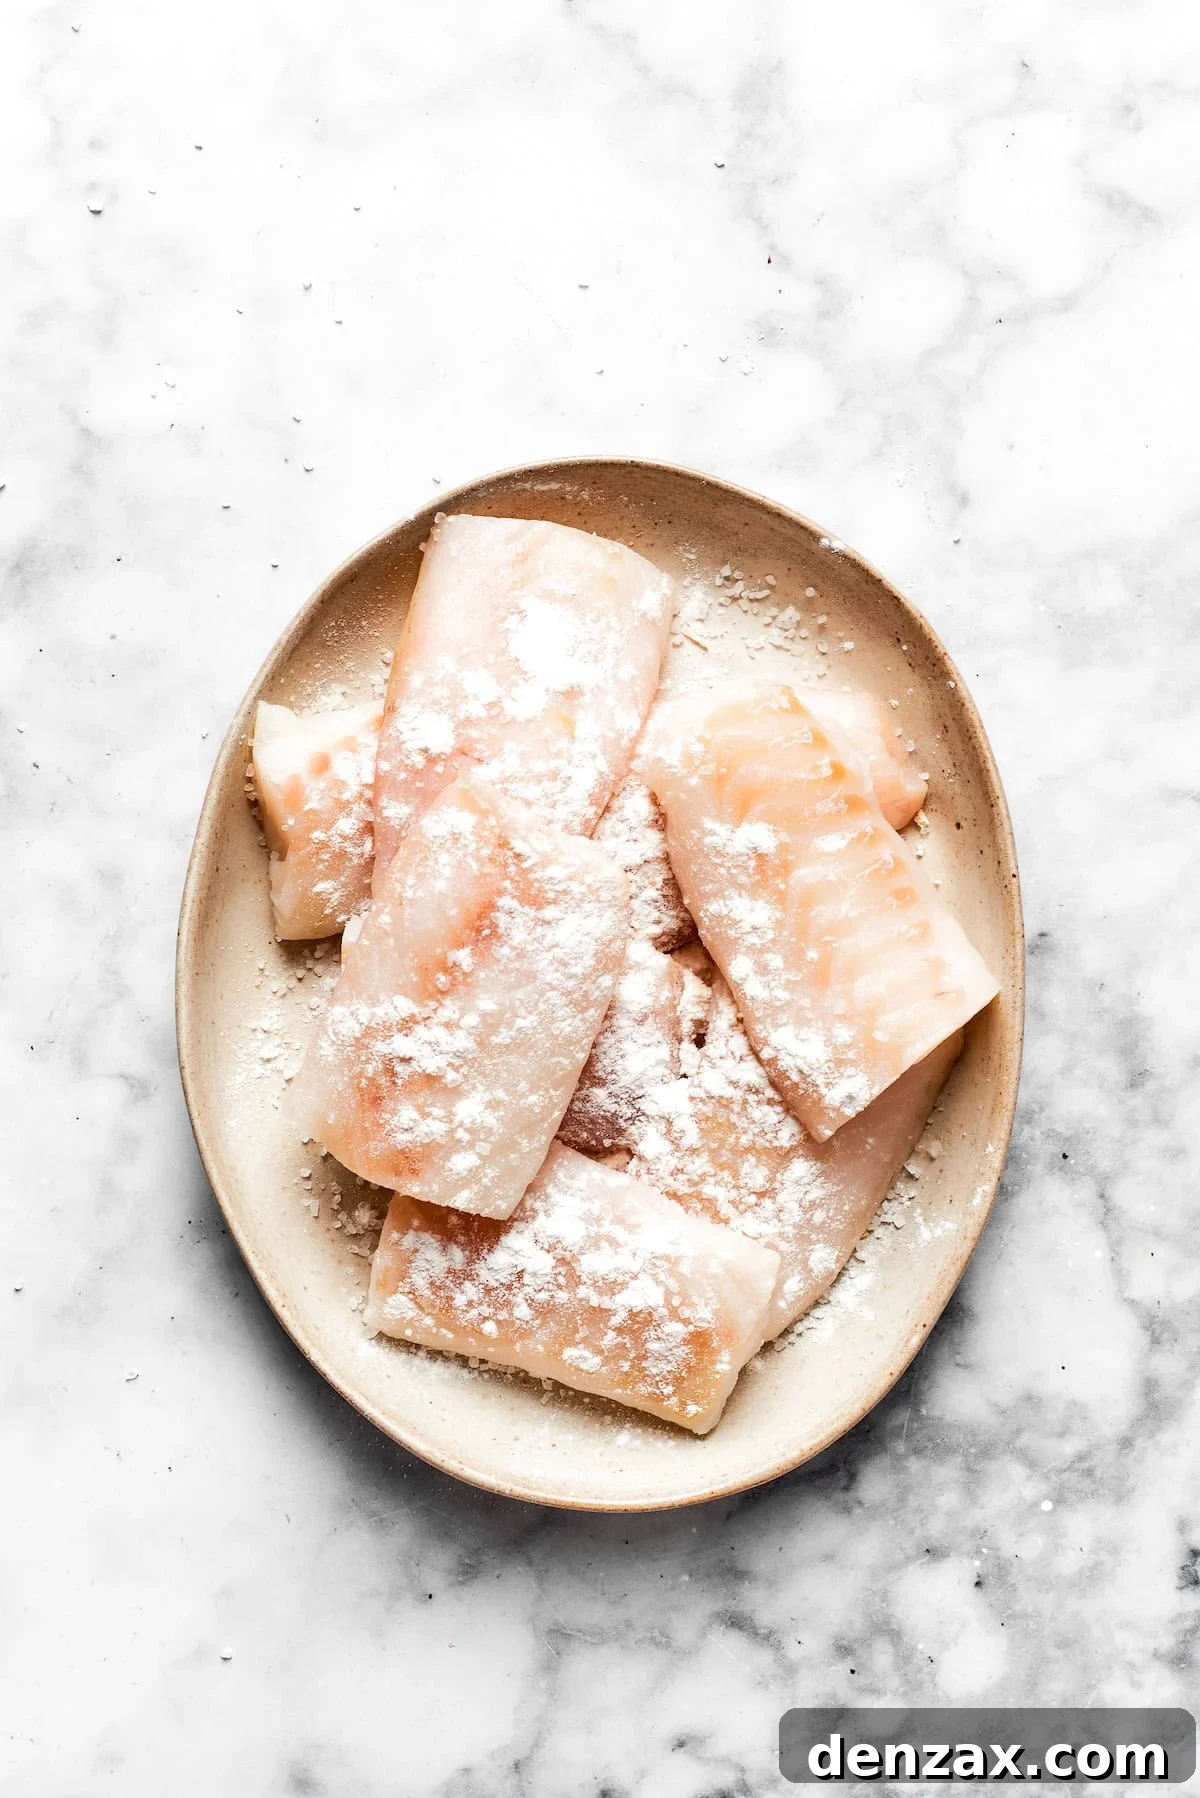
4. Coat the Fish: Place the remaining ½ cup of all-purpose flour in a shallow dish. Take each seasoned fish fillet and lightly dredge it in this flour, ensuring it’s evenly coated. Gently shake off any excess flour. Next, dip each floured fillet into the prepared beer batter, allowing any excess batter to drip back into the bowl. The goal is an even, thin coating.
-
5. Fry to Golden Perfection: Carefully and gently lower the coated fish fillets into the preheated hot oil. Work in batches of 1-2 fillets at a time to avoid overcrowding the pot, which can lower the oil temperature and result in greasy fish. Fry for 4-5 minutes per side, turning occasionally with tongs, until each piece is beautifully golden brown and irresistibly crispy. The fish should be cooked through and flaky. Once fried, carefully transfer the fish to a wire rack set over a baking sheet or a paper towel-lined plate to drain off any excess oil. Immediately sprinkle the hot fish with a pinch of the remaining Kosher salt to enhance its flavor and crispness.
-
6. Assemble Your Delicious Sandwiches: While the fish is still hot, toast your brioche buns until they are lightly golden and warmed through. Generously spread tartar sauce on both the top and bottom halves of each toasted bun. Place a piece of the crispy fried fish on the bottom bun half. Follow this with a generous handful of the shredded red and green cabbage mix, ensuring an even distribution for texture in every bite. Lay a fresh leaf of lettuce on top. Finally, sprinkle a little extra Kosher salt over the toppings for added seasoning. Top with the remaining toasted bun half.
-
7. Serve and Enjoy: Serve your homemade crispy fish sandwiches immediately while they are piping hot and wonderfully crispy. Present them with a fresh lime wedge on the side for an optional burst of citrus, and offer extra tartar sauce for dipping. Get ready to savor every delicious bite!
Equipment
-
Heavy-Bottomed Pot or Deep Fryer
-
Kitchen Thermometer
-
Wire Rack
Nutrition
Calories:
766
kcal
|
Carbohydrates:
93
g
|
Protein:
43
g
|
Fat:
21
g
|
Saturated Fat:
11
g
|
Polyunsaturated Fat:
1
g
|
Monounsaturated Fat:
0.2
g
|
Trans Fat:
0.01
g
|
Cholesterol:
235
mg
|
Sodium:
1341
mg
|
Potassium:
639
mg
|
Fiber:
2
g
|
Sugar:
1
g
|
Vitamin A:
1117
IU
|
Vitamin C:
10
mg
|
Calcium:
94
mg
|
Iron:
4
mg
Nutritional info is an estimate and provided as courtesy. Values may vary according to the ingredients and tools used. Please use your preferred nutritional calculator for more detailed info.
Did you make this recipe? Leave a rating
Step-by-Step Guide: Crafting Your Perfect Fish Sandwich
Follow these detailed steps to create the ultimate crispy and flaky fish sandwich in your own kitchen. Each step is designed for clarity and ease, ensuring a delicious result every time.
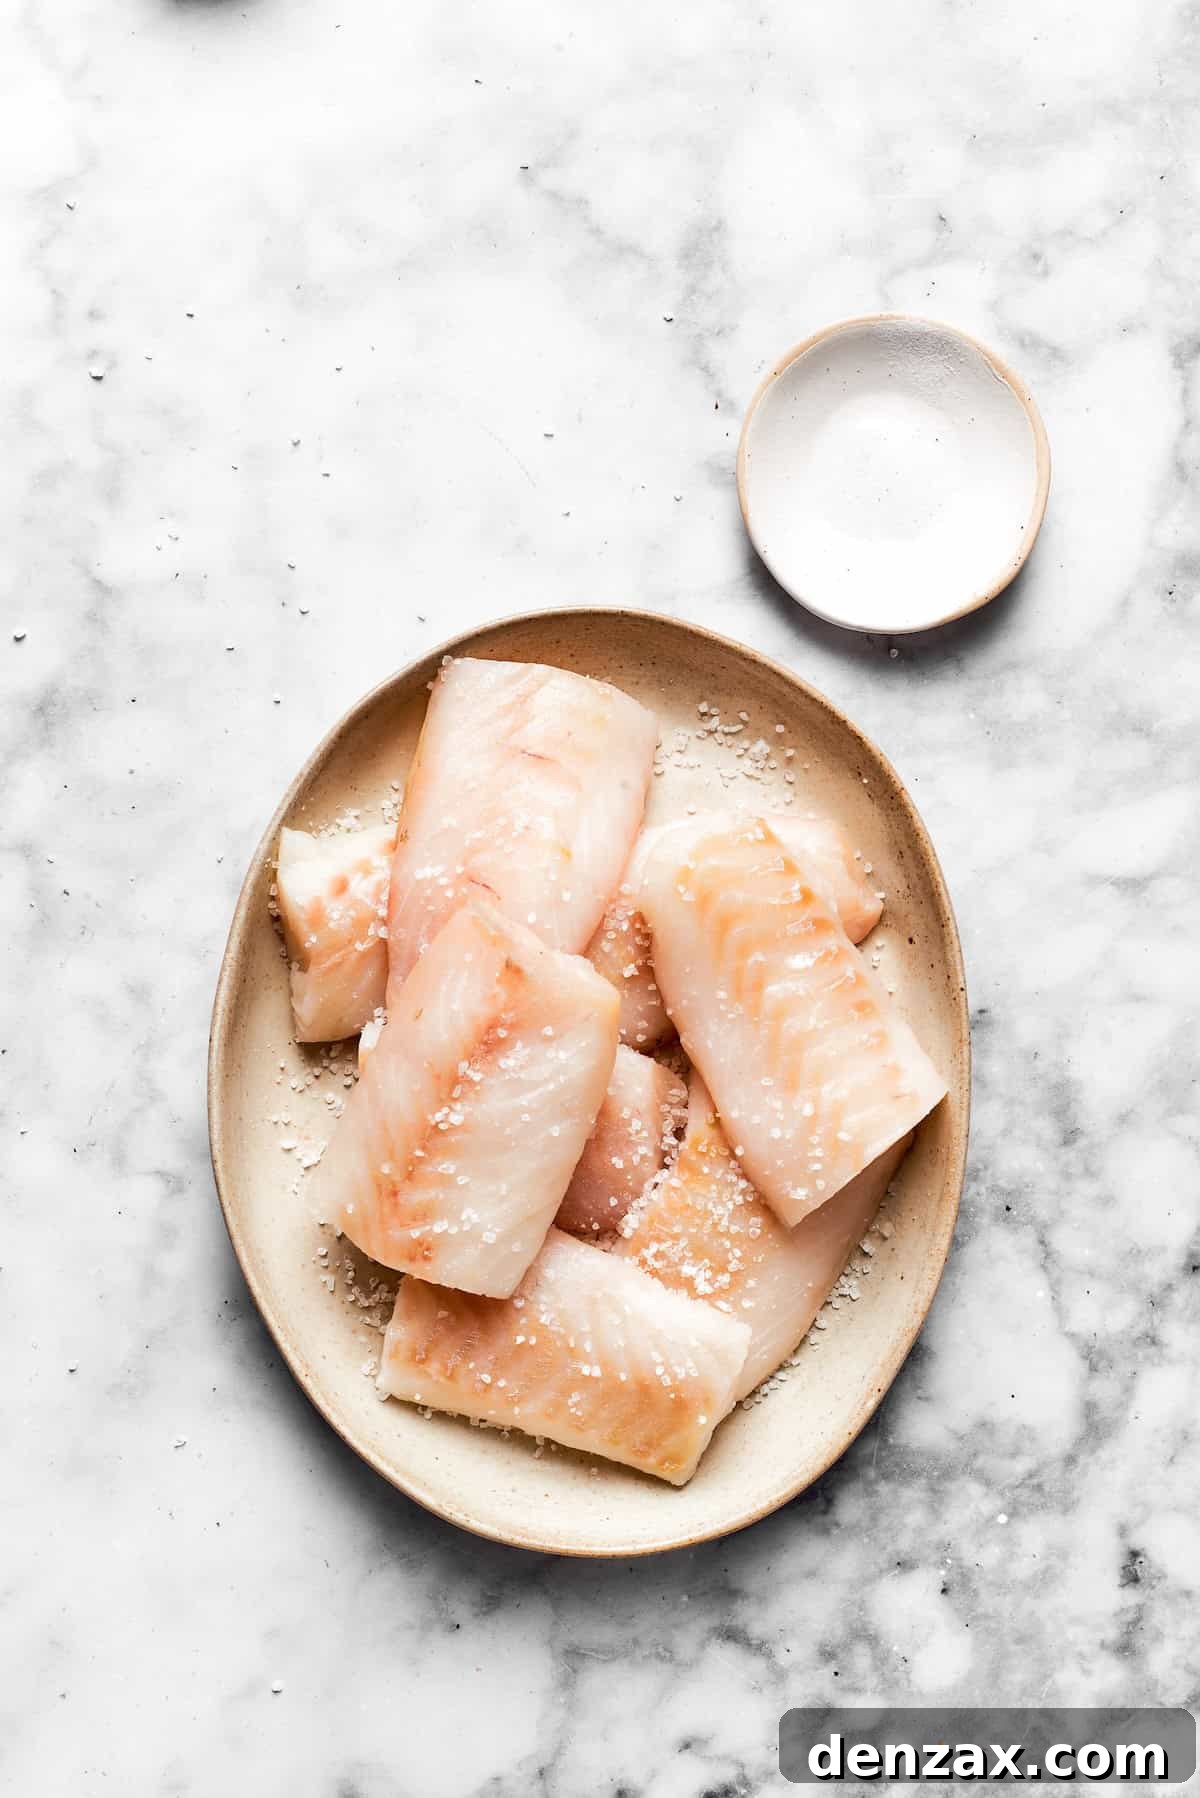

- Step 1: Prepare the Fish. Begin by gently patting your chosen fish fillets completely dry with paper towels. This crucial step helps the seasoning adhere better and promotes a crispier final product. Season both sides of the fillets lightly but evenly with Kosher salt. Set them aside while you proceed with the next steps, allowing the salt to start working its magic.
- Step 2: Whisk the Batter to Perfection. In a sizable mixing bowl, combine 1 cup of all-purpose flour, cornstarch, baking powder, granulated garlic, granulated onion, sweet paprika, 1 teaspoon of Kosher salt, and the freshly ground black pepper. Whisk these dry ingredients thoroughly until they are well combined. Then, gradually pour in the chilled light beer, whisking continuously until you achieve a smooth, lump-free batter. The consistency should be reminiscent of pancake batter – thick enough to coat the fish effectively but still pourable. Allow this batter to rest for about 10 minutes at room temperature, which helps develop a lighter and crispier coating.

- Step 3: Heat the Frying Oil. Pour 1½ quarts of vegetable oil (or peanut oil for a higher smoke point) into a heavy-bottomed pot or a deep fryer. Heat the oil over medium-high heat until it reaches a steady temperature of 350°F (175°C). Use a reliable kitchen thermometer to monitor the temperature precisely, as this is critical for achieving perfectly crispy, non-greasy fish.
- Step 4: Coat the Fish Fillets. Place the remaining ½ cup of all-purpose flour in a separate shallow dish. Lightly dredge each seasoned fish fillet in this flour, ensuring it’s evenly coated on all sides. Gently shake off any excess flour. Next, immerse each floured fillet into the prepared beer batter, allowing any excess batter to drip back into the bowl. The fish should be fully enveloped in a light, even layer of batter.
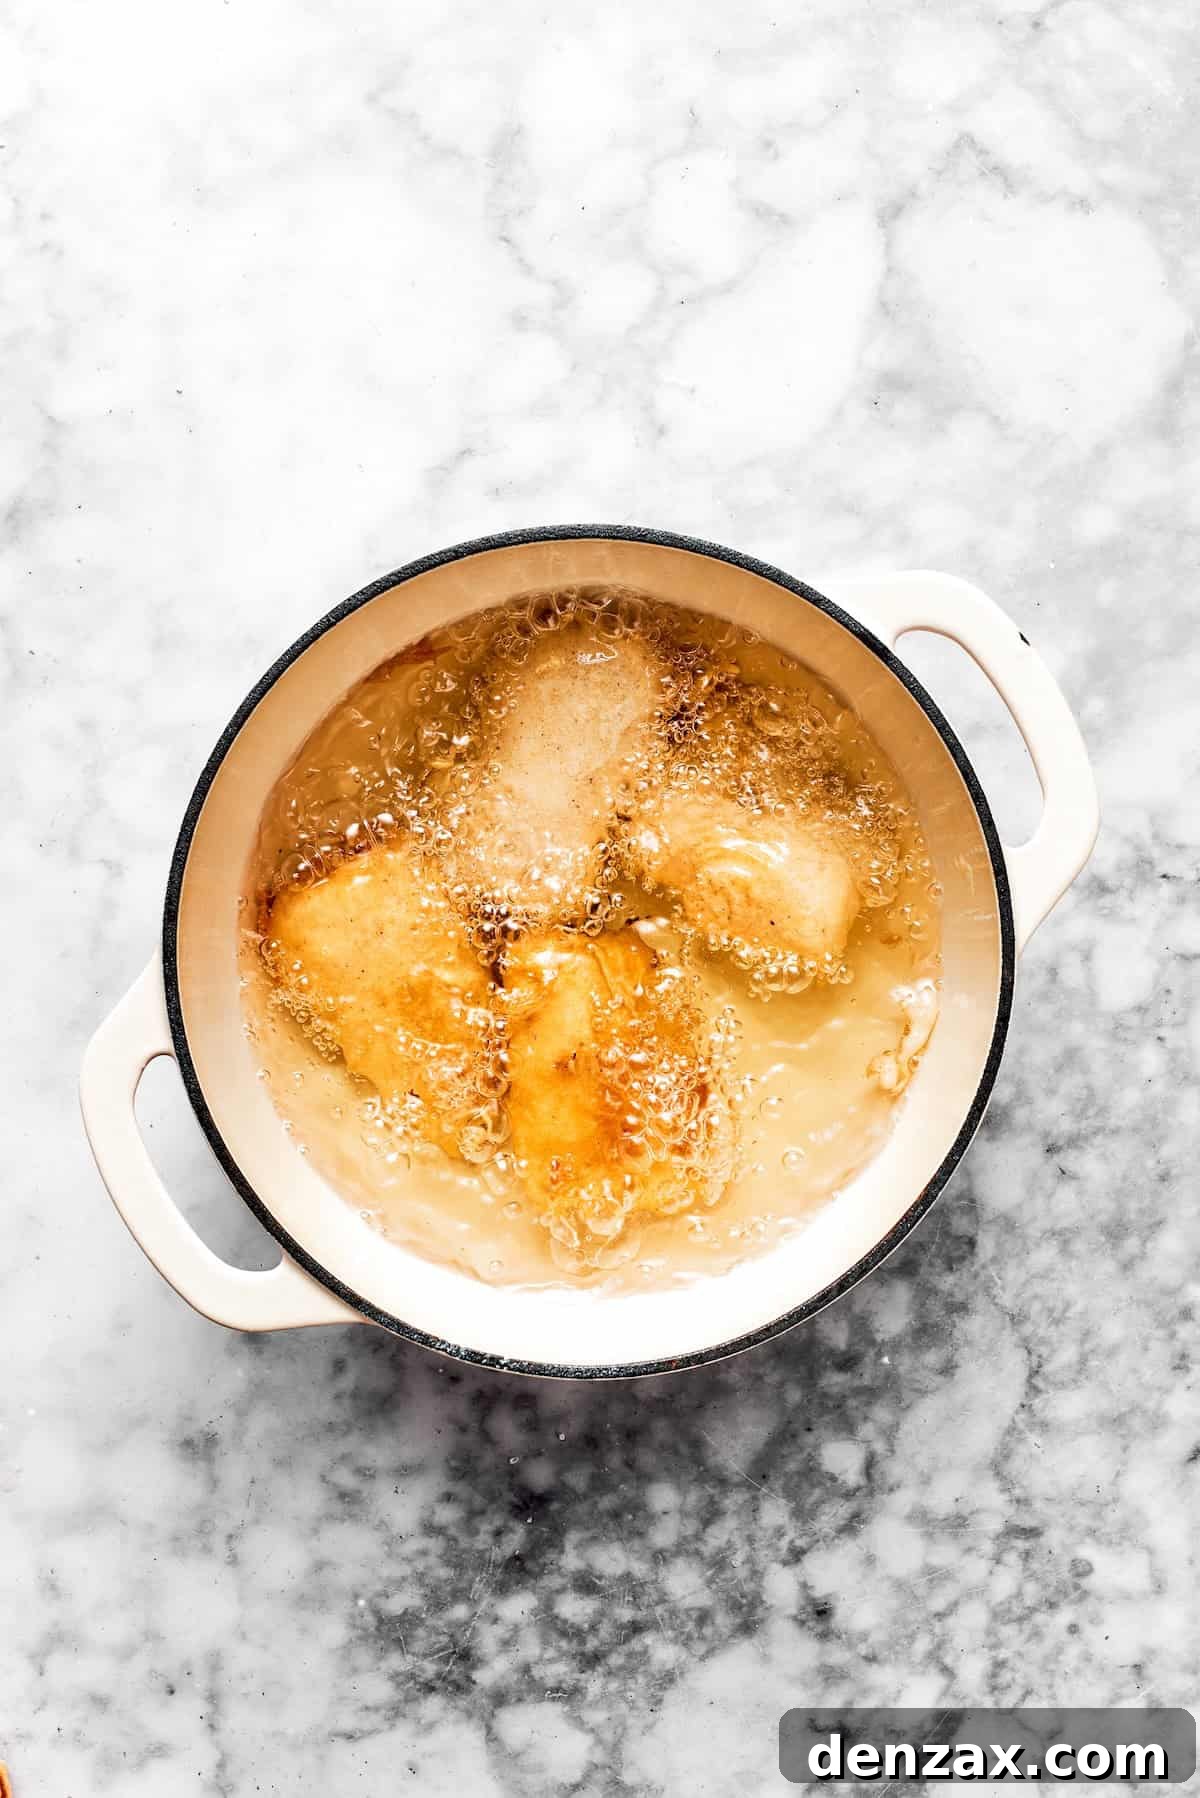

- Step 5: Fry the Fish to Crispy Perfection. With utmost care, gently lower the battered fish fillets into the hot oil. Avoid overcrowding the pot; fry in batches (typically 1-2 pieces at a time) to maintain the oil temperature. Fry for approximately 4-5 minutes, turning the fillets occasionally to ensure even cooking and browning. The fish is ready when it turns a beautiful golden brown and is wonderfully crispy on the outside, with a flaky, cooked interior.
- Step 6: Drain and Season. Once fried, use tongs or a slotted spoon to carefully remove the fish fillets from the hot oil. Transfer them to a wire rack set over a baking sheet, or onto a plate lined with paper towels, to allow any excess oil to drain. Immediately after draining, sprinkle a pinch of additional Kosher salt over the hot fish. This enhances the flavor and locks in the crispness.
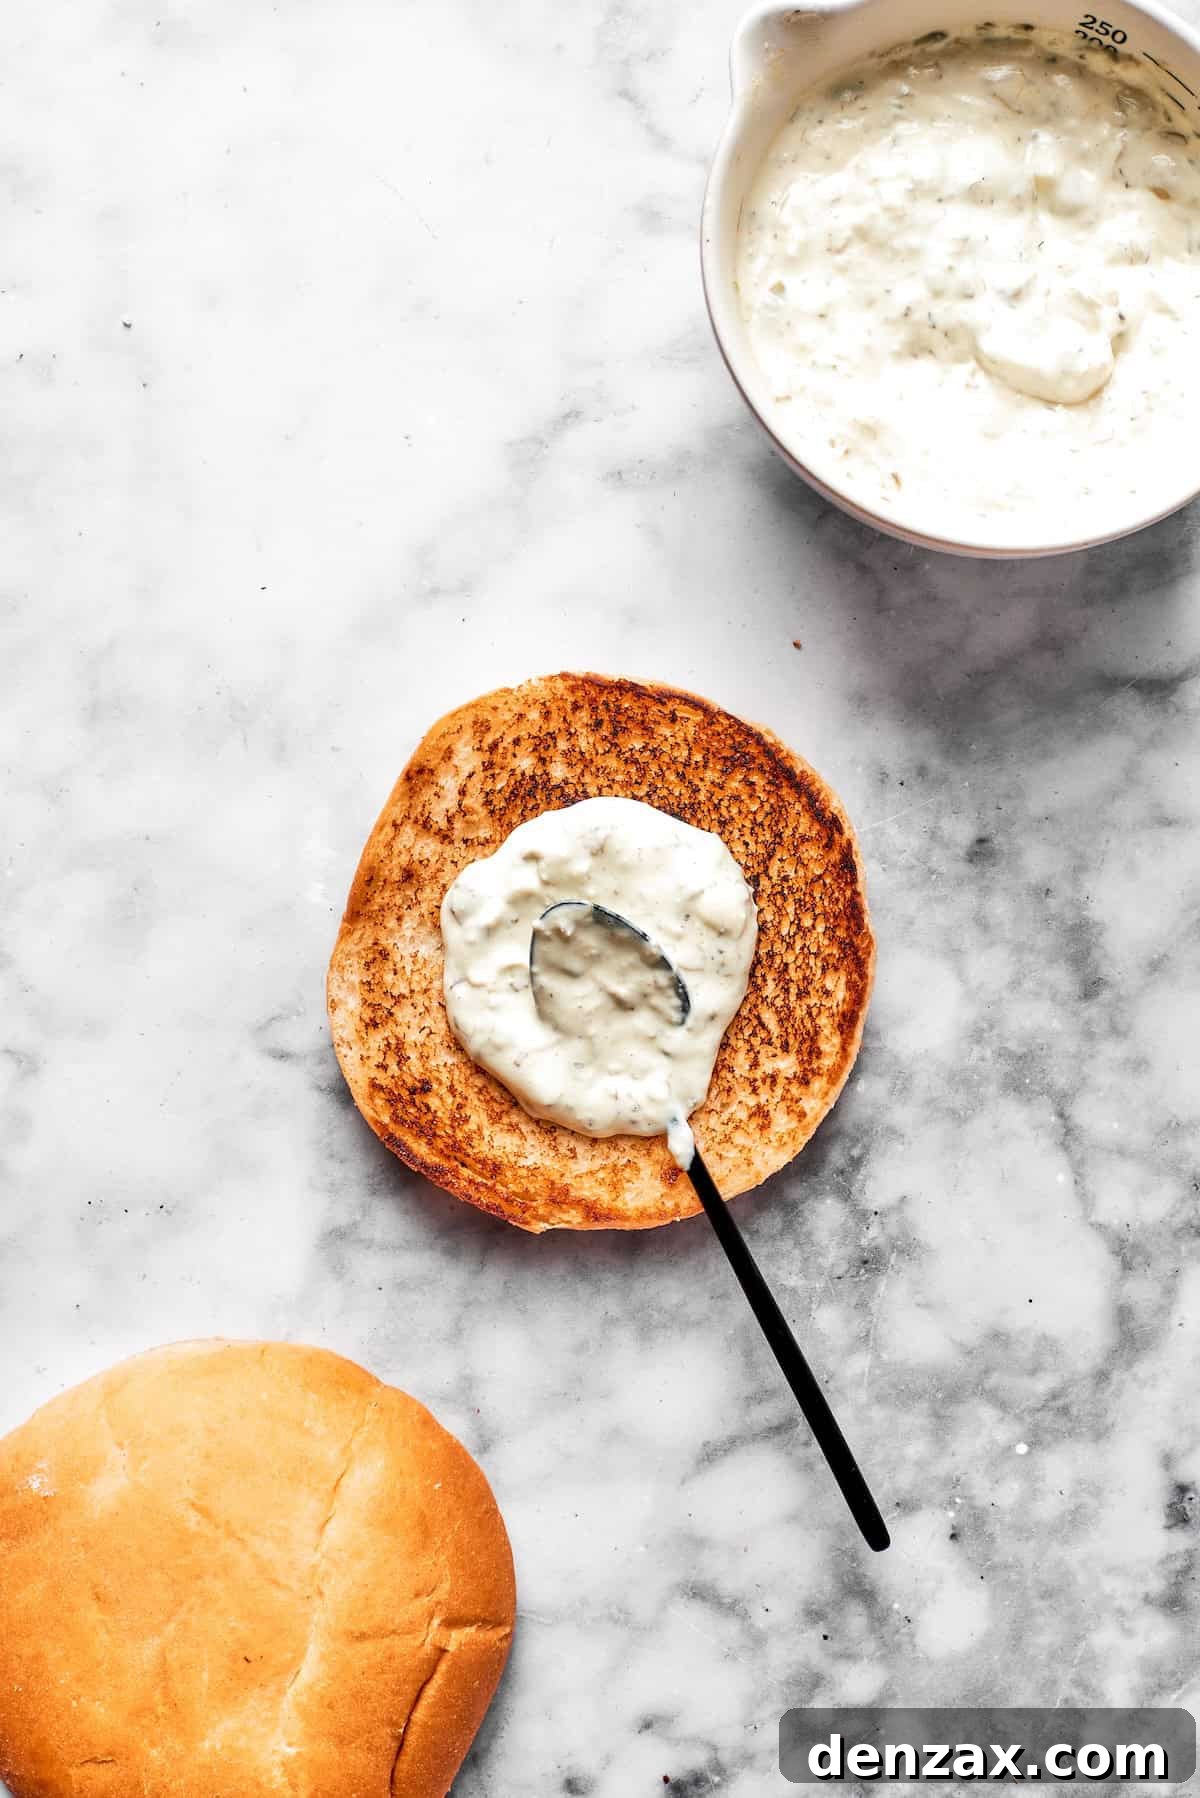
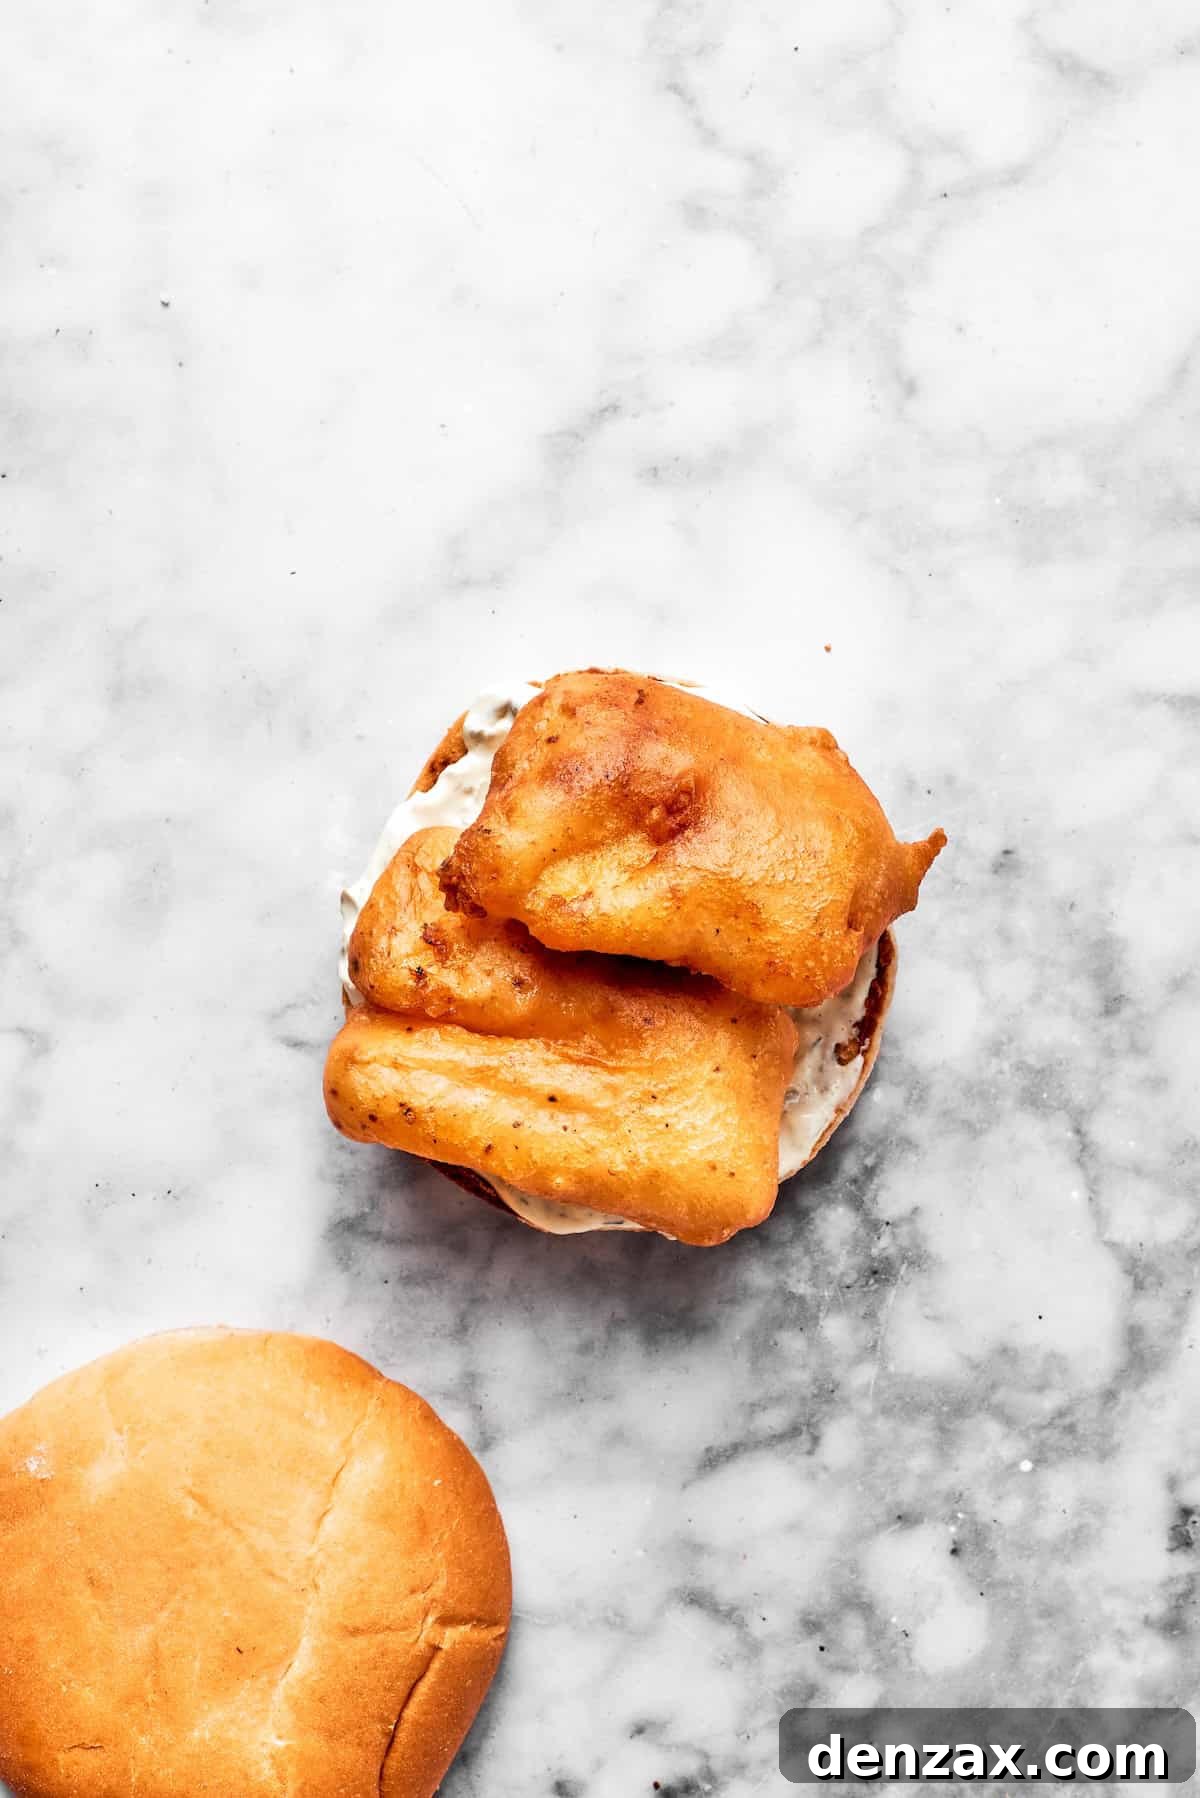
- Step 7: Assemble the Sandwiches. While the fish is still warm and crispy, toast your brioche buns until they are lightly golden and soft. Spread a generous amount of lemon tartar sauce on both the top and bottom halves of each toasted bun. Carefully place a piece of the crispy fried fish onto the bottom bun half, ensuring it’s centered and ready for the layers of fresh toppings.
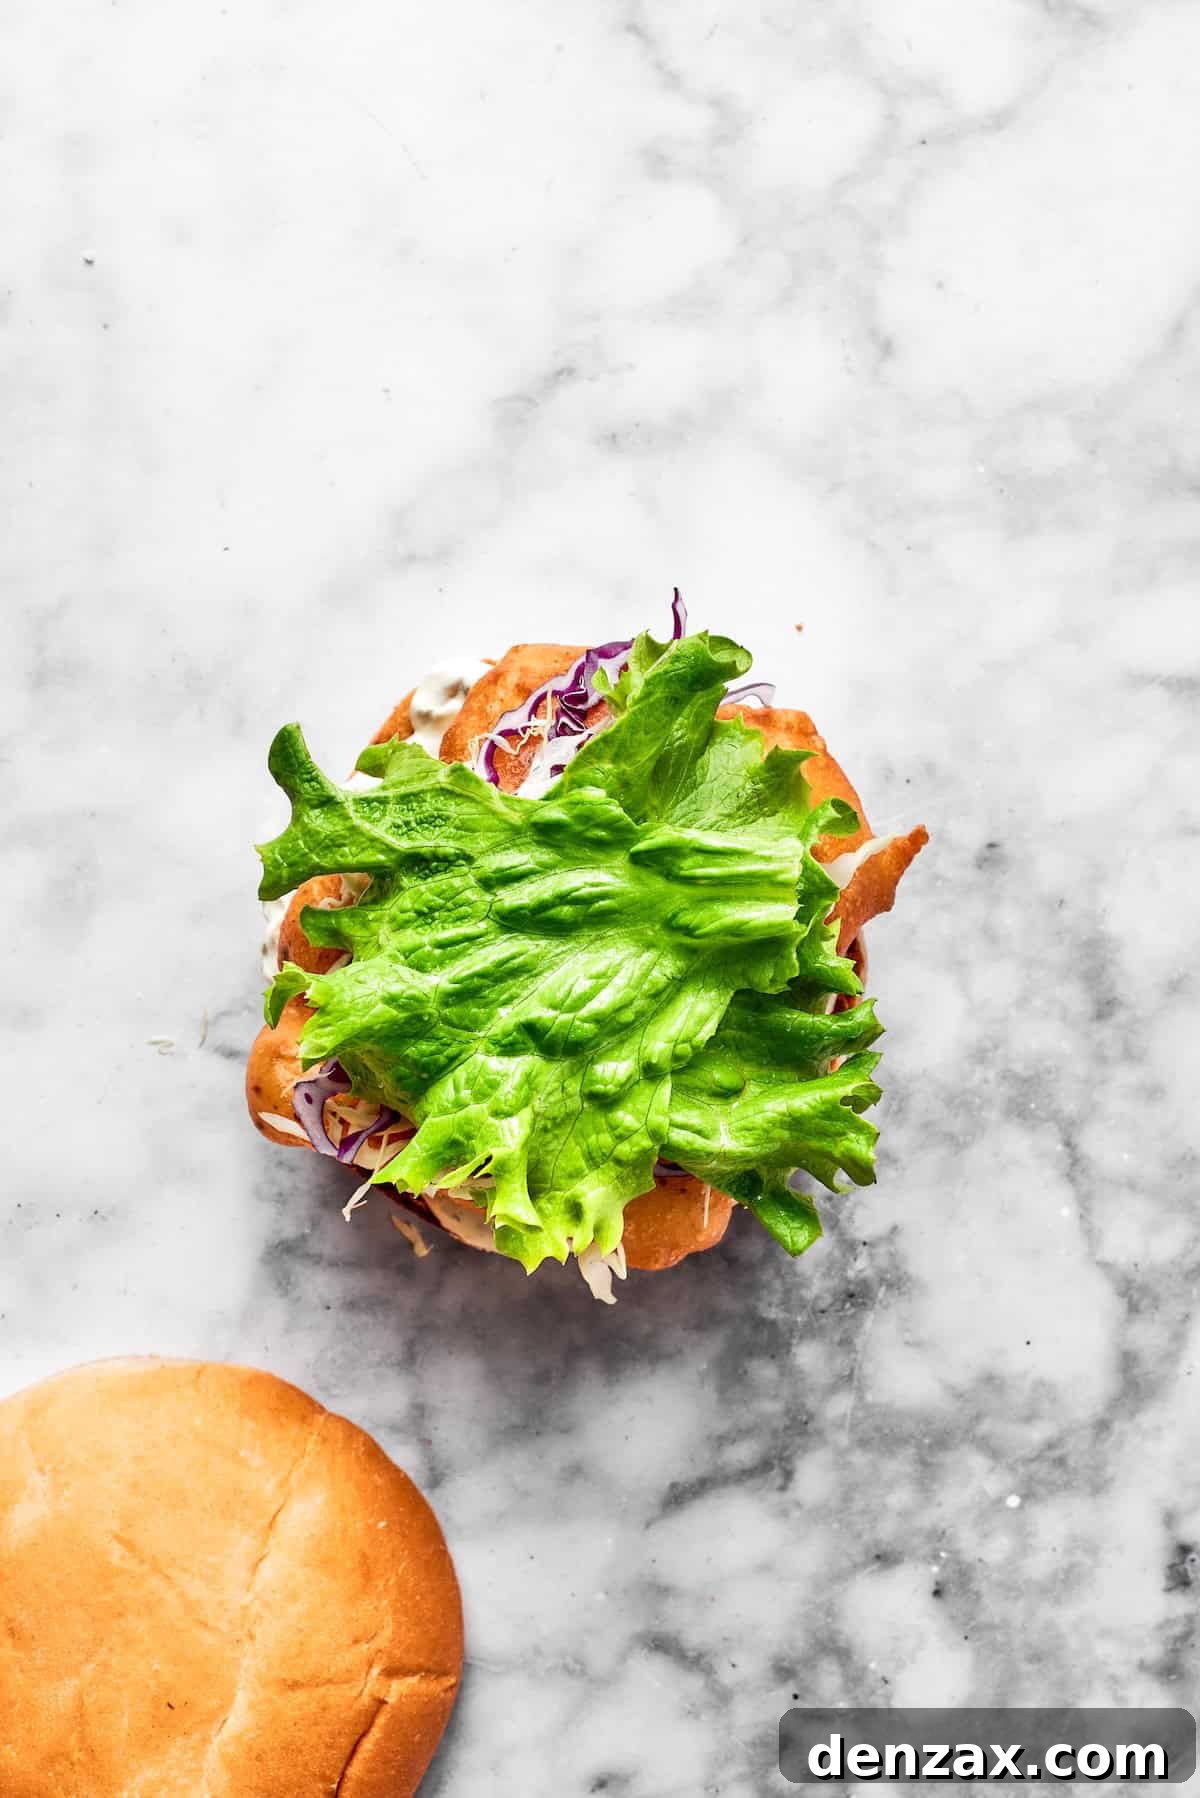
- Step 8: Add the Crisp Cabbage. Next, pile a generous mix of shredded red and green cabbage directly on top of the fried fish. This adds a delightful crunch and a hint of fresh, peppery flavor that contrasts beautifully with the richness of the fish and sauce.
- Step 9: Finish with Lettuce and Salt. Place a fresh leaf of crisp lettuce over the cabbage. Sprinkle a final touch of Kosher salt over the fresh greens for an extra layer of seasoning and to tie all the flavors together. Gently place the remaining toasted bun half on top, completing your masterpiece.
- Step 10: Serve Immediately. Your homemade crispy fish sandwiches are now ready! Serve them without delay, ensuring they are hot and the batter is at its crispiest. Accompany each sandwich with a fresh lime wedge for an optional burst of zesty citrus, and provide extra tartar sauce on the side for those who love to dip. Enjoy your perfectly crafted, flavorful meal!