
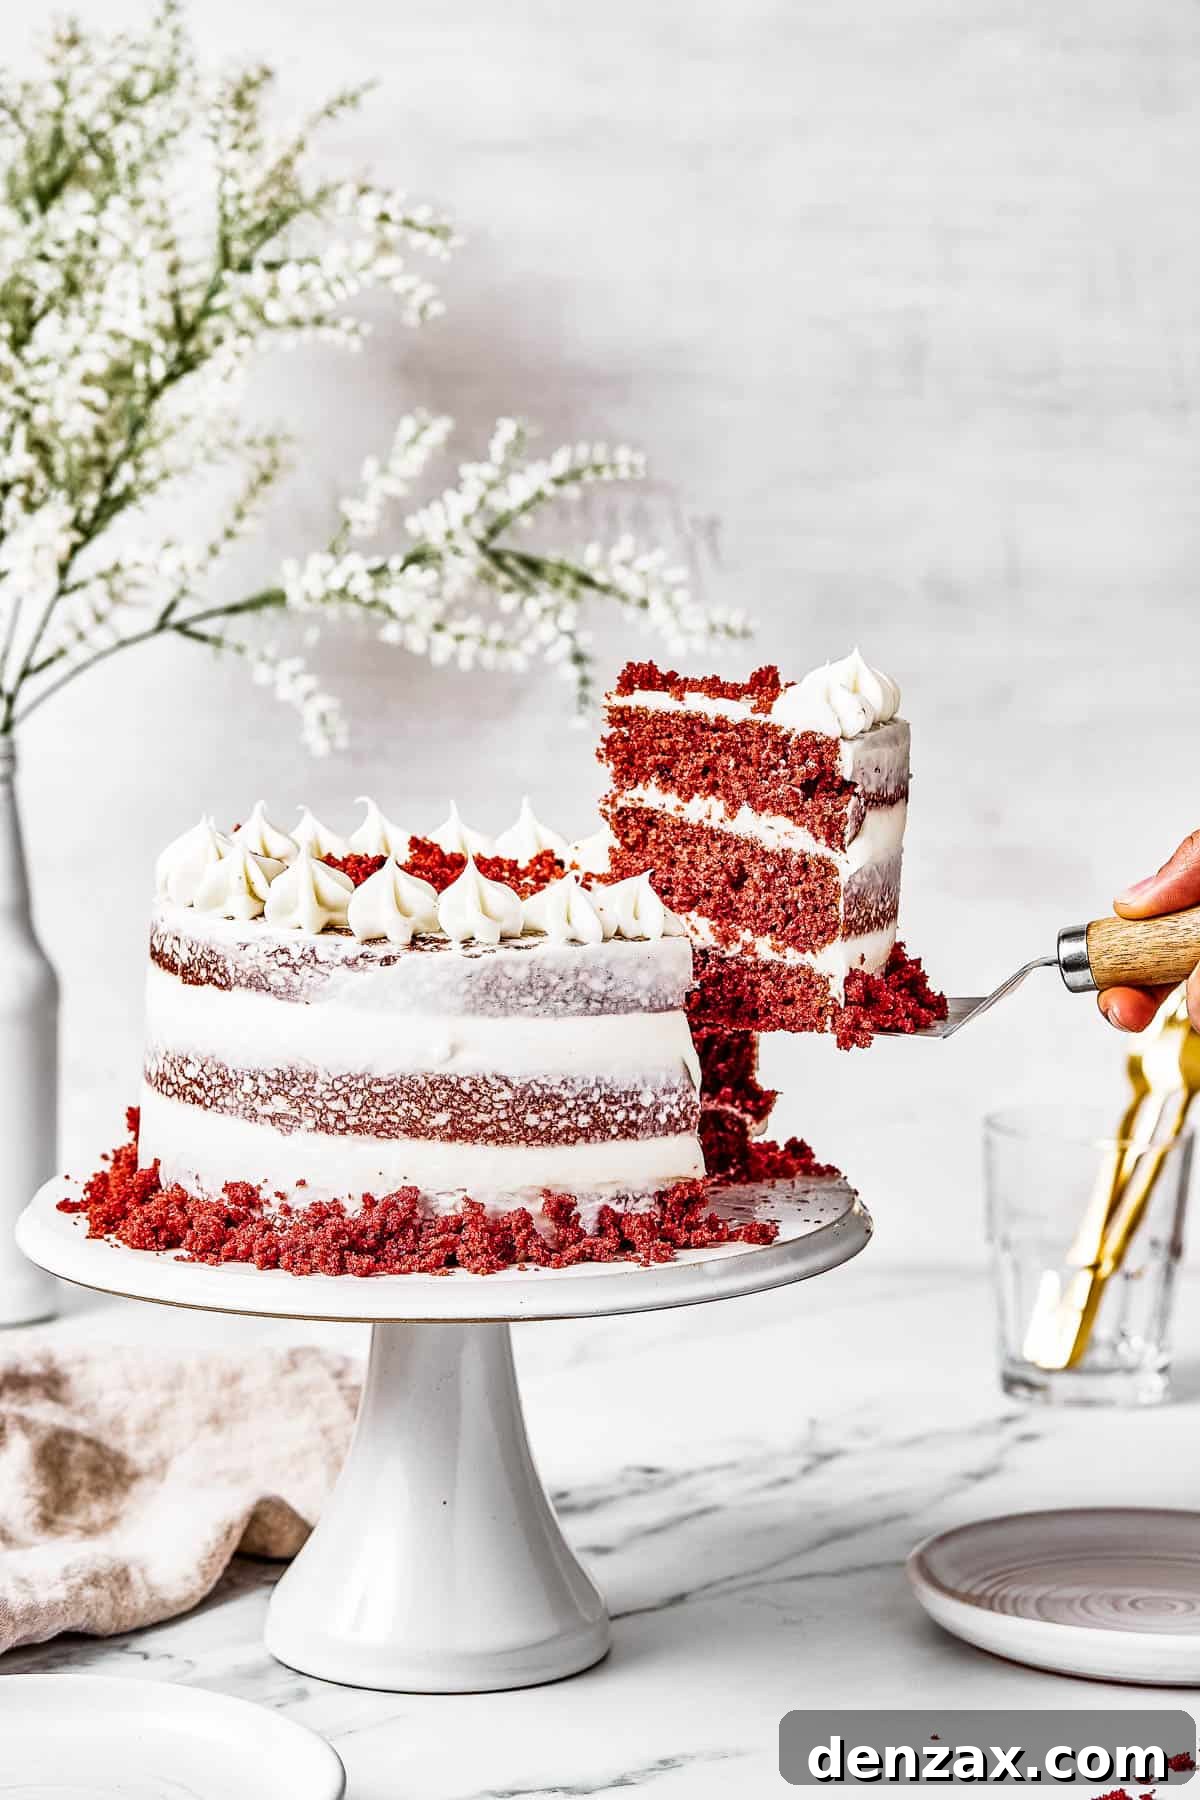
Classic Red Velvet Cake: A Timeless Recipe for Soft, Moist Layers and Cream Cheese Frosting
There’s something truly enchanting about a classic Red Velvet Cake. With its striking deep red layers, a hint of cocoa, and generous swirls of tangy, sweet cream cheese frosting, it’s more than just a dessert – it’s an experience. This easy-to-follow recipe will guide you through creating three light, fluffy, and perfectly moist cake layers, culminating in a show-stopping masterpiece that’s guaranteed to impress. Whether you’re celebrating a special occasion like Christmas, Valentine’s Day, a birthday, or simply craving a touch of Southern charm, this homemade red velvet cake promises to deliver pure joy with every decadent bite.
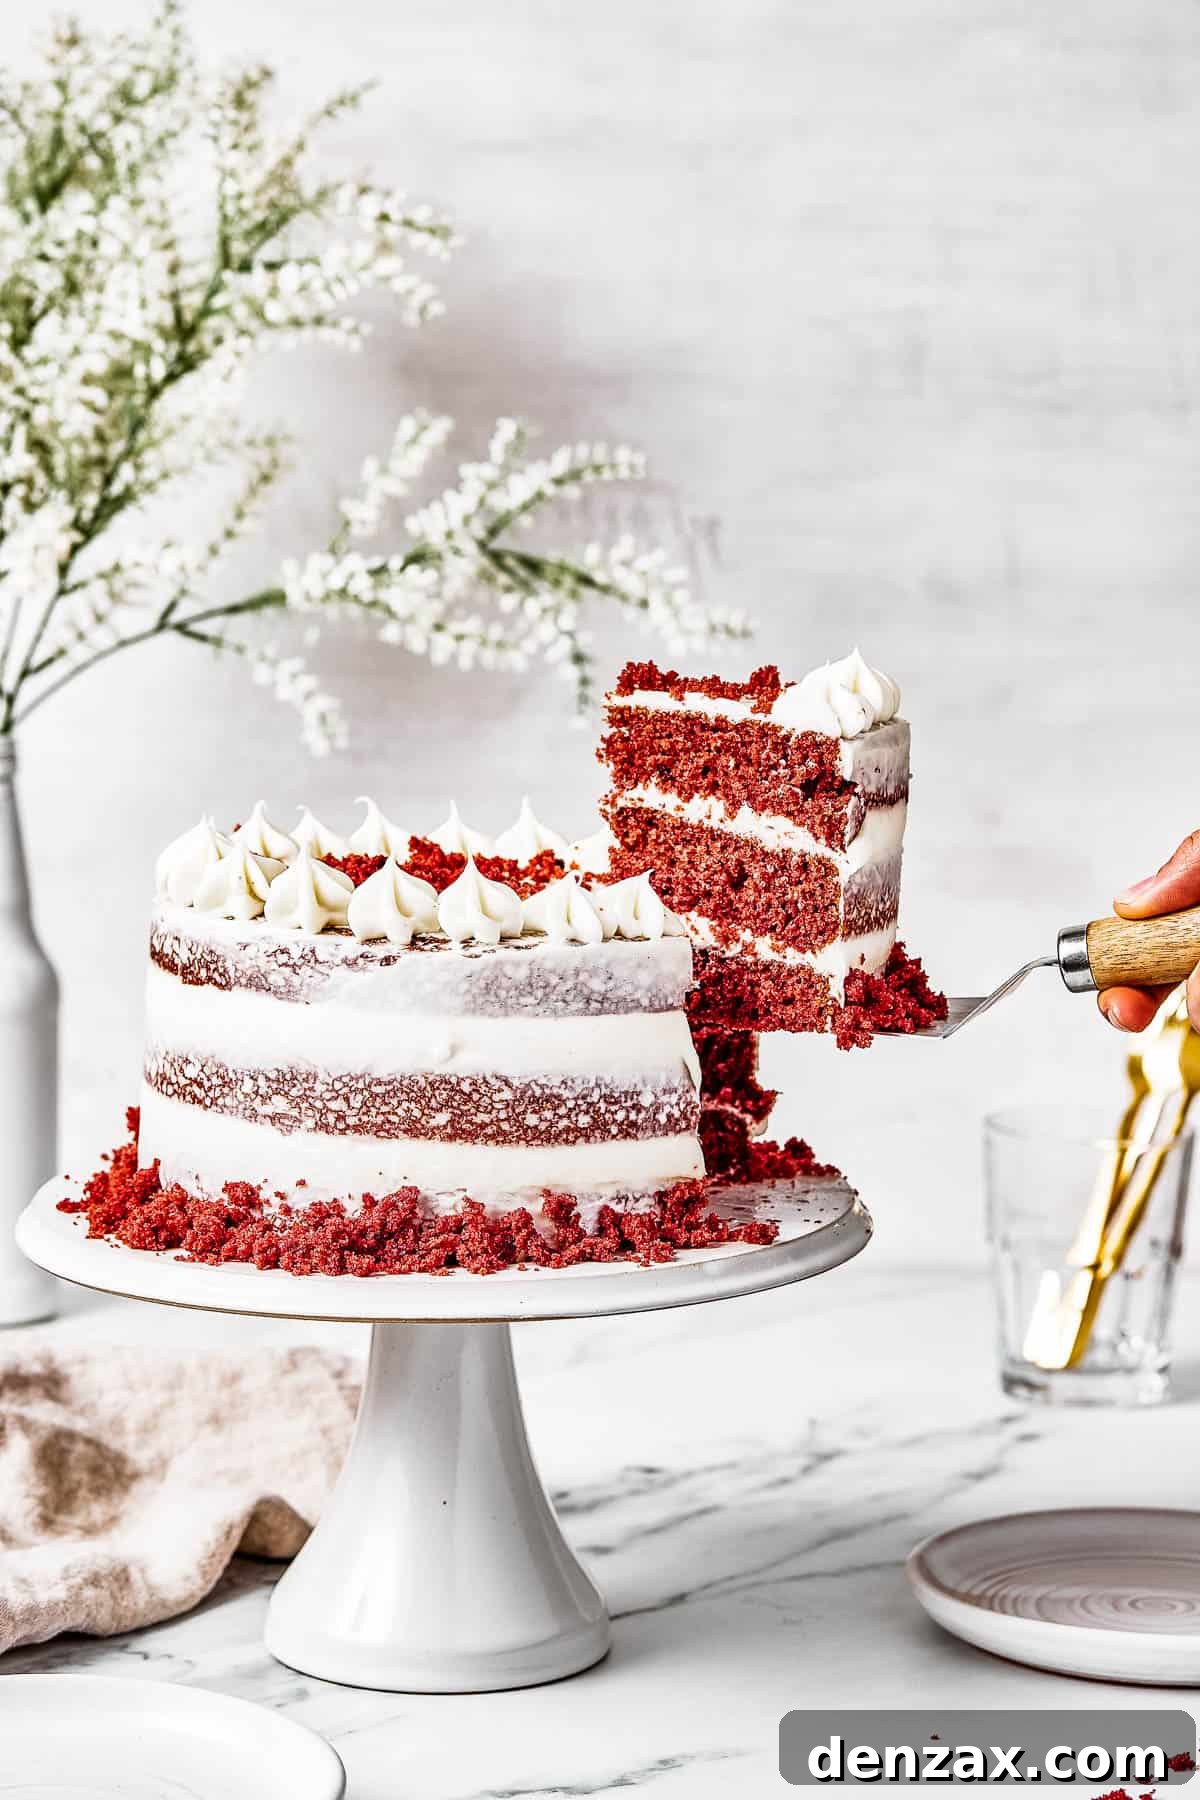
Unveiling the Secret to a Soft and Moist Red Velvet Cake from Scratch!
For many, cake is more than just a treat; it’s a celebration, a comfort, a form of edible art. And among the vast array of cakes, red velvet holds a special, almost revered place. It’s a cake that transcends seasons and reasons, making anyone who receives it feel truly cherished and special. The beauty of this recipe lies in its ability to achieve that iconic “velvet” texture—a tender, delicate crumb that melts in your mouth—paired with a subtle yet distinct chocolate flavor that truly sets it apart from a standard chocolate cake.
Making a cake from scratch allows for a depth of flavor and freshness that store-bought options simply can’t match. This recipe focuses on achieving that perfect balance of moisture, flavor, and visual appeal, ensuring your homemade red velvet cake becomes a treasured staple in your baking repertoire. Get ready to embark on a delightful baking journey that ends with an irresistible dessert, rich in both history and taste.
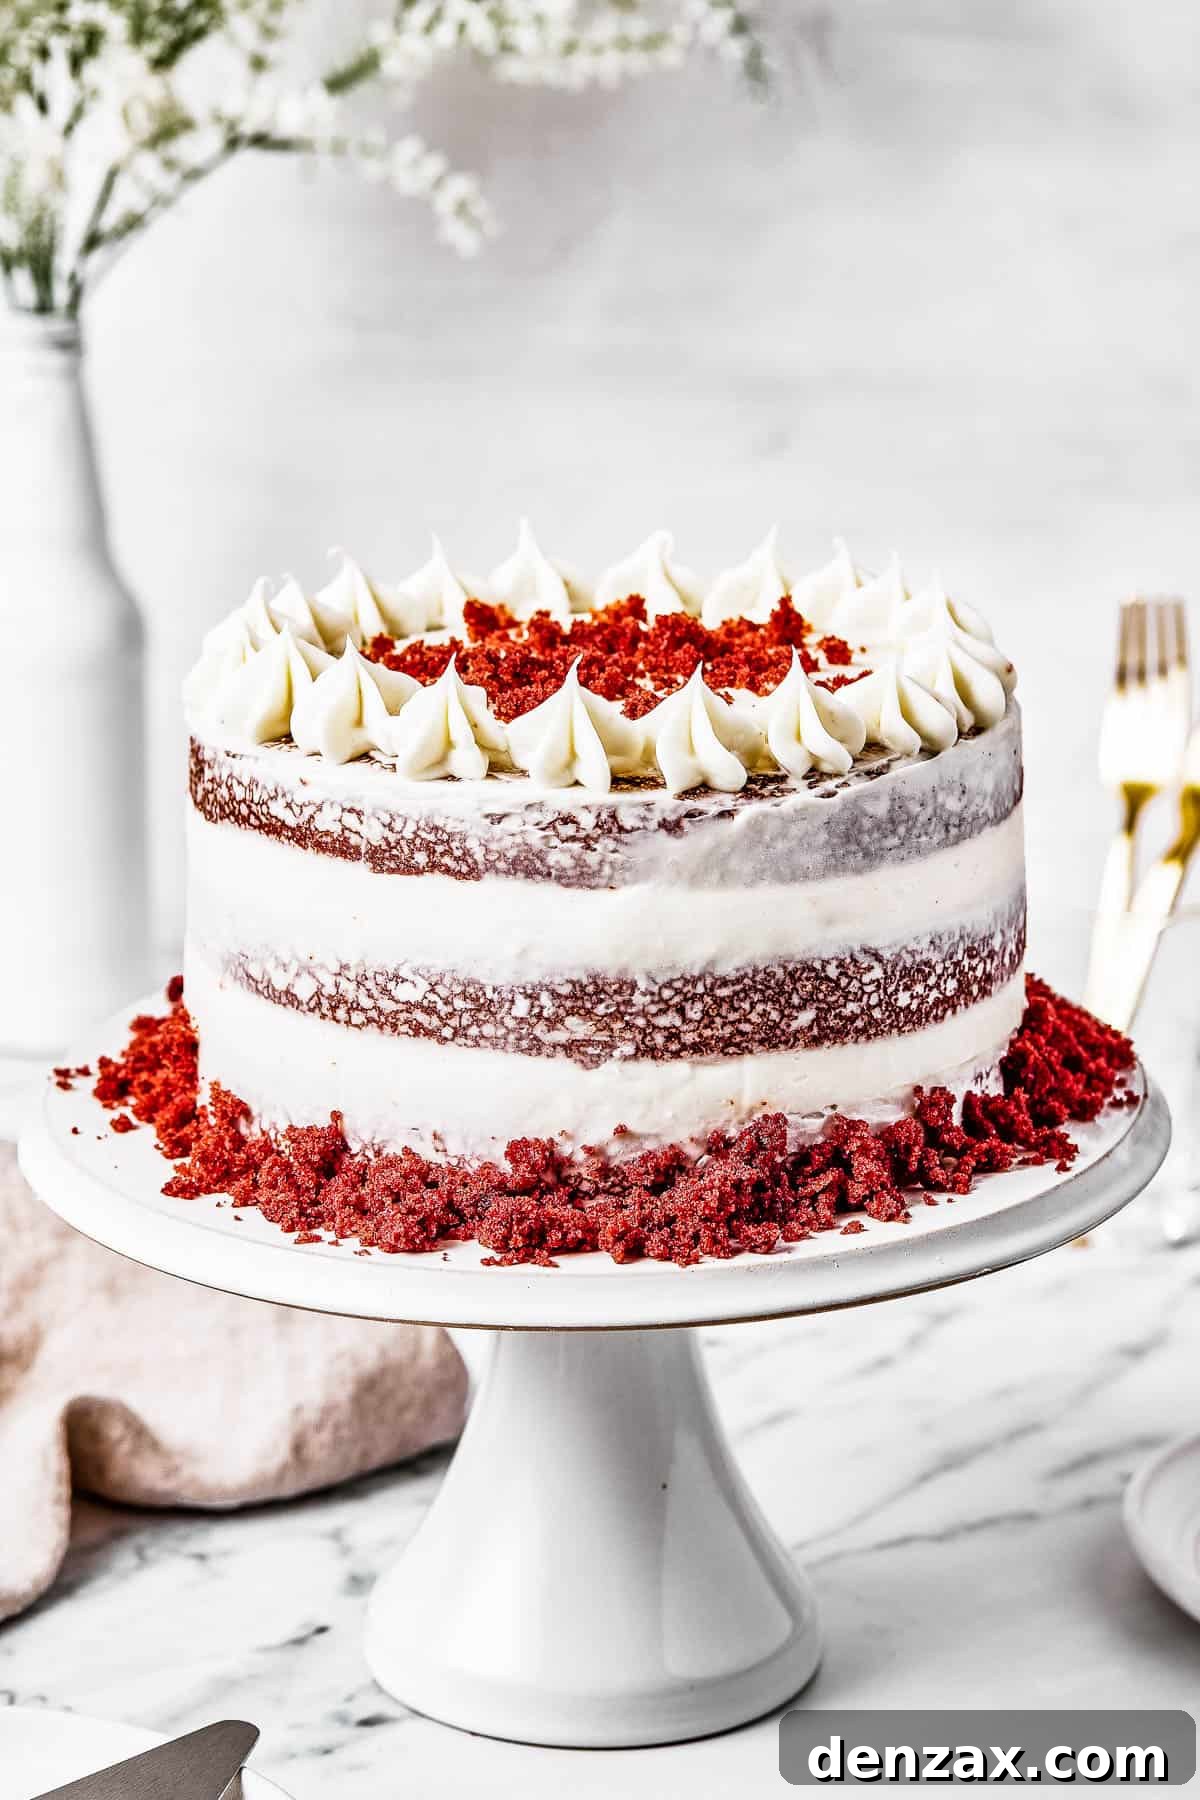
What Exactly Makes a Cake “Red Velvet”? Exploring its Unique Characteristics
Red velvet cake is much more than just a red-colored cake. It’s a classic Southern dessert renowned for its distinct tender texture, mild cocoa flavor, and characteristic tang, which often evokes comparisons to a cheesecake. The “velvet” in its name refers to its incredibly soft, fine, and smooth crumb, a result of specific ingredients and preparation methods.
Historically, the subtle reddish-brown hue of red velvet cake was a natural outcome of a chemical reaction between the acidic ingredients (like buttermilk and vinegar) and the non-Dutched cocoa powder, which contains anthocyanins that turn reddish when exposed to acid. This reaction also helped tenderize the cake, contributing to its signature “velvet” texture. Today, while the acidic ingredients still play a crucial role in the texture and flavor, most red velvet recipes enhance the vibrant color with red food coloring to achieve that truly stunning, eye-catching shade. This combination of history, science, and a touch of modern flair creates a cake that is both gorgeous to behold and utterly scrumptious to eat, especially when paired with its traditional, decadent cream cheese frosting.
Gather Your Ingredients: What You’ll Need for This Divine Red Velvet Cake
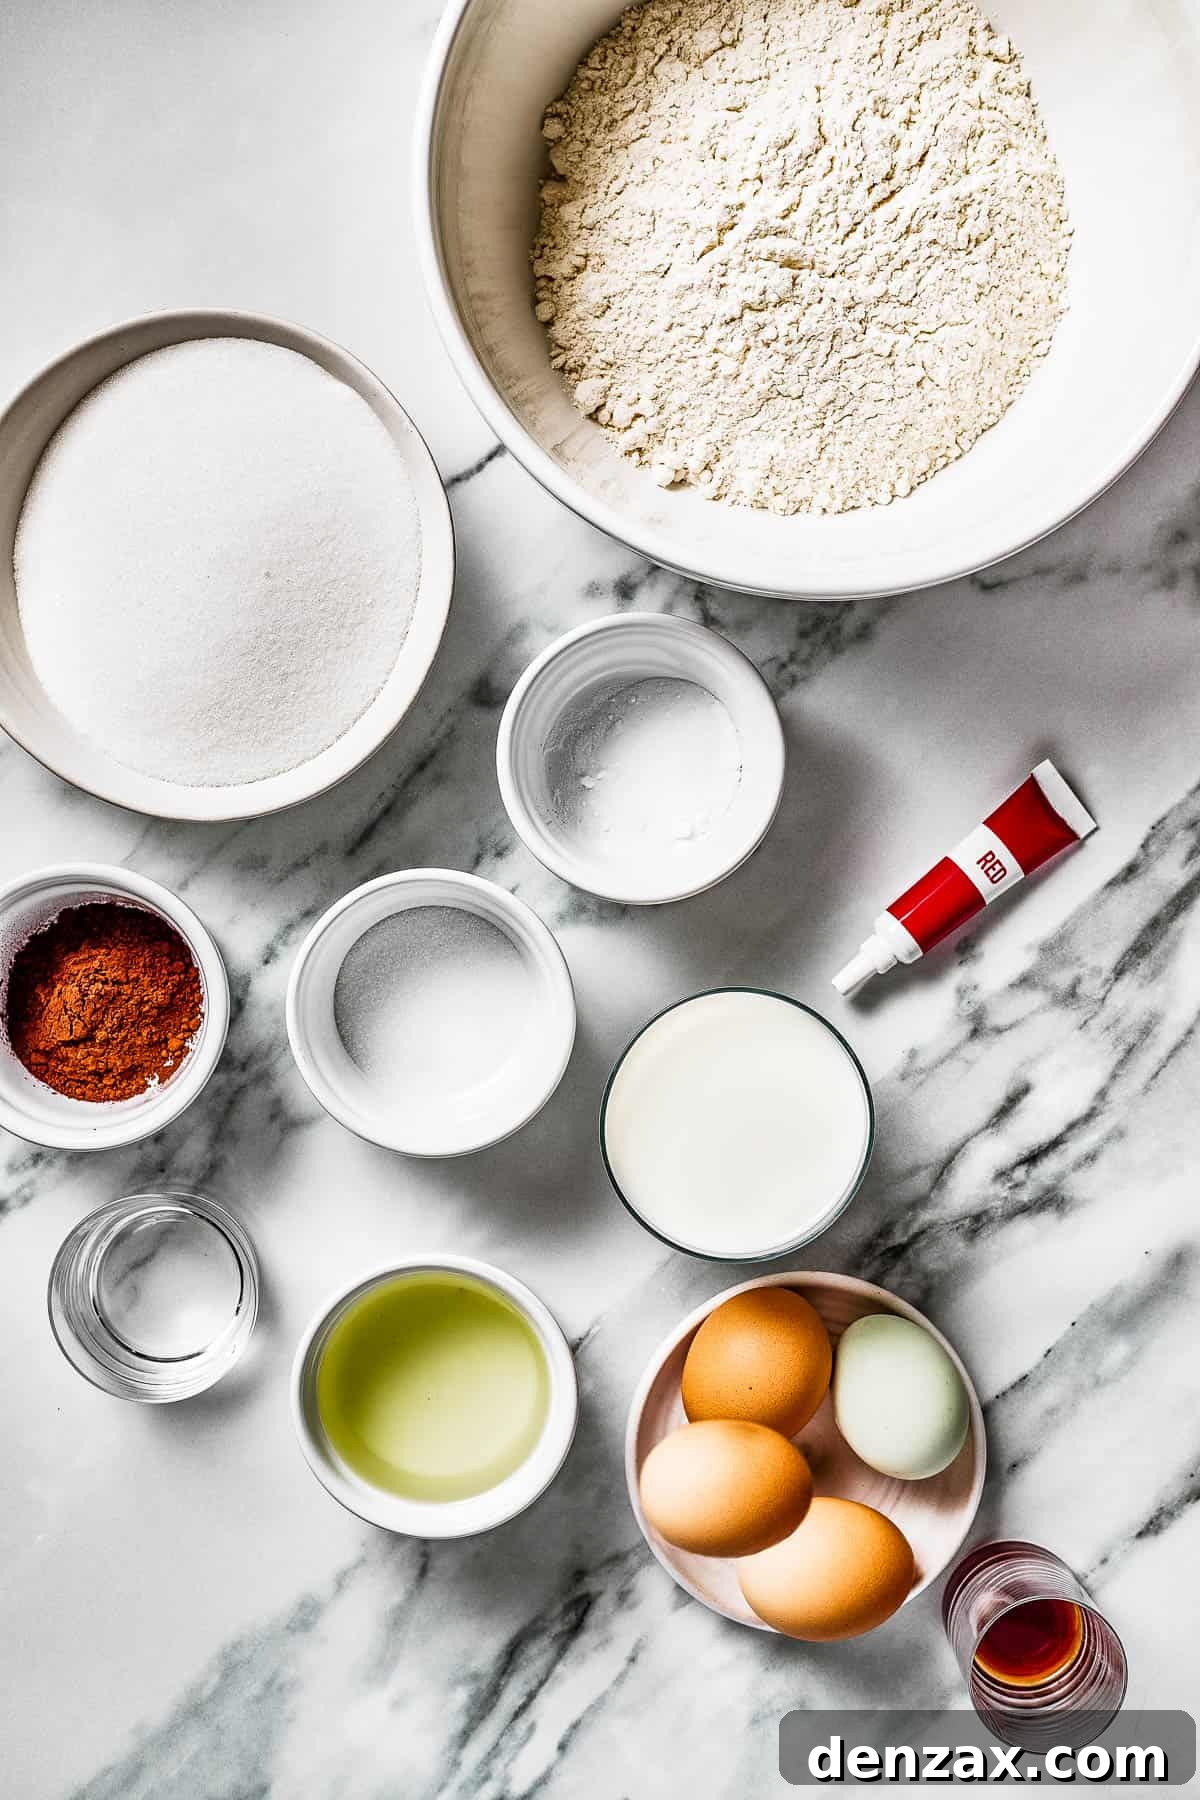
Creating this magnificent cake requires a combination of everyday pantry staples and a few specific items to achieve its signature flavor and texture. Ensure all your cold ingredients, such as eggs, butter, and cream cheese, are at room temperature. This is a crucial step for achieving a smooth batter and creamy frosting, preventing lumps, and ensuring proper emulsification.
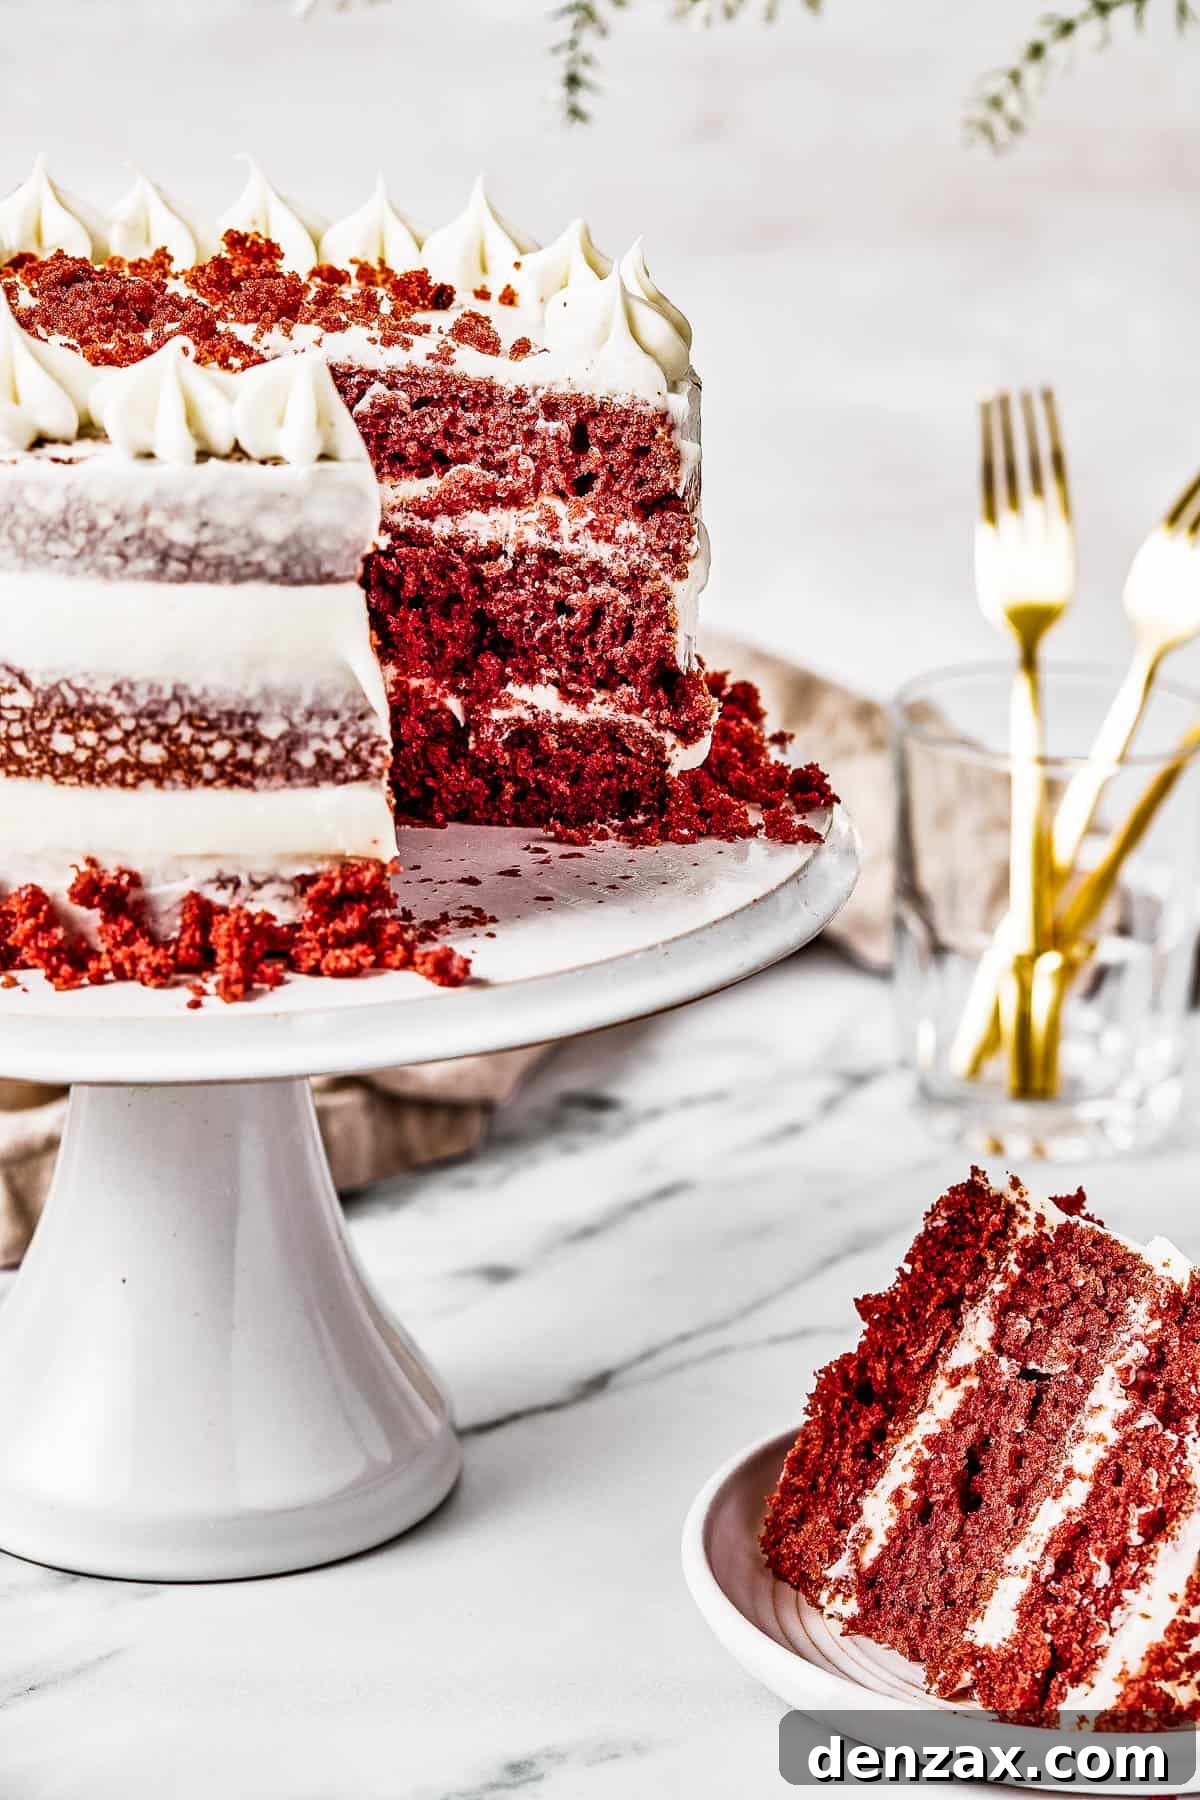
For the Red Velvet Cake Layers:
- All-Purpose Flour (3 cups): Provides the cake’s structure. Avoid self-rising or whole-wheat flour, as they will alter the texture and rise. Sifting is highly recommended for an extra-light crumb.
- Unsweetened Cocoa Powder (2 tablespoons): Gives the cake its characteristic light chocolate flavor. Using unsweetened cocoa is key, as the sugar content is carefully balanced in the recipe.
- Salt (1 teaspoon): Enhances the flavors of the other ingredients and balances the sweetness.
- Baking Soda (1 teaspoon): This leavening agent reacts with the acidic ingredients (vinegar, buttermilk from milk + vinegar) to create carbon dioxide, giving the cake its signature rise and tender texture. Do not substitute with baking powder.
- Large Eggs (4, at room temperature): Bind the ingredients together and add richness and structure. Room temperature eggs emulsify better with other ingredients, resulting in a smoother batter.
- Milk (1 ½ cups): Contributes to the cake’s moistness and delicate crumb. You can achieve a homemade buttermilk substitute by adding the vinegar to the milk and letting it sit for a few minutes.
- Vegetable Oil (1 cup): Essential for a truly moist and tender red velvet cake. Unlike butter, oil remains liquid at room temperature, keeping the cake exceptionally moist and fluffy long after baking.
- White Vinegar (2 tablespoons): A non-negotiable ingredient! It reacts with the baking soda for leavening and provides the classic tangy flavor that defines red velvet, mimicking buttermilk’s acidity.
- Vanilla Extract (2 teaspoons): Enhances the overall flavor profile, adding warmth and depth. Use pure vanilla extract for the best results.
- Granulated Sugar (1 ¾ cups): Sweetens the cake and contributes to its moistness and tender crumb.
- Red Gel Food Coloring (1 tablespoon): For that iconic, vibrant red hue. Gel food coloring provides a more intense color with less liquid compared to liquid food coloring, preventing changes in batter consistency.
For the Classic Cream Cheese Frosting:
- Cream Cheese (16 ounces, softened to room temperature): The star of the frosting! Ensure it’s fully softened to achieve a smooth, lump-free consistency.
- Unsalted Butter (1 cup, softened to room temperature): Adds richness and structure to the frosting. Room temperature butter creams beautifully.
- Heavy Whipping Cream (¼ cup): Contributes to the frosting’s light, airy, and ultra-creamy texture. Heavy cream is essential for the right consistency.
- Vanilla Extract (2 teaspoons): Complements the tang of the cream cheese and rounds out the frosting’s flavor.
- Salt (½ teaspoon): A pinch of salt balances the sweetness of the powdered sugar, enhancing all the flavors. If using salted butter, you may want to reduce or omit this.
- Powdered Sugar (4 cups): The primary sweetener for the frosting, dissolving easily to create a smooth finish. Sifting can help prevent lumps.
Let’s Create Magic: Step-by-Step Guide to Baking Your Red Velvet Masterpiece!
The journey to a perfect red velvet cake is divided into three satisfying stages: baking the moist cake layers, preparing the luscious cream cheese frosting, and finally, assembling your stunning creation. Follow these detailed steps to ensure a flawless and delicious result.
Baking the Velvety Cake Layers:
- Prepare Your Oven and Cake Pans: Begin by preheating your oven to 350°F (175°C). This ensures a consistent baking temperature from the moment your batter enters the oven. Next, generously grease three 8-inch round cake pans with baking spray, butter, or oil. For extra assurance against sticking, line the bottoms with parchment paper cut to fit perfectly. This step is crucial for easy release of your delicate cake layers.
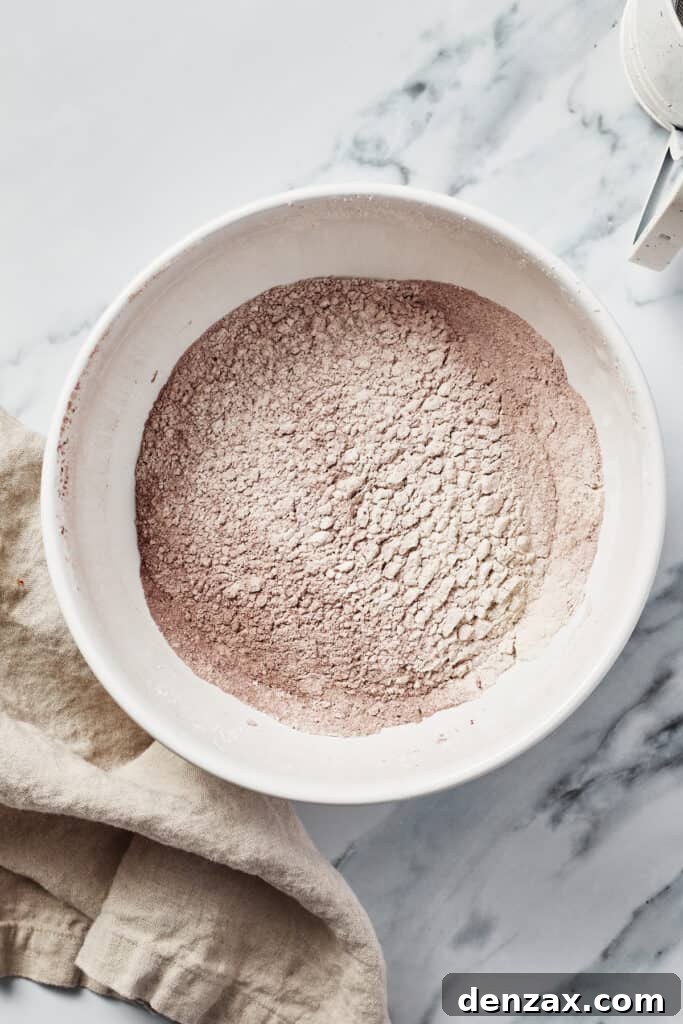
- Combine the Dry Ingredients: In a large mixing bowl, meticulously sift together the all-purpose flour, cocoa powder, salt, and baking soda. Sifting ensures that these ingredients are well-combined and free of lumps, leading to a finer, more tender cake crumb. Once sifted, set this bowl aside.
- Mix the Wet Ingredients: In a separate, even larger bowl, whisk together the room temperature eggs, milk, vegetable oil, white vinegar, and vanilla extract until they are thoroughly combined and smooth. The oil, milk, and vinegar contribute significantly to the cake’s signature moisture and tang.
- Incorporate the Sugar: Add the granulated sugar to your wet ingredient mixture. Continue whisking until the sugar has completely dissolved. This prevents a gritty texture in the final cake and ensures even sweetness.
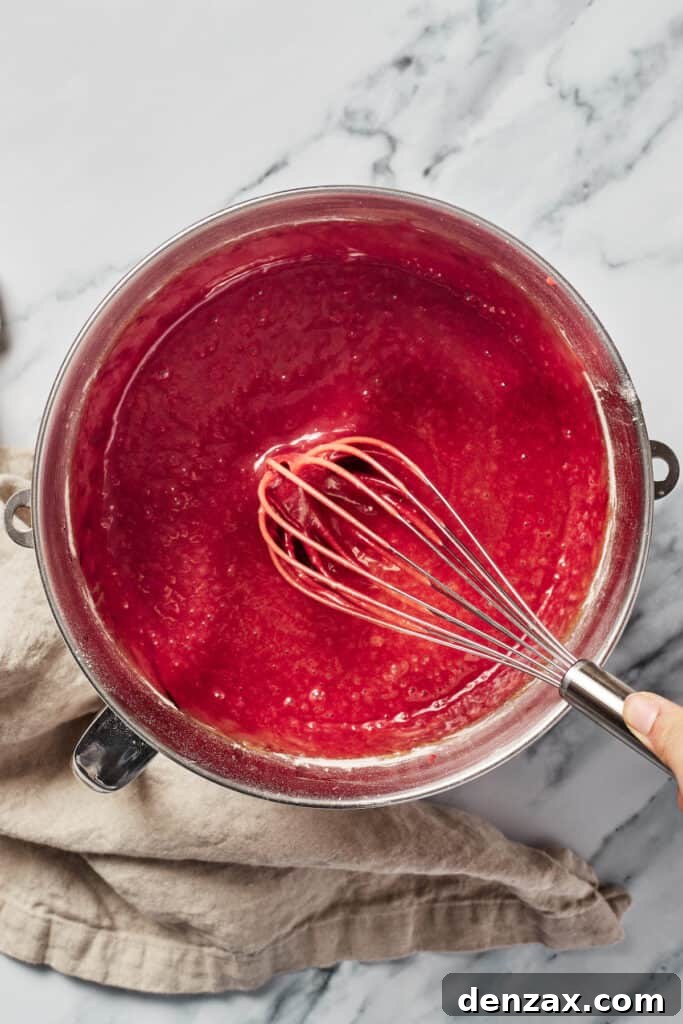
- Gently Combine Wet and Dry: Pour the sifted dry ingredients into the bowl containing the wet ingredients. Using a whisk or spatula, gently fold or slowly whisk until the batter is *just* combined. It’s imperative not to overmix the batter; overmixing develops the gluten in the flour too much, which can result in a dense, tough, or gummy cake. A few small lumps are preferable to an overmixed batter.
- Stir in the Iconic Red Food Coloring: Finally, add the red gel food coloring to the batter. Mix gently until the batter achieves an even, dark, and vibrant red hue. The gel coloring provides intense color without thinning the batter.
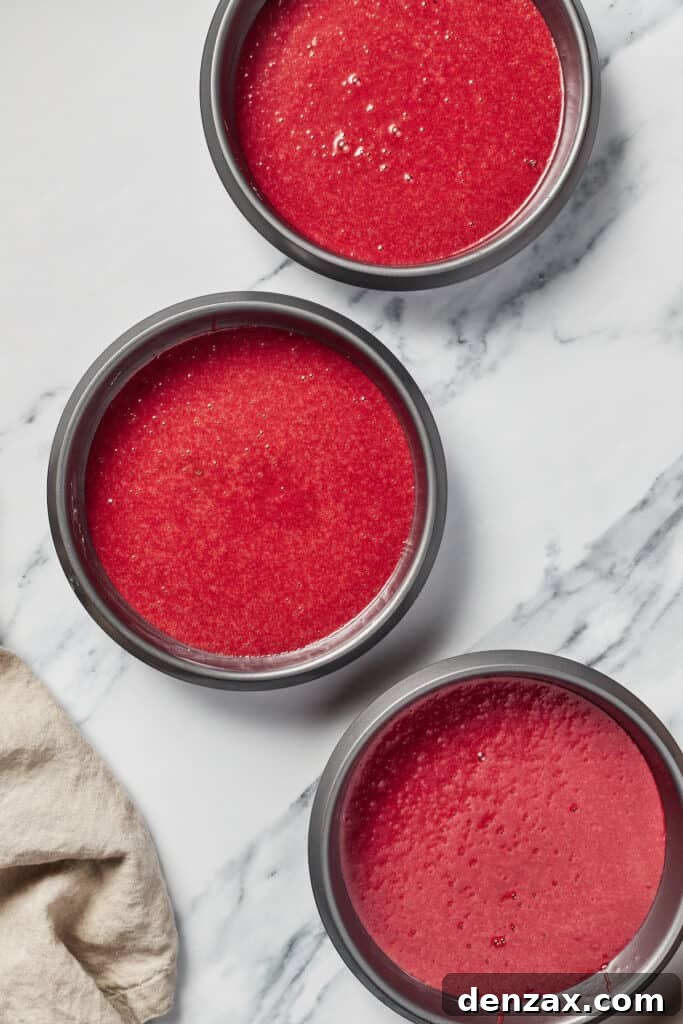
- Bake to Perfection: Divide the beautiful red batter evenly among the three prepared cake pans. You can use a ladle or a kitchen scale for precise division, ensuring uniform cake layers. Place the pans in the preheated oven and bake for approximately 25 to 28 minutes. For even baking, rotate the pans halfway through the baking time. The cakes are done when a toothpick inserted into the center comes out clean or with a few moist crumbs.
- Cool the Cake Layers Properly: Once baked, remove the cake layers from the oven and let them cool in their pans on a wire rack for about 10 minutes. This allows the cakes to set slightly before being handled. After 10 minutes, carefully invert the cakes onto the wire cooling rack and allow them to cool completely to room temperature. Rushing this step can cause the cakes to break or the frosting to melt.
Crafting the Dreamy Cream Cheese Frosting:
- Beat the Creamy Foundation: In a large mixing bowl, or the bowl of a stand mixer fitted with the paddle attachment, beat together the softened cream cheese, softened unsalted butter, and heavy whipping cream. Beat on medium-high speed until the mixture is incredibly smooth, light, and fluffy, with no lumps of cream cheese or butter remaining.
- Introduce Flavorings: Reduce the mixer speed to low. Add the vanilla extract and salt, mixing until they are fully incorporated into the creamy base. The salt plays a vital role in balancing the sweetness.
- Gradually Add Powdered Sugar: With the mixer still on low speed (to prevent a powdered sugar cloud!), gradually add the powdered sugar, one cup at a time. Mix each addition until just combined before adding the next. Once all the sugar is in, increase the speed to medium-high and beat for another 2-3 minutes until the frosting is light, airy, and wonderfully smooth.
- Adjust to Perfect Consistency: If your frosting appears too thick, you can thin it out by adding an additional tablespoon of heavy cream, one tablespoon at a time, mixing after each addition until desired consistency is reached. Conversely, if the frosting is too thin, beat in two to four tablespoons of powdered sugar at a time until it thickens to your preference. Once the consistency is just right—creamy and spreadable—cover the bowl with plastic wrap and set it aside until you are ready to frost your cooled cake.
Assembling Your Masterpiece:
- Level the Cake Layers: For a professional-looking cake with even layers, it’s essential to trim off any dome-shaped tops from your cooled cake layers. Use a long serrated knife or a dedicated cake leveling tool for a precise cut. If desired, you can save these cake scraps, crumble them, and use them later to decorate the sides or top of your finished cake for a rustic touch.
- Prepare Your Cake Stand and First Layer: To prevent your cake from shifting while you frost it, spread a small dollop of cream cheese frosting in the center of your cake stand or serving plate. This acts as an adhesive. Carefully place your first leveled cake layer centered on this frosting.
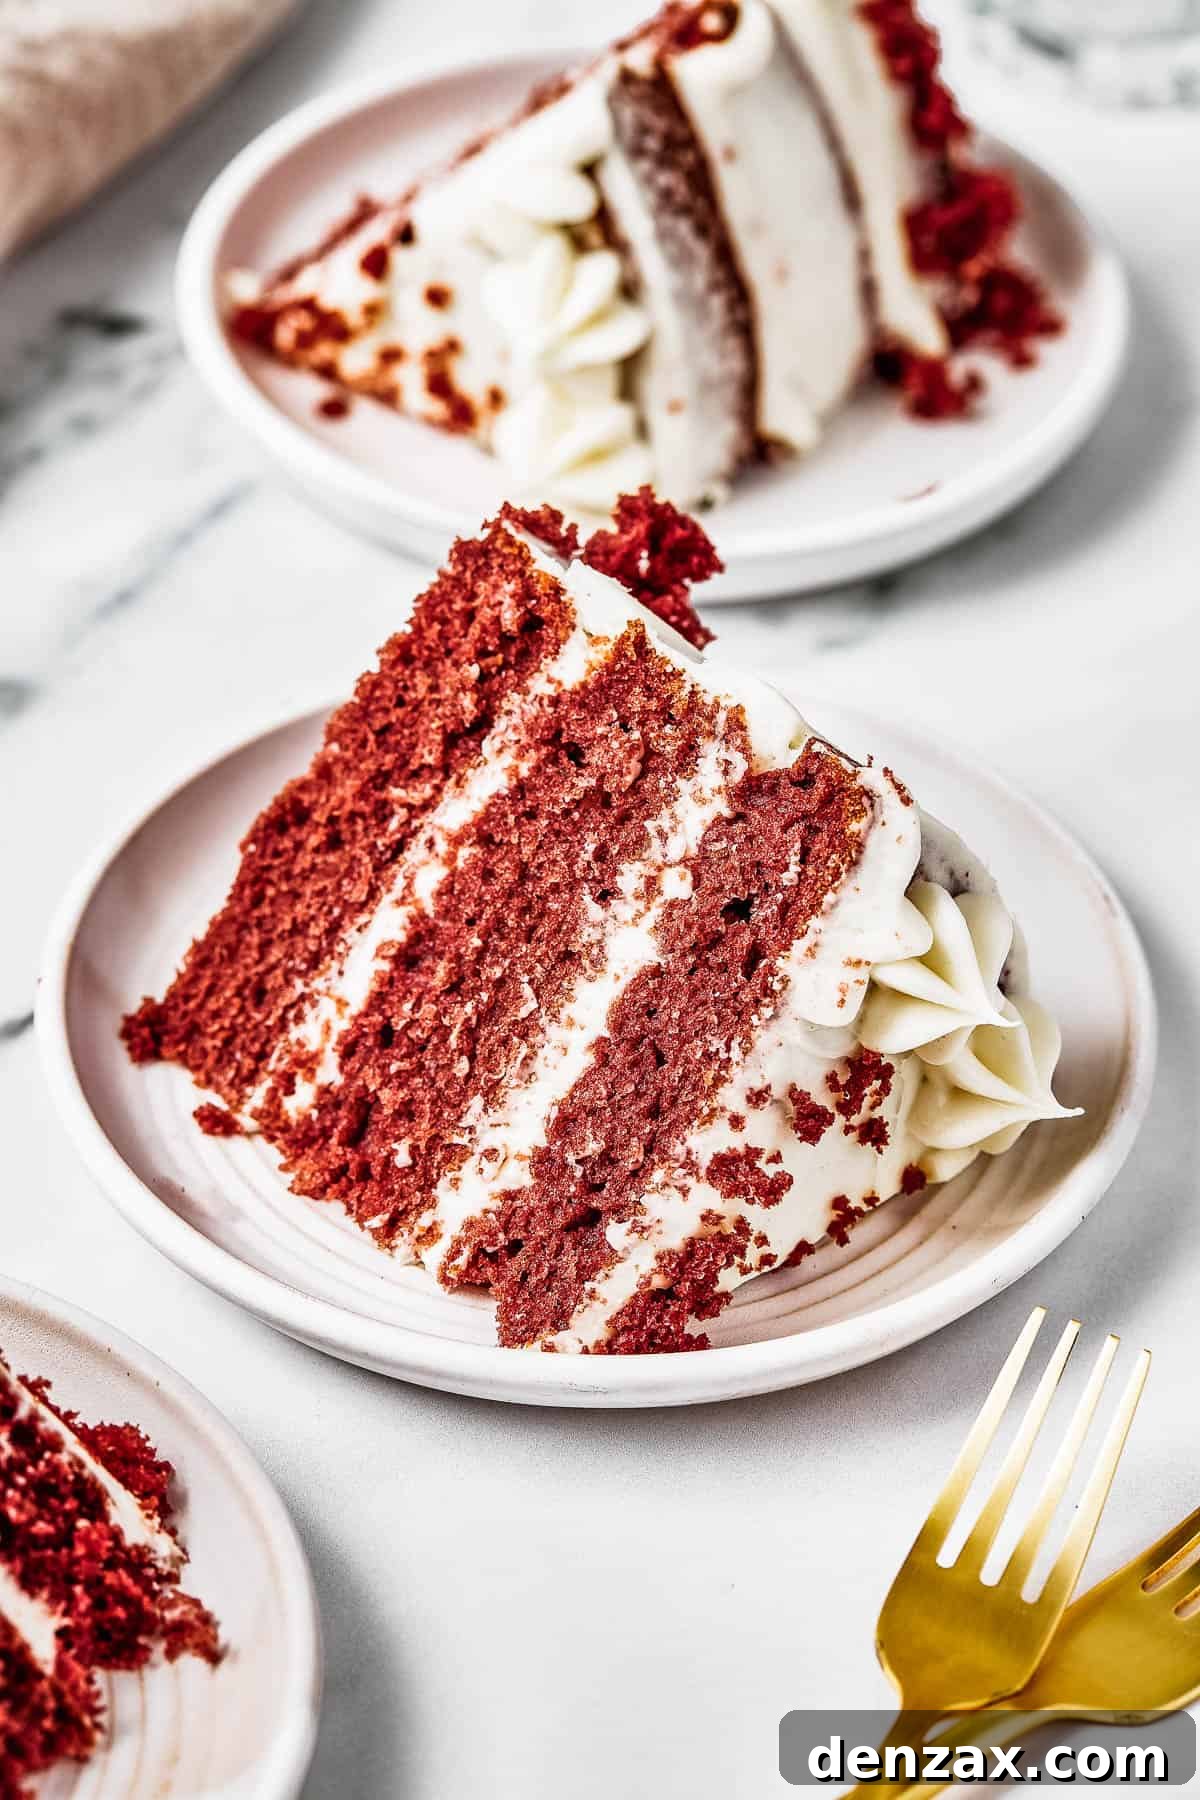
- Layer and Frost: Spread an even, generous layer of cream cheese frosting over the top of the first cake layer, extending it almost to the edges. Gently place the second cake layer on top, aligning it carefully. Repeat the frosting process, spreading another even layer of cream cheese frosting. Finally, place the last cake layer on top, ensuring it is level.
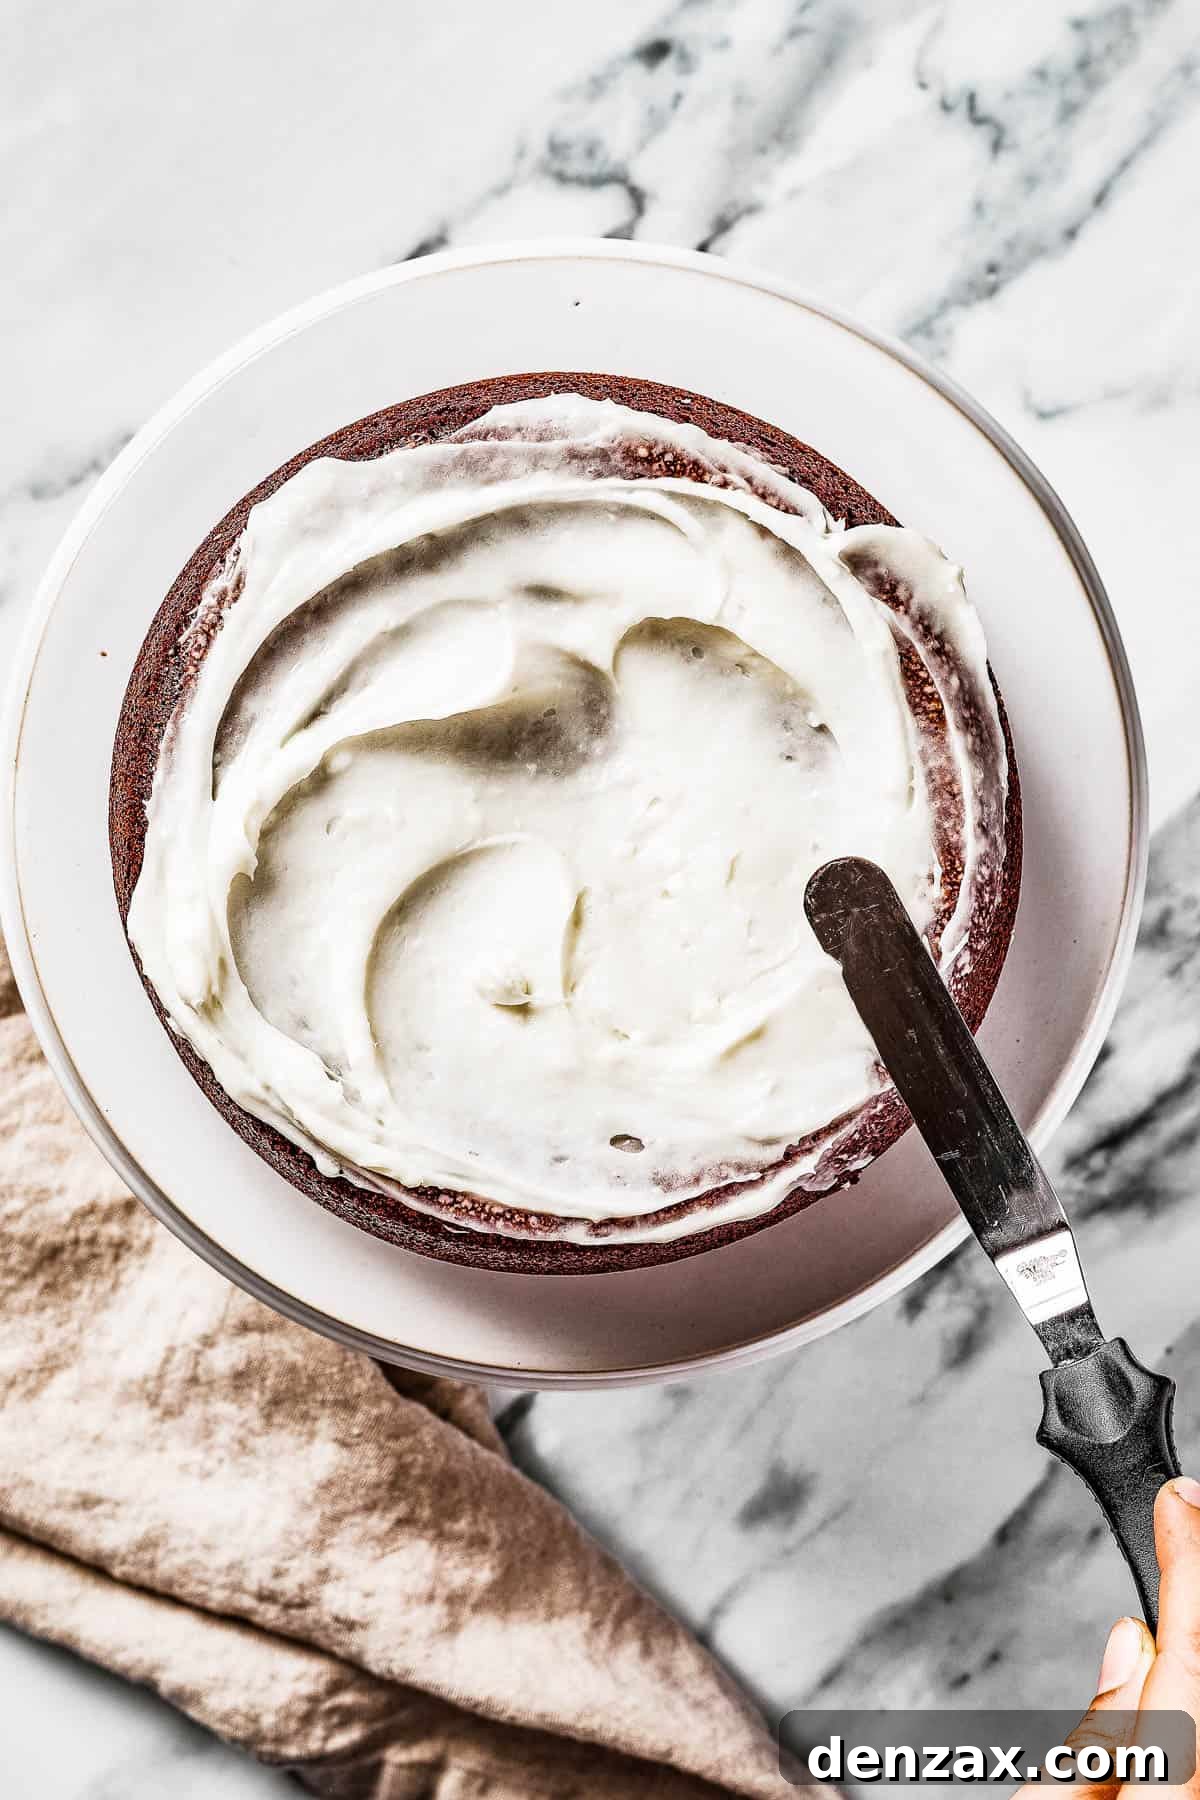
- Apply the Crumb Coat and Final Frosting: Begin by applying a thin coat of frosting all over the top and sides of the cake. This is called a “crumb coat” and its purpose is to trap any loose crumbs, preventing them from mixing into your final decorative layer of frosting. Use an offset spatula or a bench scraper to smooth this thin layer. Chill the cake in the refrigerator for 15-20 minutes to set the crumb coat. After chilling, apply a thicker, more even layer of frosting to the sides and top of the cake. Use your offset spatula or bench scraper to achieve a beautifully smooth finish, or create decorative swirls if preferred.
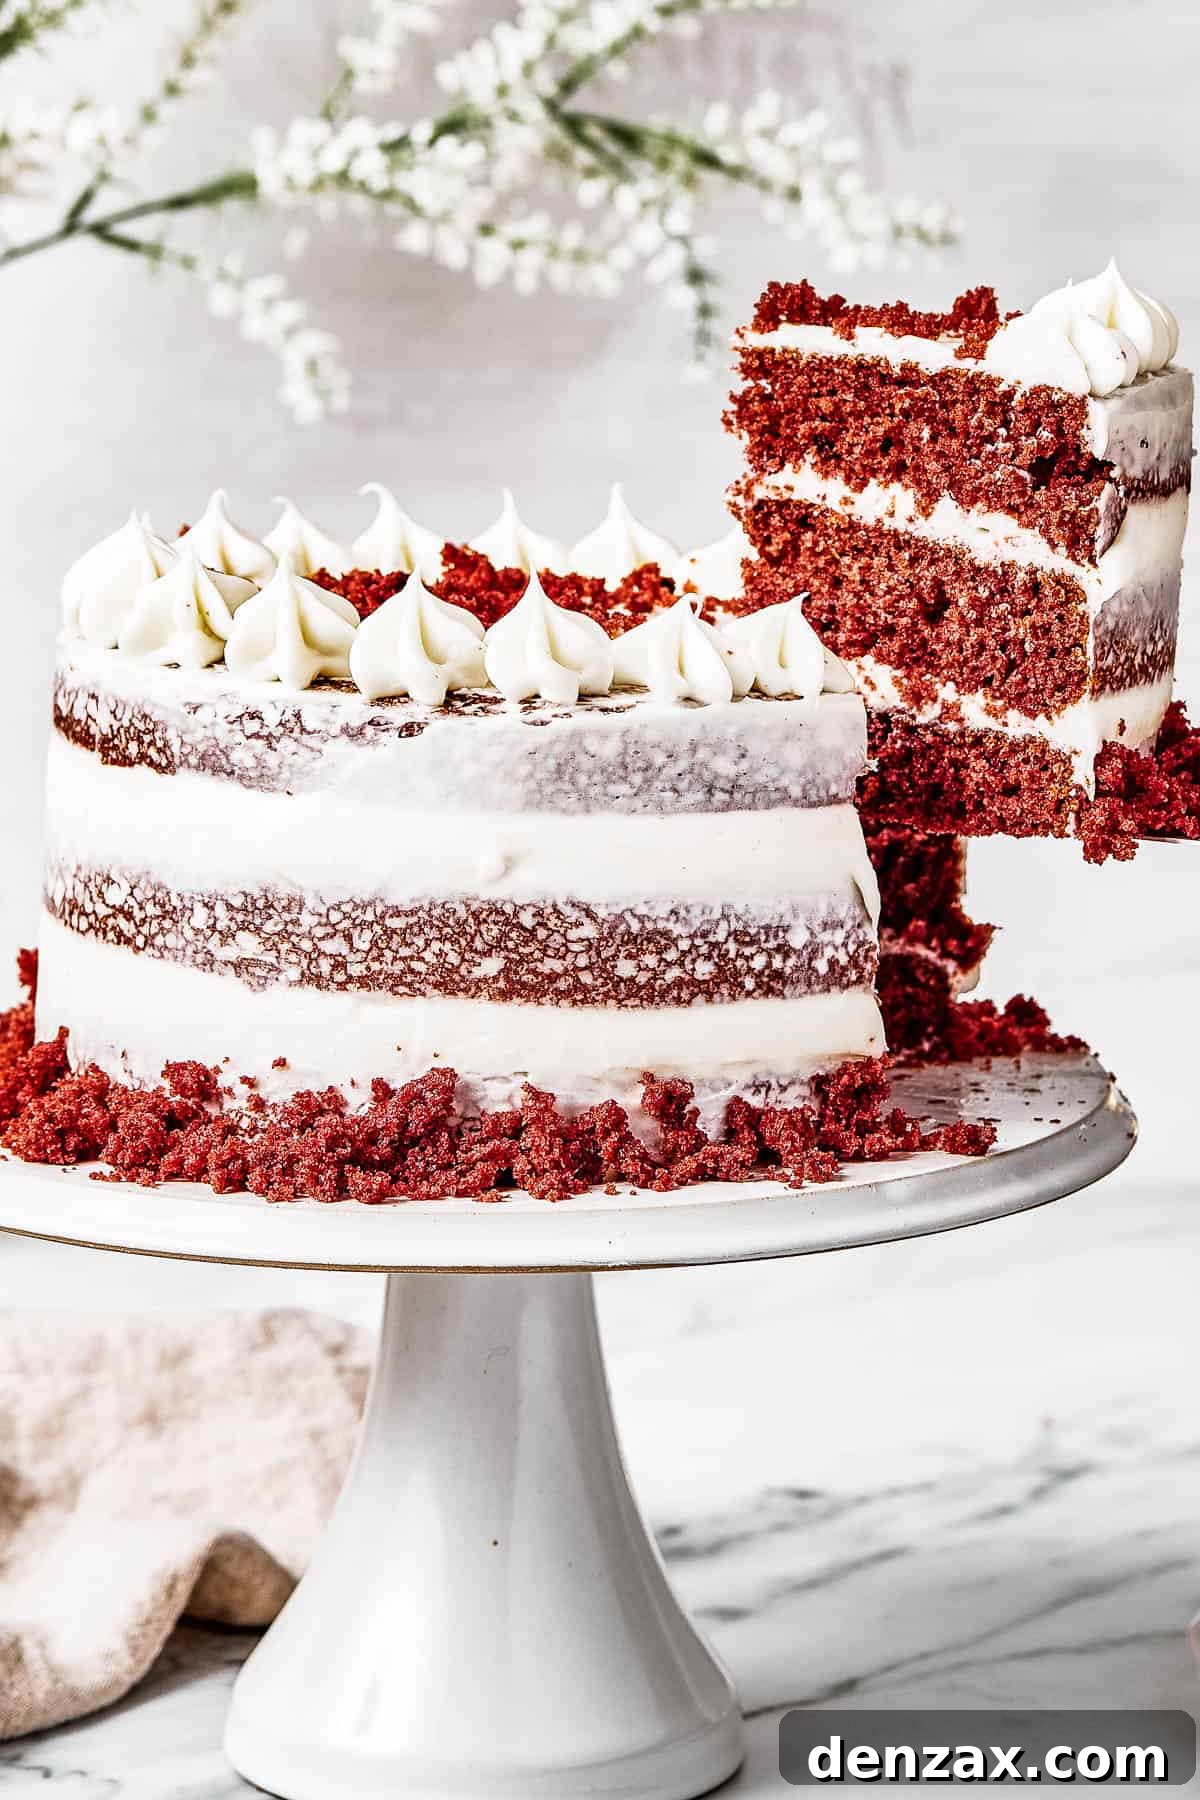
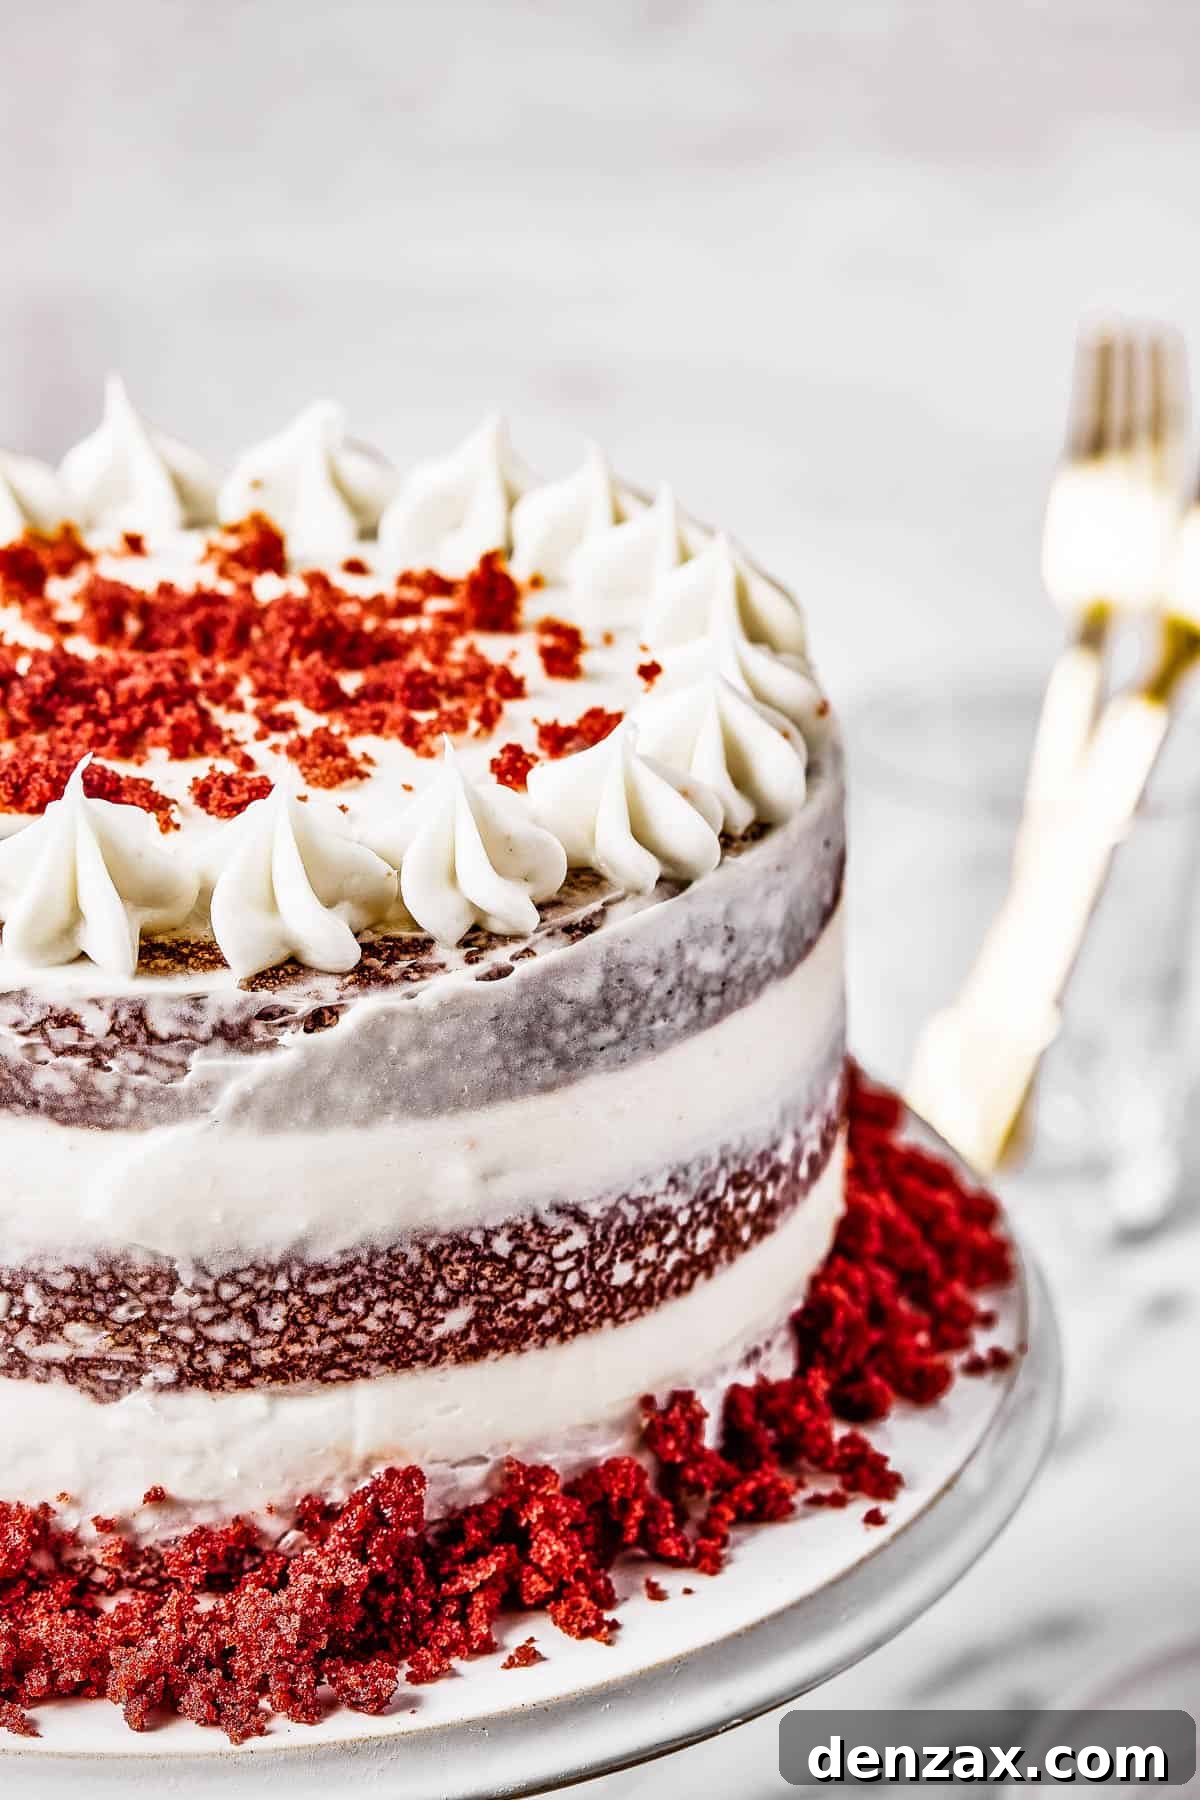
- Decorate and Serve: If you have any remaining frosting, you can use a piping bag fitted with a decorative tip to pipe an elegant border or intricate designs along the edges of the cake. For an extra flourish, sprinkle some of the reserved cake crumbs on the sides or top. Once decorated, your stunning red velvet cake is ready to be admired, sliced, and enjoyed!
Mastering Red Velvet: Essential Tips for Baking Excellence
Baking a red velvet cake is a rewarding experience, and with these expert tips, you can ensure your cake turns out perfectly every time: light, moist, and bursting with flavor. Get ready to impress your friends and family with your baking prowess!
- Achieve Ultimate Fluffiness with Cake Flour: While all-purpose flour works beautifully, for an even lighter, softer, and more delicate cake crumb—true to the “velvet” in its name—consider using cake flour. Cake flour has a lower protein content, which results in a tenderer finished product. If you don’t have cake flour, you can create a substitute by removing two tablespoons of all-purpose flour per cup and replacing it with two tablespoons of cornstarch.
- The Golden Rule: Don’t Over-Beat! This is perhaps the most crucial tip for any cake, especially red velvet. Once you’ve added the dry ingredients to the wet, mix only until they are *just* combined. Over-beating develops the gluten in the flour excessively, leading to a tough, dense, and gummy cake that loses its airy “velvet” texture. Stop mixing as soon as no streaks of flour are visible.
- Embrace the Vinegar: It’s Essential! Do not be tempted to skip or reduce the white vinegar in this recipe, even if it seems unusual. Vinegar is a powerhouse ingredient in red velvet cake! It performs two vital functions:
- Leavening: It reacts with the baking soda to produce carbon dioxide, which creates air bubbles and gives the cake its crucial rise and light texture.
- Signature Tang: It provides the characteristic tangy flavor that distinguishes red velvet from a regular chocolate cake, reminiscent of a subtle buttermilk or cheesecake quality.
- Room Temperature Ingredients are Non-Negotiable: Ensure your eggs, butter, and cream cheese are at true room temperature. This means they are soft to the touch but not melted. Room temperature ingredients emulsify more effectively, creating a smoother, more uniform batter and a creamier, lump-free frosting. This significantly impacts the final texture and appearance of both the cake and the frosting.
- Measure Ingredients Accurately: Baking is a science, and precision is key. Use proper measuring cups and spoons, and for flour, use the spoon-and-level method (spoon flour into the measuring cup and level off with a straight edge) rather than scooping directly, which can compact the flour and result in too much.
Get Creative: Exciting Red Velvet Cake Variations and Customizations
While the classic red velvet cake is perfect as is, it also serves as a fantastic canvas for creative twists and personalizations. Feel free to experiment with these variations to make this cake truly your own!
- Flexible Cake Pan Options: This versatile recipe isn’t limited to three 8-inch layers. You can easily adapt it to other pan sizes:
- Two 9-inch Layers: If you prefer thicker layers or only have two 9-inch pans, you can divide the batter between them. Adjust baking time slightly (it might take a few minutes longer).
- 13×9 Inch Sheet Cake: For a simpler, single-layer option, pour all the batter into a greased and floured 13×9 inch baking pan. The baking time will be different (likely 30-35 minutes), so keep an eye on it.
- Red Velvet Cupcakes (24 standard): This recipe yields about 24 standard-sized cupcakes. Line your muffin tins with paper liners, fill each about two-thirds full, and bake for approximately 18-22 minutes, or until a toothpick comes out clean. Frost with cream cheese frosting for delightful individual servings.
- Coffee and Cream Infusion: For a richer, deeper chocolate flavor that still respects the subtle cocoa notes of red velvet, try this elegant variation. Substitute half of the milk with strong, cooled brewed coffee and the other half with heavy cream. The coffee will enhance the chocolate without overpowering the red velvet essence, while the heavy cream adds an extra layer of richness to the cake’s texture.
- Dazzling Decoration Ideas: Beyond simple frosting, there are countless ways to adorn your show-stopping red velvet cake:
- Cake Crumb “Skirt”: As mentioned, crumbling the trimmed cake scraps and pressing them onto the sides of the frosted cake creates a charming, rustic look and emphasizes the beautiful red color.
- Finely Chopped Nuts: Toasted pecans or walnuts, finely chopped and pressed onto the sides or sprinkled on top, add a delightful textural contrast and nutty flavor.
- Colorful Sprinkles: For festive occasions, a scattering of sprinkles can add a pop of color and fun. Choose colors that match your theme, like red and green for Christmas or pink and red for Valentine’s Day.
- Elegant Chocolate Shavings or Curls: Using a vegetable peeler on a block of chocolate, create delicate chocolate shavings or curls to sprinkle over the top of the cake for a sophisticated touch.
- Fresh Berries: Fresh raspberries or strawberries can add a vibrant color contrast and a burst of fresh flavor, especially appealing during warmer months.
Storing Your Red Velvet Masterpiece to Maintain Freshness
To ensure your red velvet cake remains as delicious and moist as the day it was baked, proper storage is key:
- Refrigeration is Essential: Because of its cream cheese frosting, this cake must be stored in the refrigerator.
- Use an Airtight Container: Place the cake in a domed cake plate or an airtight cake container. This prevents it from drying out and absorbing odors from other foods in the refrigerator.
- Duration: Stored correctly, your red velvet cake will remain fresh and delightful for up to 3 days in the refrigerator. For best flavor and texture, allow slices to come to room temperature for about 15-20 minutes before serving.
Can I Freeze Red Velvet Cake? Yes, and Here’s How!
Freezing red velvet cake is an excellent way to prepare ahead or preserve leftovers. Here’s the best approach:
- Freeze Unfrosted Layers: For optimal results, it’s highly recommended to freeze the cake layers before they are frosted. Once the layers are completely cooled, wrap each one tightly in two layers of plastic wrap, followed by a layer of aluminum foil. This double-layer protection prevents freezer burn.
- Freezer Duration: Properly wrapped cake layers can be stored in the freezer for up to 2 months without significant loss of quality.
- Thawing and Frosting: When you’re ready to enjoy your cake, transfer the frozen layers to the refrigerator overnight, or allow them to thaw for several hours at room temperature while still wrapped. Once thawed, unwrap, and proceed with making and applying the cream cheese frosting as usual.
- Freezing a Frosted Cake (Short Term): If you must freeze a fully frosted cake, ensure the frosting is firm (you can chill it in the fridge first). Then, wrap the entire cake in plastic wrap, followed by foil. This method is best for short-term freezing (1-2 weeks), as the frosting texture might slightly change upon thawing.
This comprehensive guide should equip you with everything you need to bake a truly spectacular red velvet cake. From understanding its historical roots and unique characteristics to mastering each baking and frosting step, you’re now ready to create a dessert that will be remembered and requested for years to come. Enjoy the process, and most importantly, savor every incredibly moist and flavorful bite!
Nutritional information is an estimate and provided as a courtesy. Values may vary according to the ingredients and tools used. Please use your preferred nutritional calculator for more detailed information.
Discover More Classic Dessert Recipes
If you’ve enjoyed baking this timeless red velvet cake, you’ll love exploring these other beloved classic dessert recipes:
- Easy Creme Brûlée: Indulge in the silky smooth custard topped with a perfectly caramelized sugar crust.
- Homemade Apple Pie from Scratch: A comforting classic, bursting with tender apples and a flaky, buttery crust.
- Peach Crisp Recipe: A delightful dessert featuring sweet, juicy peaches crowned with a crispy, crumbly topping.