
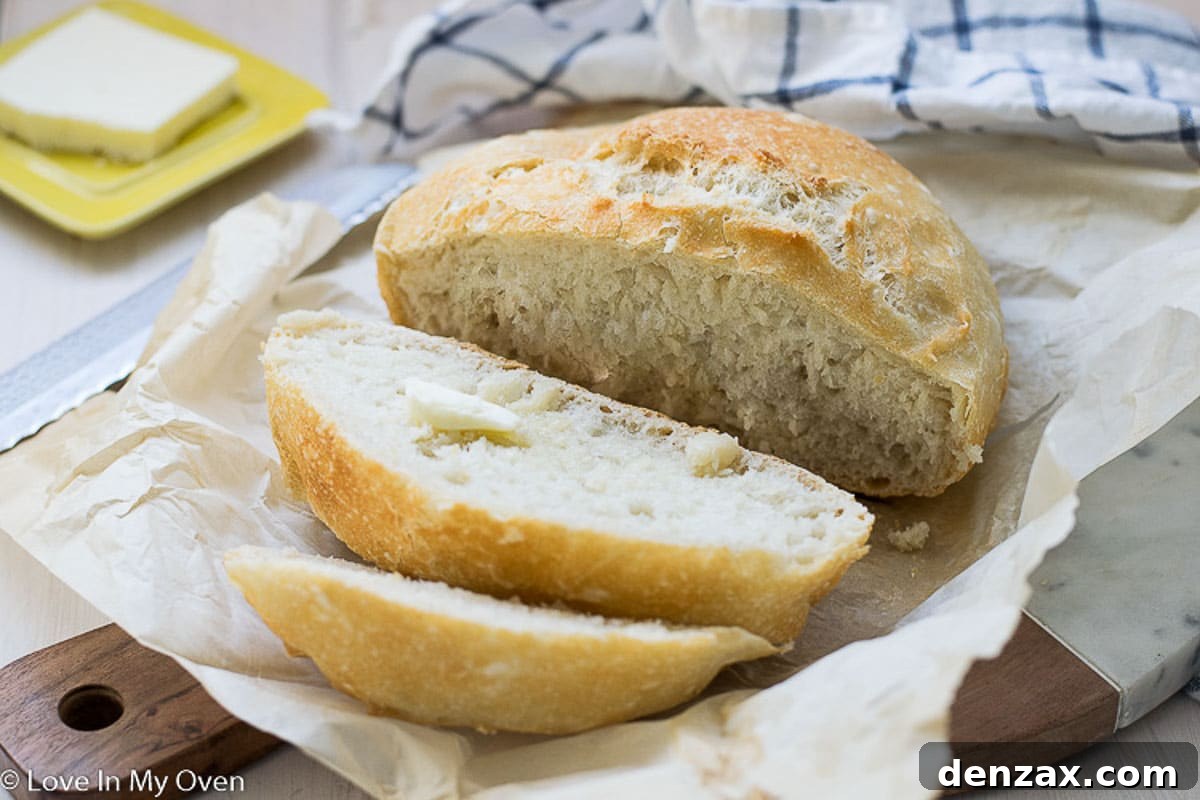
No-Knead 3-Ingredient Bread: Your Easiest Homemade Loaf Ever
Discover the magic of no-knead bread! This incredibly easy overnight recipe requires just three core ingredients and promises a delicious, crusty loaf every single time. Get ready to transform your home baking with minimal effort.
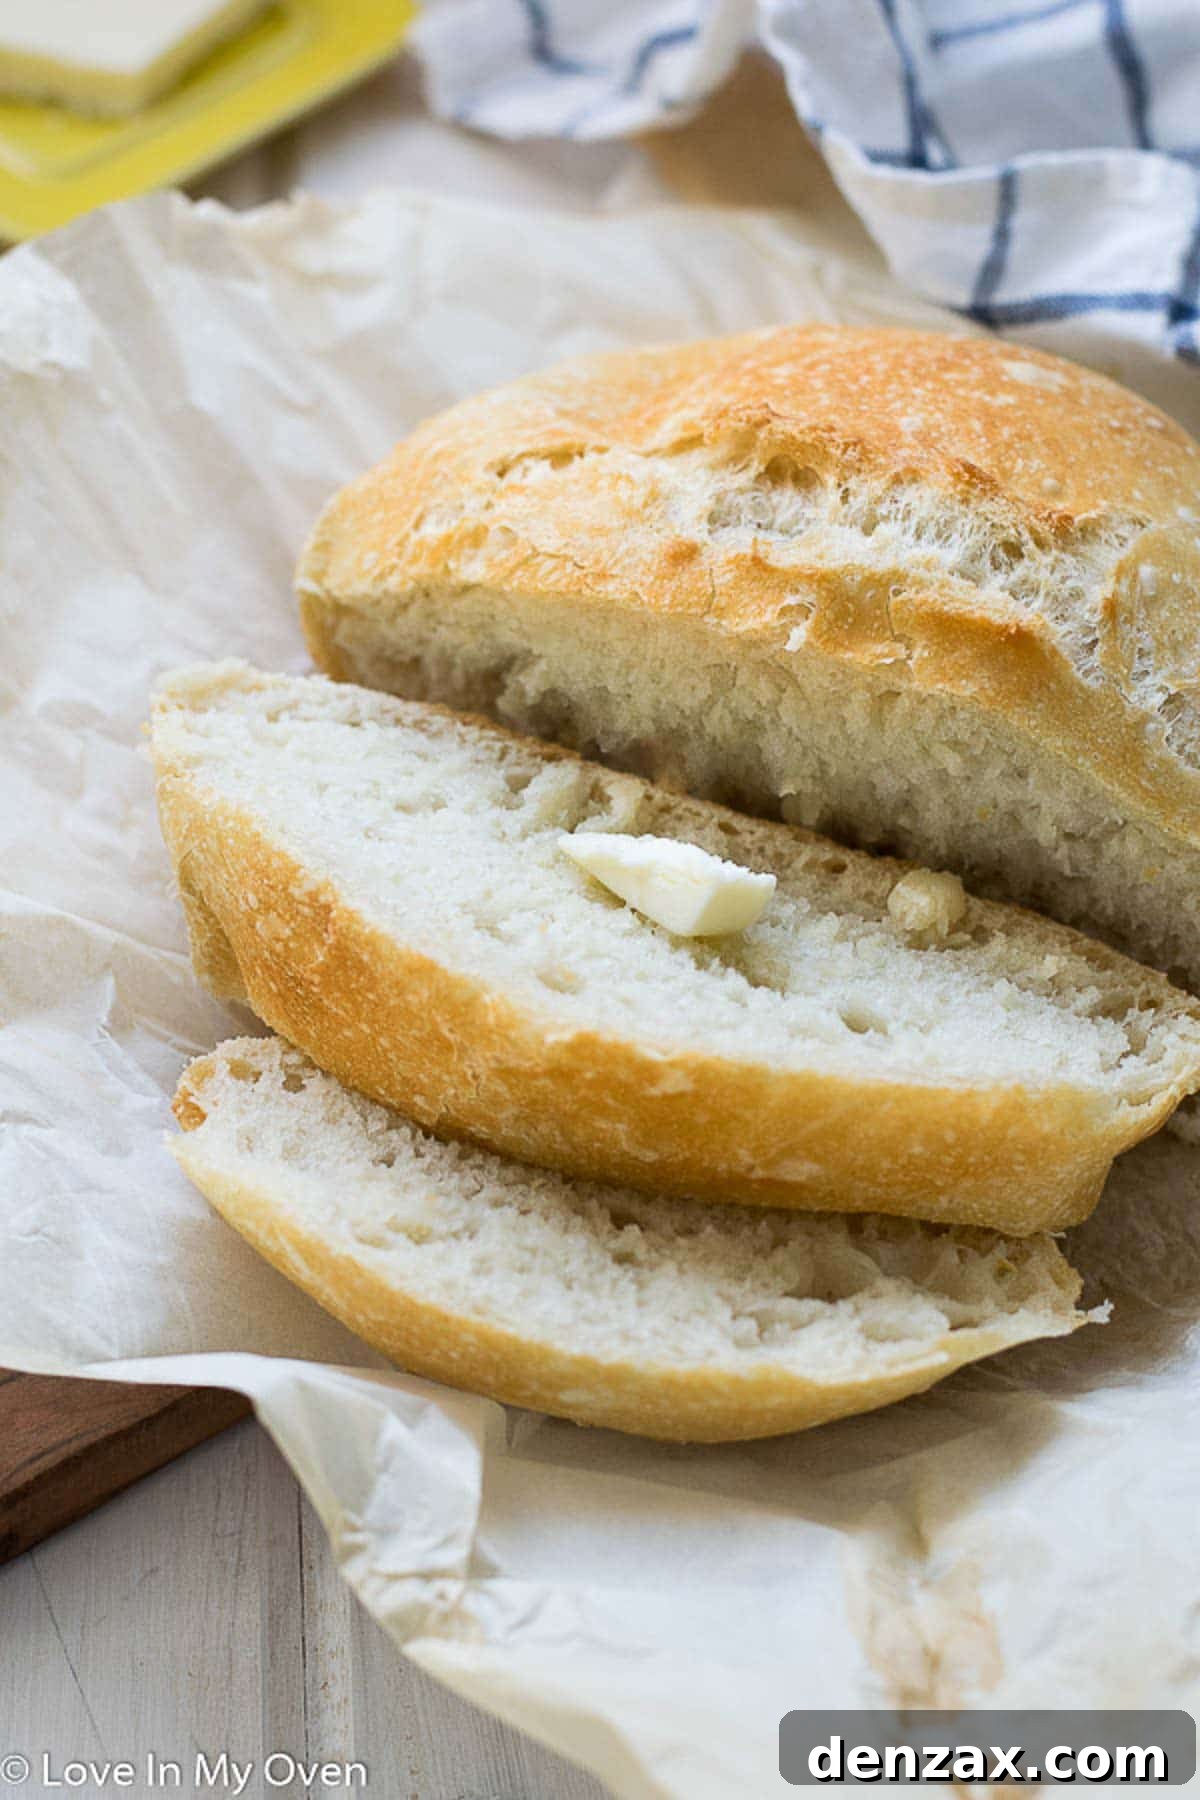
There’s a special kind of comfort that comes with warm, homemade bread. The aroma filling your kitchen, the anticipation of that first slice, slathered with butter – it’s a simple pleasure that few things can match. While the thought of baking bread might seem daunting, involving hours of kneading and complex steps, I’m here to introduce you to a game-changer: the no-knead, 3-ingredient bread.
Forget complicated techniques and lengthy ingredient lists. This recipe is designed for simplicity, allowing even the most novice bakers to achieve bakery-quality results. It’s perfect for those busy days when you crave something homemade but lack the time for an elaborate baking project. I know the feeling – life gets busy. For instance, my son, Oscar, recently started Grade 1, and it feels like just yesterday he was a toddler pushing a little train through the mall. Time truly flies, and with each passing year, I appreciate the simple, comforting things in life even more, like a warm loaf of bread.
This “set it and forget it” method delivers a remarkably flavorful and crusty loaf with almost no effort. All it asks for is a little patience while the dough works its magic overnight. So, if you’re not quite ready for pumpkin spice everything, let’s embrace another kind of cozy with this incredible 3-ingredient bread.
Craving delicious, homemade bread? Who isn’t?
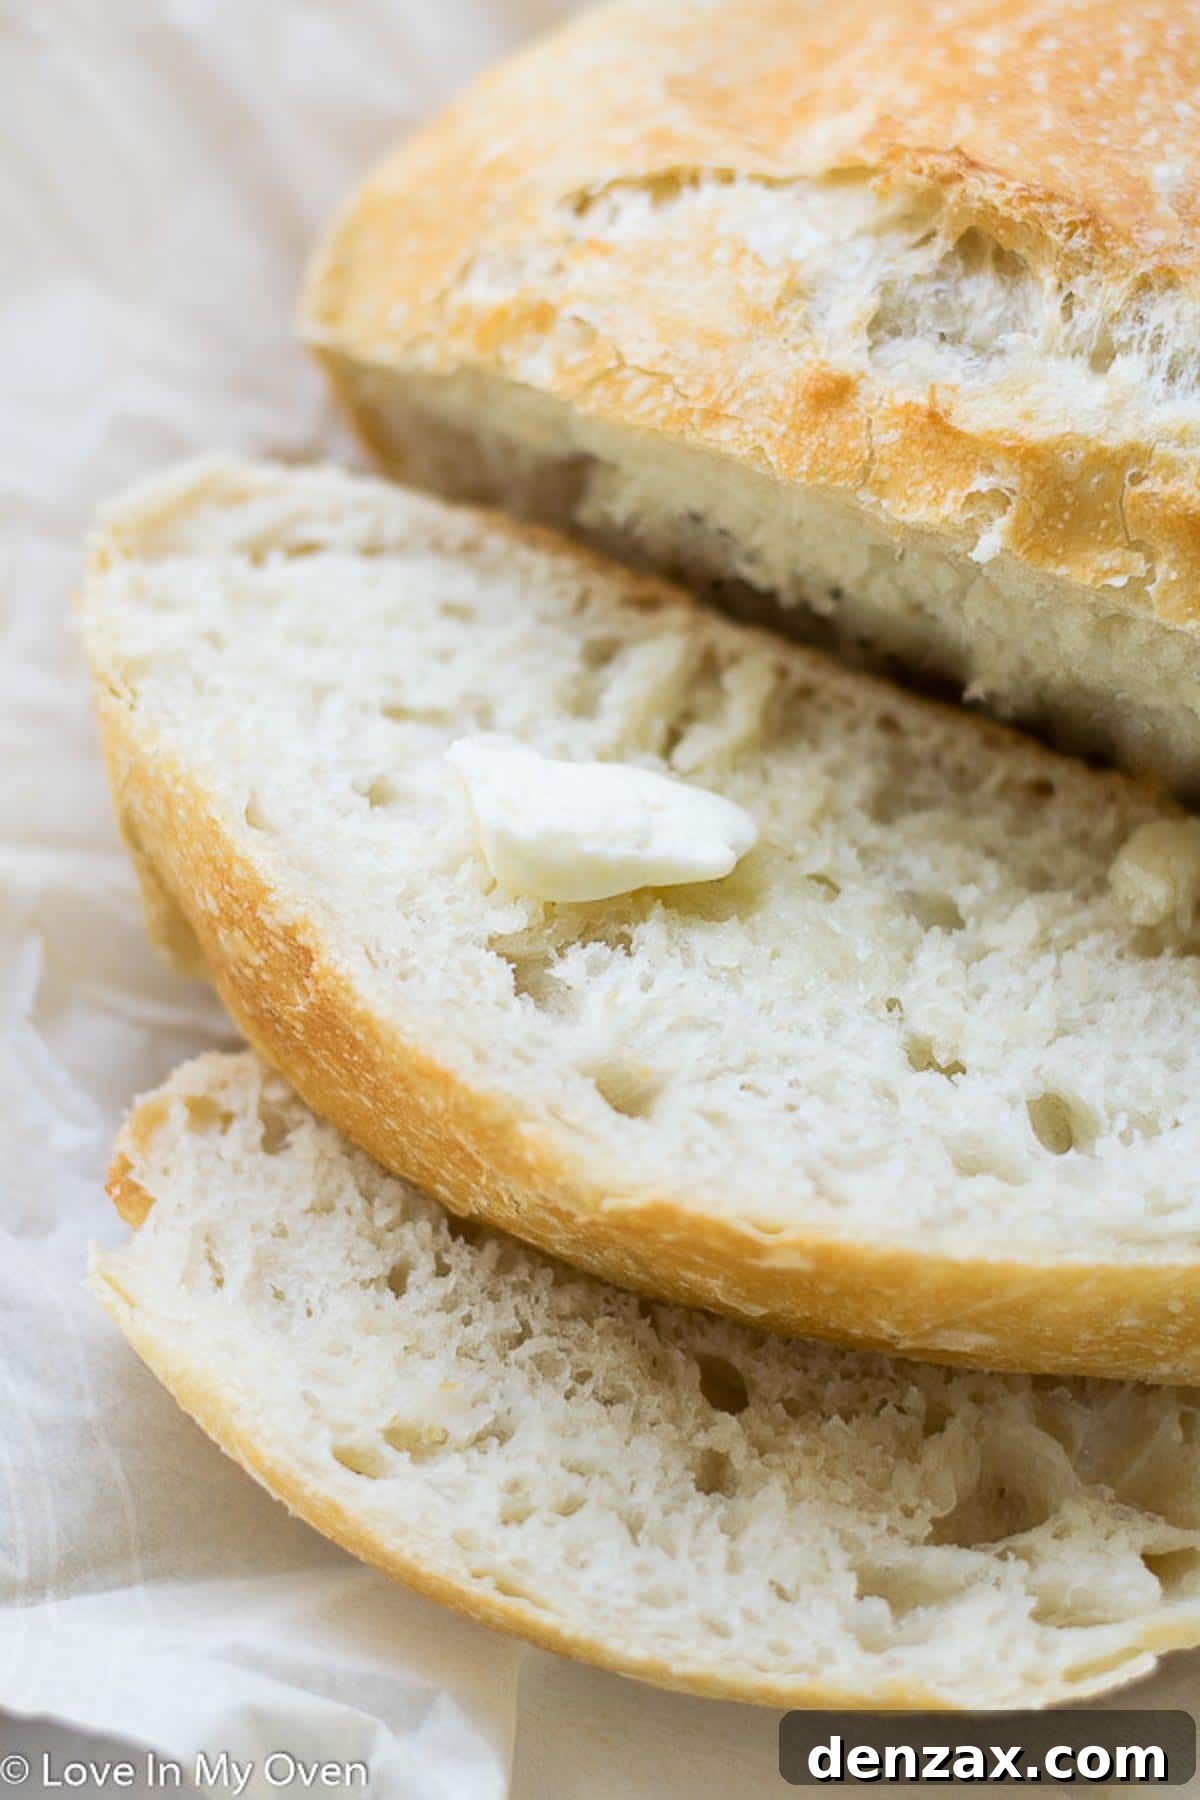
What Exactly is 3-Ingredient Bread?
When you glance at the ingredient list on a typical store-bought loaf, you’re often met with a surprisingly long array of items. While some serve valid purposes, many are preservatives or additives designed for shelf life. The beautiful truth is that at its core, bread only requires a few fundamental components. This recipe strips it down to the essentials, proving that simple can indeed be spectacular.
This particular no-knead recipe shares many characteristics with a traditional sourdough bread, especially in its long fermentation process, which develops incredible flavor and a desirable chewy texture. However, it completely bypasses the need for a sourdough starter, making it much more accessible for beginners. For this truly minimalist bread, you only need:
- Bread Flour: Preferred for its higher protein content, which leads to better gluten development and a chewier crumb. However, all-purpose flour works wonderfully as a substitute if that’s what you have on hand.
- Active Dry Yeast: The leavening agent that makes your bread rise, giving it that airy, open texture.
- Sea Salt: Essential for enhancing flavor and controlling the yeast’s activity, ensuring a balanced rise.
Technically, you also need warm water to activate the yeast, making it a “four-ingredient” recipe if you count water. But since water is universally available and often not considered a primary “ingredient” in the same way flour or yeast is, we lovingly refer to it as 3-ingredient bread. It truly highlights the minimal core components required for a phenomenal loaf.
The Magic of No-Knead: How to Make This Easy Bread
This is arguably the easiest bread recipe you will ever encounter. The beauty lies in its simplicity and the minimal hands-on time it demands. Here’s a detailed breakdown of the steps:
Step 1: Mixing the Dough (The Night Before)
In a large mixing bowl, combine your bread flour (or all-purpose flour), sea salt, and active dry yeast. Give them a quick whisk to ensure they are well distributed. Next, pour in the warm water. It’s crucial that the water is warm, not hot, as excessively hot water can kill the yeast, while cold water won’t activate it properly. Stir the mixture vigorously with a wooden spoon or spatula until all the flour is incorporated and a loose, shaggy dough forms. Don’t worry about overmixing or achieving a perfectly smooth consistency at this stage; a rough, sticky dough is exactly what you want.
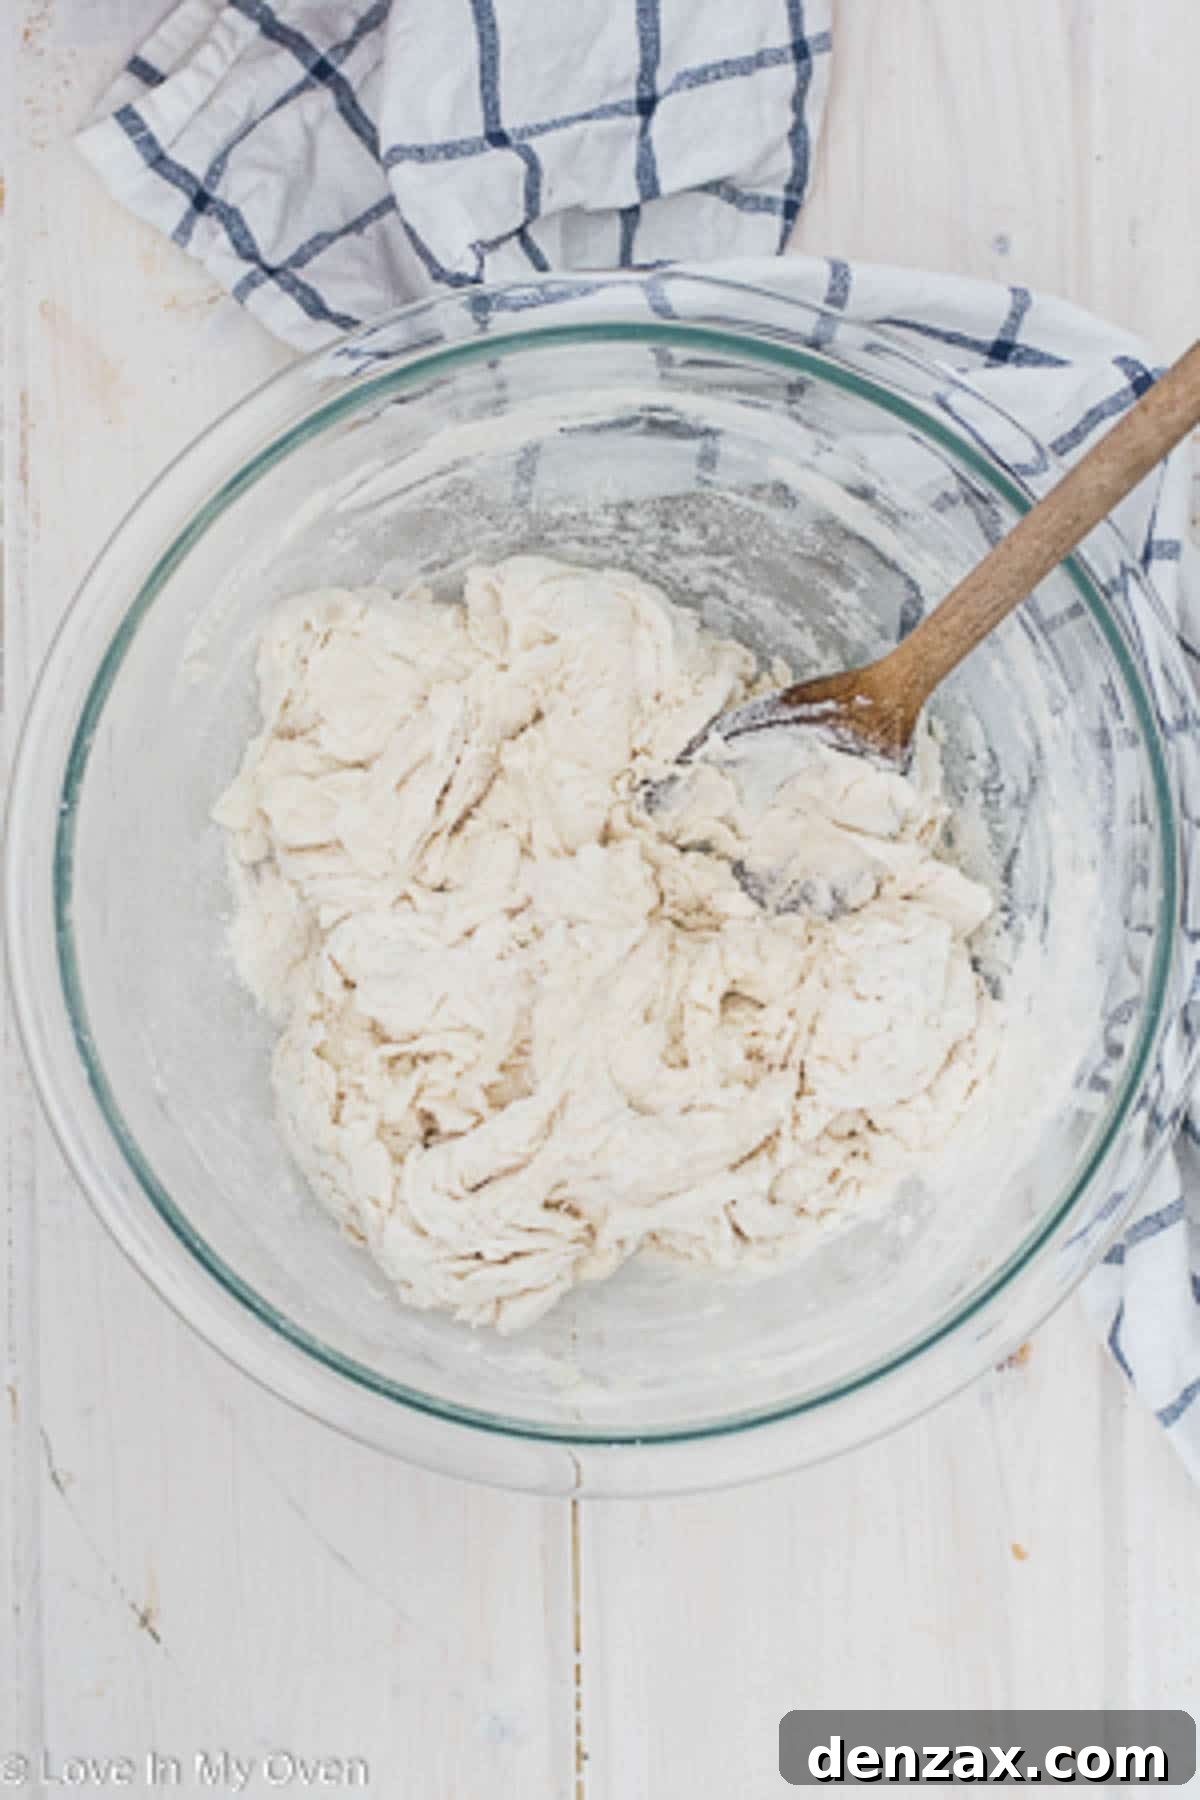
Once combined, gently gather the dough into a rough ball within the bowl. Cover the bowl tightly with plastic wrap to prevent the dough from drying out and to create a humid environment for fermentation. Place the covered bowl on your kitchen counter in a warm, draft-free spot. A consistent room temperature (around 68-75°F or 20-24°C) is ideal. Avoid placing it near a cold window or an air conditioner vent. I typically prepare my dough in the evening, allowing it to ferment for a generous 12 to 18 hours, ready for baking the following afternoon. This extended rise time is where the magic happens, developing complex flavors and a fantastic texture.
Step 2: Preparing for Bake Day (The Next Day)
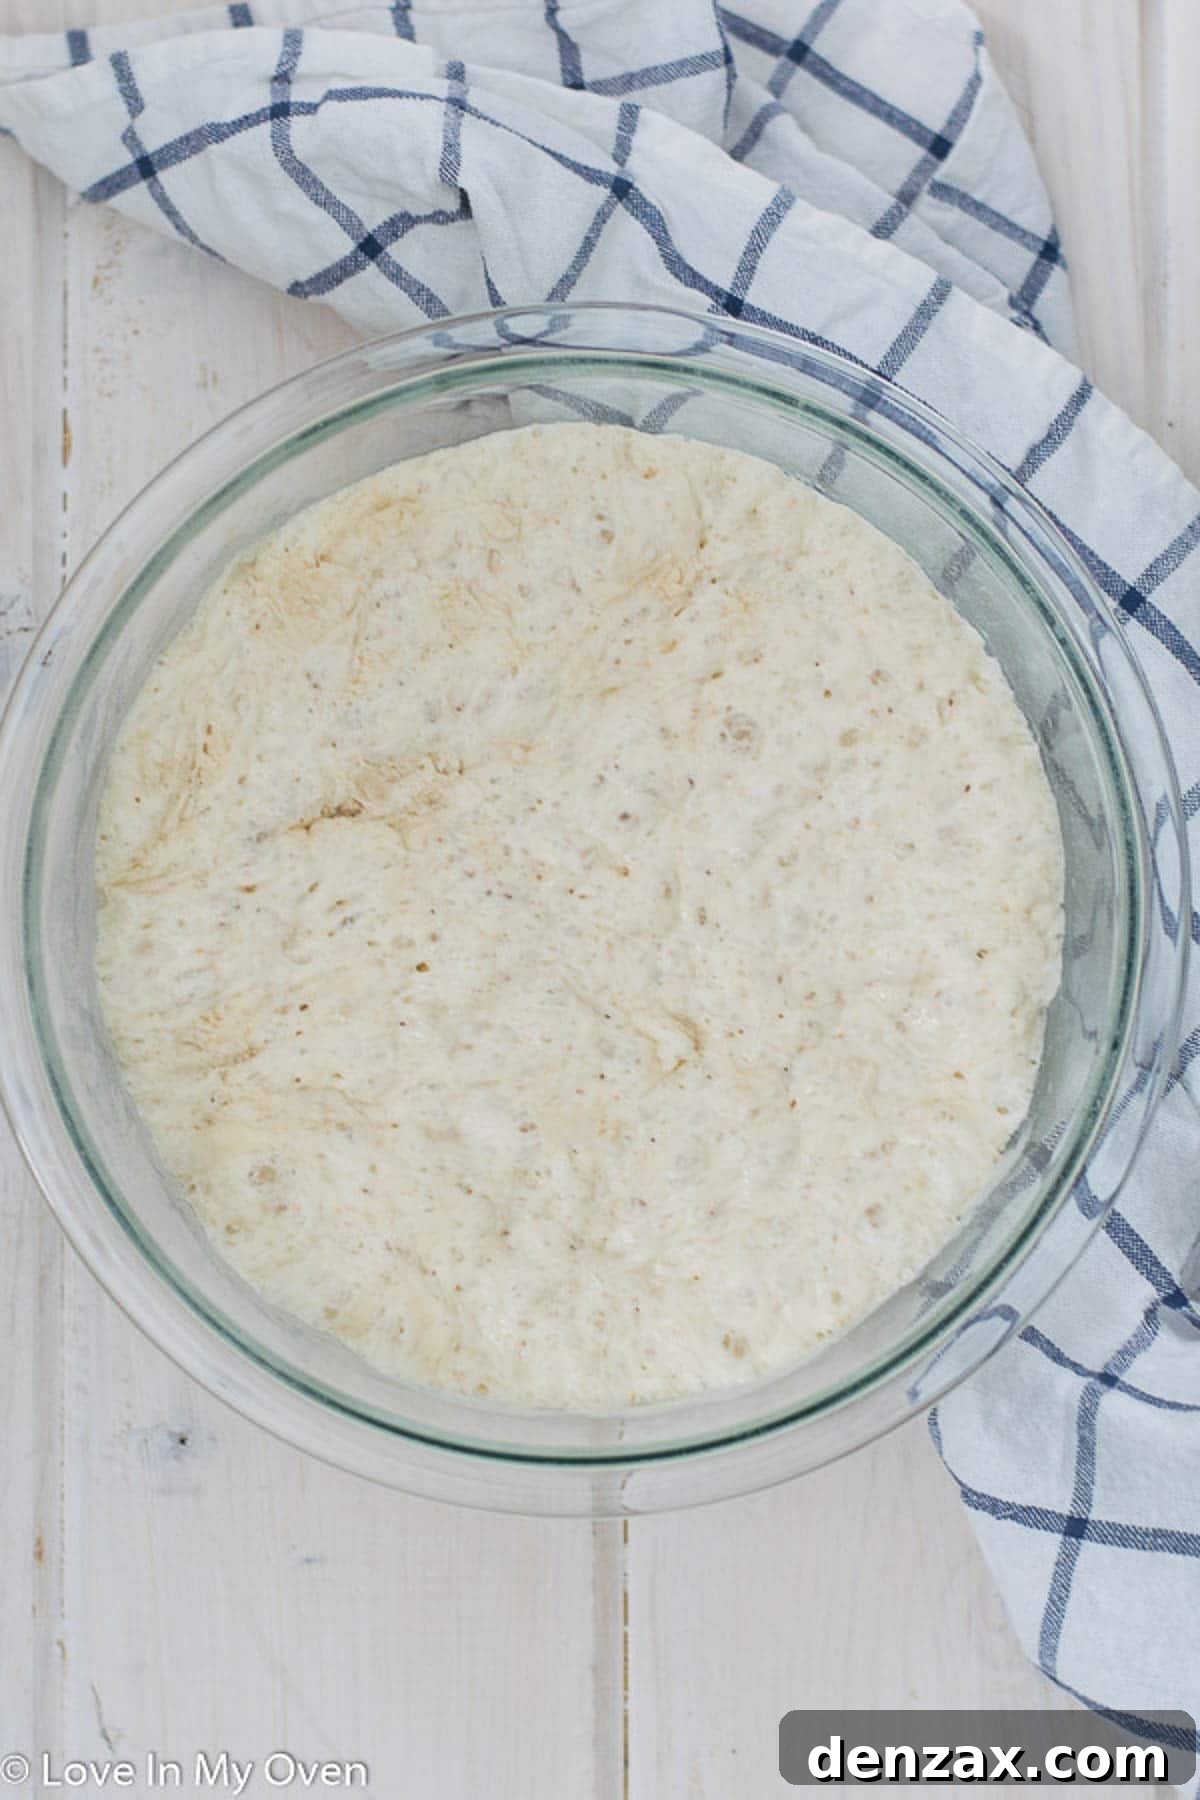
After its long rest, your bread dough will have visibly risen, often doubling in size, and will appear bubbly and airy – a sure sign it’s ready for the oven. About two hours before you plan to bake, gently turn the dough out onto a lightly floured surface. Using floured hands, carefully shape the dough into a smooth, round ball. The goal here is to create some surface tension without deflating all the precious air bubbles. Be gentle but firm.
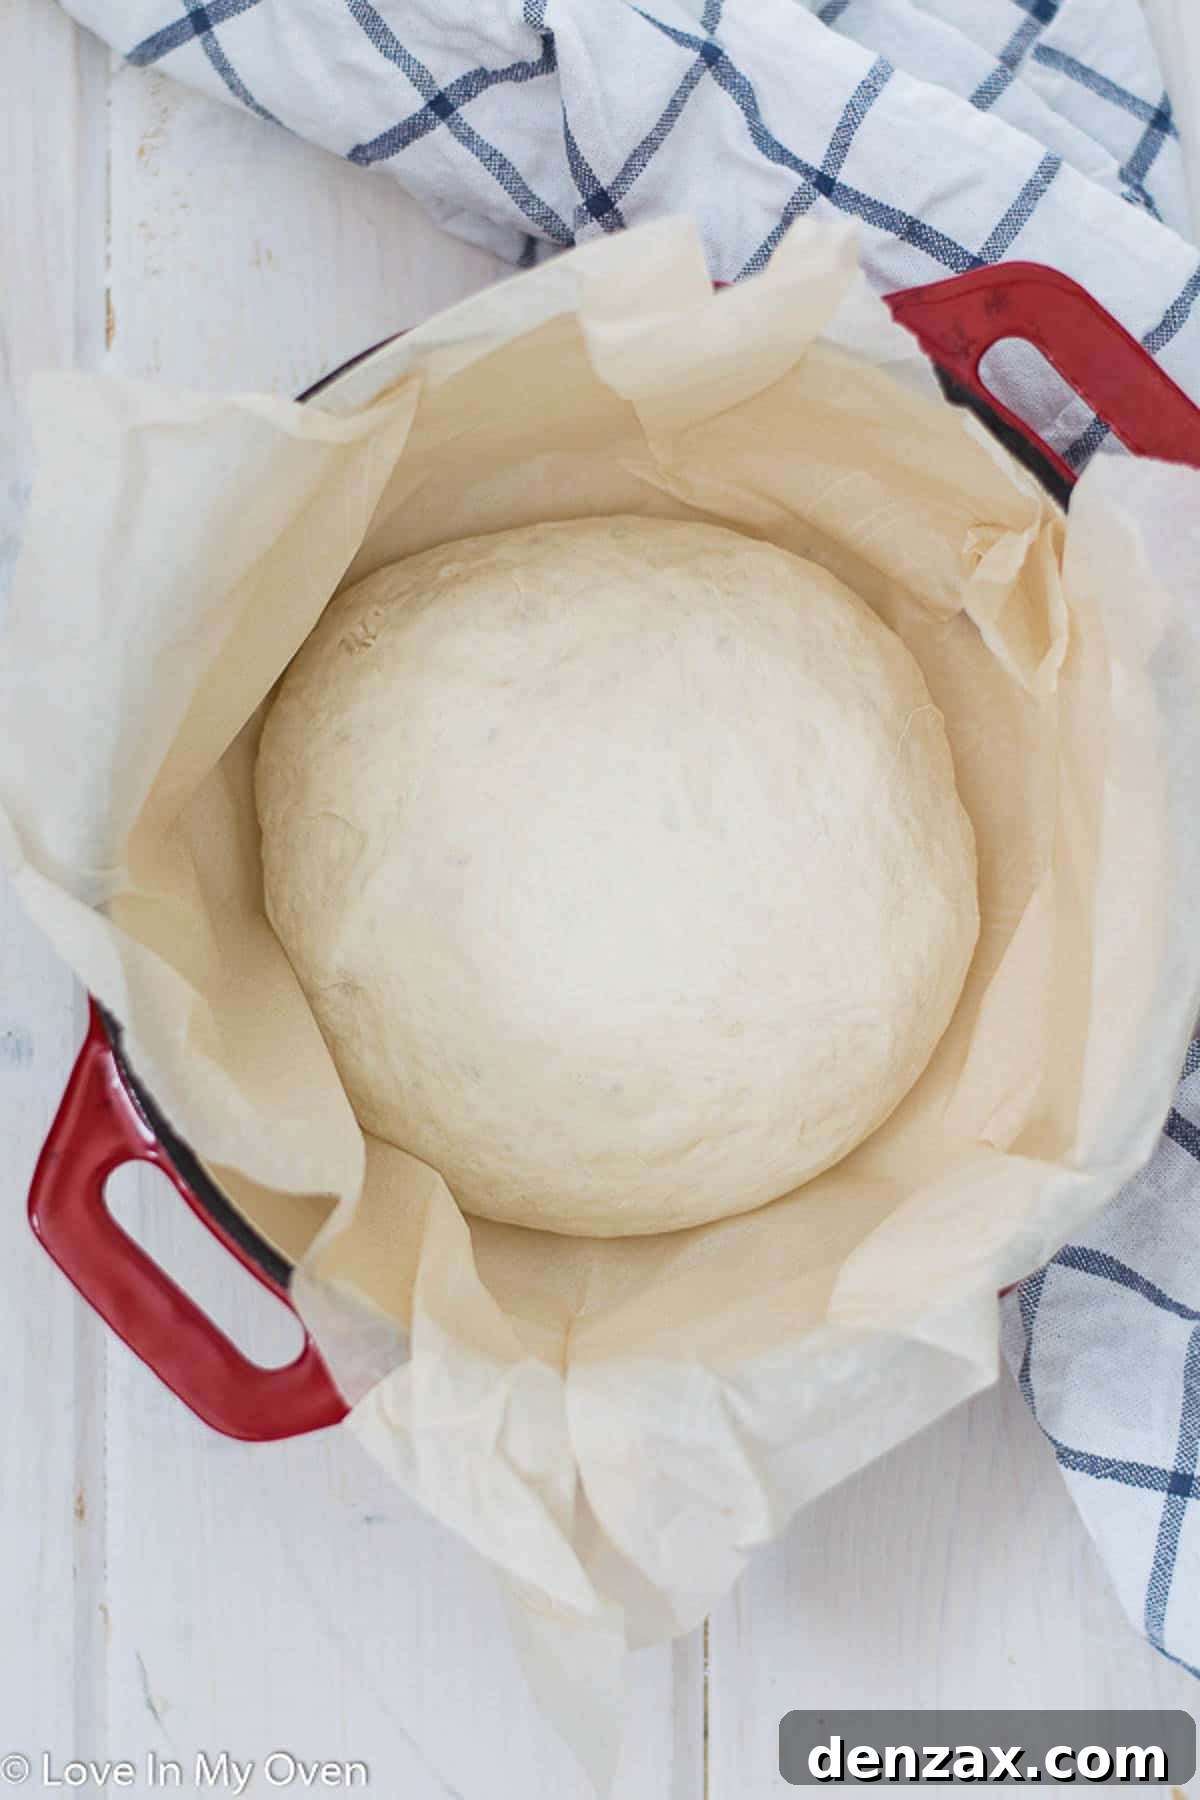
Once shaped, transfer the dough ball onto a piece of parchment paper. Place this parchment-lined dough onto a clean dish towel. Gently cover the dough ball with another part of the dish towel, allowing it to rest for its final proof until you’re ready to bake. This short resting period (usually 30 minutes to an hour) allows the dough to relax and rise slightly again.
Step 3: Preheat and Bake in a Dutch Oven
Approximately 30 minutes before you intend to bake, place your Dutch oven (or a heavy-bottomed pot with a lid that is oven-safe up to 450°F / 232°C), or a baking stone, into your oven. Preheat the oven to 450°F (232°C). It’s crucial that the baking vessel becomes piping hot during this preheating phase. This intense heat is key to achieving that coveted crispy crust and a good oven spring.
Once the 30 minutes have passed, carefully remove the preheated Dutch oven from the oven using sturdy oven mitts. Be extremely cautious as the pot will be intensely hot. Carefully lift the dough ball, still on its parchment paper, and gently lower it into the hot Dutch oven. You can optionally use a sharp knife or razor blade to make a small slash (about half an inch deep) across the top of the bread. This score allows steam to escape in a controlled manner, helping the loaf expand beautifully and preventing uncontrolled cracks.
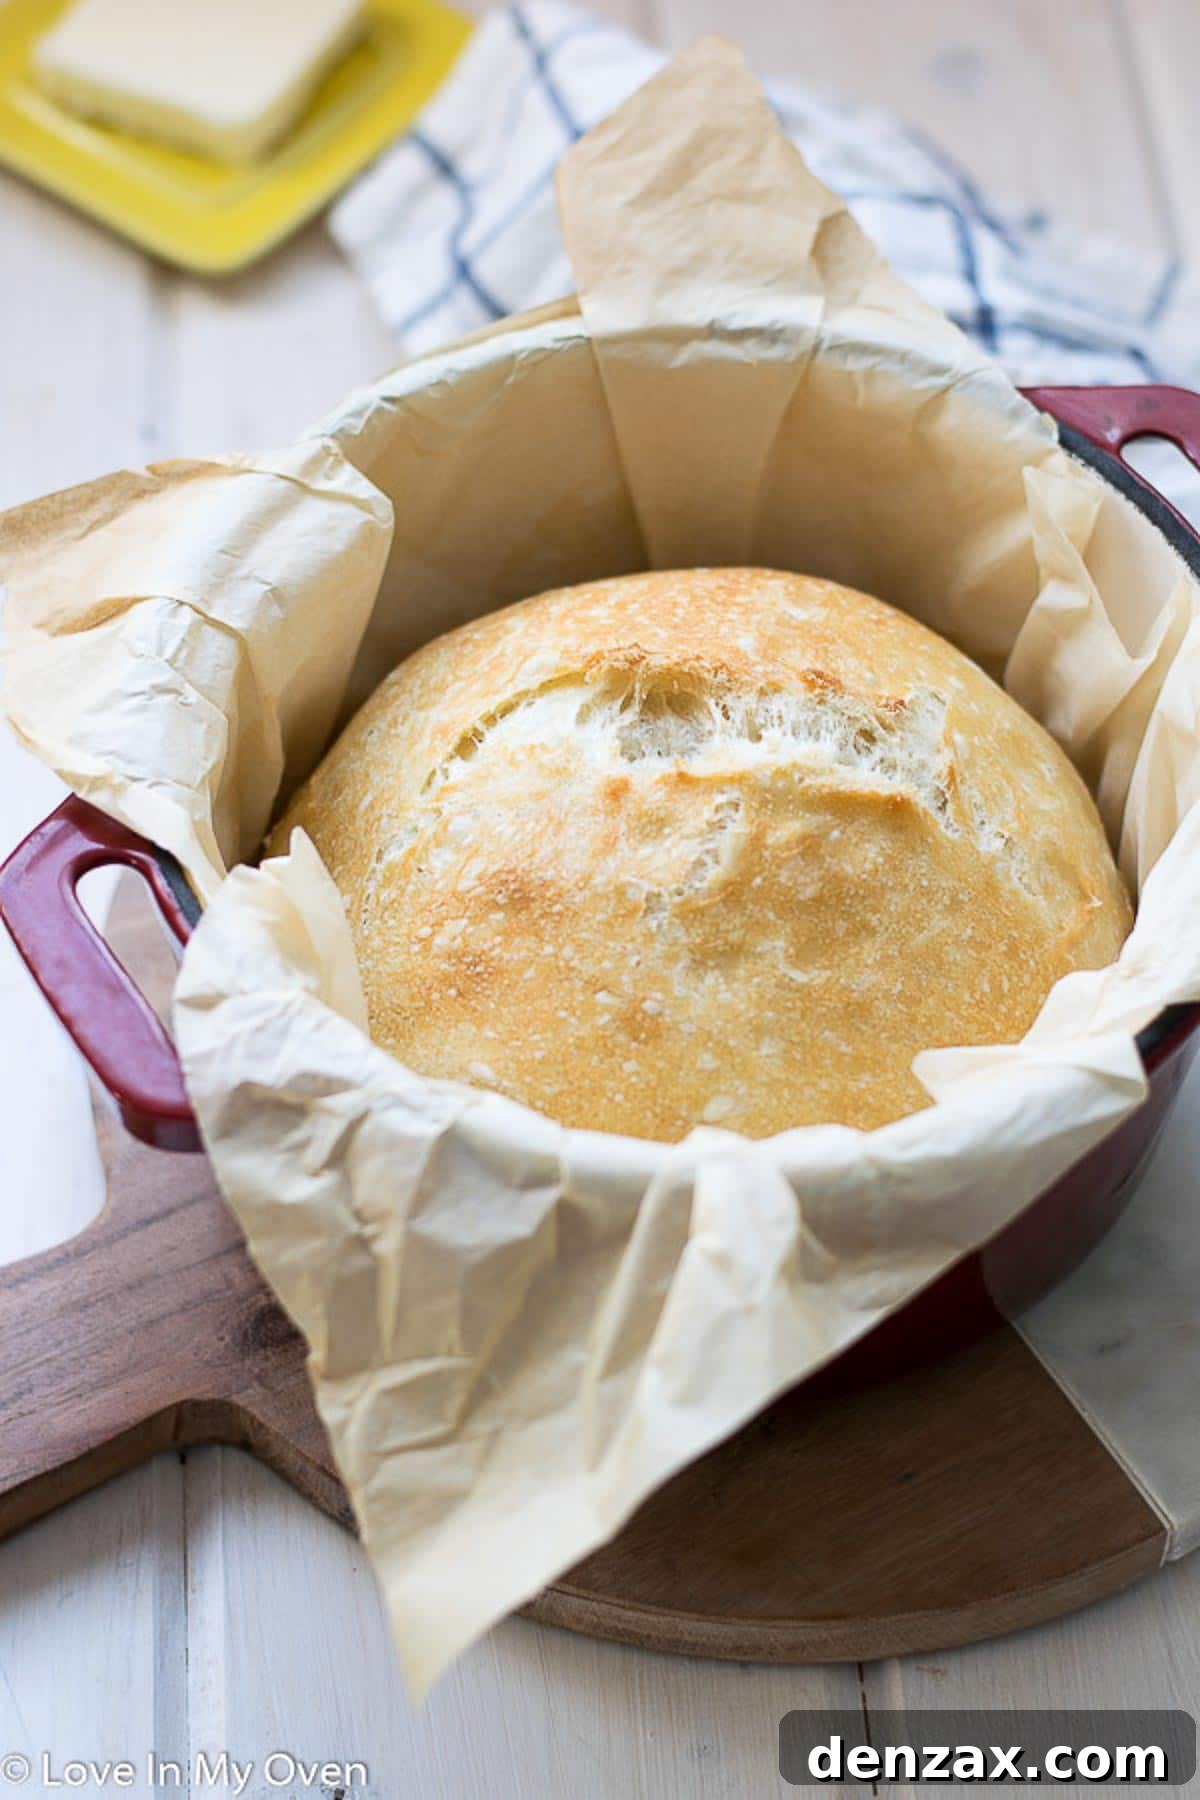
Place the lid firmly back on the Dutch oven and return it to the preheated oven. Bake for 30 minutes with the lid on. The trapped steam inside the Dutch oven creates a humid environment, which helps the crust stay soft and expand before it sets, resulting in a thin, crackly crust. After 30 minutes, remove the lid and reduce the oven temperature to 375°F (190°C). Continue baking for an additional 15 minutes, or until the crust is a deep golden brown and sounds hollow when tapped on the bottom. This final stage without the lid allows the crust to crisp up and brown beautifully.
Step 4: Cooling and Enjoying
Once baked to perfection, carefully remove the bread from the oven and transfer it from the Dutch oven to a wire cooling rack. It’s tempting to slice into it immediately, but resist the urge for about 20 minutes! Allowing the bread to cool on a rack is vital. This process allows the internal starches to set, the moisture to redistribute, and the crust to fully crisp up. Slicing too early can result in a gummy interior. Honestly, this is the hardest part for me – I often burn my fingers in my eagerness to taste that fresh, warm bread!
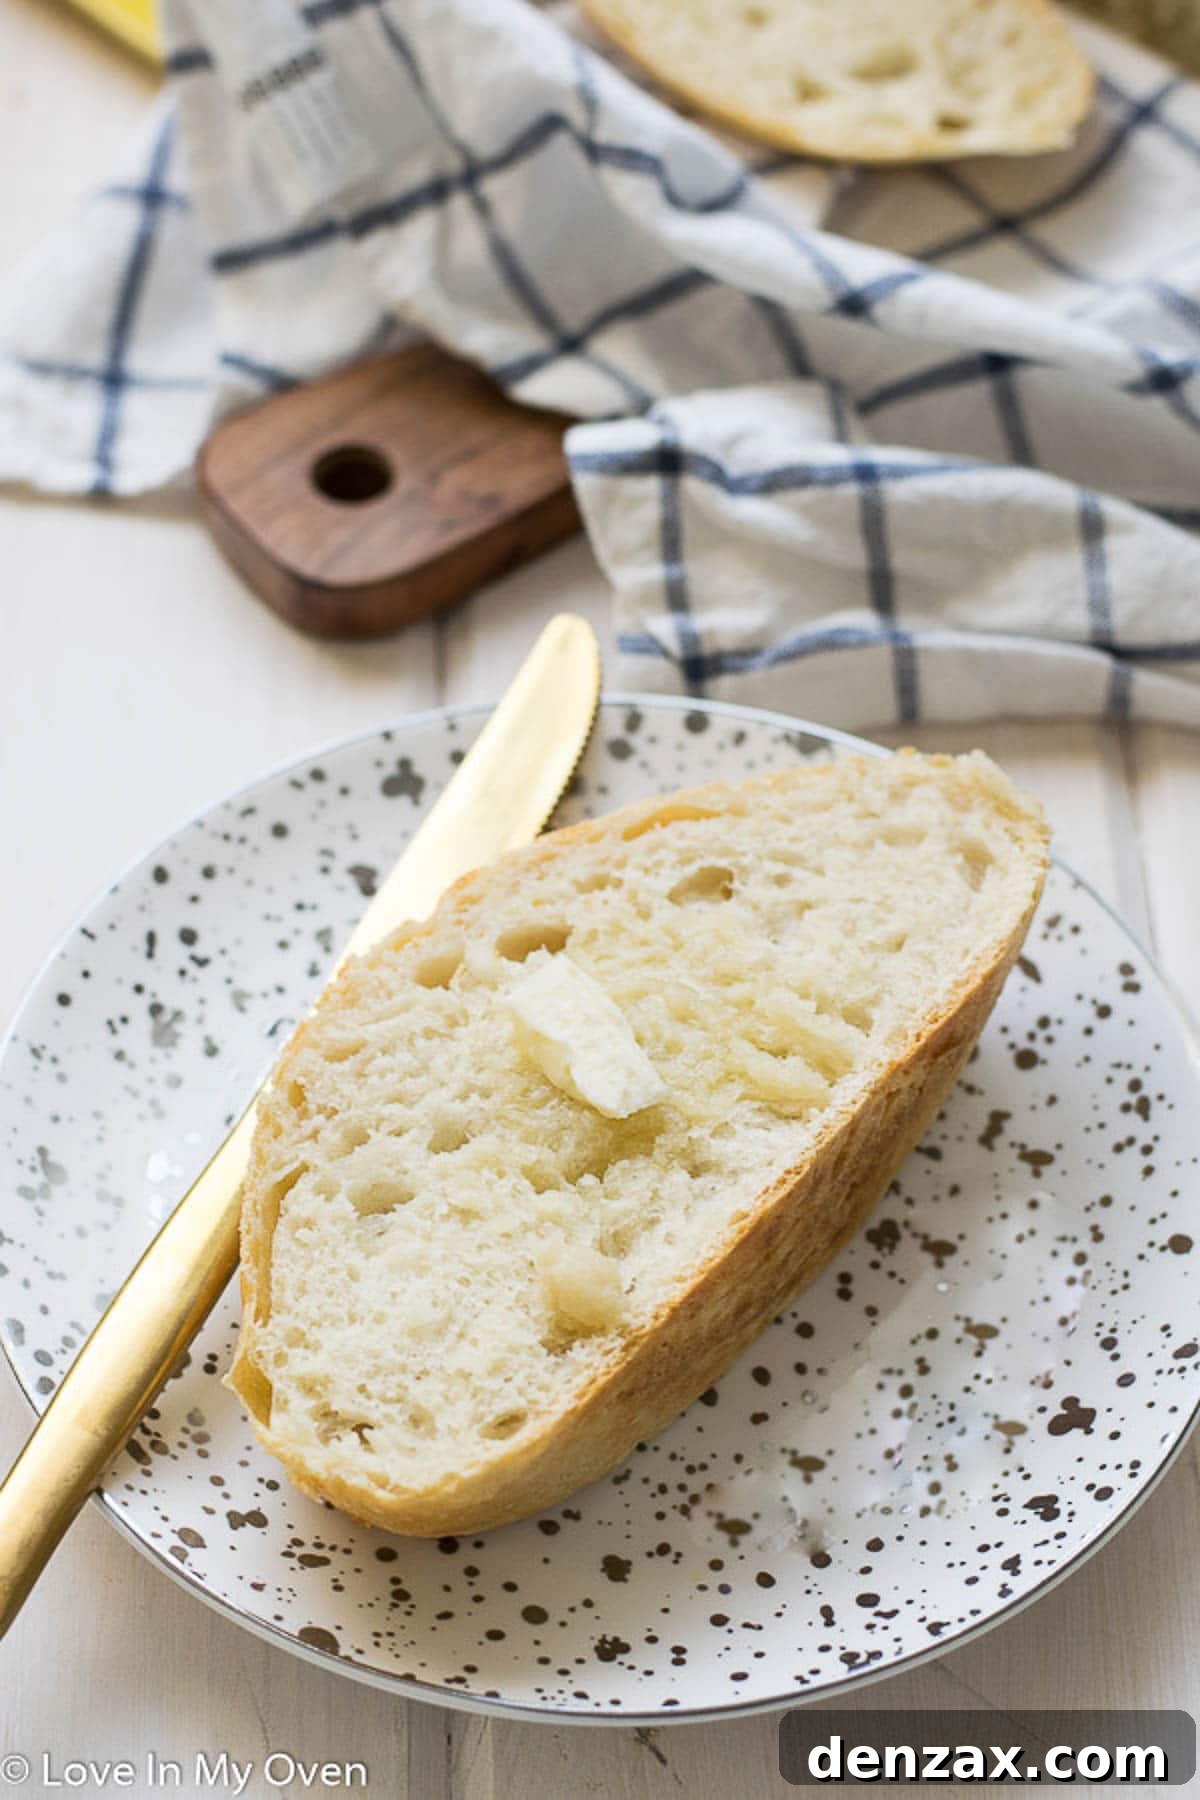
There’s truly nothing quite like warm, fresh bread with a generous slather of butter – it’s pure bliss and my ultimate weakness!
Can You Use Whole Wheat Flour for This Recipe?
While bread flour provides the ideal structure and texture, experimenting with whole wheat flour is certainly possible. However, 100% whole wheat flour tends to produce a denser loaf due to its higher bran content, which can inhibit gluten development. I recommend trying a half-and-half combination of bread flour and whole wheat flour for excellent results. This blend offers a good balance of nutty flavor and a still-tender crumb. If you decide to go with 100% whole wheat flour, you will likely need to add a little extra water to achieve the right dough consistency, as whole wheat absorbs more liquid. If you try a full whole wheat version and love the outcome, please share your experience in the comments below!
How Long Does This Homemade Bread Last?
Unlike commercial breads that are packed with preservatives, this homemade 3-ingredient bread is best enjoyed on the day it’s baked, when its crust is at its crispiest and the interior is at its softest. It remains wonderfully delicious for one to two days after baking. Because it contains no artificial additives or “gobbledegook,” it will naturally dry out faster than store-bought varieties.
However, don’t despair if your loaf starts to go a bit dry or stale! Stale bread is a fantastic ingredient for many other dishes. A perfect example is an easy overnight French toast casserole, where the slightly dried bread soaks up all the eggy goodness beautifully. You can also turn it into croutons for salads or breadcrumbs for coating.
What to Serve with 3-Ingredient Bread?
The beauty of this simple, rustic bread is its incredible versatility. It pairs well with literally anything! You could even make it the star of your dinner, serving it alongside an assortment of cured meats, cheeses, and olives for a delightful charcuterie-style meal. Its mild flavor and satisfying texture make it an ideal accompaniment to countless dishes.
Here are just a few ideas from the blog that would be perfectly complemented by a slice of this wholesome bread:
- Creamy Roasted Tomato Basil Soup: Dip slices of bread into this comforting, flavorful soup.
- Crockpot Minestrone Soup: A hearty bowl of minestrone practically begs for a crusty piece of bread on the side.
- Thai Chicken Peanut Curry: While perhaps unconventional, the bread is excellent for soaking up the rich, spicy sauce of this curry.
- **Butter and Jam:** For a simple breakfast or snack, nothing beats a warm slice with your favorite spread.
- **Garlic Bread:** Slice the loaf, spread with garlic butter, and broil for a quick, savory side.
- **Sandwiches:** Elevate your everyday sandwiches with this homemade base.
Enjoy the process, and most importantly, enjoy the incredible taste of your own homemade bread. It’s a truly rewarding experience!

Print Recipe
3-Ingredient Bread
⭐️⭐️⭐️⭐️⭐️ 5 from 16 reviews
- Author: Katherine | Love In My Oven
- Total Time: 15 hours (includes overnight rise)
- Yield: 1 loaf
Description
No knead bread is life changing! This easy overnight bread is a 3 ingredient bread that you’ll find yourself making again and again.
Ingredients
- 3 cups bread flour*
- 1/2 tsp active dry yeast
- 1/2 tsp sea salt
- 1 1/4 cups warm water
Instructions
- The Night Before: In a large mixing bowl, stir together the flour, yeast, and salt. Add the warm water and stir until a loose, shaggy dough forms. Gently form the dough into a ball, then cover the bowl tightly with plastic wrap. Leave it on your counter overnight (12-18 hours of total rise time) in a warm, draft-free place.
- Prepare for Baking (Next Day): When the dough has doubled in size, it’s ready. About 2 hours before baking, empty the dough onto a lightly floured surface. Use floured hands to gently shape it into a smooth ball. Place the dough ball on parchment paper, then onto a clean dish towel. Cover it gently with the towel and let it rest until ready to bake.
- Preheat Oven & Dutch Oven: 30 minutes before baking, place a Dutch oven or baking stone in the oven and preheat to 450°F (232°C). After 30 minutes, carefully remove the hot Dutch oven. Transfer the dough ball (still on parchment) into the vessel. Optionally, slash a small cut across the top of the bread to allow steam to release.
- Bake: Place the lid on the Dutch oven and bake for 30 minutes. After 30 minutes, remove the lid and reduce the oven temperature to 375°F (190°C). Bake for an additional 15 minutes, or until golden brown.
- Cool: Remove the bread from the oven and transfer it to a wire rack. Let it cool for at least 20 minutes before slicing and enjoying!
Bread will keep, in an airtight container, for 2-3 days on the counter.
Notes
- *Bread flour yields the best results but you can substitute with all-purpose flour.
- For best results, use a kitchen scale to measure flour for accuracy.
- Ensure your water is warm (around 105-115°F or 40-46°C) to properly activate the yeast.
Recipe Details
- Prep Time: 10 minutes
- Cook Time: 1 hour
- Category: Bread
- Method: Oven Bake
- Cuisine: American