
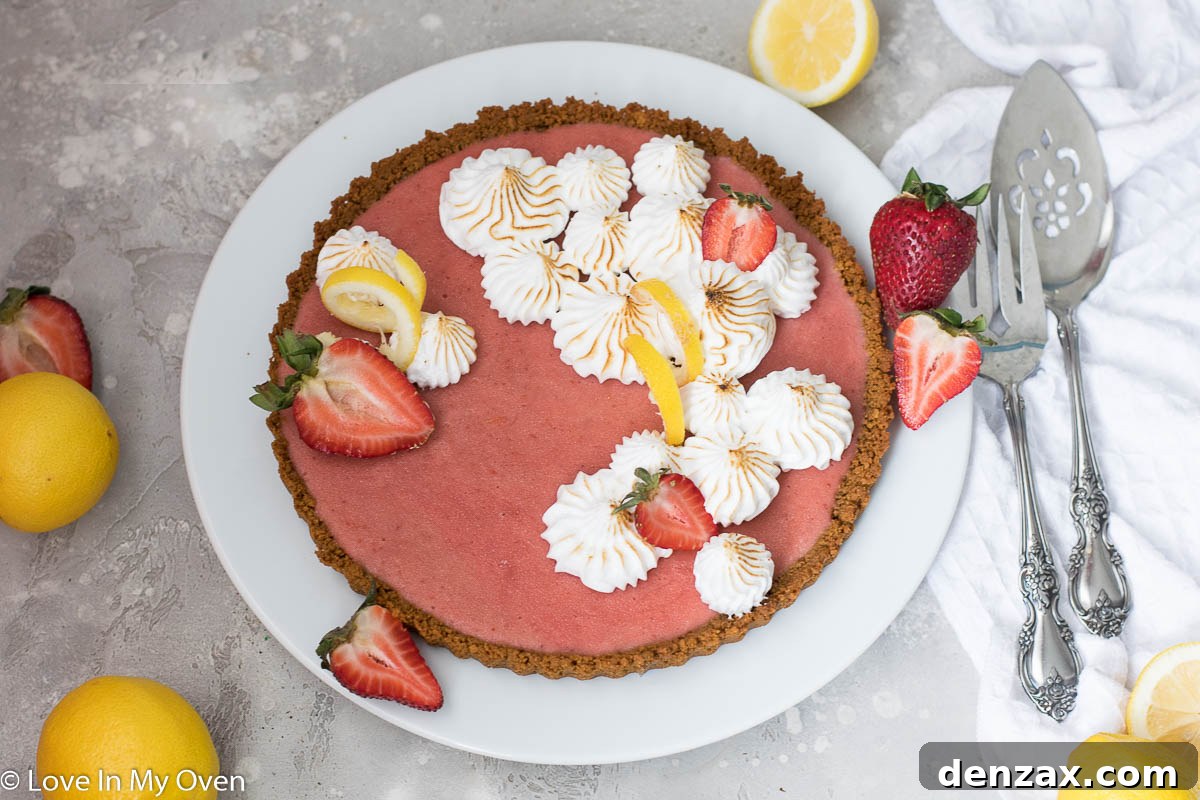
Indulge in the perfect balance of sweet and tangy with this incredibly simple yet elegant Strawberry Lemon Curd Tart, featuring a delightful gingersnap crust. This dessert requires minimal ingredients and promises maximum flavor!
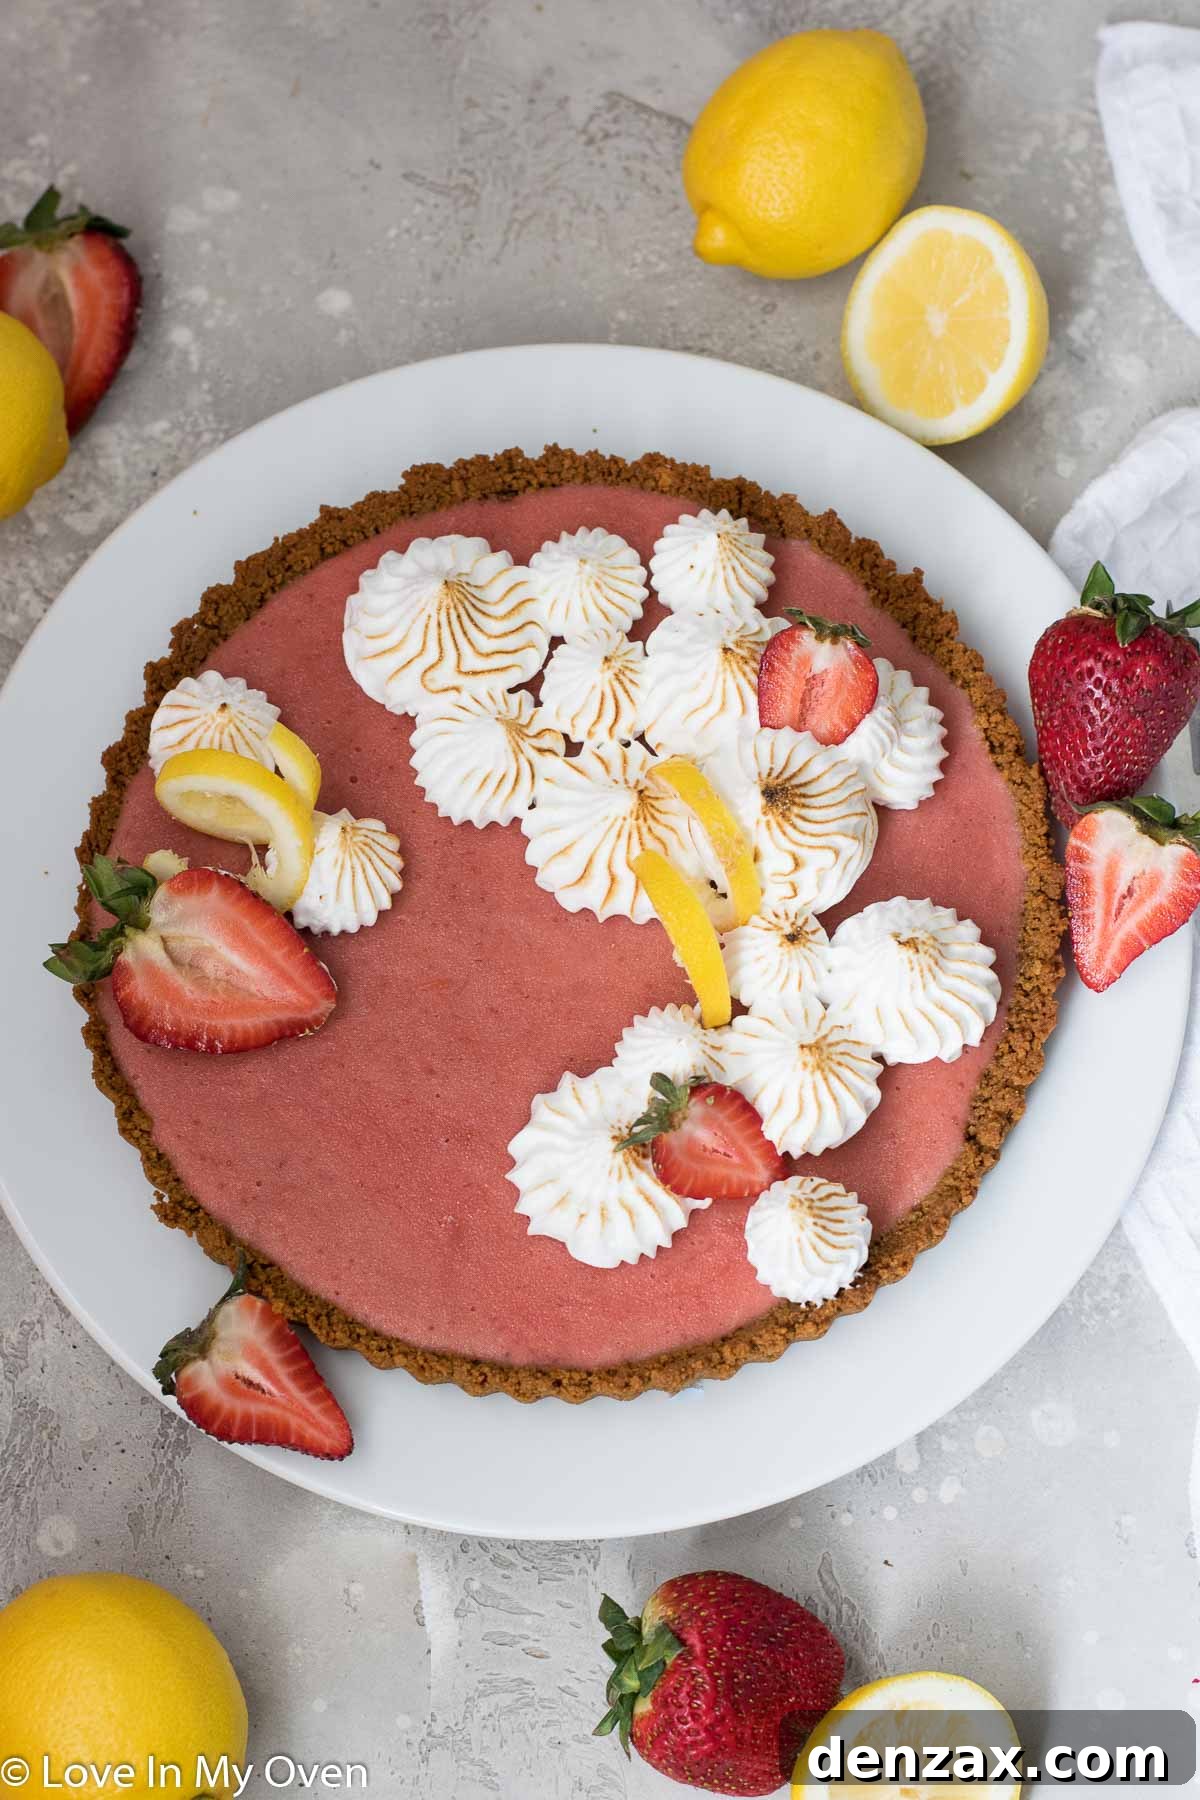
There’s something truly special about a dessert that tastes gourmet but comes together with surprising ease. This Strawberry Lemon Curd Tart is precisely that kind of culinary gem. It marries the vibrant zest of lemon with the sweet freshness of strawberries, all nestled in a uniquely spiced gingersnap crust. Whether you’re celebrating a special occasion, hosting a dinner party, or simply craving a sophisticated treat, this tart offers an experience that’s both comforting and delightfully refreshing.
Recently, we had a small family gathering for Hattie’s 3rd birthday. While she enjoyed sprinkle pancakes and homemade mac and cheese, I found myself drawn to creating a dessert that would be equally joyful but perhaps a little more refined for the adults. The previous strawberry lemon curd I’d made was simply too good to use only in a strawberry lemon curd pavlova. I knew it deserved another starring role, and thus, the idea for this spectacular tart was born. It’s a testament to simple ingredients yielding extraordinary results, proving that you don’t need a complicated recipe to create something truly memorable.
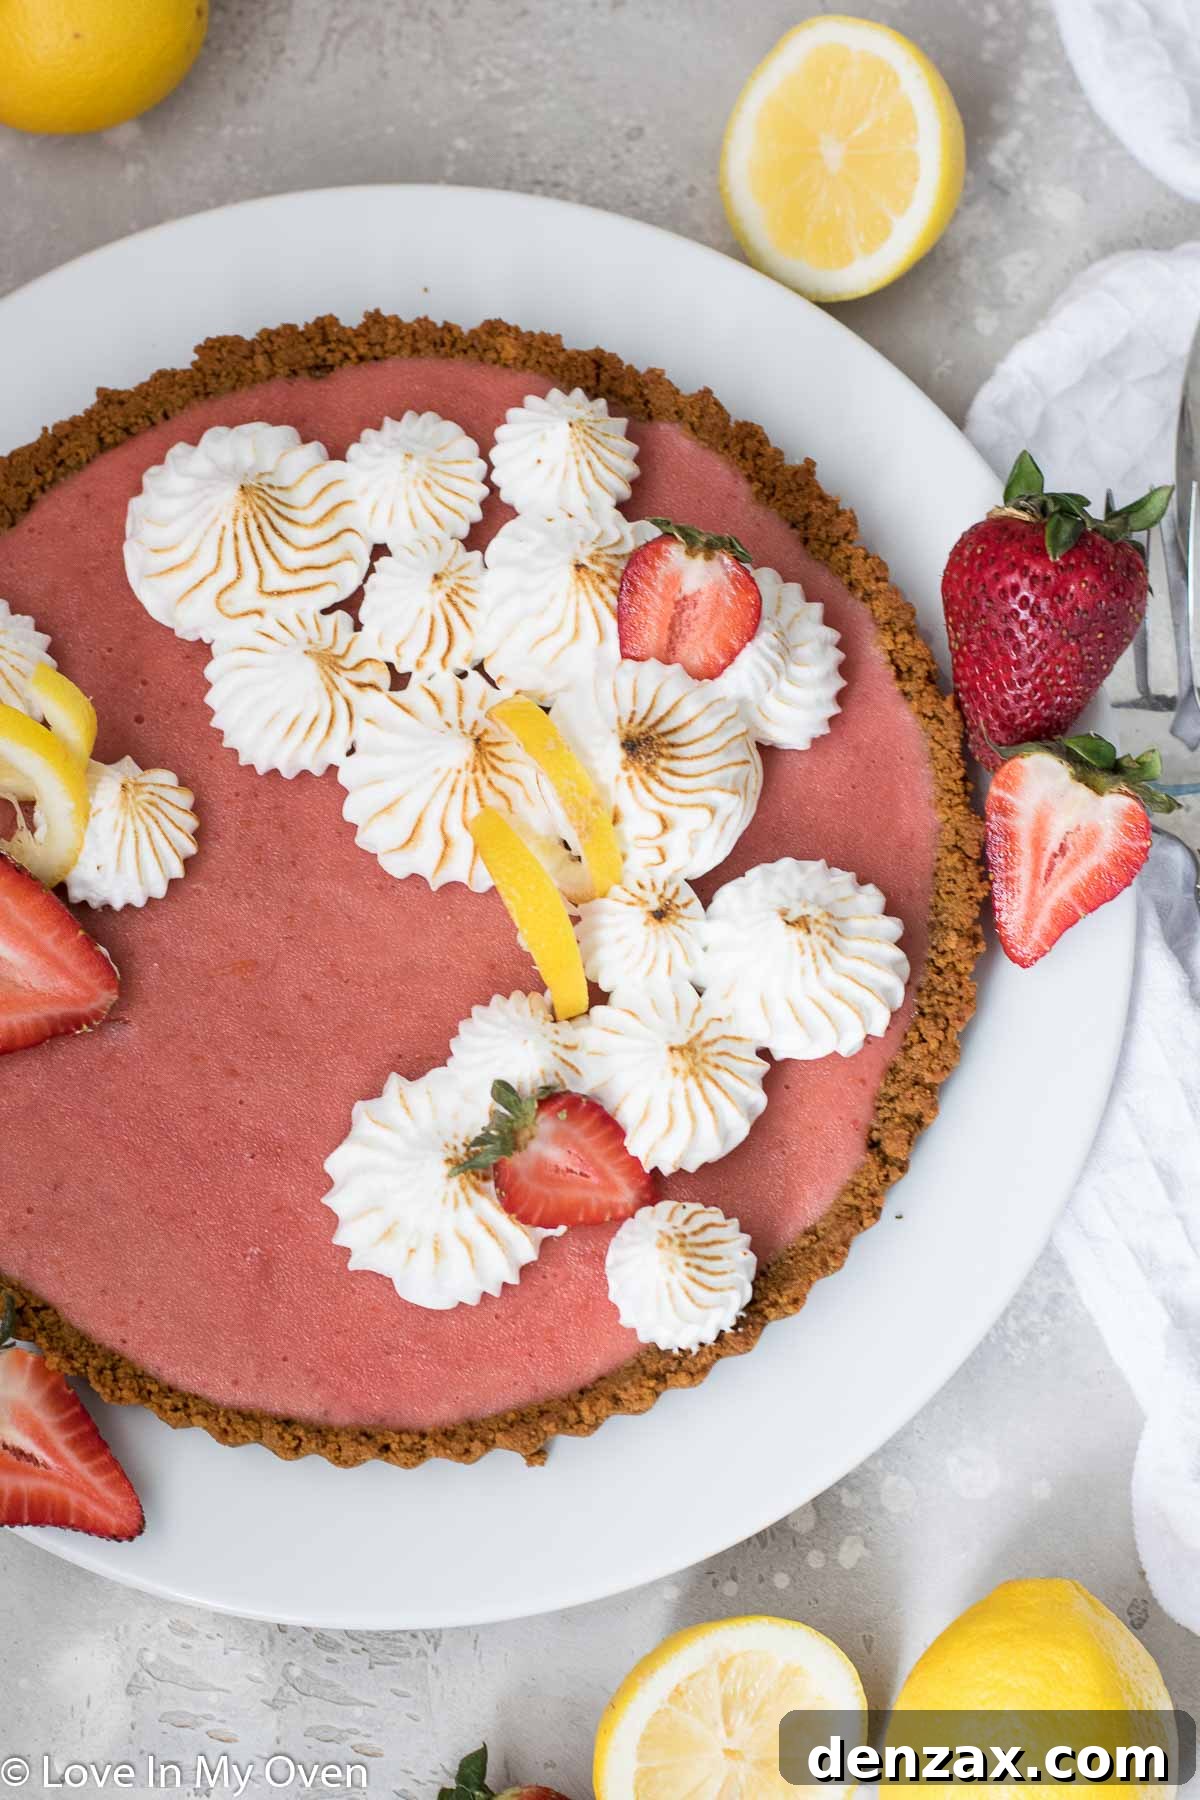
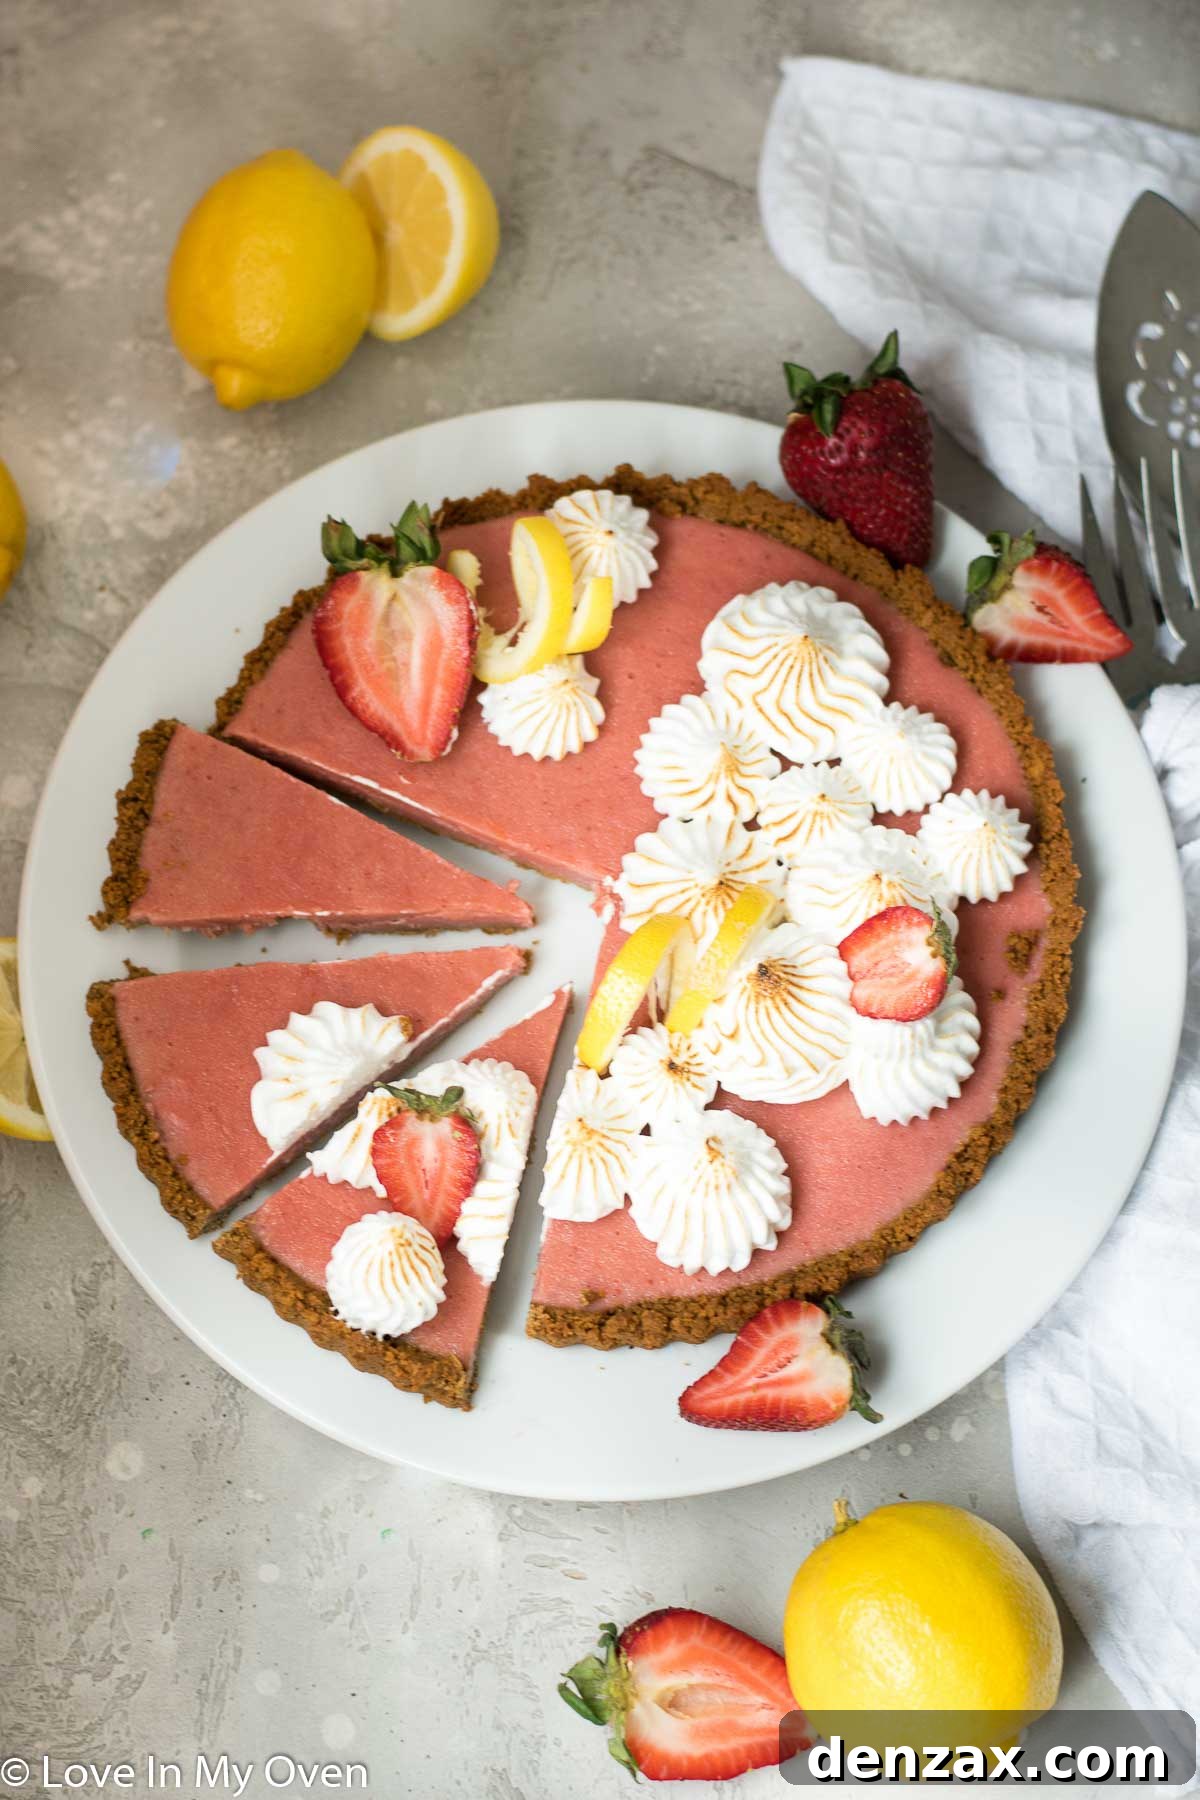
Crafting Your Exquisite Strawberry Lemon Curd Tart: A Step-by-Step Guide
Creating this stunning strawberry lemon curd tart is surprisingly straightforward, especially if you consider the curd as an already prepared component. At its core, this recipe involves just two primary elements: a wonderfully easy, two-ingredient gingersnap crust, and the luscious strawberry lemon curd as the star filling. The elegant toasted meringue topping, while completely optional, elevates the dessert to a new level of sophistication and is highly recommended for that extra “wow” factor.
The key to a perfectly set and delicious tart begins with the curd itself. For optimal results, you’ll want to prepare your strawberry lemon curd in advance. It requires ample time to chill thoroughly in the refrigerator, allowing it to firm up and reach its ideal thick, spreadable consistency. Ideally, make the curd the day before you plan to assemble the tart, or at a minimum, ensure it has at least 6 hours of chilling time. This crucial step guarantees a beautifully structured tart that holds its shape and delivers on flavor.
Once your homemade or store-bought (but chilled!) curd is ready, the remainder of the tart assembly process is incredibly simple, making this an accessible recipe for bakers of all skill levels. With the curd prepped and waiting, you can focus on the delightful foundation: the gingersnap crust.
The Secret to a Flavorful Gingerbread Tart Crust
When developing this strawberry lemon dessert, I initially considered various crust options, including a traditional pie dough. However, my desire for a crust with a more distinctive and complementary flavor profile led me to experiment, and the gingerbread (gingersnap) crust proved to be an inspired choice. The warm, spicy notes of ginger provide a wonderful contrast and depth that beautifully enhance the bright and zesty strawberry lemon curd. It’s a flavor pairing that truly elevates the entire dessert, offering a delightful surprise with every bite.
Making this incredible crust is effortless and requires no rolling out of dough, a significant time-saver for any baker. Begin by transforming gingersnap cookies into fine crumbs. You can easily achieve this by using a food processor, pulsing until the cookies are finely ground. Alternatively, if you don’t have a food processor, simply place the gingersnap cookies into a large, sturdy resealable bag and crush them thoroughly with a rolling pin until they form fine crumbs. The finer the crumbs, the more cohesive your crust will be.
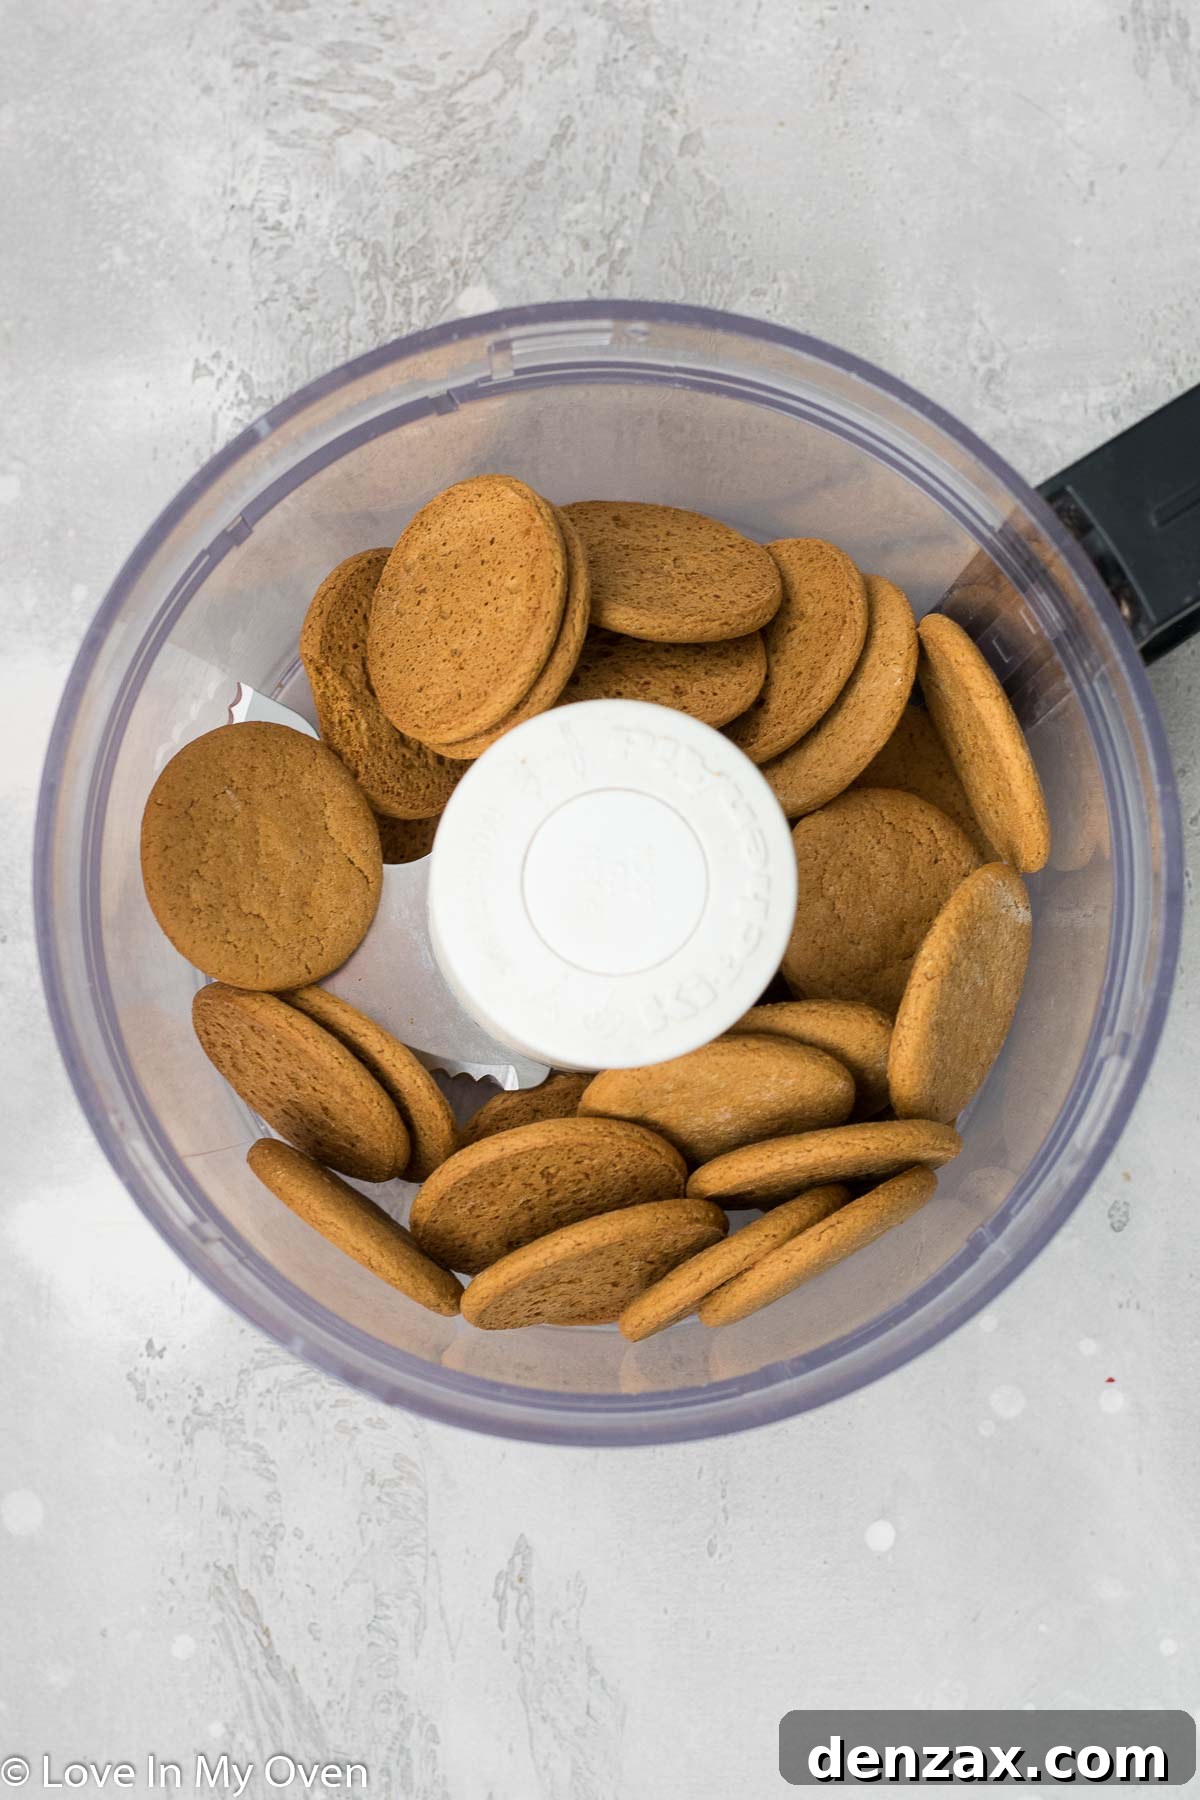
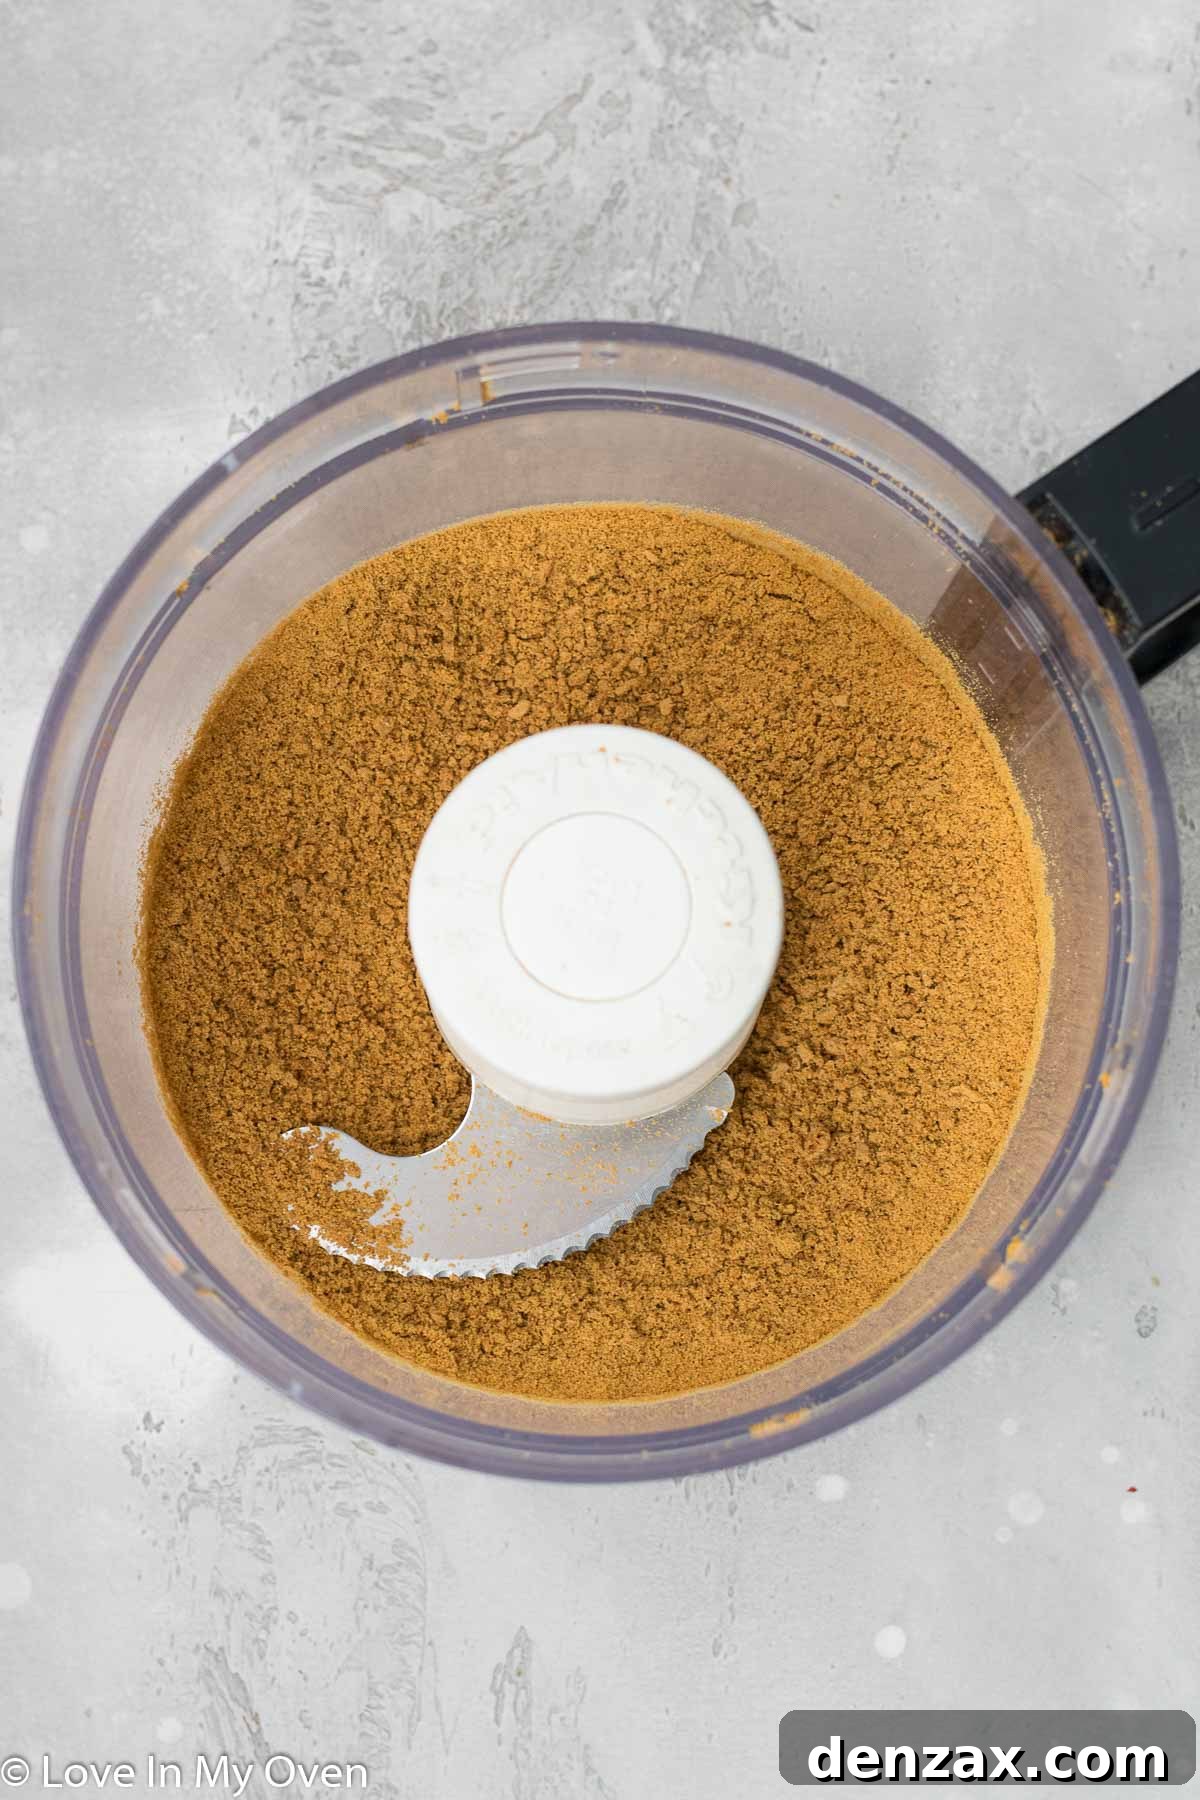
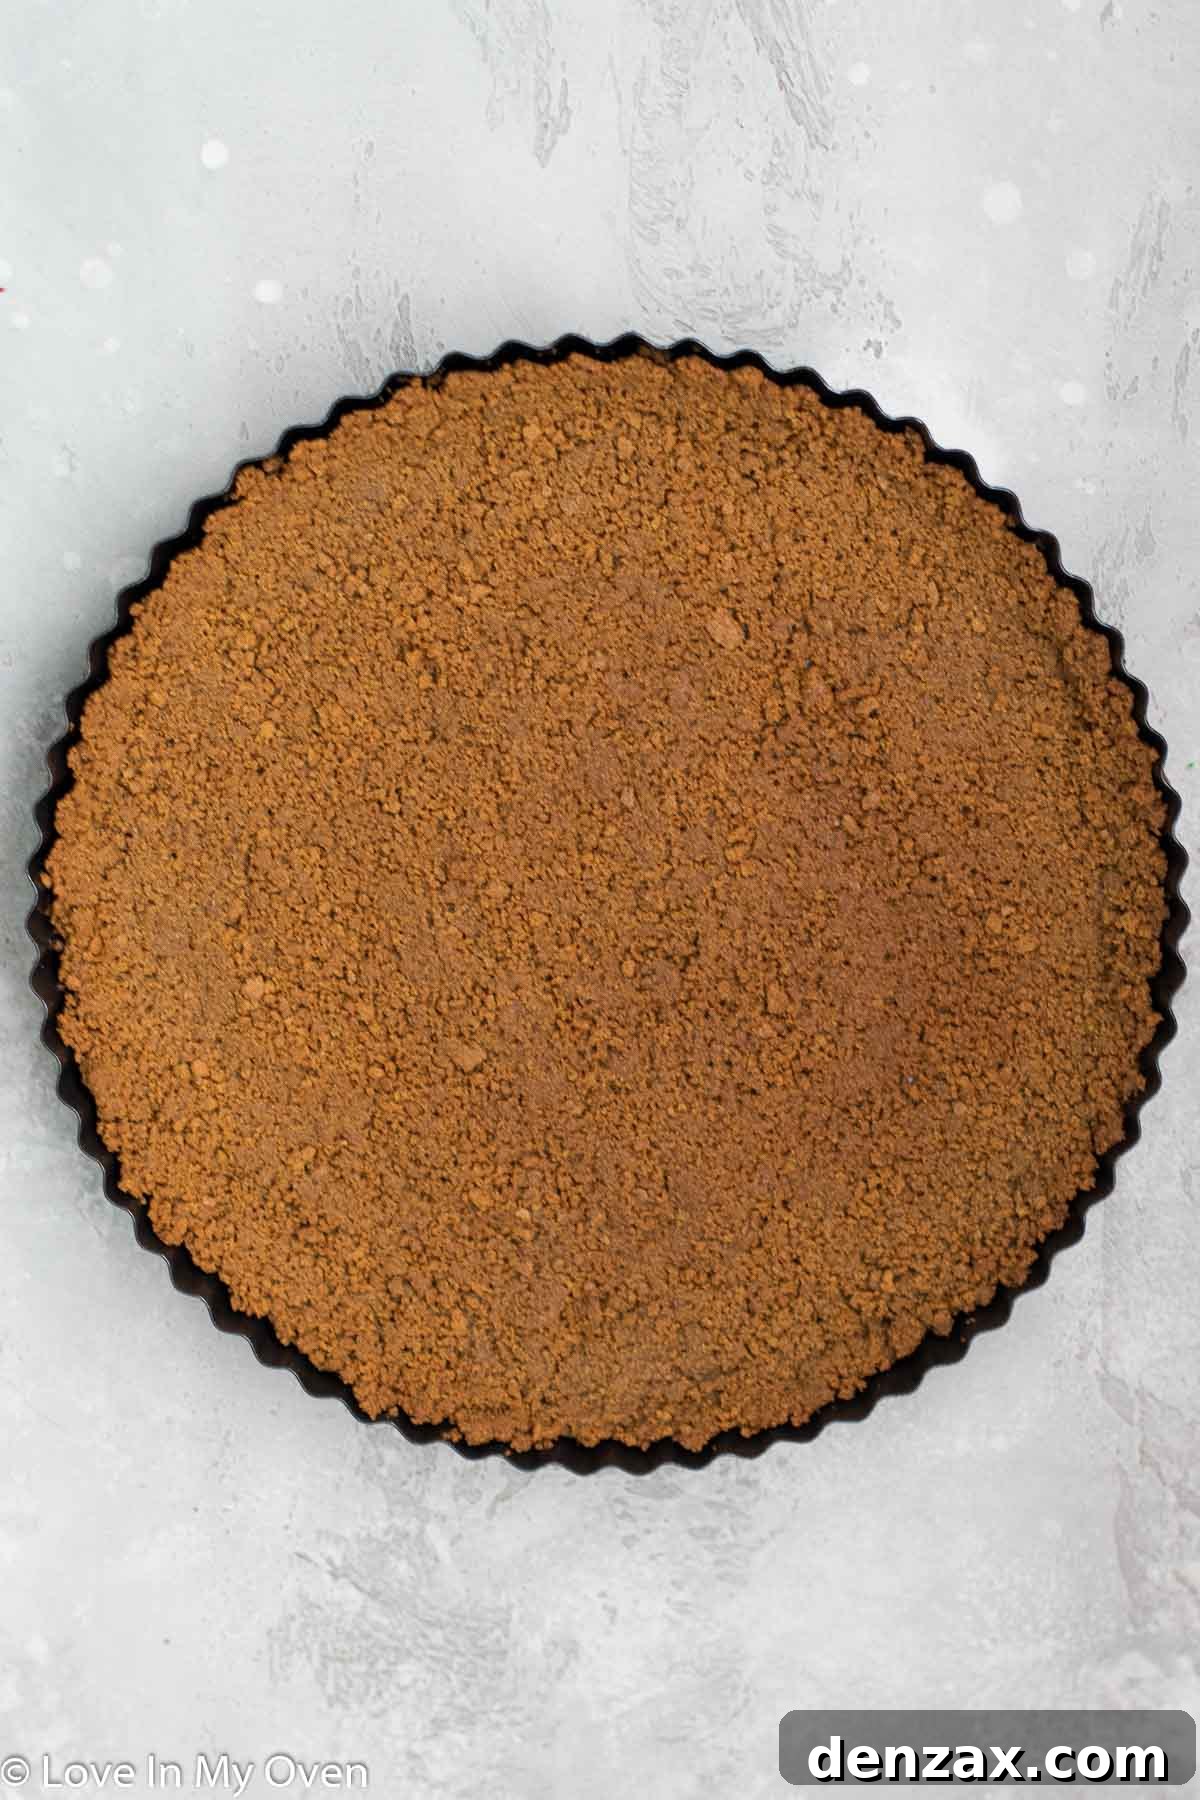
Once your gingersnap crumbs are ready, transfer them to a bowl and mix them thoroughly with some melted unsalted butter. The butter acts as a binder, ensuring your crust will be firm and hold its shape. Continue mixing until all the crumbs are evenly coated and moist. Next, press this buttery crumb mixture firmly and evenly into a 9-inch pie dish or a tart pan with a removable bottom. Make sure to spread the mixture across the entire bottom surface and create a slight edge up the sides of the pan, which will help contain the luscious filling.
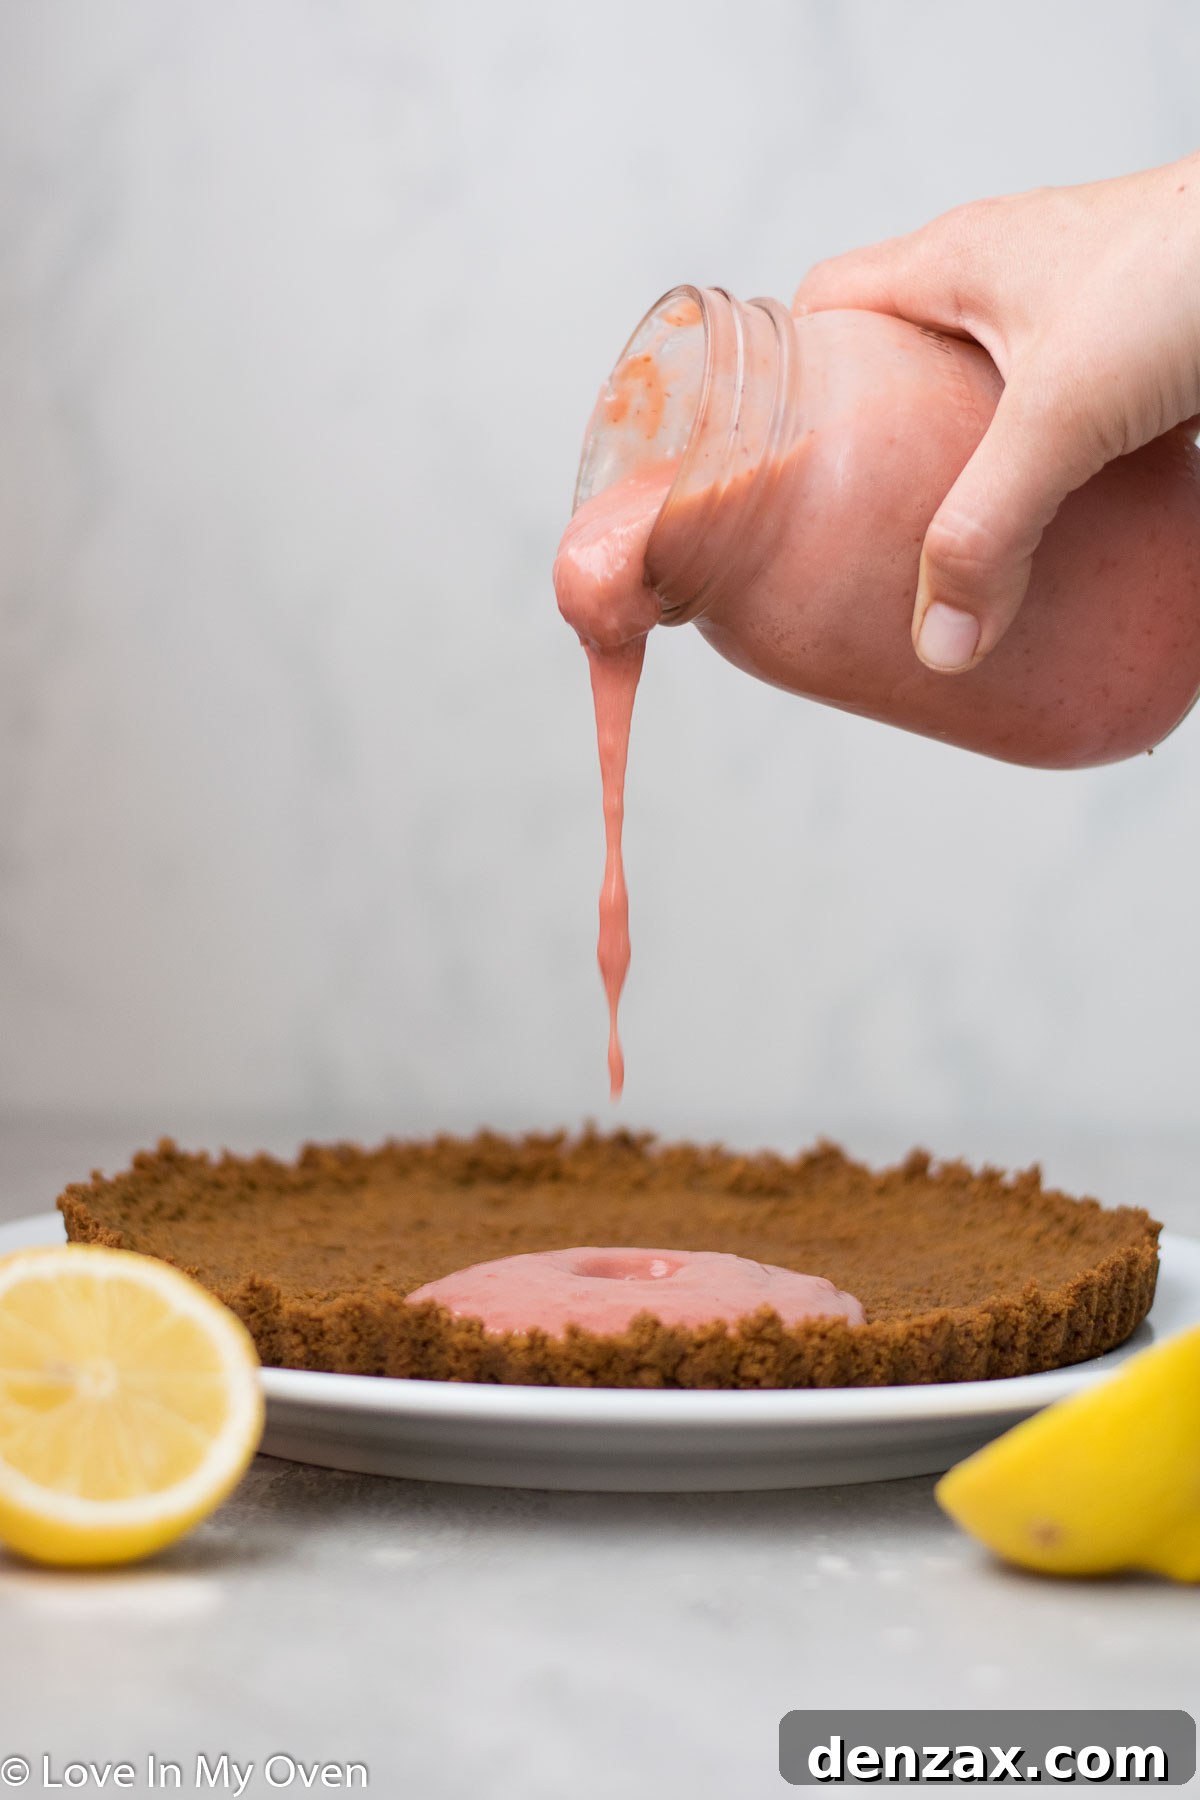
Bake the crust in a preheated oven for approximately 7-8 minutes, or until it’s lightly golden and fragrant. This brief bake time helps to set the crust, making it sturdy and crisp. After baking, remove the tart pan from the oven and allow the crust to cool completely before adding the filling. This is a critical step, as adding cold curd to a warm crust could cause it to melt or become soggy. You’ll need about 1.5 cups of your thoroughly chilled strawberry lemon curd to fill the tart generously. Once filled, return the tart to the refrigerator to chill until you’re ready to serve, ideally for 2-3 hours, allowing the curd to firm up further.
Should your curd appear particularly soft or if you prefer a firmer, almost ice cream-like texture, you can pop the entire tart into the freezer to firm up. In fact, this tart is absolutely delightful served directly from frozen on a hot day, offering a unique and refreshing experience.
Elevating Your Strawberry Lemon Dessert: Perfect Topping Ideas
While this strawberry lemon curd tart is undeniably delicious and elegant on its own, adding a topping can transform it into an even more spectacular dessert. If you’re looking to enhance its visual appeal and flavor profile, there are several delightful options. A simple dollop of freshly whipped cream adds a cloud-like lightness and creamy texture, beautifully complementing the tart’s rich filling. For a more indulgent touch, a scoop of vanilla bean ice cream offers a comforting contrast in temperature and richness. However, for a truly show-stopping presentation and an exquisite texture, the toasted meringue, as showcased here, is an unparalleled choice.
To create the luxurious meringue, you’ll need two room-temperature egg whites, preferably from fresh eggs for the best volume and stability. Place them in the bowl of a stand mixer fitted with the whisk attachment, along with 1/4 teaspoon of cream of tartar. Cream of tartar helps to stabilize the egg whites, ensuring they whip up into sturdy, glossy peaks. Begin whisking the egg whites on high speed until they start to form soft peaks.
Simultaneously, prepare a warm sugar syrup. In a small saucepan on the stove, combine 1/2 cup of granulated sugar with 1/4 cup of water. Heat this mixture over medium-high heat, stirring gently until the sugar completely dissolves. Continue to cook the syrup without stirring until it reaches a temperature of 240°F (115°C) on a candy thermometer. This is the “soft ball” stage, crucial for an Italian meringue, which is known for its stability and silky texture.
Once your sugar syrup reaches the correct temperature and your egg whites have formed soft peaks, reduce the mixer speed to low. Carefully and slowly pour the hot sugar syrup in a thin, steady stream into the egg whites. Avoid pouring the syrup directly onto the whisk attachment, as it could splatter. Once all the syrup has been incorporated, increase the mixer speed to high and continue to whisk until the meringue becomes thick, smooth, glossy, and forms stiff peaks. The bowl should also feel cool to the touch, indicating that the meringue has cooled down.
Your beautiful Italian meringue is now ready to be piped onto your tart! For a classic look, I used a piping bag fitted with a 1A piping tip to create elegant swirls and peaks. However, feel free to unleash your creativity and pipe any design you desire, or simply spread it artfully with a spoon for a rustic appeal. For that irresistible golden-brown finish and a hint of smoky flavor, toast the meringue with a handheld kitchen torch. This step not only adds a professional touch but also makes for a rather fun party trick! The contrast between the cool, tangy curd and the lightly torched, sweet meringue is simply divine.
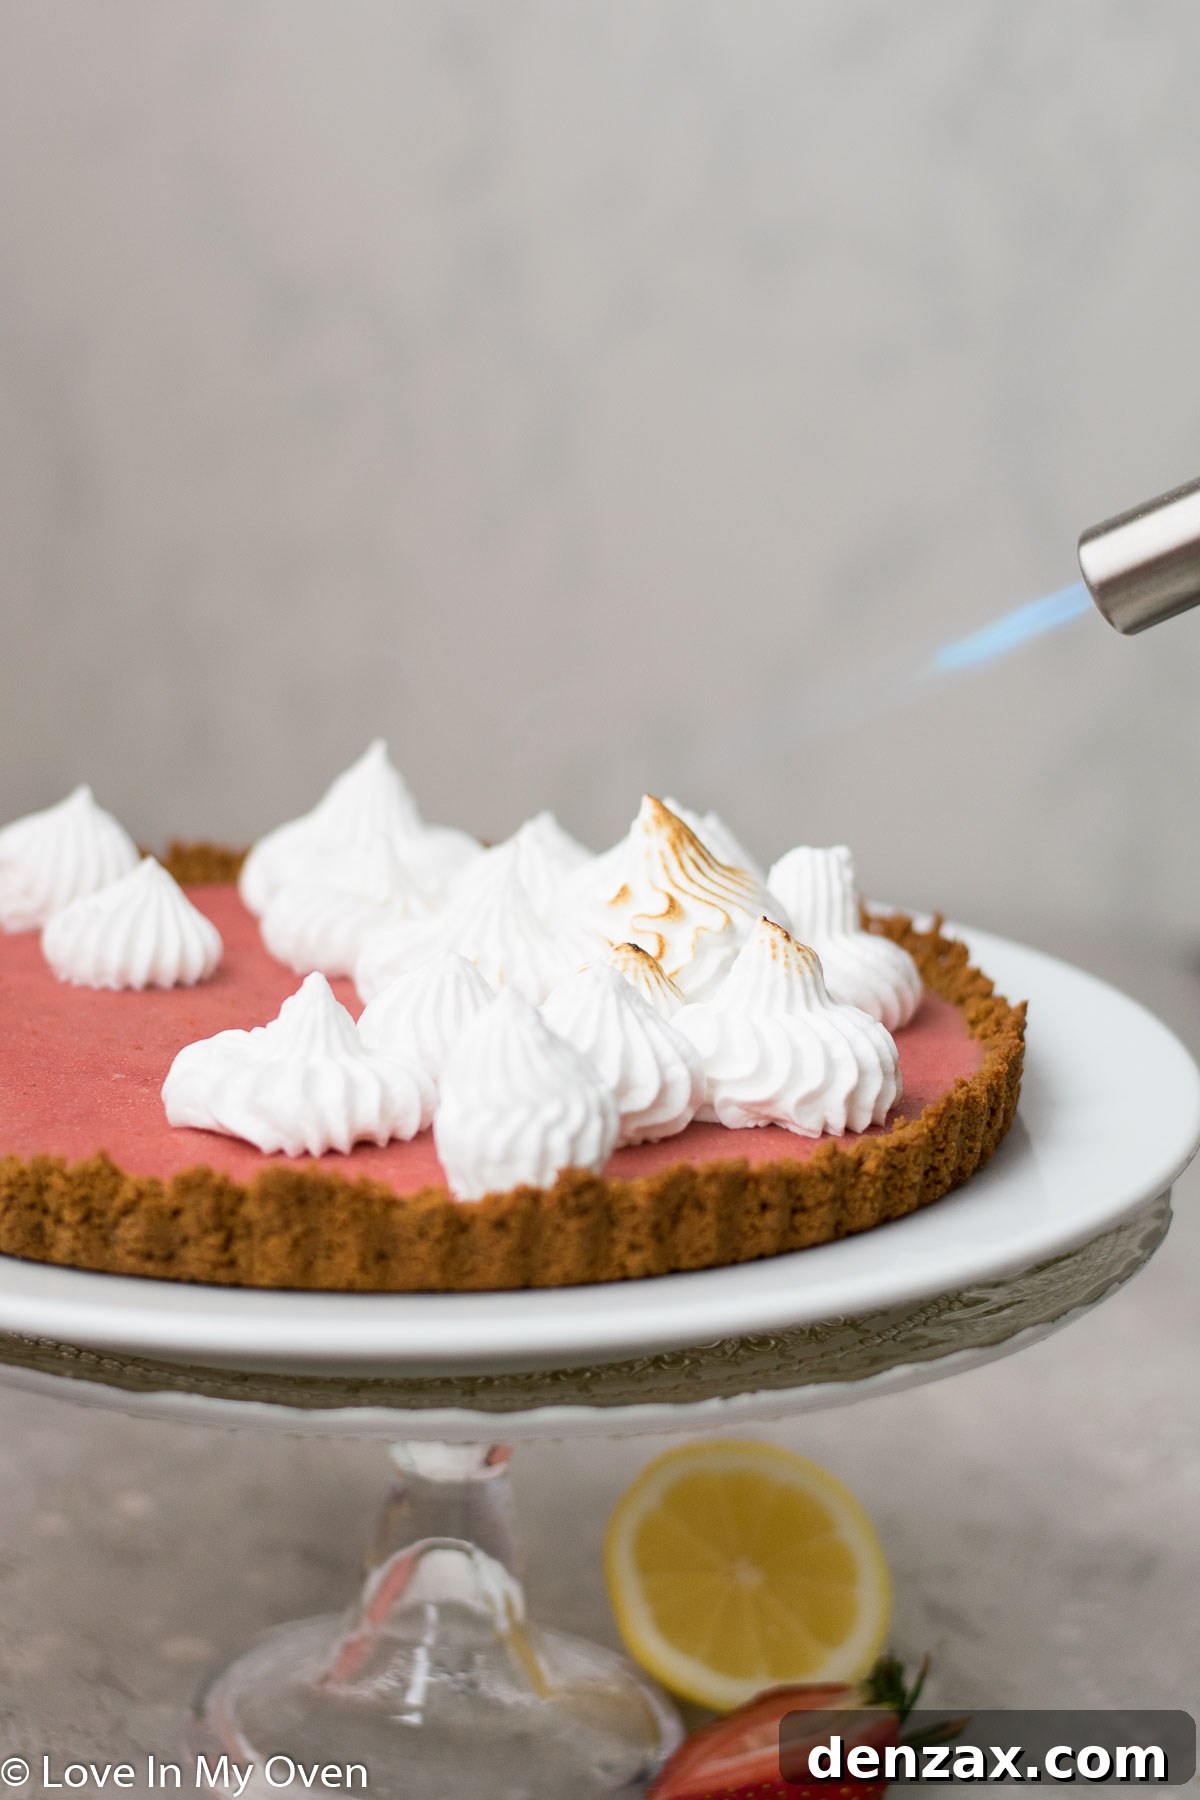
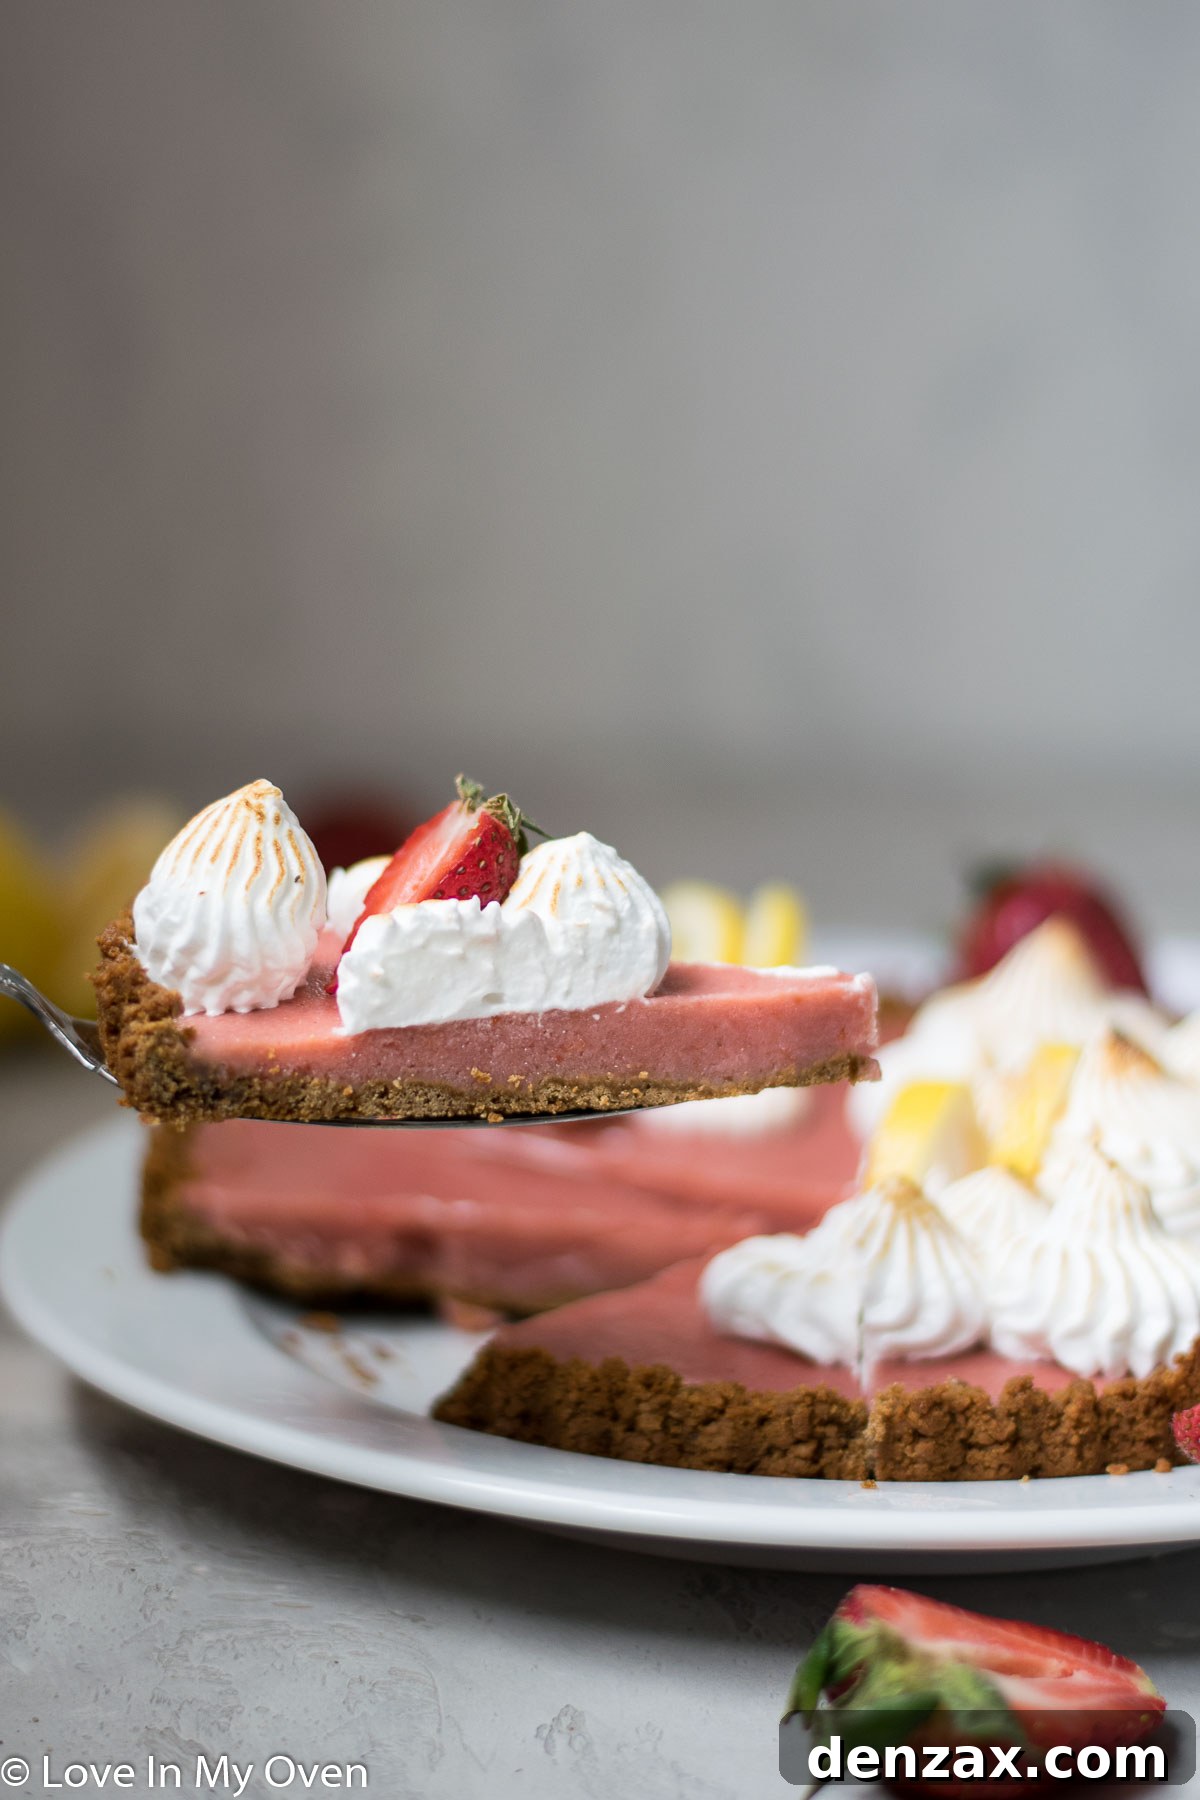
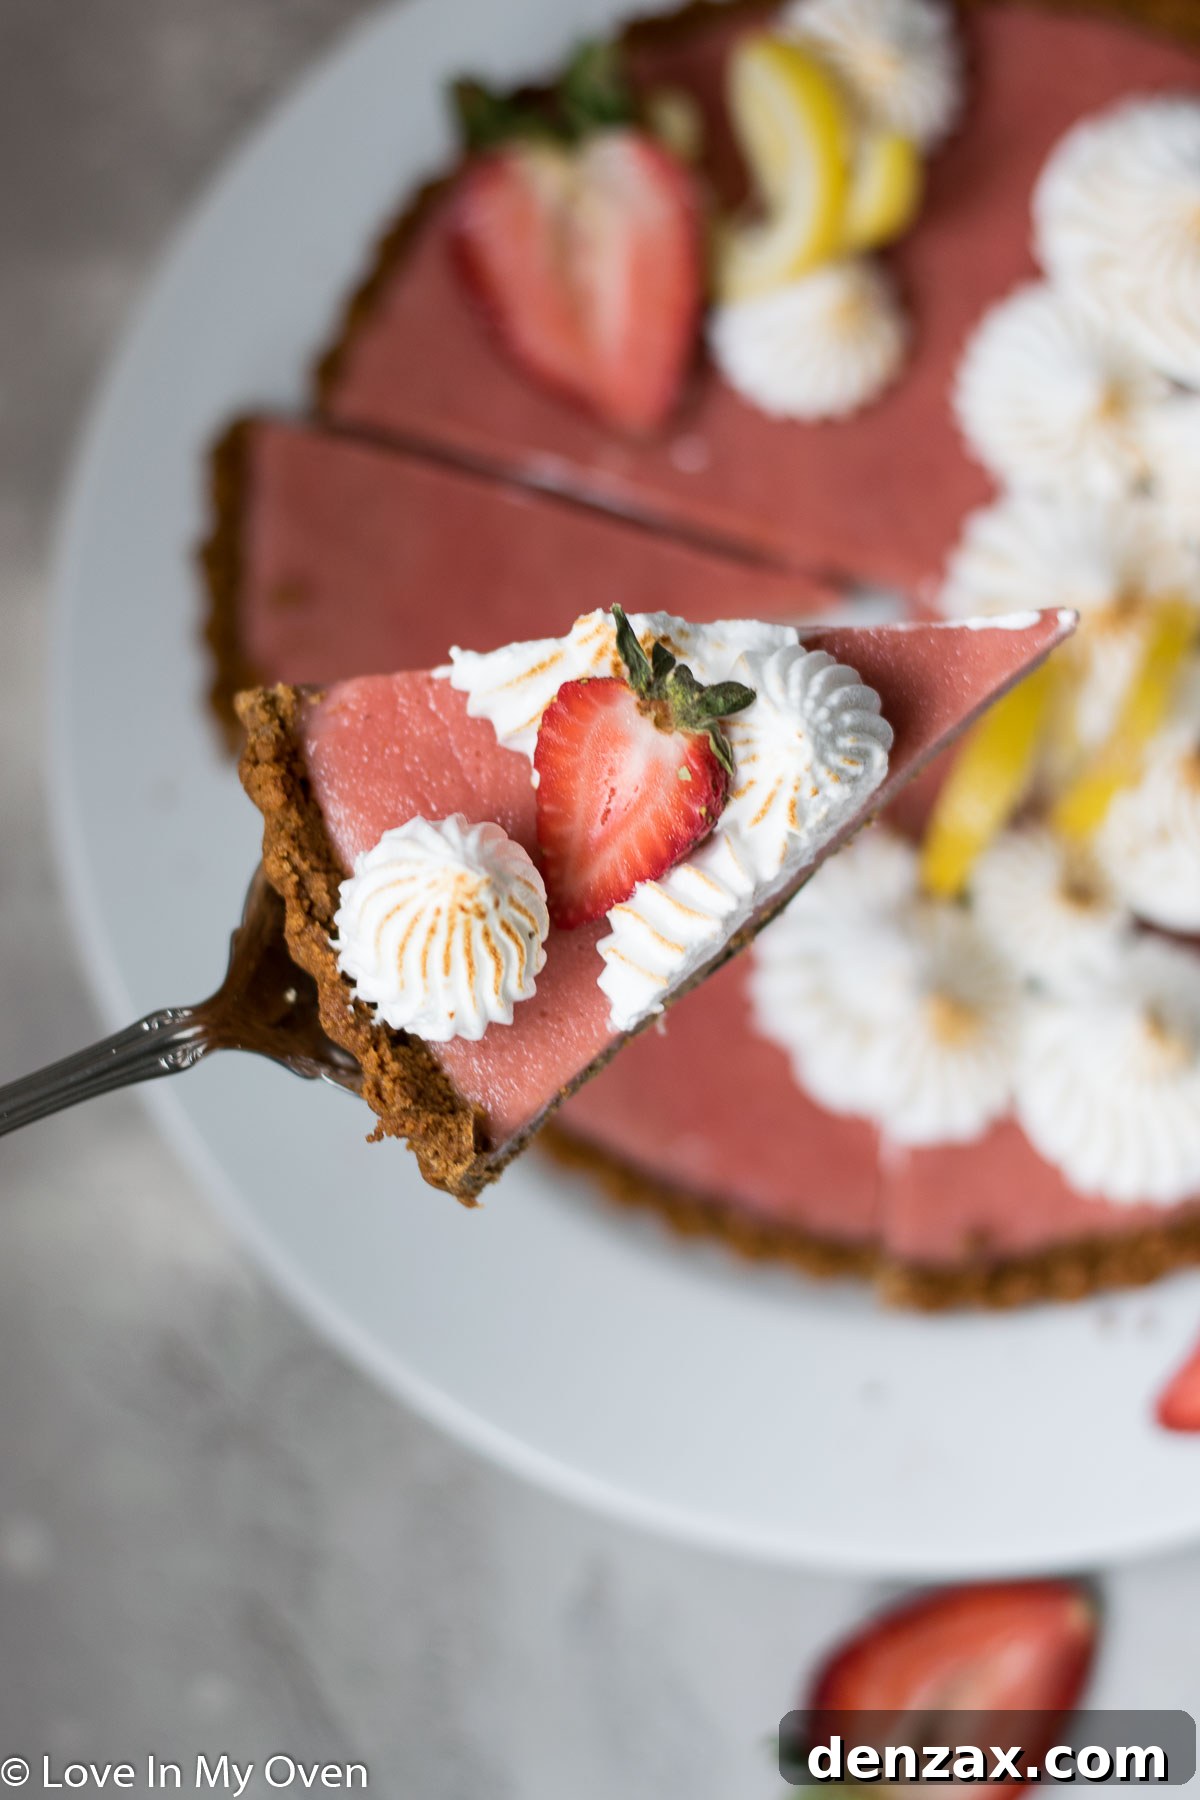
For the best serving experience, this tart is most enjoyable when kept chilled in the fridge or even served directly from the freezer. Its cool temperature provides a refreshing contrast to its rich flavors. This super easy dessert is a guaranteed crowd-pleaser, perfect for any occasion that calls for a touch of homemade elegance.
Feel free to experiment with the filling to suit your taste or the season. While strawberry lemon curd is undeniably a star, you can easily switch it up with other delicious curds. I have a couple of other fantastic curd recipes available on the blog that would also make excellent tart fillings:
- Cranberry Curd: Offering a vibrant, festive, and slightly tart alternative, perfect for holidays or cooler months.
- Meyer Lemon Curd: A milder, sweeter, and more aromatic lemon curd variation that provides a delicate citrus note.
No matter which curd you choose, this tart is designed to impress with its simplicity and incredible flavor. Enjoy crafting and savoring this delightful treat!
If you’re looking for more delectable dessert inspiration, be sure to explore some of my other favorite dessert recipes from the blog:
- No-Bake Chocolate Cherry Tart: A rich and fruity option that requires no oven time.
- Gluten-Free Chocolate Coconut Tart: A decadent and dietary-friendly choice for chocolate lovers.
- Healthy Blueberry Pie: A wholesome twist on a classic, packed with fruity goodness.

Strawberry Lemon Curd Tart
5 Stars 4 Stars 3 Stars 2 Stars 1 Star
5 from 4 reviews
Author: Katherine | Love In My Oven
Total Time: 6 hours
Yield: 4–5 servings 1x
Description
The most simple strawberry lemon dessert! This strawberry lemon curd tart with a gingersnap crust only requires a few ingredients and is simply delicious!
Ingredients
Scale
- 25 gingersnap cookies (175 grams)
- 1/4 cup unsalted butter, melted
- 1.5 cups strawberry lemon curd, completely chilled
Meringue Topping
- 1/4 cup water
- 1/2 cup granulated sugar
- 2 egg whites, room temperature (fresh is preferred)
- 1/4 tsp cream or tartar
Instructions
- Preheat your oven to 350°F (175°C) and lightly grease a 9-inch tart pan with a removable bottom, or a standard pie plate. In a food processor, pulse the gingersnap cookies until they form fine crumbs. Alternatively, place the cookies in a large resealable bag and crush them thoroughly with a rolling pin. Transfer the crumbs to a medium bowl, add the melted butter, and stir until the crumbs are completely moistened and incorporated. Press this mixture firmly and evenly into the bottom and up the sides of your prepared tart pan, creating a slight edge. Bake the crust for 7-8 minutes, or until it’s lightly browned and fragrant. Remove from the oven and allow it to cool completely before proceeding to the next step.
- Once the crust is fully cooled, pour the completely chilled strawberry lemon curd into the center, spreading it evenly. If your curd appears very soft or runny, you might consider freezing the tart for a firmer texture, and it can even be served directly from frozen. Otherwise, place the filled tart into the refrigerator to chill for at least 2-3 hours to allow the curd to firm up properly. Once set, slice and serve, or prepare the optional meringue topping.
- Optional Meringue Topping: In a small saucepan, combine the water and granulated sugar. Stir over medium heat until the sugar dissolves. Bring the mixture to a boil, then reduce the heat and simmer for a few minutes until it reaches 240°F (115°C) on a candy thermometer. While the syrup is heating, place the room-temperature egg whites and cream of tartar in the bowl of a stand mixer fitted with the whisk attachment, or use a handheld electric mixer. Whip the egg whites on high speed until they form soft peaks.
- With the mixer running on low speed, slowly and carefully pour the hot sugar syrup in a steady stream into the egg whites. Once all the syrup has been added, increase the mixer speed to high and whip until the meringue is smooth, glossy, and forms stiff peaks. The bowl should be cool to the touch. Spoon the meringue over the chilled tart, or for a more decorative finish, transfer it to a piping bag fitted with your desired tip and pipe designs on top. For a beautiful golden finish, gently torch the meringue with a handheld kitchen torch, if desired.
Leftover tart can be stored in an airtight container in the fridge for 4-5 days, or in the freezer for up to 2-3 weeks for longer enjoyment. Ensure it is well-wrapped to prevent freezer burn.
- Prep Time: 15 minutes
- Cook Time: 10 minutes
- Category: desserts
- Method: oven bake
- Cuisine: american