
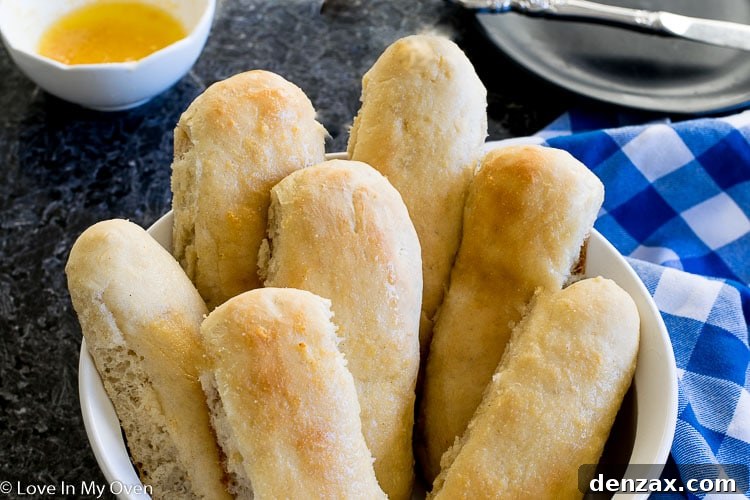
Experience the ultimate comfort food with these incredibly soft, pillowy garlic butter breadsticks! This easy recipe brings the deliciousness of homemade breadsticks to your table in just over an hour, completely from scratch. Get ready for a flavorful journey that will have everyone asking for more!
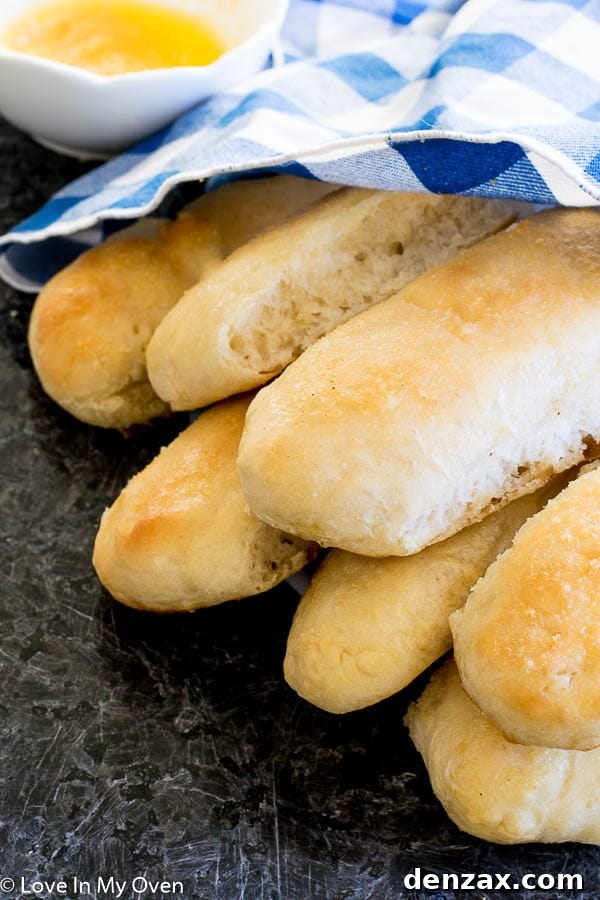
Hello, fellow food lovers! As we navigate through the longer, colder days of winter, there’s nothing quite like the warmth and aroma of freshly baked bread to lift the spirits. The dragging feel of winter makes us yearn for the bright, fresh beginnings of spring and all the delightful recipes that come with it. But before we dive into spring’s bounty, let me introduce you to a year-round comfort food that’s quickly become a staple in our kitchen: these irresistible easy garlic butter breadsticks!
Do you have those cherished “go-to” recipes that you turn to again and again? I certainly do, whether it’s my vibrant coconut curry fusion bowl or my wholesome breakfast cookies. Today, I’m thrilled to add my newest obsession to that list: homemade garlic butter breadsticks. Imagine soft, pillowy, buttery, garlic-infused mini loaves that practically melt in your mouth. They’re a favorite accompaniment for hearty chili, comforting soups, and even decadent pasta nights when our carb cravings are at an all-time high – which, let’s be honest, is pretty much every day!
What truly sets this apart is how genuinely simple it is. Don’t let the word “yeast” intimidate you; this recipe is designed to be foolproof, even for novice bakers. While there’s a modest hour of rise time involved, it’s hardly a chore. I usually dedicate this waiting period to preparing the rest of dinner, making it an efficient part of my meal prep. The best part? You don’t even need a fancy stand mixer to achieve these delectable results. A little hand-mixing and kneading are all it takes to bring these delightful breadsticks to life.
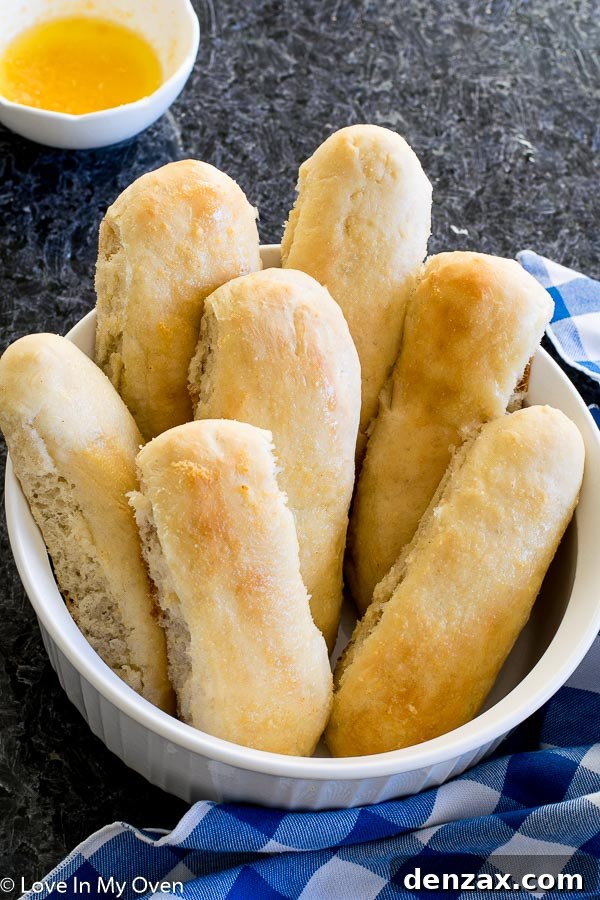
The Secret to Effortless Homemade Breadsticks
This recipe truly lives up to its “easy” name, thanks to its straightforward ingredients and minimal fuss. You won’t find a long list of obscure items here, just pantry staples that come together to create something truly magical. The beauty lies in the simplicity, allowing the natural flavors to shine and the texture to be perfectly pillowy.
The core ingredients for these delightful breadsticks are:
- **Warm Water:** Essential for activating the yeast and creating a soft dough.
- **Active Dry Yeast:** The powerhouse that gives our breadsticks their incredible rise and airy texture.
- **All-Purpose Flour:** The foundation of our dough, providing structure and chewiness.
- **Salt:** Crucial for balancing flavors and enhancing the overall taste of the bread.
- **Honey:** Adds a touch of sweetness, which not only complements the savory garlic butter but also helps to feed the yeast, promoting a better rise.
- **Olive Oil:** Contributes to the dough’s tenderness and adds a subtle richness.
Beyond the dough, the star of the show is, of course, the garlic butter topping. It’s a simple blend of unsalted butter, garlic powder, and a pinch of salt. This golden, aromatic concoction is brushed onto the warm breadsticks not once, but twice, ensuring every bite is infused with savory, buttery goodness. We never claimed these were health food, but trust me, that generous coating of garlic butter is absolutely essential for the ultimate taste experience!
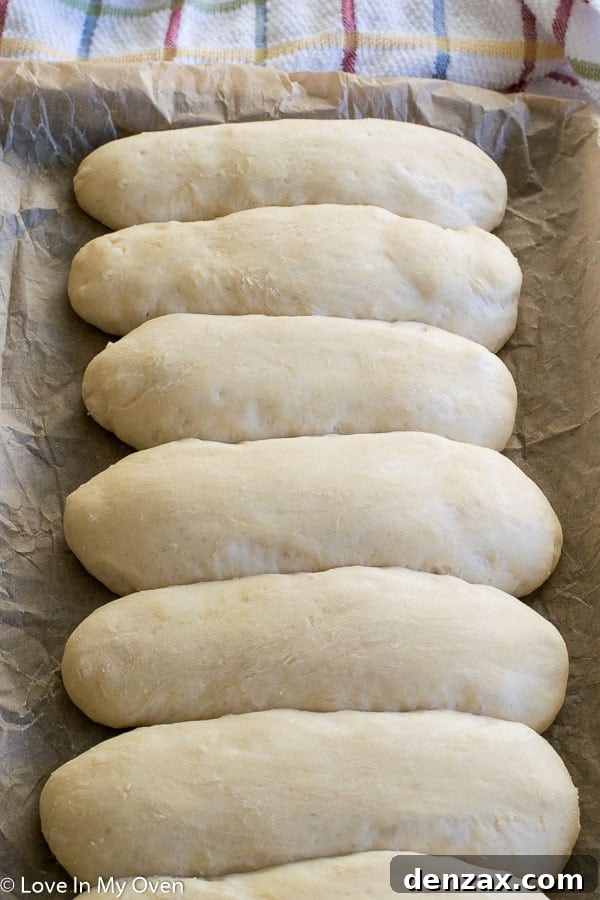
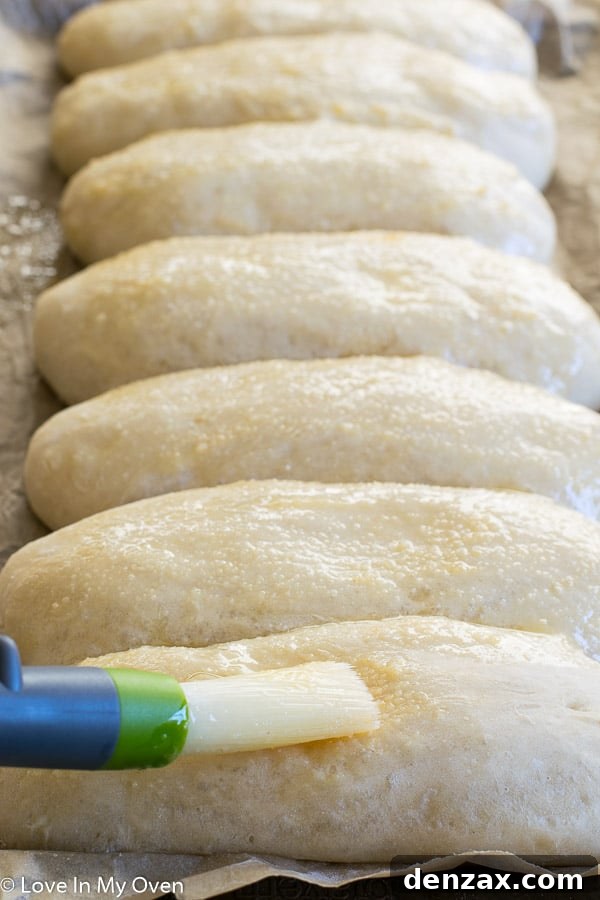
You’ll begin by hand-mixing the dough ingredients until a soft, cohesive dough forms. A few minutes of kneading by hand is all it takes to develop the gluten necessary for that perfect texture. After this initial preparation, the dough embarks on its transformative journey during the rising period. While the dough might look a bit humble before it rises, that hour of rest allows the yeast to work its magic, transforming it into a soft, supple, and beautifully expanded mass, ready for shaping and baking.
Make Ahead, Store, and Reheat: Enjoy Your Breadsticks Anytime
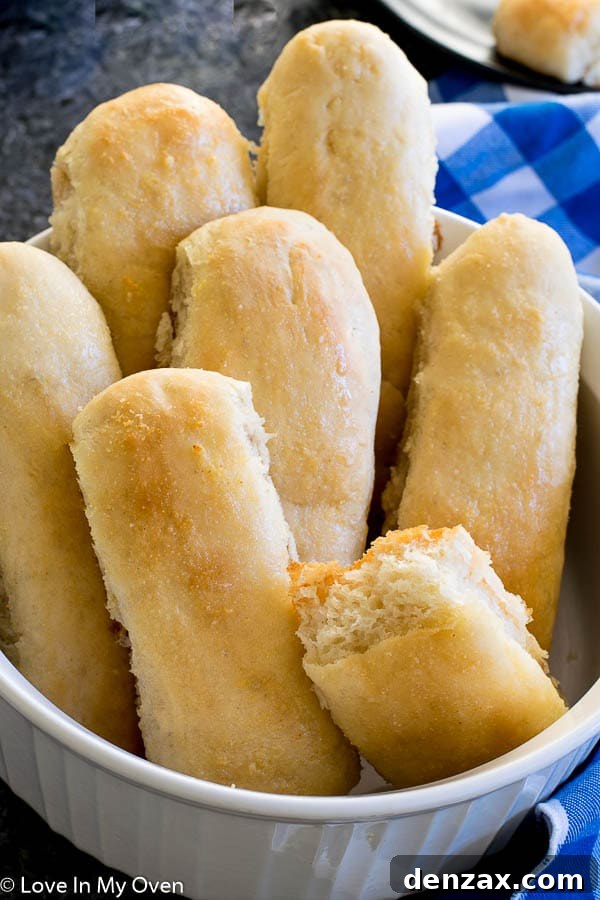
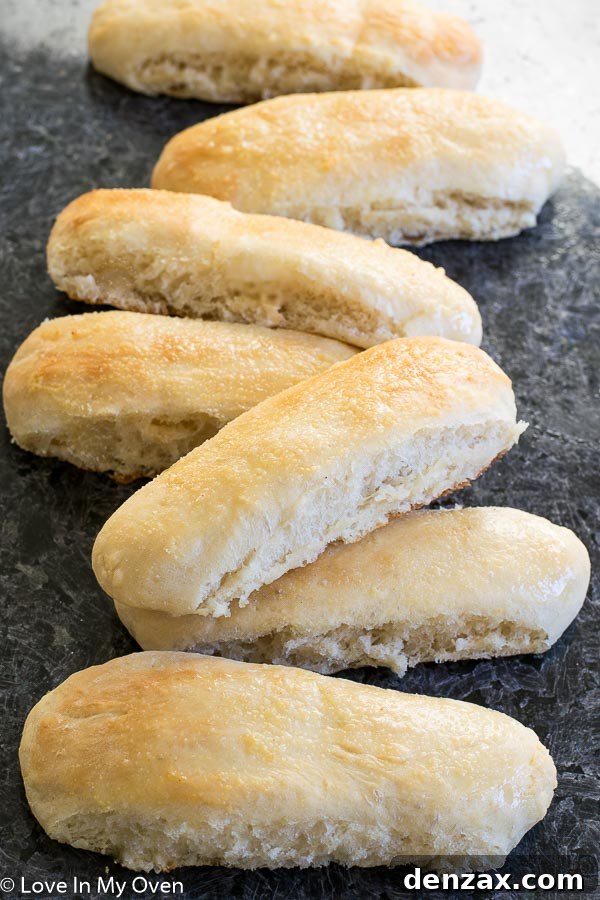
While these breadsticks are undeniably at their peak when served warm, straight from the oven, they also reheat beautifully. This flexibility makes them an excellent candidate for meal prep or for those moments when you need a quick, delicious side. To revive day-old breadsticks, simply wrap them in aluminum foil and warm them in an oven preheated to 275°F (135°C) for 15-20 minutes, or for a quicker solution, a brief zap in the microwave will do the trick. The foil helps to retain moisture, ensuring they remain soft rather than becoming dry or hard.
This recipe is also incredibly accommodating if you need to feed a larger gathering or simply can’t get enough of these buttery delights! It doubles effortlessly, allowing you to produce a bigger batch without altering the proportions or process. For those looking to incorporate more whole grains, I’ve successfully experimented with using half whole-wheat flour and half all-purpose flour, yielding fantastic results. The breadsticks retained their wonderful texture and developed a subtle nutty flavor. However, I don’t recommend using entirely whole-wheat flour, as it tends to produce a much denser breadstick. These homemade treats can be stored at room temperature in an airtight container for 2-3 days, ensuring you have delicious leftovers to enjoy.
If you’re a devoted fan of those famous Olive Garden breadsticks, prepare to be amazed. These homemade versions deliver that same soft, buttery, garlicky perfection, often surpassing the restaurant experience with their fresh-from-the-oven warmth and customizable flavor. The only thing missing is their signature salad, but perhaps that’s a challenge for another day! For now, these breadsticks are a delicious revelation that you absolutely need in your life, adding both ease and incredible flavor to your culinary repertoire.
What to Serve with Your Heavenly Breadsticks
The versatility of these garlic butter breadsticks is one of their greatest charms. They aren’t just a side dish; they’re a crowd-pleasing addition that elevates almost any meal. Their soft texture and savory garlic flavor make them a perfect companion to a wide array of dishes.
Here are just a few ideas to get you started, including some of my personal favorites from the blog:
- **Soups:** A classic pairing! The breadsticks are ideal for dipping into rich broths or thick purees. Try them with my creamy roasted tomato basil soup, a comforting loaded cauliflower soup, or a hearty crockpot minestrone soup. They would also be incredible with French onion soup, lentil soup, or a simple chicken noodle.
- **Chili:** Whether it’s a traditional beef chili or a lighter chicken version, the breadsticks provide a wonderful contrast to the spicy, robust flavors. They’re particularly delightful with my easy leftover white chicken chili.
- **Pasta Dishes:** No Italian-inspired meal is complete without a side of garlic bread. These breadsticks are a lighter, softer alternative to traditional garlic bread and pair perfectly with spaghetti and meatballs, lasagna, chicken alfredo, or a simple pesto pasta.
- **Salads:** Transform any salad into a more substantial meal with these savory additions. They’re especially good alongside a fresh garden salad or a classic Caesar.
- **Main Courses:** Serve them alongside roasted chicken, grilled steak, or baked fish for an extra layer of flavor and texture.
- **Appetizer:** Cut them slightly shorter and serve them with a marinara dipping sauce for a fantastic party appetizer!
The possibilities are truly endless, making these garlic butter breadsticks an invaluable addition to your culinary repertoire. They’re guaranteed to become a family favorite, bringing warmth and joy to every meal.

Easy Breadsticks Recipe
No reviews
- Author: Katherine
- Total Time: 1 hour 30 minutes
- Yield: 6–7 breadsticks
Description
Soft, pillowy, garlic butter breadsticks that can be yours in just over an hour! Completely from scratch and COMPLETELY delicious!
Ingredients
Breadsticks
- 1 cup warm water
- 1 1/2 tsp active dry yeast
- 2 1/4 cups all-purpose flour*, divided
- 1 tsp salt
- 1 tbsp honey
- 1 tbsp olive oil
Garlic Butter Topping
- 1/4 cup unsalted butter
- 1 tsp garlic powder
- 1/2 tsp salt
Instructions
- Line a large baking sheet with parchment paper and set aside. In a large mixing bowl, combine the warm water with the yeast and allow it to sit for 10 minutes, until the yeast begins to foam up.
- Add 2 cups of the flour, the salt, honey and olive oil and stir with a large wooden spoon until combined and a soft dough begins to form. Add the remaining 1/4 cup of flour a little at a time, stopping when the dough starts pulling away from the sides of the bowl and stops feeling sticky. You may not need the whole 1/4 cup!
- On a floured surface, separate the dough into 6-7 equal-sized balls (use a scale for accuracy if you’d like). Roll each ball of dough between your hands, one at a time until a “log” is formed. Place the formed breadsticks on the baking sheet about 2-3″ apart. Cover the breadsticks with a clean kitchen towel and allow them to rest for 45 minutes to an hour, until the breadsticks have almost doubled in size.
- Preheat the oven to 400°F (200°C). Once preheated, remove the kitchen towel and place the breadsticks in the oven for about 6 minutes. While the breadsticks are baking, melt the butter in a microwave-safe dish and add the garlic powder and salt, stirring to combine. Remove the breadsticks, and using a pastry brush, brush the tops of them with half of the garlic butter. Place the breadsticks back into the oven for an additional 5-6 minutes, until the bottoms are slightly browned. Brush the remaining butter on top just prior to serving.
Breadsticks are best enjoyed immediately, but can be wrapped tightly in aluminum foil and re-heated in a 300°F (150°C) oven for 10 minutes. Leftovers can be stored at room temperature, in an airtight container for 2-3 days. Baked breadsticks can also be frozen for up to 2 months.
Notes
- I wouldn’t recommend substituting for all whole-wheat, but I’ve tested half whole-wheat and half all-purpose and they were great!
- Prep Time: 15 minutes
- Cook Time: 15 minutes
- Category: side dishes
- Method: oven bake
- Cuisine: italian
These breadsticks are an absolute dream with my easy leftover white chicken chili!
There you have it – a truly easy, utterly delicious, and incredibly versatile recipe for garlic butter breadsticks that’s ready to become your next kitchen favorite. Whether you’re serving them alongside a comforting bowl of soup, a hearty pasta dish, or simply enjoying them as a standalone snack, these soft, pillowy wonders are guaranteed to bring a smile to everyone’s face. So, gather your simple ingredients, embrace the joy of baking from scratch, and prepare to fill your home with the intoxicating aroma of freshly baked garlic bread. Happy baking!