
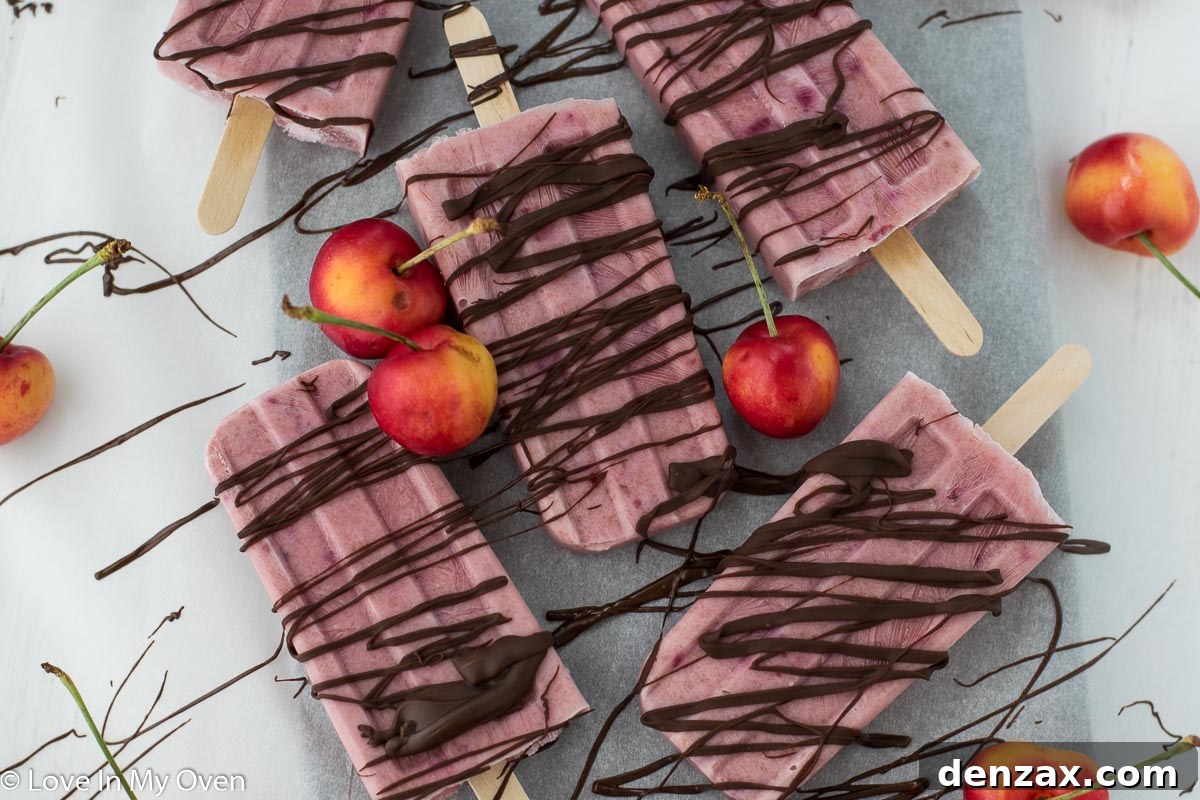
Made with only 3 ingredients, these Greek yogurt cherry popsicles are sweet and creamy and so simple to make! Finish them off with a drizzle of chocolate for an extra special treat.
As the days heat up, there’s nothing quite like a cool, refreshing treat to beat the summer sun. While the end of summer might feel bittersweet, here in our corner of the world, we’re still enjoying plenty of warm weather. That means our freezer is perpetually stocked with icy delights – from juicy watermelon slices to an assortment of store-bought freezies and ice cream.
Speaking of freezies, my kids once convinced me to buy a colossal box with the grand promise of setting up a roadside stand to earn some pocket money. They had a couple of successful sales days, I’ll give them that, but as summer activities piled up, the entrepreneurial spirit waned. Now, we’re slowly working our way through that jumbo box ourselves! However, for a truly special and healthier alternative, we often switch things up with these incredible homemade Greek yogurt cherry popsicles. They are a true game-changer for a sweet and satisfying cool-down.
Crafting Your Own Greek Yogurt Cherry Popsicles: A Simple Guide
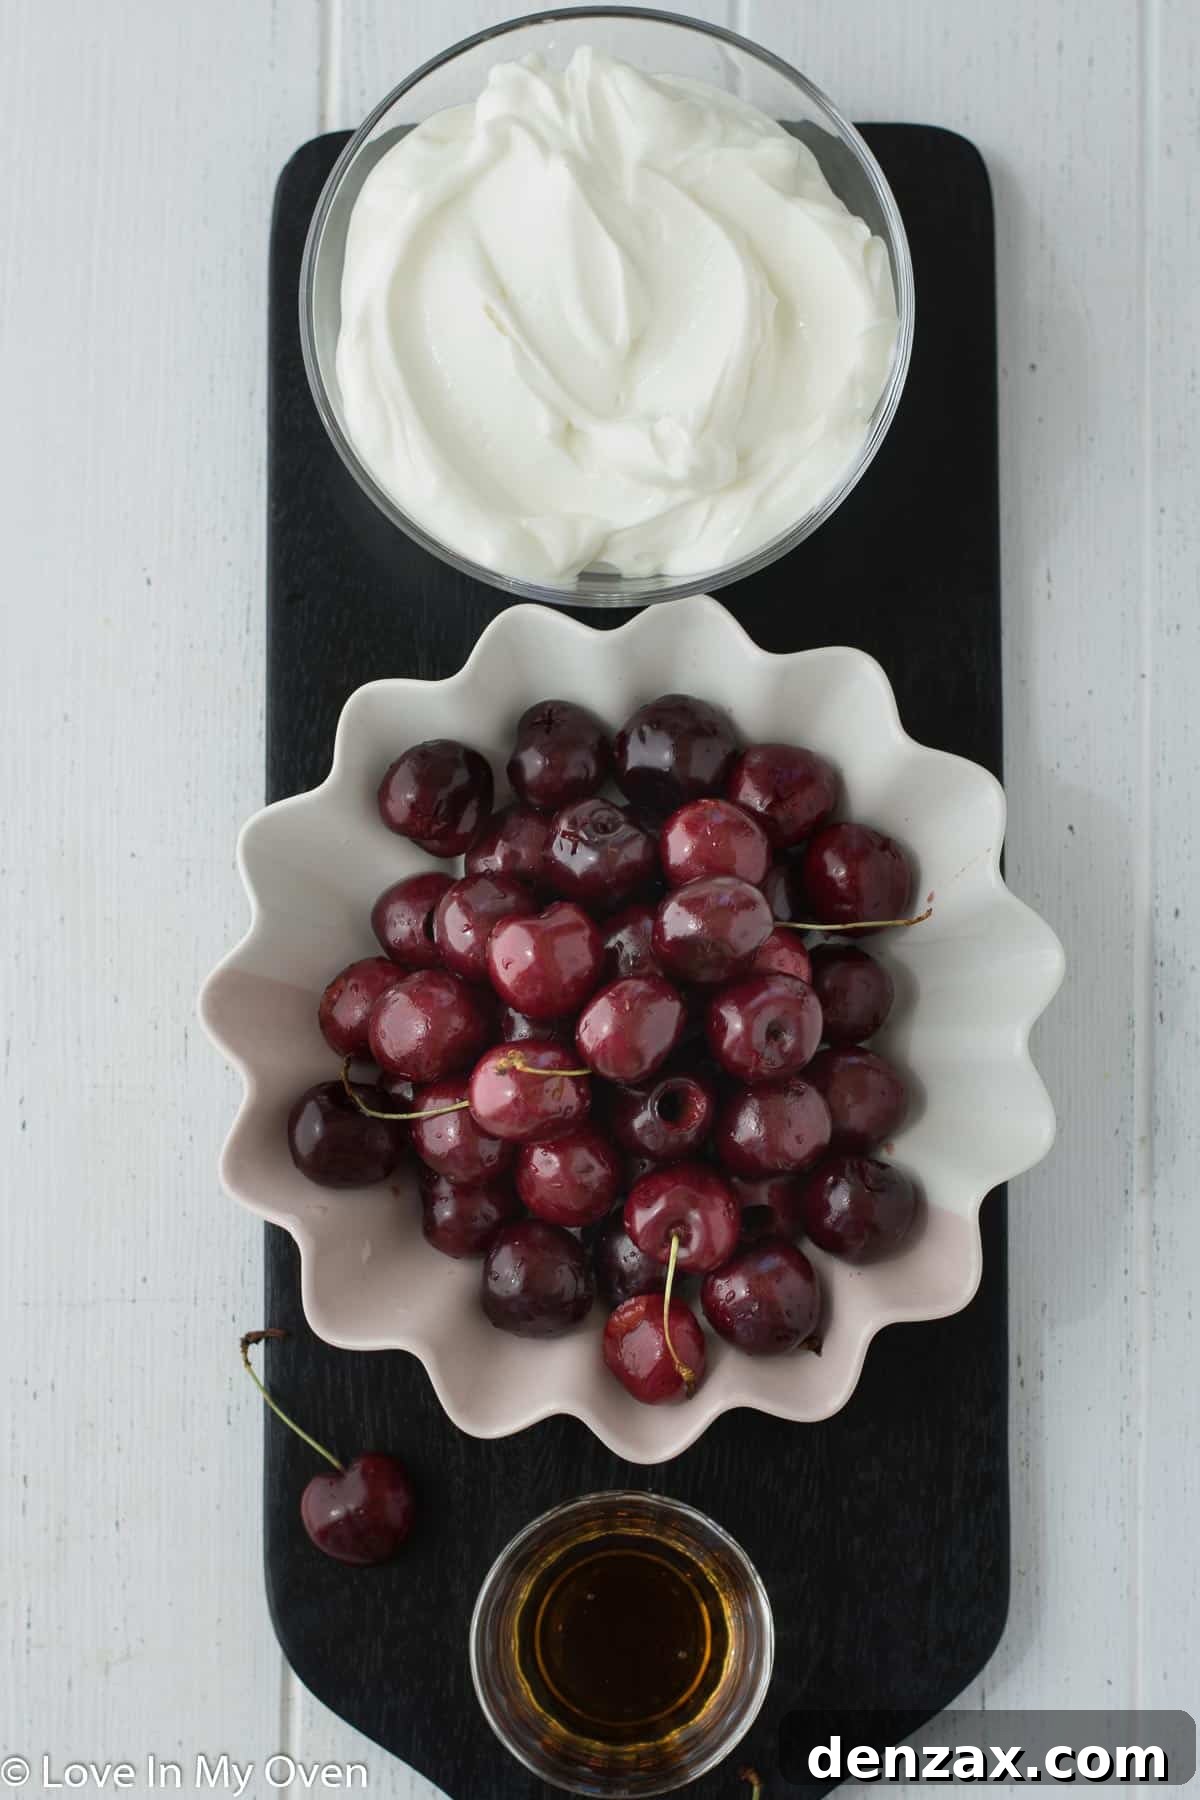
Just like many of my favorite frozen dessert creations, this popsicle recipe is wonderfully straightforward – almost ridiculously easy! You’ll be amazed at the vibrant flavor and creamy texture you can achieve with so few ingredients. The beauty of these popsicles lies in their simplicity, allowing the natural sweetness of the cherries and the tang of the Greek yogurt to shine through. Here’s all you need to get started on this delightful journey:
- Fresh Cherries, Pitted: The star of our show, providing natural sweetness and a beautiful ruby color. Using fresh, ripe cherries makes all the difference in flavor.
- Greek Yogurt: The secret to that incredibly creamy, luxurious texture and a boost of protein. Plain Greek yogurt offers a perfect canvas, but feel free to experiment.
- Maple Syrup: A natural sweetener that complements the cherries beautifully without overpowering their delicate taste. It adds just the right touch of sweetness.
I typically opt for plain Greek yogurt to keep the sugar content controlled and allow the cherry flavor to be prominent. However, if you desire an even sweeter and richer taste, vanilla Greek yogurt is an excellent alternative that will make these popsicles extra delicious. It’s all about tailoring the recipe to your personal preference!
Step-by-Step Instructions for Perfect Popsicles
Making these popsicles is a fun and rewarding process that even the kids can help with. Follow these easy steps to create your own batch of frozen perfection:
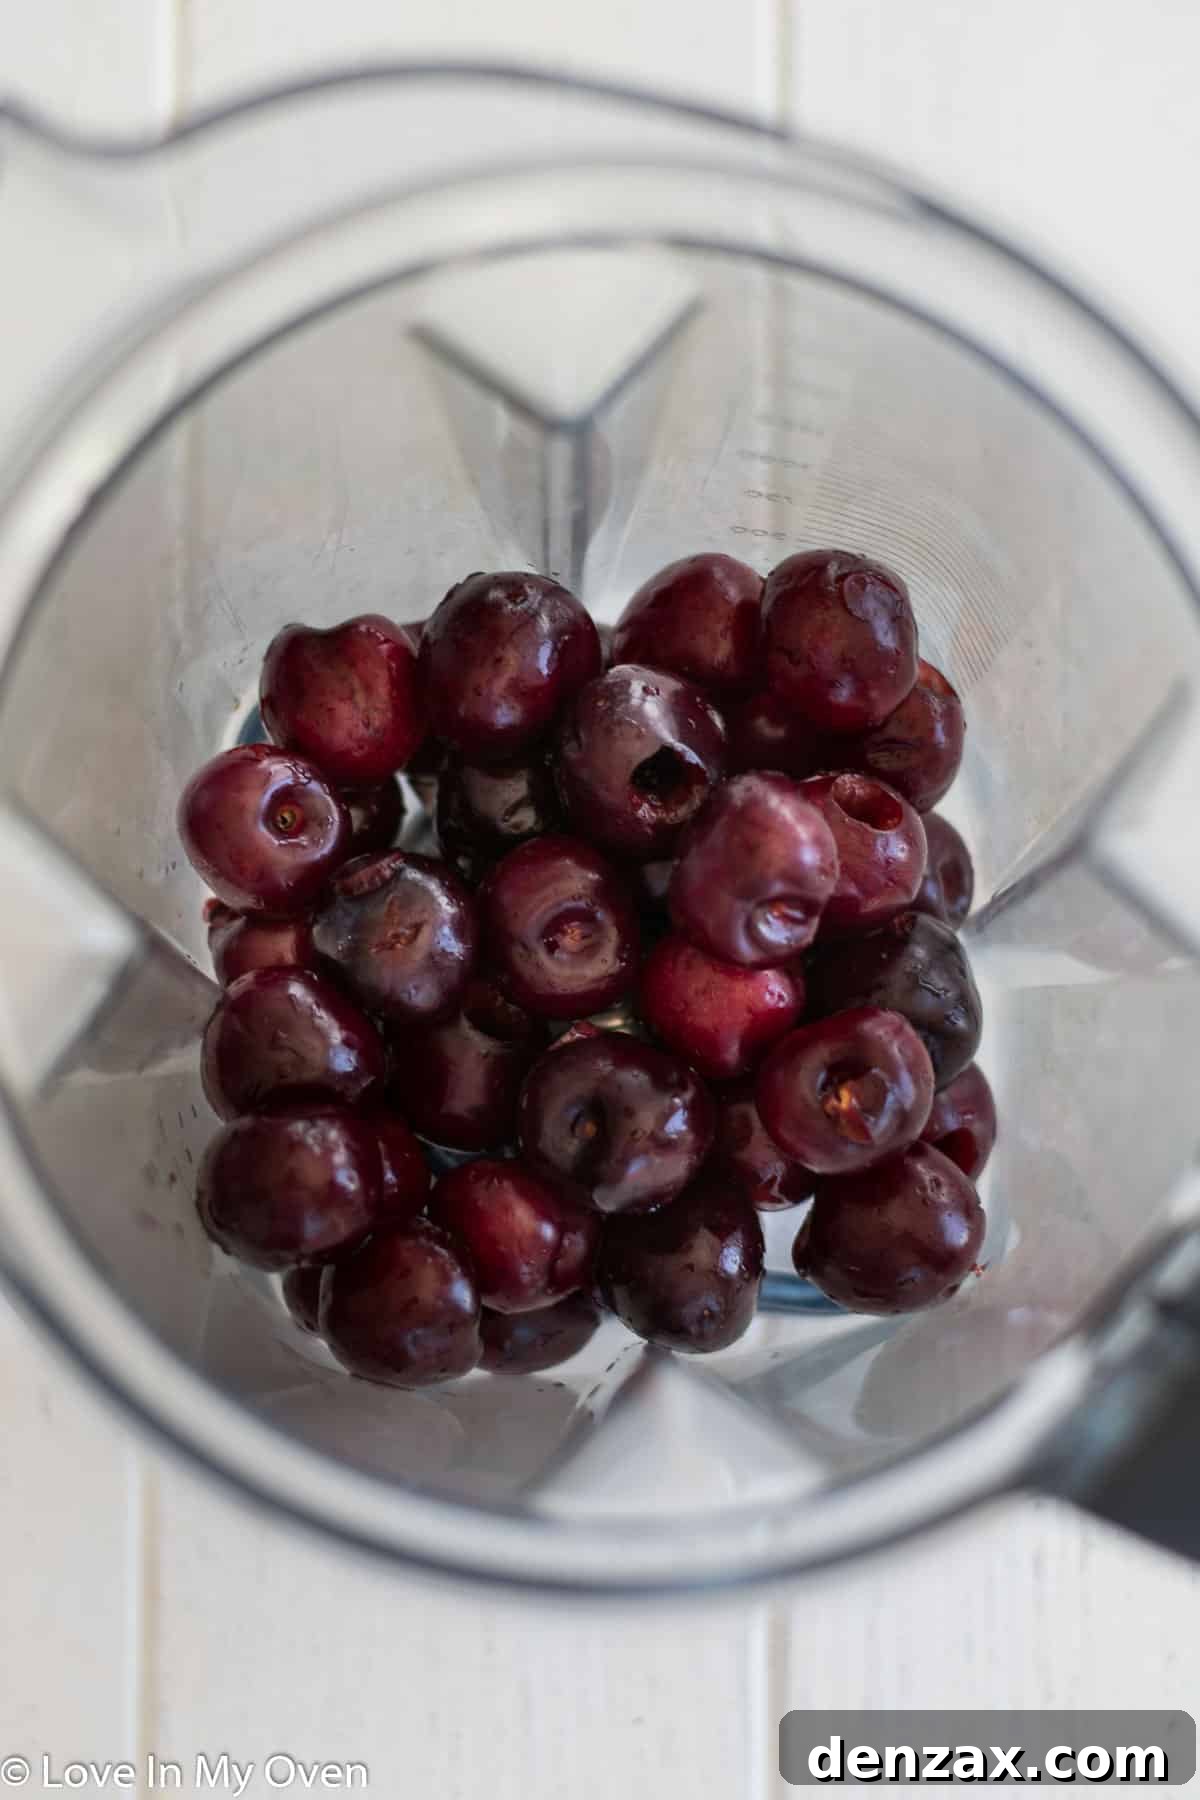
1. Prepare the Cherry Puree: Begin by adding your pitted fresh cherries to a high-speed blender. Blend on high until the cherries are completely smooth and pureed, with no large chunks remaining. This usually takes about 30 seconds to a minute, depending on your blender. Once pureed, add the maple syrup to the blender and blend again for another 15-30 seconds to fully incorporate it with the cherry mixture. Pour this vibrant cherry puree into a spacious mixing bowl.
2. Combine with Greek Yogurt: To the bowl containing your cherry puree, add the Greek yogurt. Using a spatula or spoon, gently stir the mixture until the Greek yogurt is fully incorporated and the color is consistent. For a visually appealing “swirled” effect, you can stir just a few times, leaving streaks of white yogurt and red cherry. This makes for an even prettier popsicle!
3. Fill the Molds and Freeze: Carefully pour the prepared mixture into your popsicle mold. I personally use a 12-count mold, and this recipe yields just enough to fill it perfectly. Once filled, insert a popsicle stick into each mold. Make sure the sticks are centered and standing upright. Transfer the filled molds to your freezer and allow them to freeze for 5-6 hours, or until they are completely solid. Patience is key here for firm, well-formed popsicles!
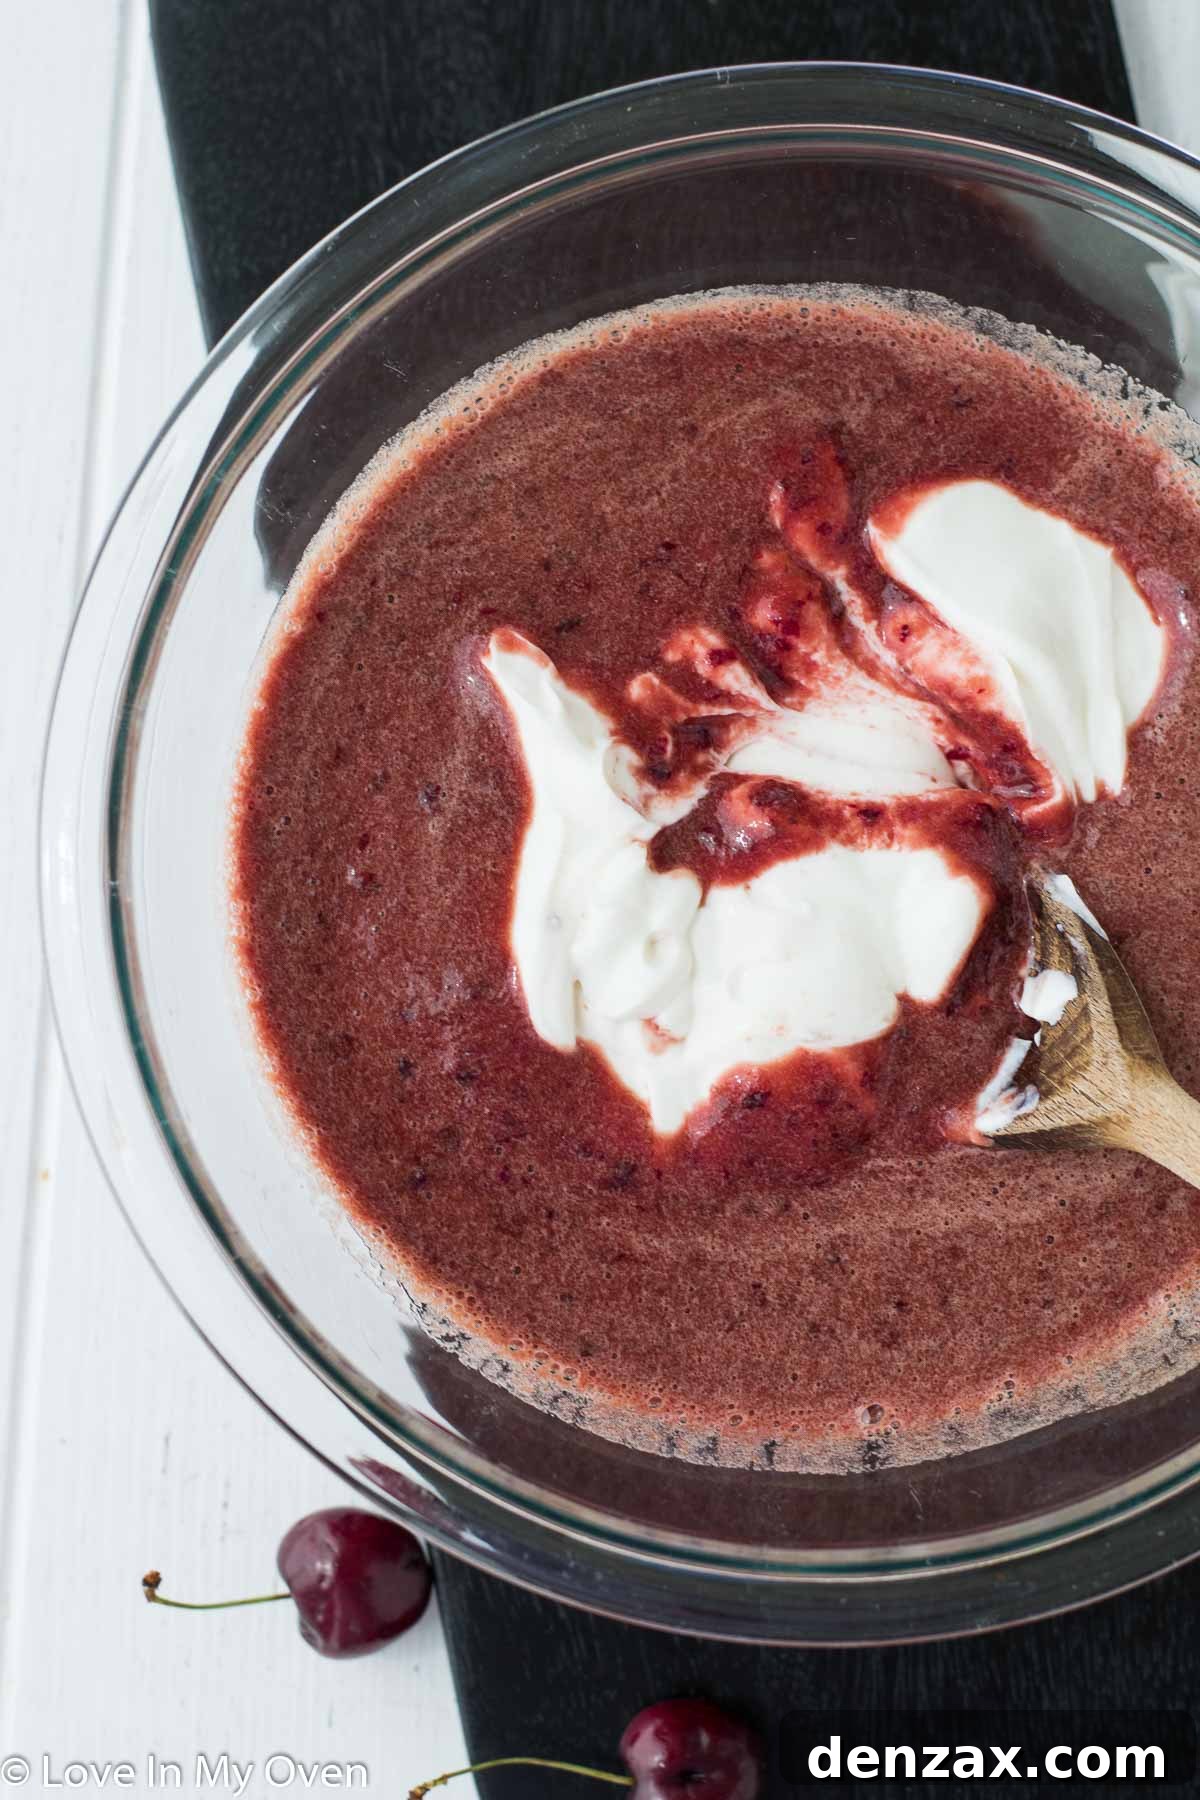
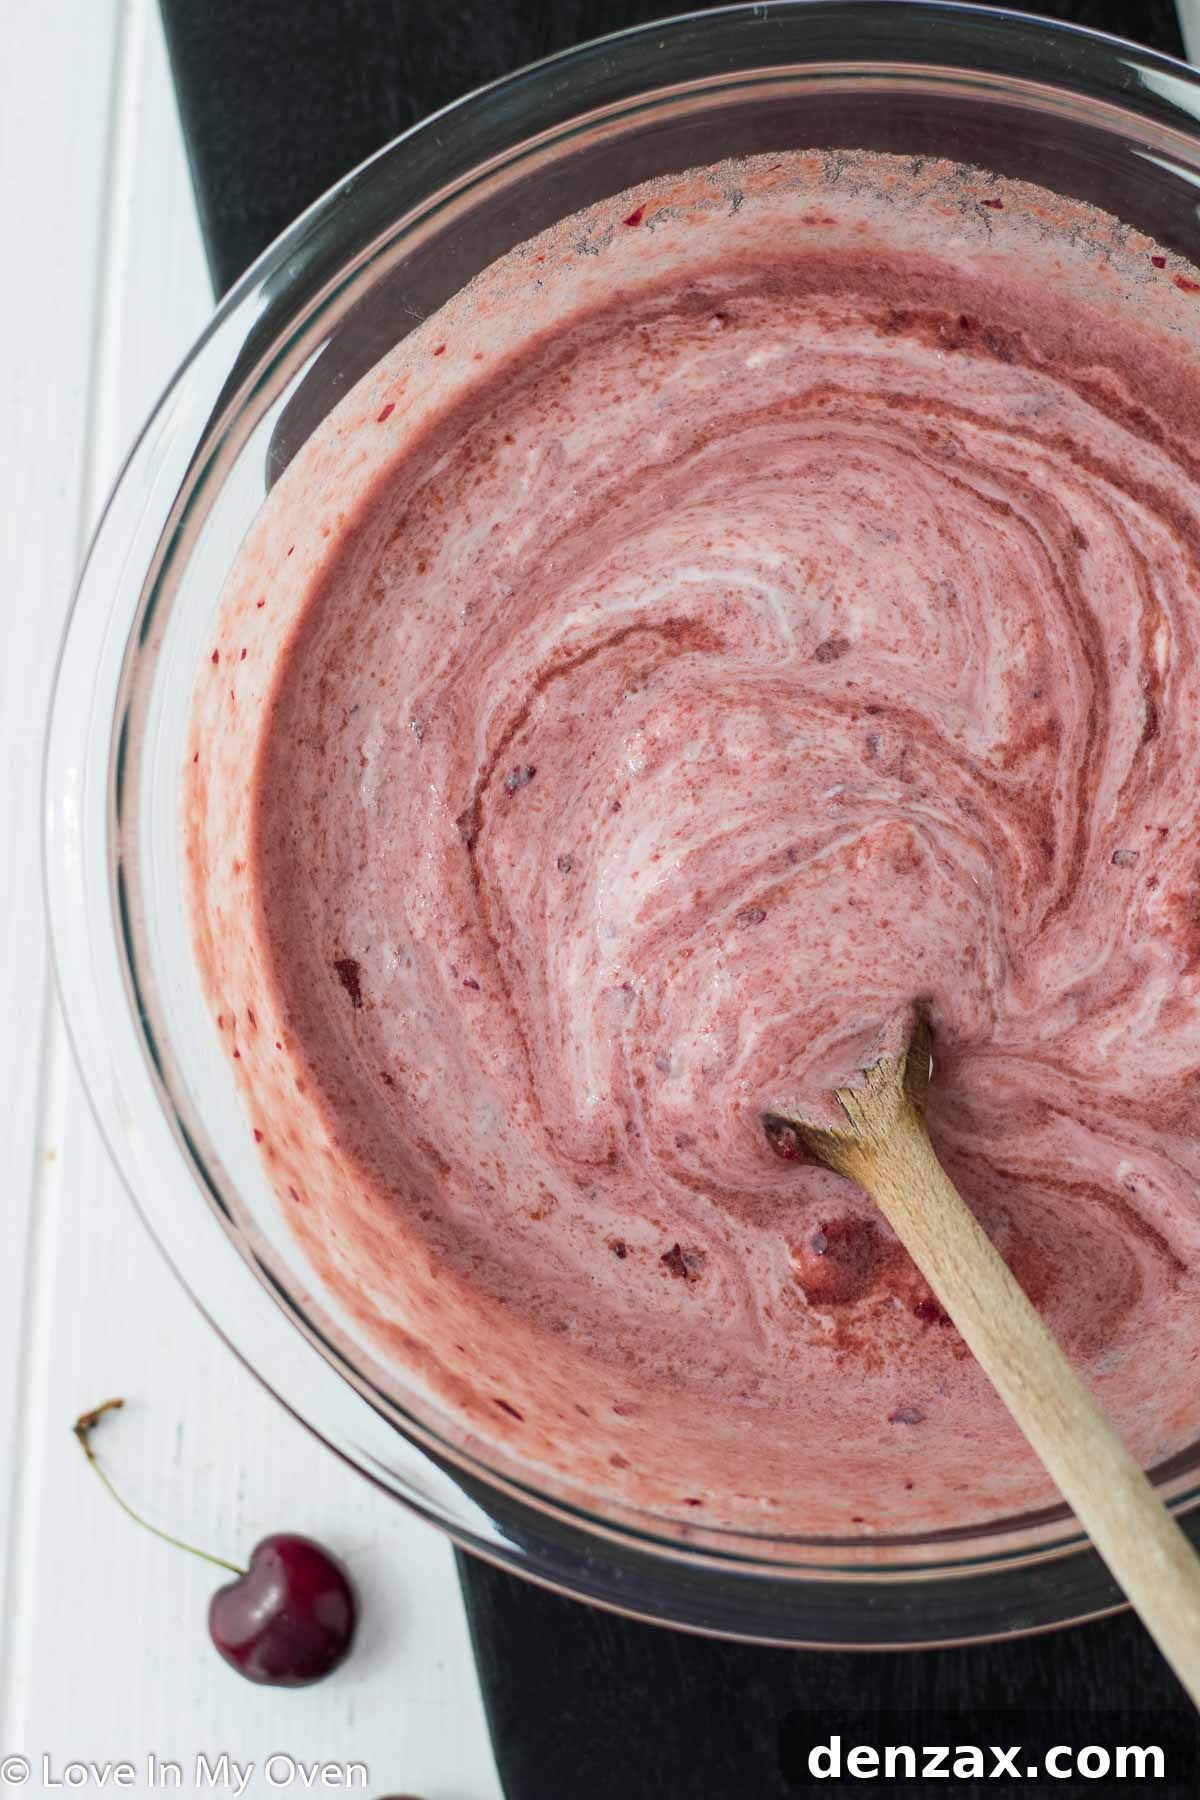
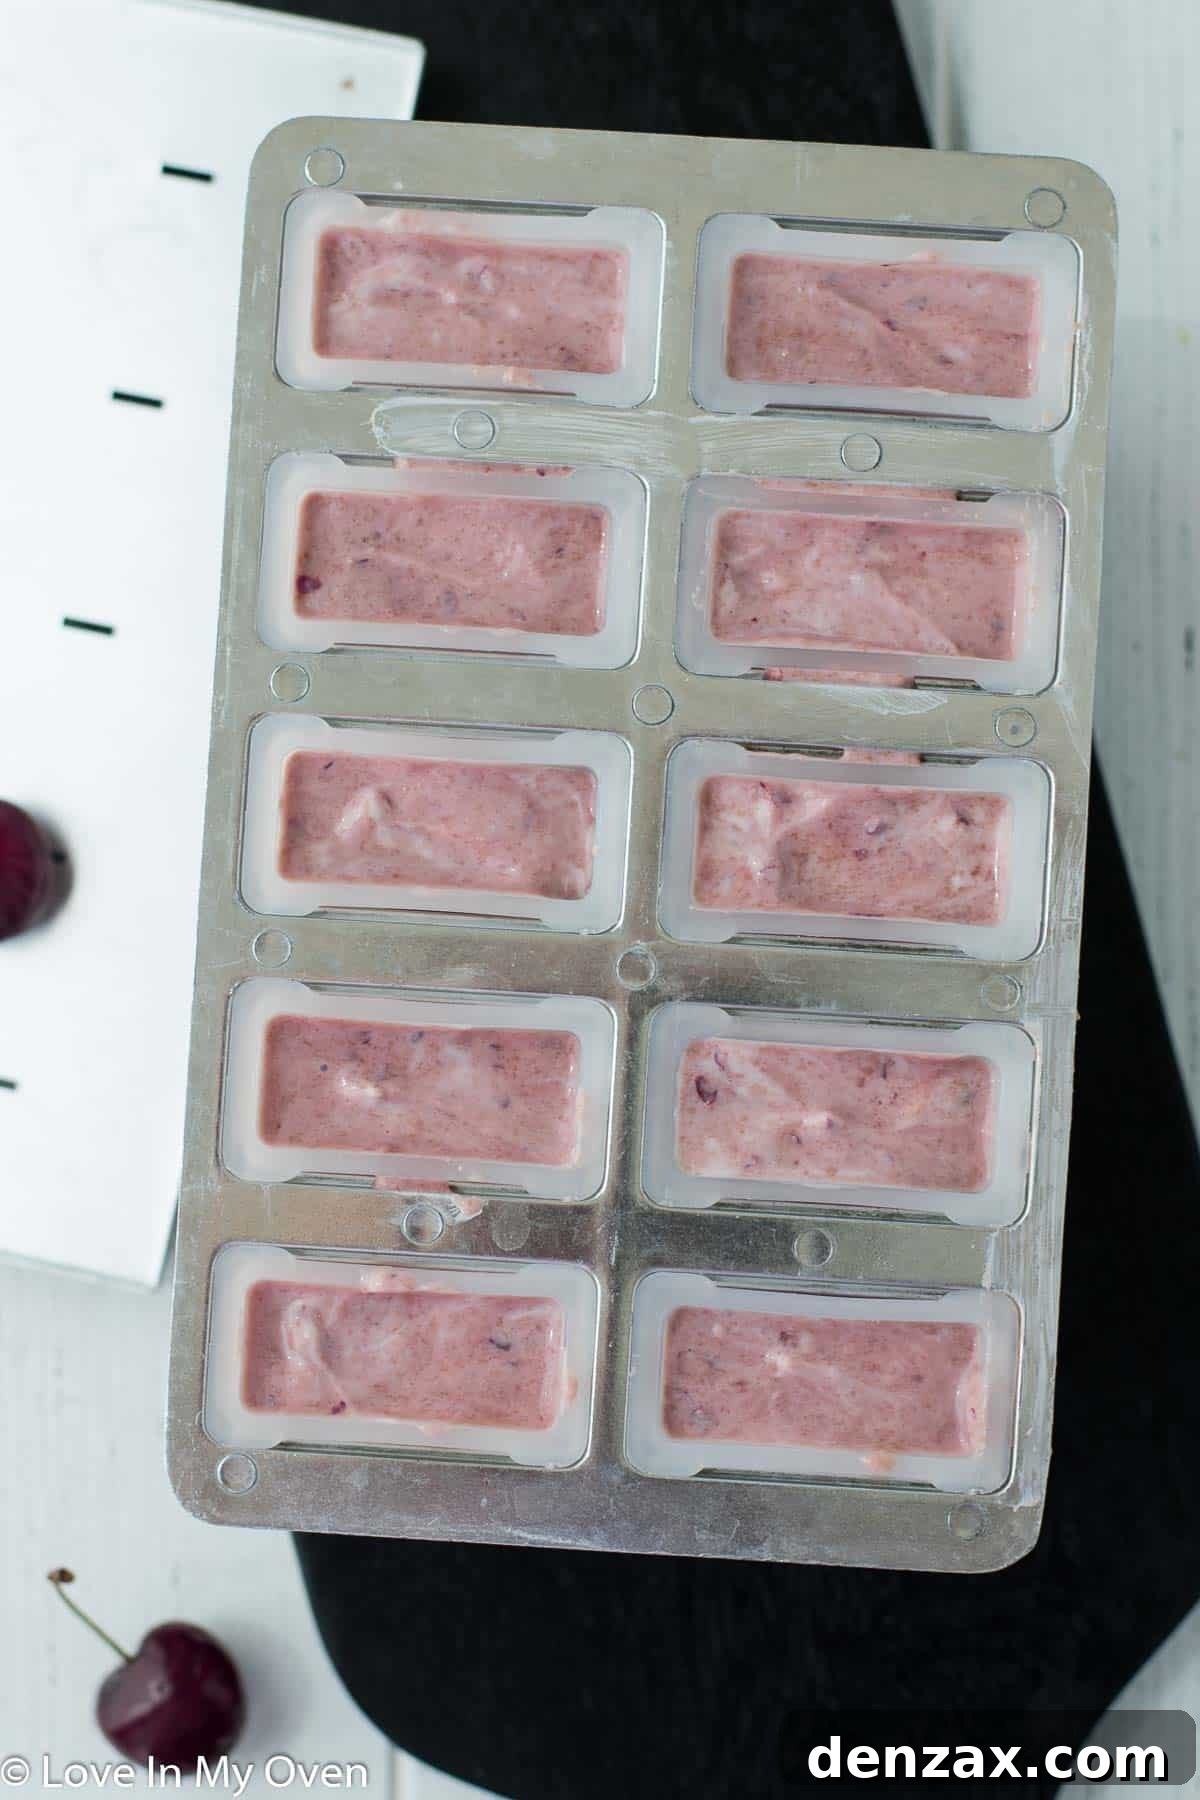
4. Release the Popsicles: Once your popsicles are fully frozen and hard, it’s time to release them from the molds. This step is crucial to avoid breaking your delicious treats. Simply run the outside of the popsicle mold under warm (not hot!) tap water for about 10-20 seconds. You’ll feel the popsicles gently loosen. Then, carefully pull on the stick to release each popsicle. If they don’t release easily, run them under water for a few more seconds.
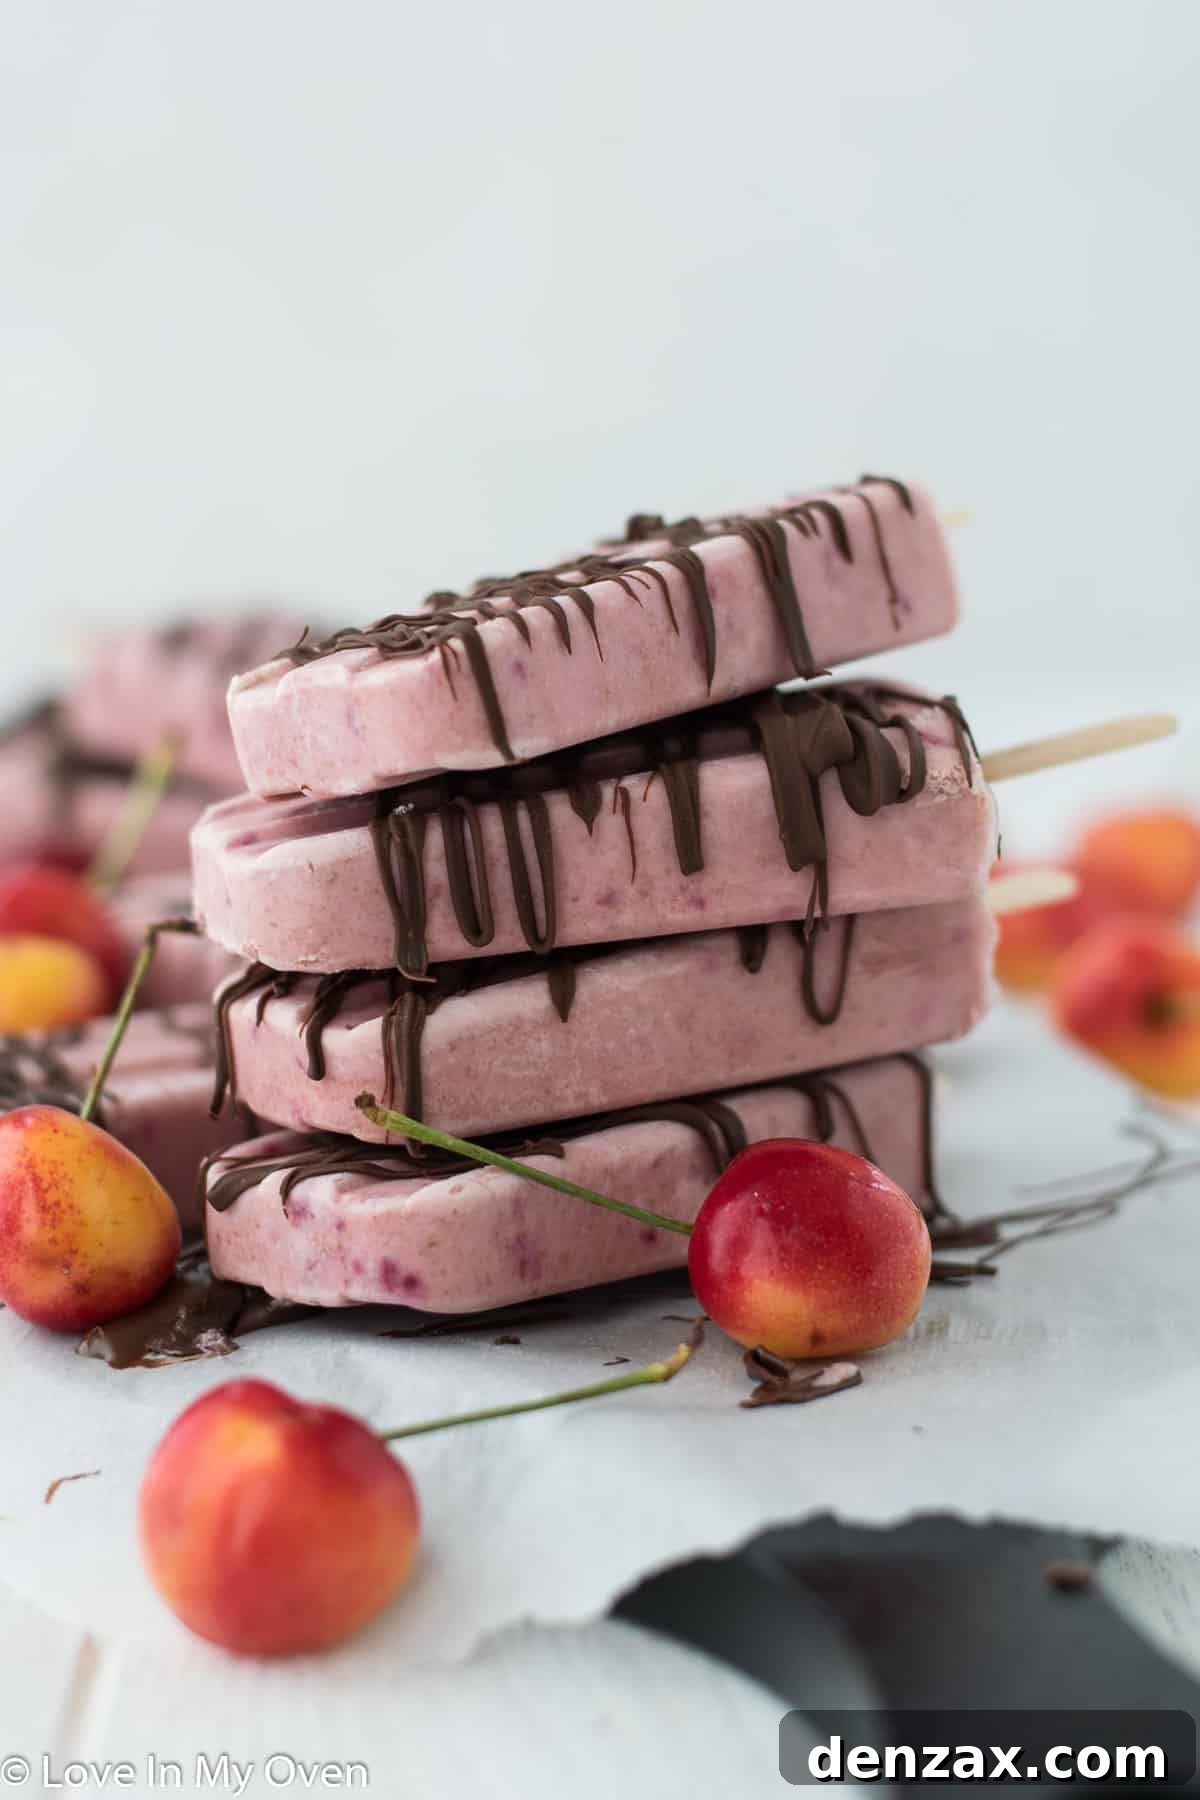
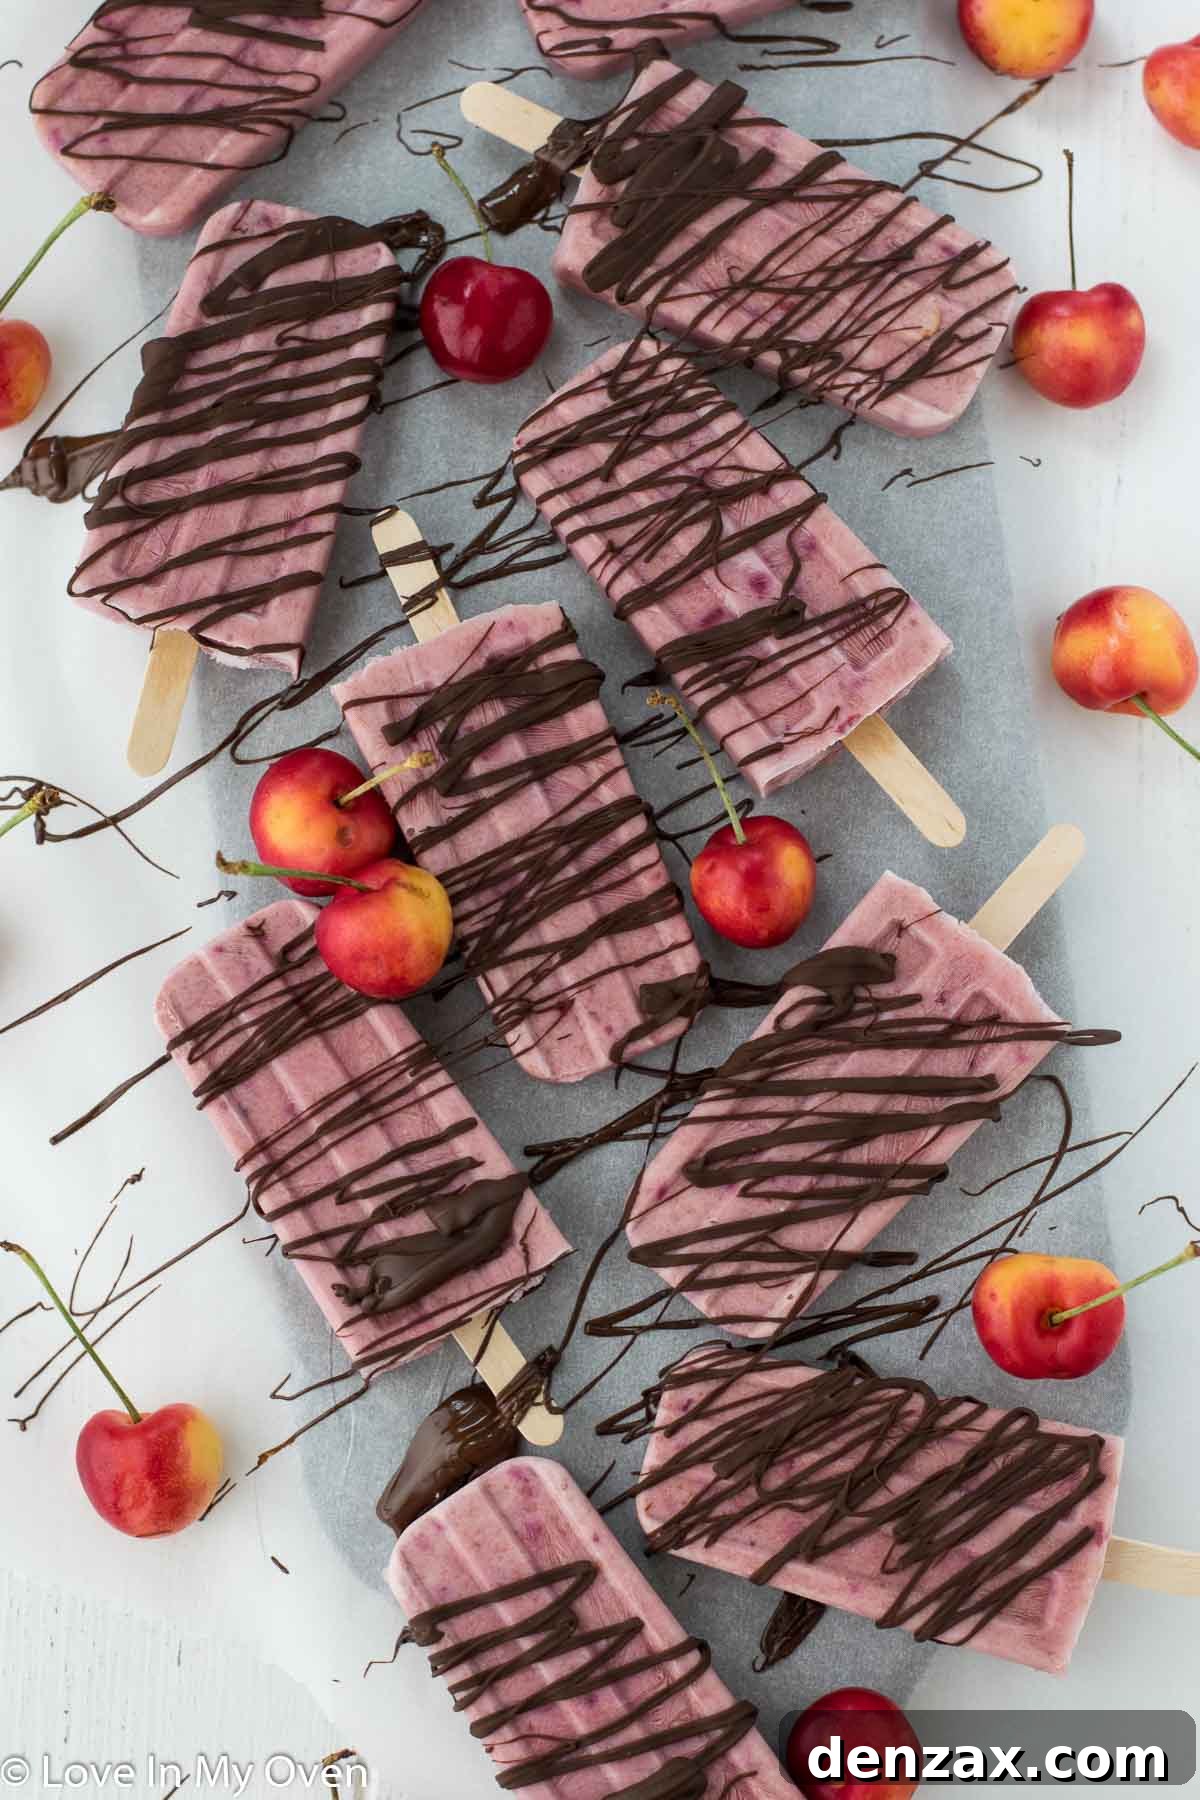
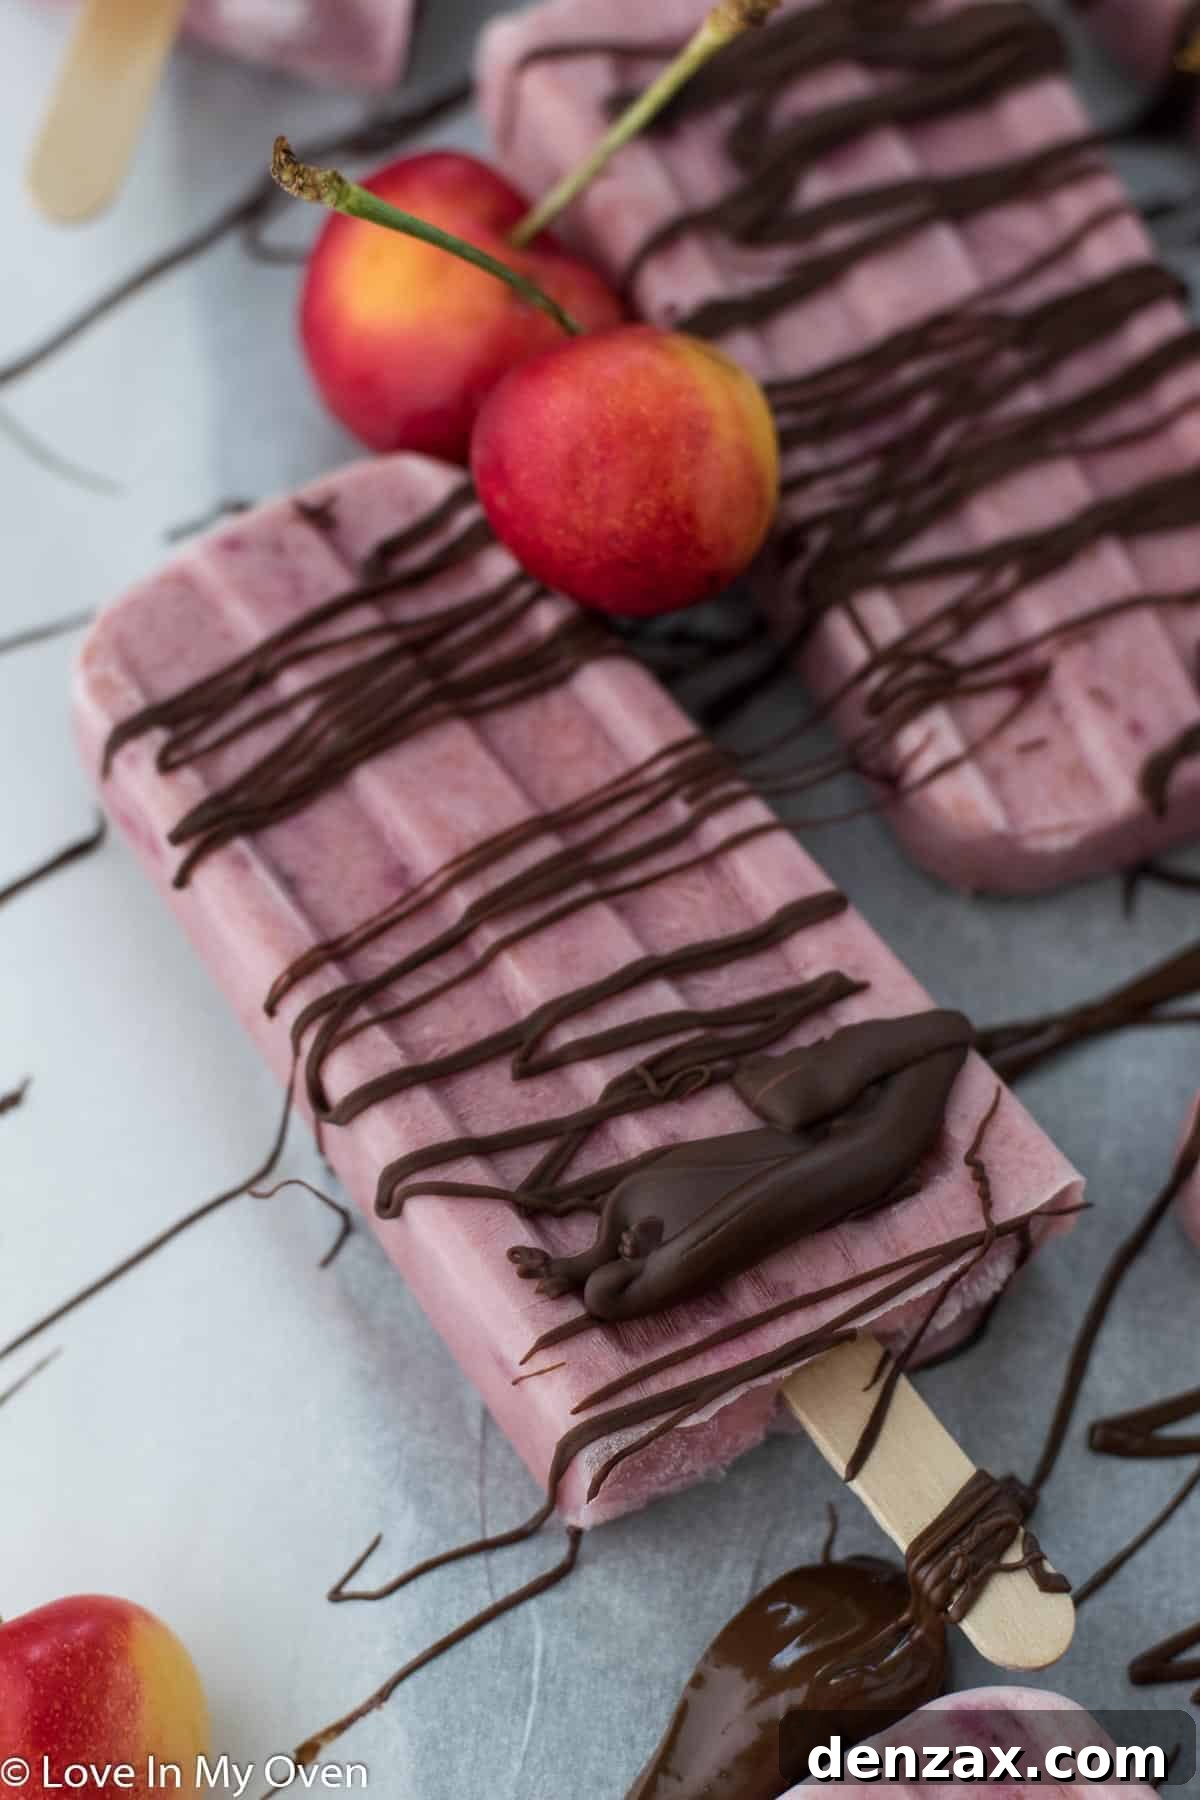
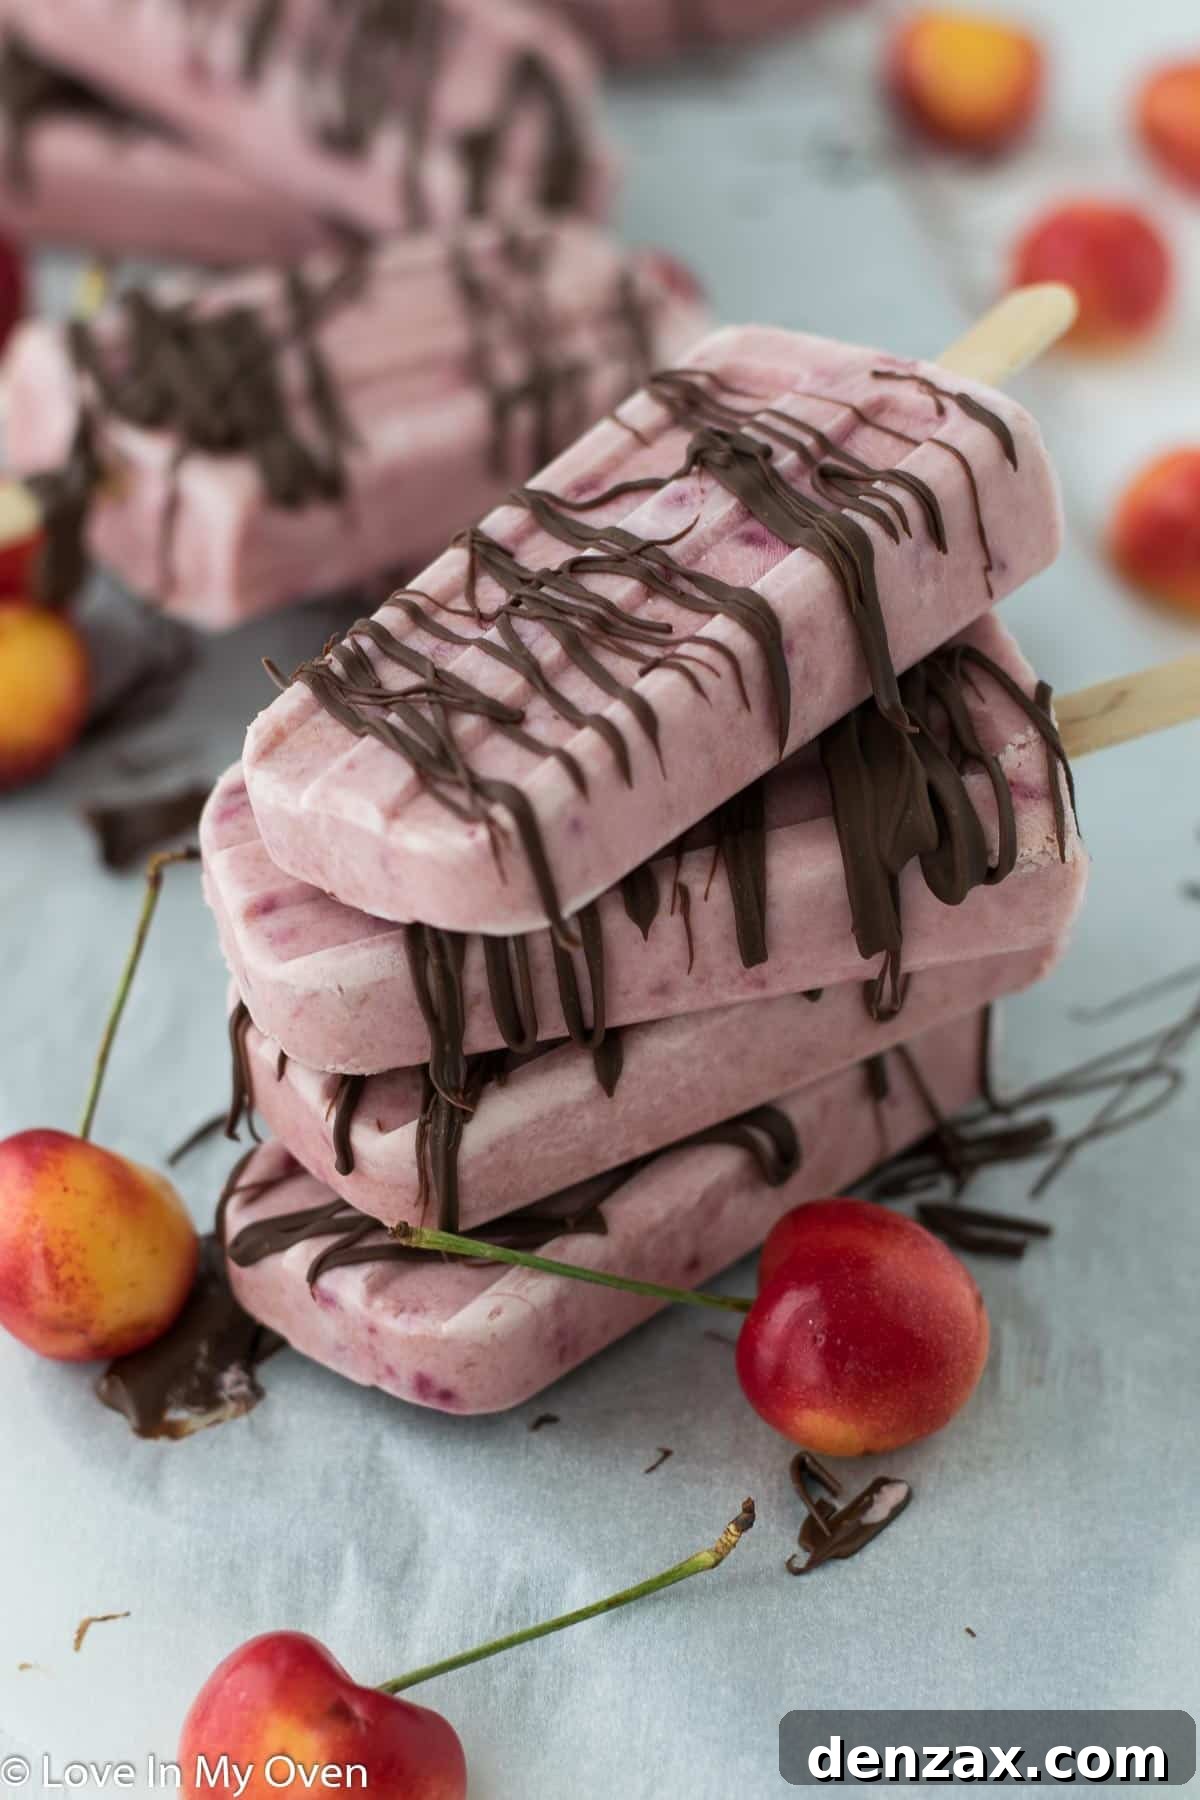
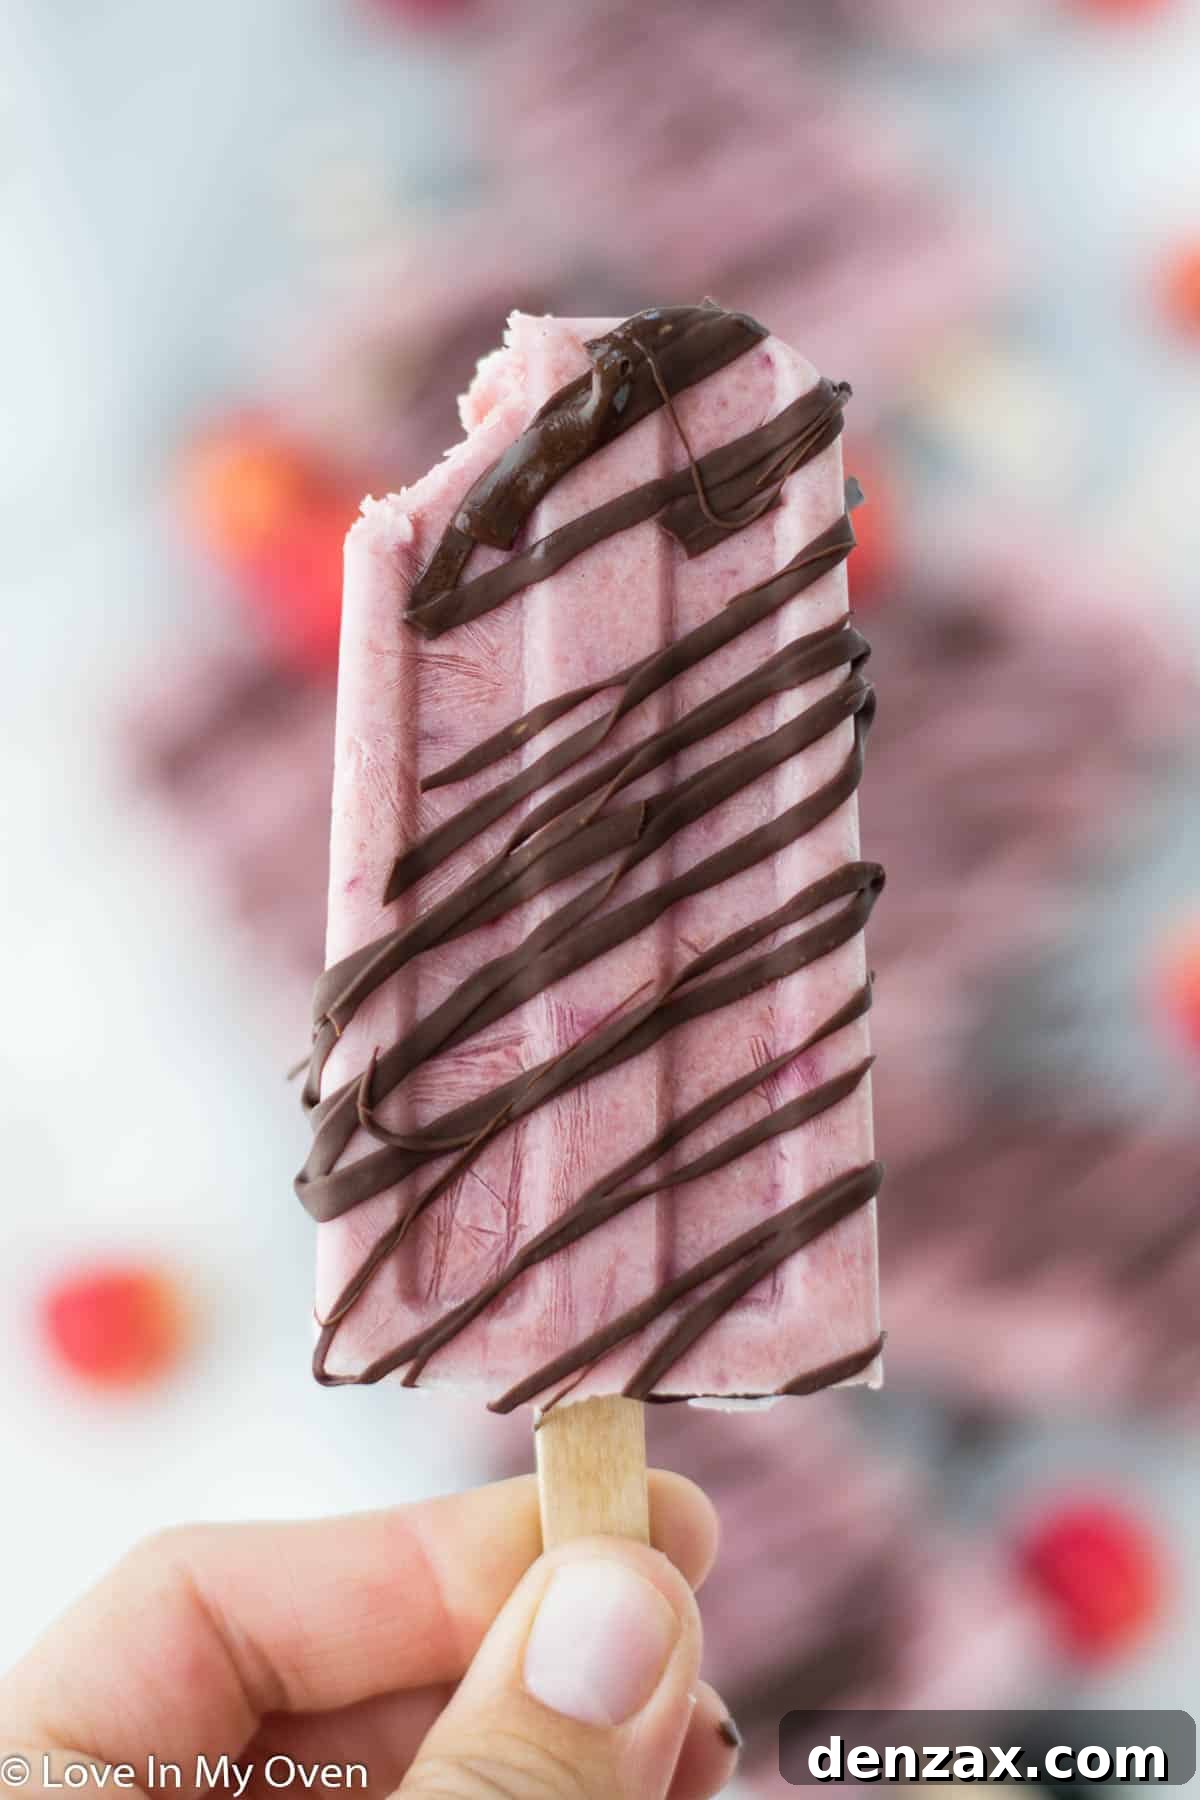
5. Optional Chocolate Drizzle: For an extra special and decadent touch, consider adding a chocolate drizzle! Place the released popsicles on a baking pan that’s been lined with parchment paper. In a microwave-safe bowl, melt your favorite chocolate chips in 30-second intervals, stirring well after each interval, until the chocolate is smooth and melted. Be careful not to overheat it. Using a spoon, drizzle the melted chocolate generously over each popsicle. Once drizzled, immediately place the baking pan back into the freezer for about 5 minutes, or until the chocolate hardens completely. This quick re-freeze sets the chocolate perfectly, preventing a mess.
Storage Solutions: How Long Do These 3-Ingredient Popsicles Last?
Proper storage is key to enjoying your homemade Greek yogurt cherry popsicles for as long as possible. Once they are thoroughly frozen, whether with or without the chocolate drizzle, carefully remove them from their molds and transfer them to an airtight container or bag. If you opt for a vacuum seal bag, these delicious popsicles can maintain their optimal freshness and flavor for an impressive 4-5 months! This method effectively prevents freezer burn and keeps them tasting just as good as the day you made them.
If you’re using a standard freezer-safe Ziploc bag, they might start to show signs of freezer burn after a couple of months. While still edible, their texture and taste might be slightly compromised. The good news is, these popsicles are so incredibly delicious and popular that they rarely last a couple of months in our freezer – they tend to disappear much quicker!
Dietary Adaptations: Can You Make These Popsicles Dairy-Free and/or Vegan?
Absolutely! One of the fantastic aspects of this recipe is its versatility. You can 100% make these Greek yogurt cherry popsicles suitable for a vegan diet or for those avoiding dairy. The key is to swap out the traditional Greek yogurt for a high-quality dairy-free alternative.
When choosing a dairy-free yogurt, be sure to select one that is as thick and creamy as possible. Thicker yogurts will yield a popsicle with a similar indulgent texture to its dairy counterpart. Coconut milk yogurt is an excellent option due to its natural richness and creaminess, making it a perfect substitute. Almond milk yogurt or soy yogurt can also work well, just ensure they are unsweetened or lightly sweetened to control the overall sweetness of the popsicle. For an even more luxurious dairy-free option, you could also experiment with using coconut cream in place of yogurt, which will result in an incredibly smooth and rich popsicle.
If you’re opting for the optional chocolate drizzle and aiming for a vegan treat, remember to use vegan chocolate chips. Many brands offer dairy-free chocolate options that melt beautifully and taste just as delicious. Always check the ingredient label to ensure there are no hidden dairy products.
Explore More Frozen Delights: Some of My Other Favorite Popsicle Recipes
If you’ve fallen in love with the simplicity and deliciousness of these cherry popsicles, you’re in for a treat! My kitchen is often a laboratory for crafting new and exciting frozen desserts. Here are a few more of my absolute favorite popsicle recipes that I’m sure you’ll enjoy. They offer a variety of flavors and textures, perfect for any craving or occasion:
- Mango Coconut Popsicles: A tropical escape in every bite, blending sweet mango with creamy coconut for an irresistible flavor.
- Chocolate Dipped Ice Cream Bars: For those who crave classic indulgence, these homemade bars are pure bliss, especially with a thick chocolate shell.
- Coconut Lime Popsicles: A zesty and refreshing combination that’s both creamy and tart, perfect for a palate cleanser on a hot day.
These recipes are all designed with ease and flavor in mind, ensuring you can whip up delicious homemade treats without a fuss. Happy freezing!
Print Recipe

Greek Yogurt Cherry Popsicles
5 Stars
4 Stars
3 Stars
2 Stars
1 Star
5 from 1 review
- Author: Katherine | Love In My Oven
Total Time: 6 hours
Yield: 12 popsicles 1x
Description
Made with only 3 ingredients, these Greek yogurt cherry popsicles are sweet and creamy and so simple to make! Finish them off with a drizzle of chocolate for an extra special treat.
Ingredients
Scale
- 2 cups fresh cherries, pitted
- 2 tbsp maple syrup
- 2 cups plain Greek yogurt*
- optional: 2 tbsp chocolate chips
Instructions
- Add the cherries to a high-speed blender and blend on high until smooth and pureed, about 30 seconds to a minute. Add the maple syrup and blend again for an additional 15 seconds. Pour the mixture into a large mixing bowl.
- Add the Greek yogurt and use a spatula or spoon to stir in the Greek yogurt until fully incorporated. You can also leave it looking swirly for a fun effect! Pour the mixture into a 12-count popsicle mold and insert a popsicle stick into each mold. Place the popsicles in the freezer for 5-6 hours until firm.
- To release the popsicles from the molds, run the outside of the mold under hot water until the popsicles easily release.
- Optional: Chocolate drizzle. Place the popsicles on a baking sheet lined with parchment paper. Microwave the chocolate chips in a heat-safe bowl on high in 30 second increments, stirring in between, until smooth. Use a spoon to drizzle the melted chocolate all over the popsicles. Place the baking sheet back into the freezer until the chocolate is hardened, about 5 minutes.
Store the popsicles in the freezer, in a Ziploc bag for 2 months or vacuum sealed bag for 5-6 months.
Notes
*For a sweeter popsicle, use vanilla flavored Greek yogurt. You can also use a dairy-free yogurt alternative to keep these popsicles vegan!
- Prep Time: 5 minutes
- Category: popsicles
- Method: freezer
- Cuisine: american