
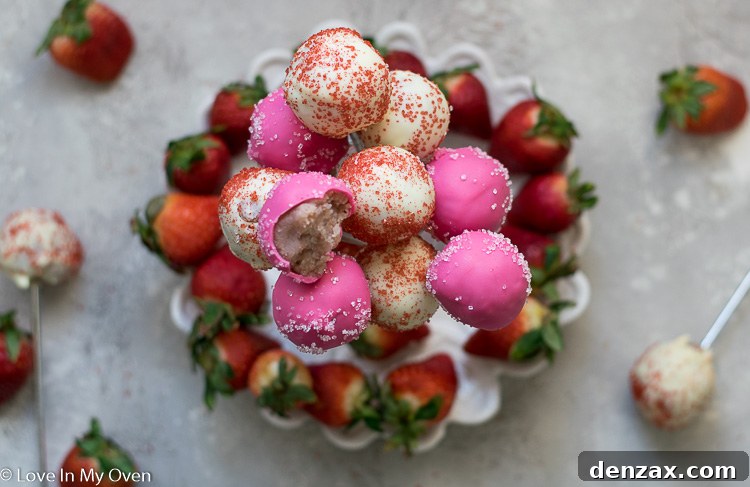
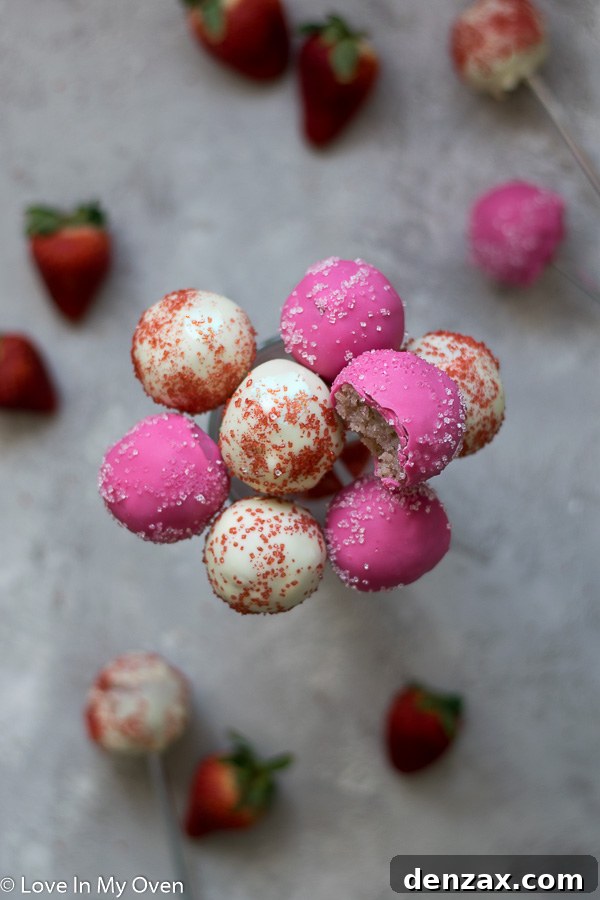
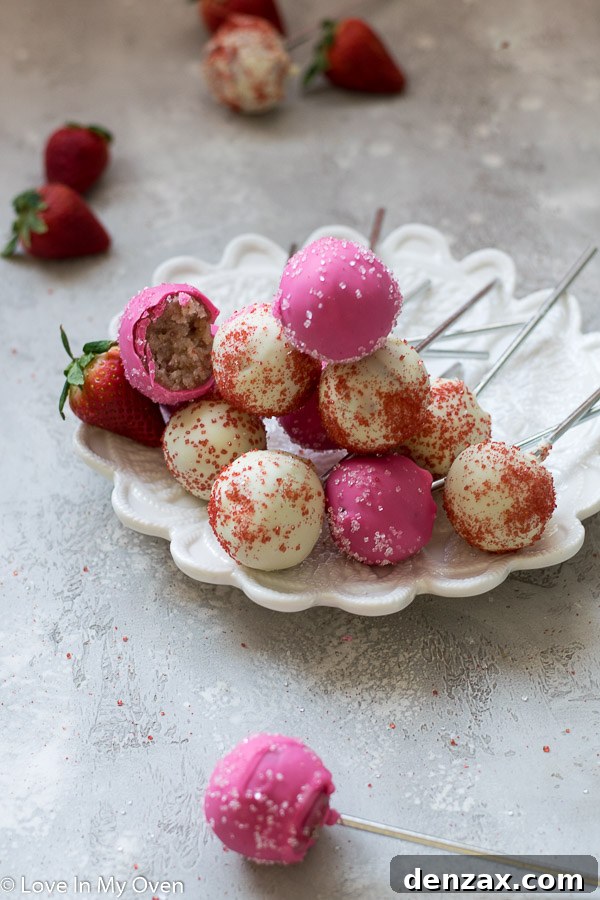
Experience the ultimate delight with these homemade strawberry cake pops, crafted entirely from scratch! This recipe promises a burst of fresh strawberry flavor and is surprisingly simple to create, making it the perfect treat for any celebration or just a sweet craving.
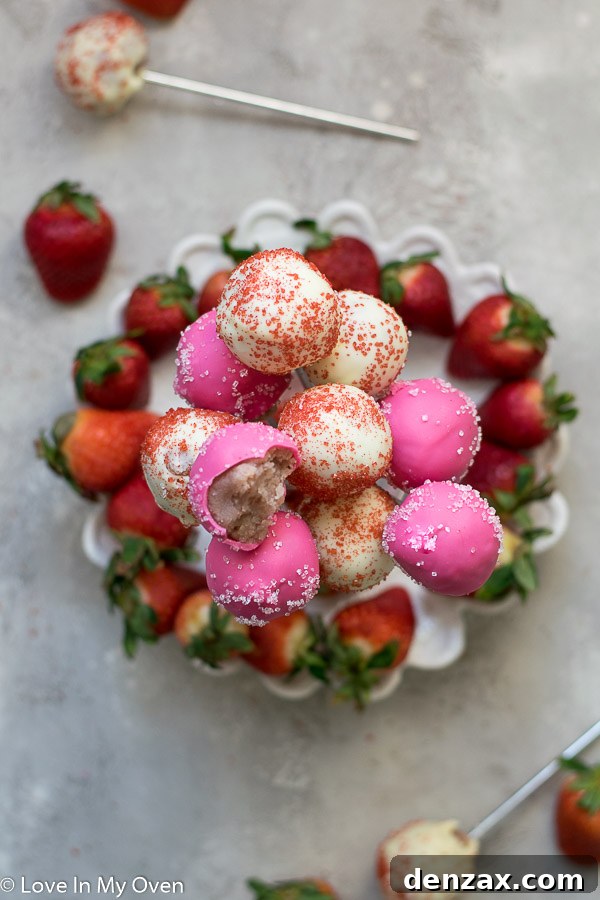
As February rolls in, bringing with it the season of love and all things delightful, we find ourselves perfectly poised to indulge in an array of sweet, vibrant, and utterly charming treats. Valentine’s Day often serves as the perfect excuse to embrace heartwarming, sometimes cheesy, desserts, and these strawberry cake pops fit the bill beautifully. While I’m generally a fan of any reason to celebrate with confections, these particular cake pops hold a special place, born from a delightful impulse to transform leftover strawberry buttercream into something truly magical.
My kitchen adventures frequently involve finding creative ways to use ingredients. Instead of simply enjoying the leftover strawberry buttercream straight from the bowl – a tempting habit, I must admit – I decided to elevate it into a new, exciting dessert. Knowing how much my children adore cake pops, it was an obvious choice. They don’t often get to enjoy these delightful treats, maybe a rare indulgence from a coffee shop, but the price tag can quickly add up. Homemade versions, however, are not only far more economical but also offer the unmatched satisfaction of fresh, quality ingredients and customizable flavors. Plus, you can whip up a generous batch and freeze some for later!
What Exactly Are Cake Pops?
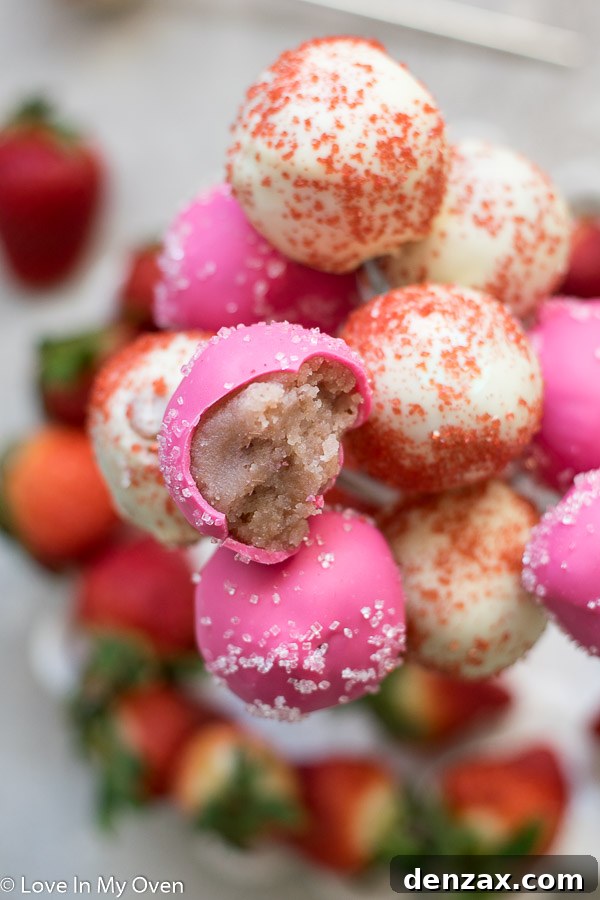
For anyone who might be new to the wonderful world of confectionary, a cake pop is a delightful, bite-sized dessert that combines the rich flavor of cake with the creamy indulgence of frosting, all rolled into a sphere and served on a stick. Imagine your favorite cake, crumbled and expertly blended with a luscious buttercream, then shaped into perfect little balls. These sweet spheres are then typically dipped in melted chocolate or candy coating and often adorned with sprinkles or other decorations, transforming them into miniature works of art. They’re not just incredibly fun to eat – especially for kids who adore anything on a stick – but also serve as an impressive and charming addition to any party or special occasion. Their popularity has soared over the last decade, making them a staple at birthday parties, weddings, and holiday gatherings. This guide will walk you through creating the most enchanting strawberry cake pops that are sure to be a crowd-plepleaser.
Crafting Your Perfect Strawberry Cake Pops from Scratch
This particular recipe focuses on an authentic, from-scratch experience, using a homemade strawberry cake base perfectly complemented by a rich, homemade strawberry buttercream. The combination creates an explosion of natural strawberry flavor that simply can’t be replicated with store-bought mixes. Let’s dive into the steps to create these seriously delicious treats.
Step 1: Preparing the Fresh Strawberry Puree
The secret to vibrant strawberry flavor in both the cake and buttercream is a fresh, homemade strawberry puree. You’ll need about 1 1/2 cups of diced strawberries, which can be fresh or frozen. Place the strawberries in a small saucepan with just a teaspoon of water. Cook them over medium heat for about 10-15 minutes until they become wonderfully soft and juicy. Once softened, you can either use an immersion blender directly in the pot or transfer the strawberries to a standard blender to achieve a perfectly smooth puree. For an even more concentrated flavor and thicker consistency, return the pureed strawberries to the pot and simmer for an additional 10 minutes. This step intensifies the natural sweetness and color. Once done, remove it from the heat and allow it to cool completely before incorporating it into your cake and frosting.
Step 2: Baking the Fluffy Strawberry Cake
The foundation of your cake pops is a tender, flavorful strawberry cake. Preheat your oven to 350°F (175°C). Prepare an 8 or 9-inch round cake pan by greasing and flouring it thoroughly, ensuring your cake releases easily. In a large mixing bowl, whisk together the dry ingredients: all-purpose flour, baking powder, baking soda, and salt. Sifting them ensures a light, airy cake texture. In the bowl of a stand mixer fitted with a paddle attachment (or using a handheld electric mixer), beat the softened unsalted butter with granulated sugar until the mixture is light, fluffy, and pale, usually about 1-2 minutes. This creaming process incorporates air, contributing to the cake’s texture. Beat in one large egg and pure vanilla extract until just combined, scraping down the sides of the bowl as needed.
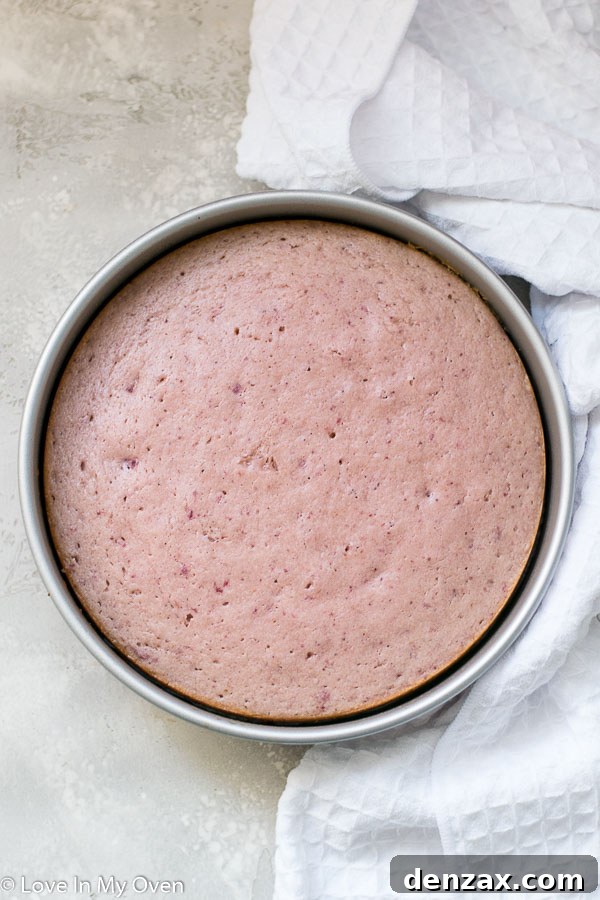
Next, with the mixer on low speed, gradually add half of your dry ingredients, mixing until barely combined. Pour in the buttermilk, followed by the remaining dry ingredients, and finally, your cooled strawberry puree. Mix just until everything is incorporated and no dry streaks remain. Be careful not to overmix, as this can lead to a tough cake. Pour the cake batter into your prepared pan and bake for 28-30 minutes, or until a toothpick inserted into the center comes out clean. Once baked, remove the cake from the oven and let it cool in the pan for about 10 minutes. Then, carefully invert it onto a wire cooling rack to cool completely. This cooling process is crucial – a warm cake will not mix properly with the buttercream. If you’re in a hurry, placing the cake in the refrigerator can speed up the cooling significantly.
Step 3: Whipping Up the Strawberry Buttercream
While your cake cools, prepare the delightful strawberry buttercream. In the bowl of your stand mixer (or with a handheld mixer), beat the softened unsalted butter on high speed for 1-2 minutes until it becomes wonderfully light and fluffy. Gradually add the powdered sugar, mixing on low speed until combined, then increase to medium-high and beat until smooth. Finally, incorporate the remaining cooled strawberry puree. Continue mixing until the buttercream is thoroughly combined, smooth, and creamy. This recipe is meticulously designed to create just the right amount of frosting for your cake. If you opt for a store-bought alternative, you’ll need approximately 1 cup of frosting to achieve the perfect consistency.
Step 4: Combining and Rolling the Cake Pop Base
Once your cake is completely cool, the fun begins! Crumble the entire cake into a large mixing bowl. This step is surprisingly satisfying, transforming a perfectly good cake into a pliable base for your pops. Add the prepared strawberry buttercream to the crumbled cake. Using your hands or a sturdy spoon, mix the cake and buttercream together until a cohesive, dough-like mixture forms. It should be moist enough to hold its shape when pressed.
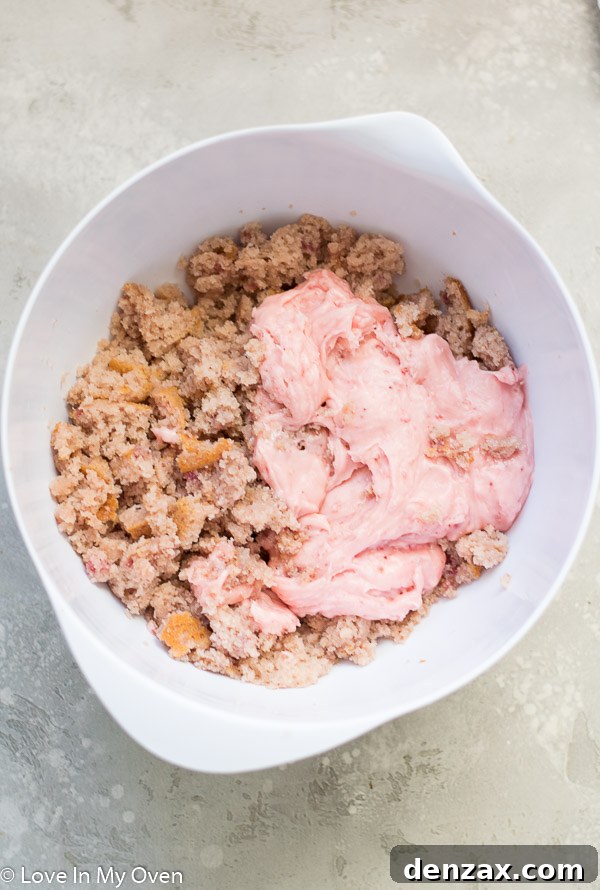
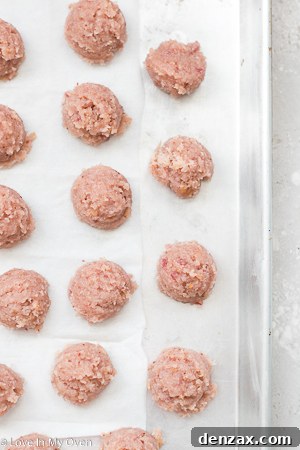
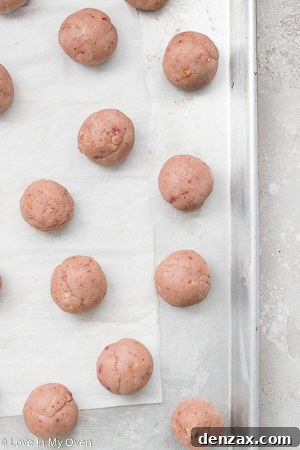
Now, it’s time to roll the cake pops. Scoop out about 1 tablespoon of the mixture for each cake pop. It’s important not to make them too large, as they can become too heavy for the lollipop sticks. Roll the mixture into balls and place them on a parchment-lined baking sheet. Don’t worry if they’re not perfectly spherical at this stage; we’ll refine them later. Once all the cake balls are rolled, transfer the baking sheet to the refrigerator for at least 2 hours to allow them to firm up. This chilling step is vital for easy handling and dipping. After chilling, remove the pan and re-roll each ball gently with your hands to create perfectly smooth, firm spheres. Return them to the fridge until you’re ready for dipping.
Choosing and Melting Your Chocolate Coating
The type of chocolate you choose for dipping can greatly influence the final look and taste of your cake pops. While pure melting chocolate offers a superior taste, it can be quite expensive and sometimes tricky to work with. A fantastic and more accessible alternative is chocolate candy melts, which come in a variety of colors and melt smoothly. If you want to customize your hues, opt for white candy melts and add a small drop of gel food coloring once they’re melted to achieve your desired shade. For these strawberry cake pops, I used white chocolate for some of the white and red variations, and vibrant pink candy melts for others, creating a festive array perfect for Valentine’s Day.
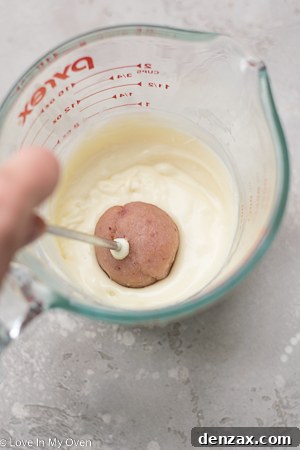
A helpful tip for dipping: a 2-cup glass measuring cup is often the perfect tool! Its depth is ideal for fully submerging your cake pops in the melted chocolate. You can melt your chocolate in a double boiler or in the microwave. If using a microwave, heat in 30-second intervals at half power, stirring well after each interval, until smooth and runny. Be cautious not to overheat the chocolate, as this can cause it to seize.

Step 5: Dipping and Decorating Your Cake Pops
Keep your cake pops in the fridge until you’re ready to dip them, working with only a few at a time. The colder they are, the better they will dip! Take a lollipop stick and dip one end about a half-inch into the melted chocolate, then carefully insert it into the center of a chilled cake ball. This chocolate acts as “glue” to secure the stick. Holding the stick, quickly dunk the entire cake pop into the melted chocolate, covering it completely right down to the base of the stick. Gently tap the stick against the side of your measuring cup to allow any excess chocolate to drip off. For a smooth finish, avoid swirling the pop too much. If you’re using sprinkles or other decorations, add them immediately after dipping, while the chocolate is still wet. To dry, insert the stick into a styrofoam block or a cardboard box with small holes poked into it. Repeat this process for all your cake pops, reheating the chocolate as needed if it starts to thicken. Patience is key for a beautiful finish!
How Long Do Cake Pops Stay Fresh?
Once the chocolate coating has completely hardened, your beautiful strawberry cake pops can be stored in an airtight container. For optimal freshness and texture, they are best kept in the refrigerator, where they will last for up to 2 weeks. If you want to prepare them well in advance or save some for a later indulgence, they can be stored in the freezer for up to 2 months. While they can be left at room temperature for a short period (up to a day, especially if the weather is cool), chilling them significantly extends their shelf life and maintains their firm texture and delightful coolness. Always allow frozen cake pops to thaw in the refrigerator for a few hours before serving.
Whether you’re celebrating Valentine’s Day, a birthday, or simply looking for a fun and delicious baking project to do with the kids, these homemade strawberry cake pops are an absolute winner. Their fresh flavor, charming appearance, and delightful texture make them an unforgettable treat that everyone will adore. Give this recipe a try and watch the smiles light up!
For more delightful cake pop creations, check out my Halloween Cake Pops, perfect for a spooky twist!
And if you’re craving more cake, here are a few other favorite cake recipes:
- Salted Caramel Apple Cake
- Mini Chocolate Cake (Anniversary Cake for Two)
- 3-Ingredient Flourless Chocolate Cake
Print Recipe

Strawberry Cake Pops
4.7 out of 6 reviews
- Author: Katherine | Love In My Oven
- Total Time: 4-5 hours
- Yield: 40 cake pops
Description
All made from scratch, these strawberry cake pops are truly delicious! This cake pops recipe is full of flavor and super easy to make. It’s a great treat for a party or just because!
Ingredients
Scale
Strawberry Puree
- 1 1/2 cups diced strawberries (fresh or frozen)
Strawberry Cake
- 1 1/3 cups all-purpose flour
- 1/2 tsp baking powder
- 1/4 tsp baking soda
- 1/2 tsp salt
- 1/3 cup unsalted butter, room temperature
- 3/4 cup granulated sugar
- 1 egg, room temperature
- 1 tsp pure vanilla extract
- 1/2 cup buttermilk*
- 1/2 cup strawberry puree
Strawberry Buttercream
- 1/2 cup unsalted butter, room temperature
- 1 3/4 cup powdered sugar
- 1/4 cup strawberry puree
- 4–5 cups chopped chocolate or candy melts
- Sprinkles, for decorating
Instructions
- Prepare the strawberry puree. Add the strawberries to a small saucepan with 1 tsp of water and cook them over medium heat for about 10-15 minutes, until softened. Either using an immersion blender or placing the strawberries into a blender, blend the strawberries until smooth. Return the strawberries to the pot and simmer for 10 more minutes. Remove from heat and allow it to cool completely.
- Bake the cake. Preheat the oven to 350°F (175°C). Grease and flour an 8 or 9-inch cake pan and set aside. In a large mixing bowl, sift together the flour, baking powder, baking soda, and salt. In a stand mixer fitted with the paddle attachment, or using a handheld electric mixer, beat the butter and sugar together until light and creamy, about 1 minute. Add the egg and vanilla, and mix together. With the mixer running on low, slowly mix in half of the dry ingredients. Add the buttermilk, followed by the remaining dry ingredients, and then the strawberry puree. Mix just until combined. Pour the cake batter into the prepared cake pan, and bake for 28-30 minutes, or until a toothpick inserted in the middle comes out clean. Remove the cake from the oven and allow it to cool for 10 minutes, before inverting it onto a cooling rack to cool completely, about 2 hours.**
- Prepare the strawberry buttercream. In the bowl of a stand mixer fitted with the paddle attachment, or using a handheld electric mixer, beat the butter on high for 1-2 minutes or until light and fluffy. Add in the powdered sugar, followed by the strawberry puree. Mix until thoroughly combined and smooth.
- Crumble the cooled cake into a large mixing bowl, and stir in the strawberry buttercream until mixed together. 1 tablespoon at a time, roll the mixture into balls and place them on a parchment-lined baking sheet. Once all the balls are rolled out, place the baking sheet in the fridge for 2 hours to firm up. Remove the pan and re-roll the balls with your hand to create firm, smooth balls. Place the pan back in the fridge.
- Melt half the chocolate in a double boiler or in the microwave, in 30-second intervals and at half power.*** Once the chocolate is smooth and runny, remove a few cake pops from the fridge. Dip a lollipop stick about a half-inch into the melted chocolate, then carefully insert it into the middle of a cake pop. Holding it by the stick, dip the cake pop directly into the melted chocolate, covering it right to the base of the stick. Tap the cake pop lightly against the side of the cup to remove any excess chocolate. Add sprinkles immediately after dipping, if you’re using. Place the cake pop to dry into a styrofoam block or cardboard box with some small holes poked into it. Repeat with the remaining cake pops, heating the other half of chocolate up when the melted chocolate begins to run low. Once the cake pops are dry, remove and enjoy!
The dry cake pops can be removed and stored in an airtight container or freezer bag for up to 2 weeks in the fridge, or 2 months in the freezer.
Notes
*If you do not have buttermilk, make your own by adding 2 tsp lemon juice or vinegar to 1/2 cup whole milk.
**To speed up the cooling process, place the cake in the fridge.
***I love to use a glass 2-cup measuring cup for dipping (see post text above). You can melt the chocolate right in the measuring cup or pour the melted chocolate into it.
Cake recipe and methodology for the cake pops is adapted from Sally’s Baking Addiction.
- Prep Time: 1 hour
- Cook Time: 30 minutes
- Category: dessert
- Method: oven bake
- Cuisine: american