
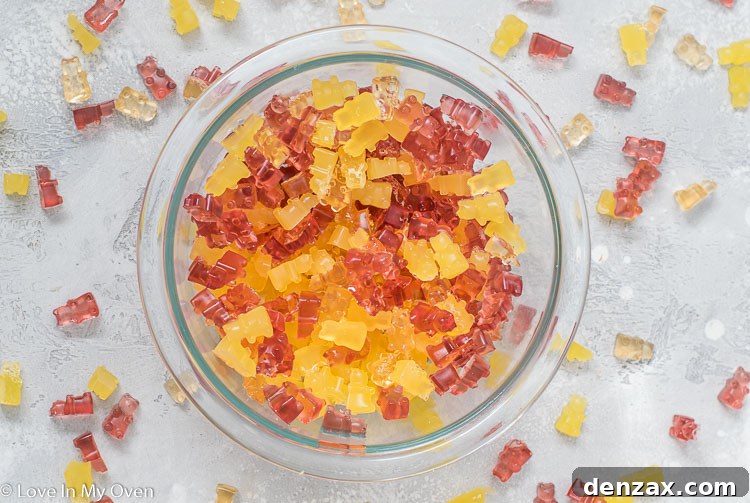
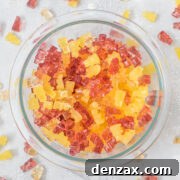
Experience the joy of making your own healthy gummy bears! Say goodbye to store-bought varieties loaded with refined sugar and artificial ingredients. This incredible 3-ingredient recipe allows you to create delicious, wholesome gummy bears that are perfect for you and your entire family. Get ready for a treat that’s as fun to make as it is to eat!
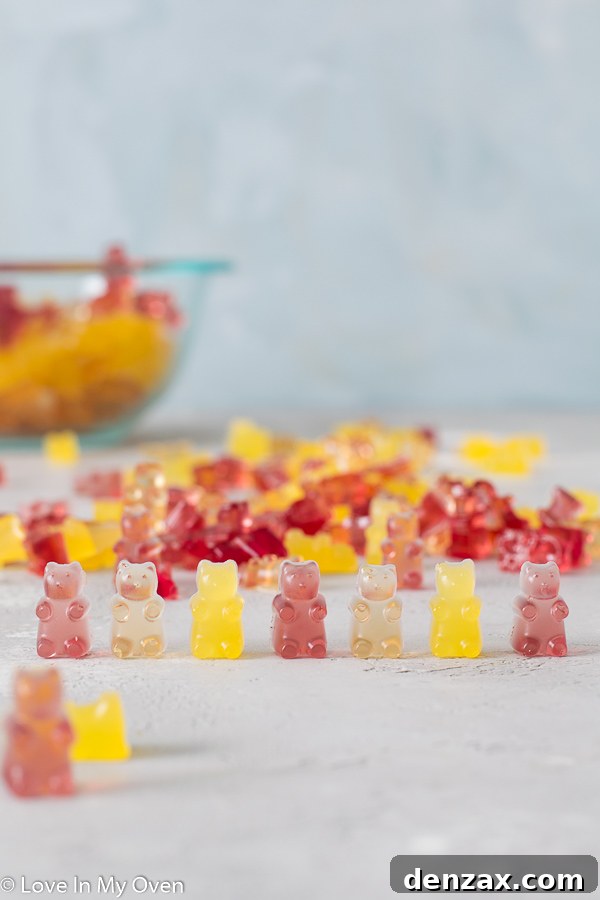
Unlock the Secret to Delicious Homemade Gummy Bears
There’s never been a better time to embrace the simplicity and satisfaction of homemade treats. With more of us spending quality time in our kitchens, simple recipes that deliver big on flavor and health benefits are a true treasure. And what could be more delightful than vibrant, chewy, and naturally sweetened gummy bears? These aren’t just any gummies; they are a beacon of “happy” that will brighten any day.
In our bustling lives, finding moments for creativity and bonding, especially with kids, is precious. While our days might be filled with playful wrestling matches and endless energy, dedicating time to culinary adventures can be incredibly rewarding. Making these healthy homemade gummy bears with my little ones has been a fantastic way to connect, learn, and create something truly special together. The best part? They’re significantly healthier than the sugary versions you find in stores, making them a guilt-free pleasure for everyone.
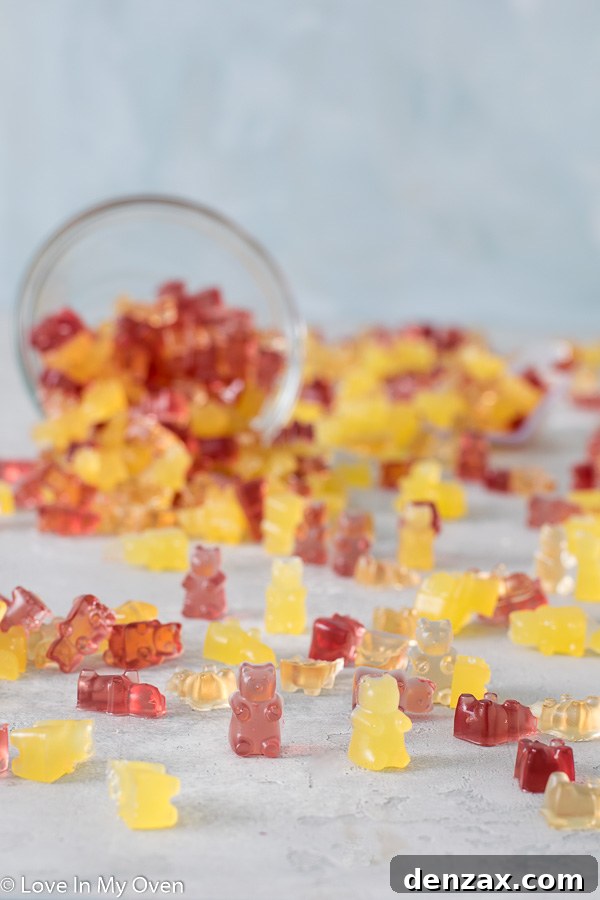
How to Craft Your Own Healthy Gummy Bears from Scratch
Creating homemade gummy bears is surprisingly straightforward, and the magic lies in just three core ingredients. Forget complicated lists and lengthy preparations; this recipe simplifies the process without compromising on taste or texture. The basic formula for these delightful treats includes:
- Natural Fruit Juice: The foundation for flavor and color.
- Quality Gelatin: Essential for that signature chewy gummy texture.
- A Wholesome Sweetener: To add natural sweetness without refined sugars.
Choosing the Perfect Ingredients for Your Gummies
Juice Selection for Vibrant Flavors
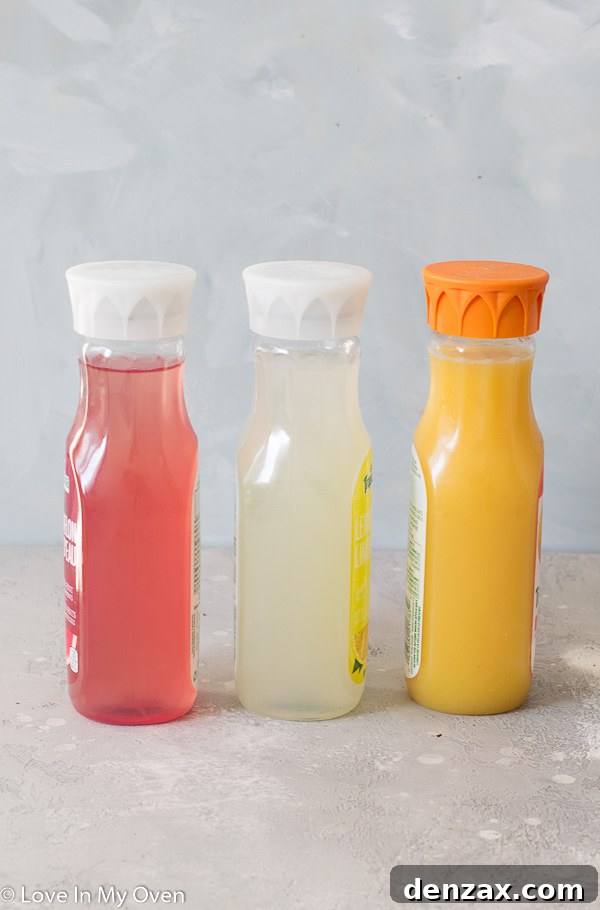
The beauty of homemade gummy bears is the freedom to customize flavors. You can use virtually any unsweetened, 100% fruit juice. Think beyond the ordinary! For a burst of summer, try watermelon juice, or for a tangy twist, fresh lemonade. Orange juice offers a classic, sweet-tart experience. Don’t be afraid to experiment with mixed berry, apple, grape, or even exotic fruit blends like mango or pineapple. The key is to choose juices with no added sugar to maintain the healthy profile of your gummies. If you prefer a richer, more concentrated flavor, you can even use a small amount of fruit puree diluted with water.
The Power of Gelatin
Gelatin is the unsung hero of gummy bears, providing their characteristic bounce and chewiness. While many brands are available, I personally prefer Vital Proteins Gelatin for its non-GMO and gluten-free qualities. However, any unflavored gelatin will work, including popular options like Knox gelatin found easily at your local grocery store. Gelatin isn’t just for texture; it also offers fantastic health benefits, supporting joint health, skin elasticity, and digestive well-being.
Natural Sweeteners for a Guilt-Free Treat
To keep these gummies free from refined sugars, we opt for natural sweeteners. My top choice is pure maple syrup, which adds a subtle, earthy sweetness. However, honey or agave nectar are excellent alternatives that perform just as well. You can adjust the amount of sweetener to your personal preference, typically ranging from 1 to 3 tablespoons, depending on the natural sweetness of your chosen juice and your desired level of indulgence.
The Simple Steps to Gummy Perfection
The process of making these gummies is straightforward and rewarding:
- Gently Heat the Liquid: Combine your chosen fruit juice and sweetener in a medium saucepan. Heat this mixture over medium-high heat until it reaches a gentle simmer. This warm base is crucial for dissolving the gelatin properly.
- Incorporate the Gelatin: Once the juice and sweetener begin to bubble, remove the saucepan from the heat. This prevents the gelatin from clumping. Evenly sprinkle the plain gelatin over the warm liquid. Immediately begin whisking vigorously until the gelatin is completely dissolved and no lumps remain. Continue whisking until the mixture is smooth and cohesive.
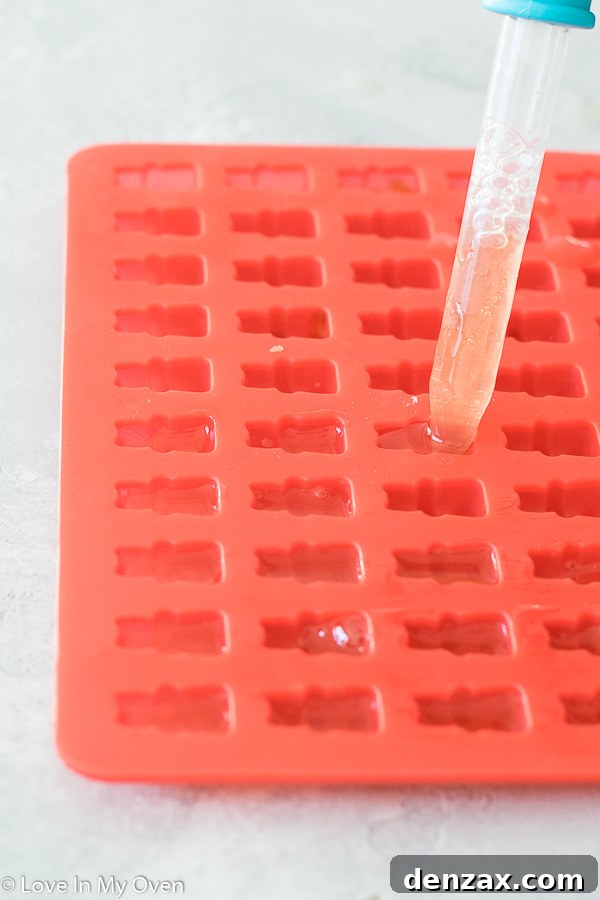
- Mold and Chill: This is where the fun truly begins! Using a dropper syringe, carefully fill each cavity of your silicone gummy bear mold with the warm liquid mixture. Work quickly, as the gelatin will start to set as it cools. While a dedicated gummy bear mold (like this one I use) is ideal for that classic shape, you can use any silicone mold you have on hand – mini chocolate molds or even ice cube trays can work!
- Set and Enjoy: Once all the molds are filled, transfer them to the refrigerator. Allow the gummies to chill for at least 20 minutes, or until they are completely firm and easily pop out of the molds.
Storage and Shelf Life: Keeping Your Gummies Fresh
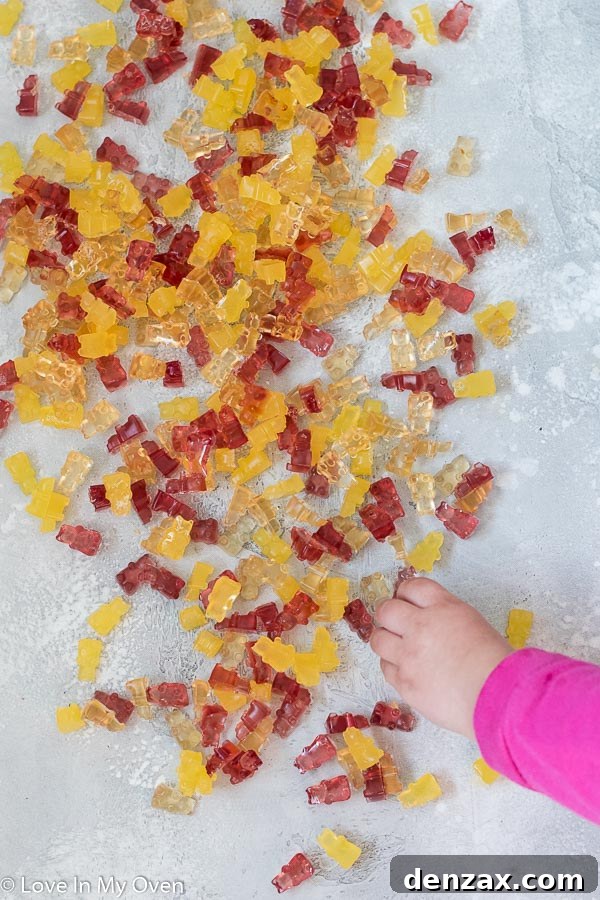
A common question about homemade gummies is how to store them. While initial refrigeration is essential for the gelatin to set, these delightful treats are surprisingly resilient. You can leave them out at room temperature for up to a full day without them melting or losing their form, making them perfect for lunchboxes or party favors.
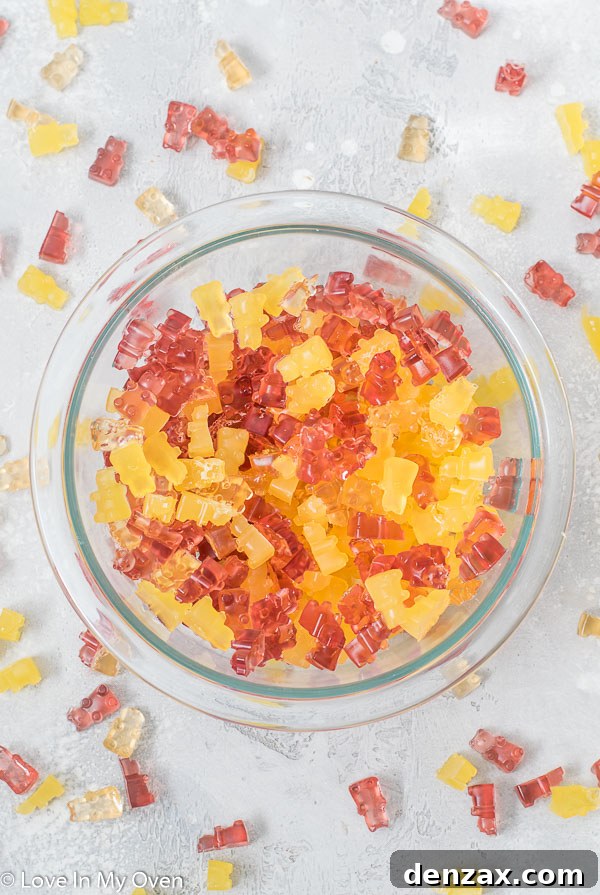
However, for optimal freshness and to extend their shelf life, it’s best to store your homemade gummy bears in an airtight container in the refrigerator. When stored properly, they will last for 1 to 2 weeks. Though, if your household is anything like mine, they’ll be devoured long before that! My kids and I typically finish a batch within a couple of days!
And speaking of little ones, who can resist a tiny, chubby hand reaching for a colorful, homemade gummy treat? Those moments are truly priceless.
Exploring Vegan Gummy Bear Options
For those following a vegan diet, the traditional gelatin in this recipe poses a challenge, as it is derived from animal collagen. Unfortunately, these specific gummy bears, using standard gelatin, are not vegan. However, the good news is that there are plant-based alternatives you can explore!
Agar-agar, a gelling agent derived from seaweed, is a popular substitute for gelatin in vegan recipes. While I haven’t personally tested this recipe with agar-agar, it’s certainly worth experimenting with. If you do try it, please share your results! I’d love to hear how it turns out and any tips you discover for making delicious vegan gummy bears using this method.
Unleash Your Creativity: Flavor Combinations and Variations
One of the most exciting aspects of making your own gummy bears is the endless possibilities for customization. Don’t be limited by the juices mentioned; let your imagination run wild!
- Mix and Match Juices: Create unique flavor profiles by combining two or more juices. Imagine strawberry-lemonade, orange-pineapple, or a tropical blend.
- Natural Color Enhancers: For even more vibrant colors, consider adding a tiny pinch of natural food coloring or fruit powders (like spirulina for green, beetroot powder for red, or turmeric for yellow) to your juice mixture.
- Layered Gummies: For a more elaborate treat, create multi-colored, layered gummies! Simply pour one color mixture into the mold, allow it to set slightly in the fridge, then add a second layer, and so on.
- Citrus Zest Boost: A tiny bit of lemon, lime, or orange zest added to the juice before heating can elevate the flavor significantly.
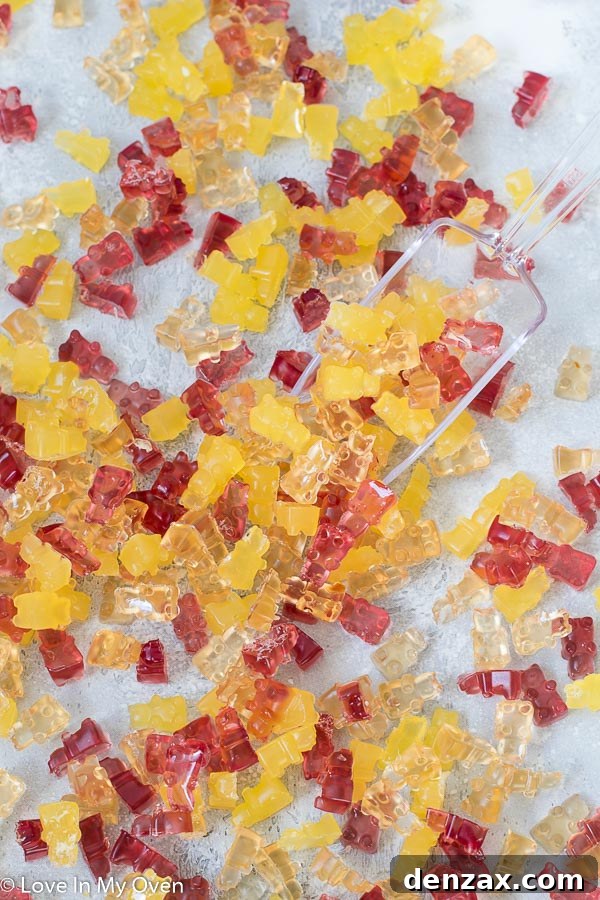
These customizable, healthy gummy bears are not just a snack; they’re a fun, engaging activity for the whole family, perfect for parties, lunchbox surprises, or just a sweet pick-me-up.
Beyond Gummies: Embrace the 3-Ingredient Recipe Philosophy
This healthy gummy bear recipe kicks off a delightful journey into the world of 3-ingredient recipes. The goal is to prove that incredible flavor and wholesome goodness don’t require complicated lists or extensive effort. Simplification in the kitchen means more time for enjoyment and less stress. If you loved how easy and delicious these gummies were, you’ll be thrilled to discover more simple treats:
- Crispy Strawberry Chocolate Bark
- Giant Peanut Butter Cup
- No-Churn Vegan Chocolate Ice Cream
Each of these recipes embodies the same philosophy: minimal ingredients, maximum delight, and healthy twists. They’re perfect for busy schedules, beginner bakers, or anyone looking to enjoy sweet treats without the fuss. Dive in and explore the joy of effortless, delicious homemade creations!
Print Recipe
Homemade Gummy Bears
5 Stars
4 Stars
3 Stars
2 Stars
1 Star
4.8 from 13 reviews
- Author: Katherine | Love In My Oven
Total Time: 40 minutes
Yield: 2 cups gummies 1x
Diet: Low Calorie
Description
You’ll never buy gummy bears again after trying this healthy gummy bear recipe! With zero refined sugar, these 3-ingredient homemade gummy bears are a terrific treat for you and your kids!
Ingredients
- 1 cup juice (any flavor, no sugar added)
- 3 tbsp maple syrup*
- 4 tbsp plain gelatin
Instructions
- In a medium saucepan over medium-high heat, bring the juice and syrup to a gentle simmer. Remove the pan from heat and sprinkle the gelatin over the mixture, then whisk thoroughly until combined.
- Using a dropper, fill each cavity from your mold with the mixture, filling it to the top. Refrigerate the filled mold for 20 minutes before popping out the gummies. Enjoy immediately, or refrigerate for another time!
Gummies keep best in the fridge, in an airtight container for up to 1 week, but they also hold up fine at room temperature for up to 1 day!
Notes
*You can use honey or agave instead of maple syrup, and adjust the sweetening to your liking (1-3 tbsp)
- Prep Time: 10 minutes
- Cook Time: 10 minutes
- Category: candy
- Method: no-bake
- Cuisine: american
Lizber 3 Pack Silicone Gumm…
Vital Proteins Beef Gelatin…
Butternut Mountain Farm Pur…