
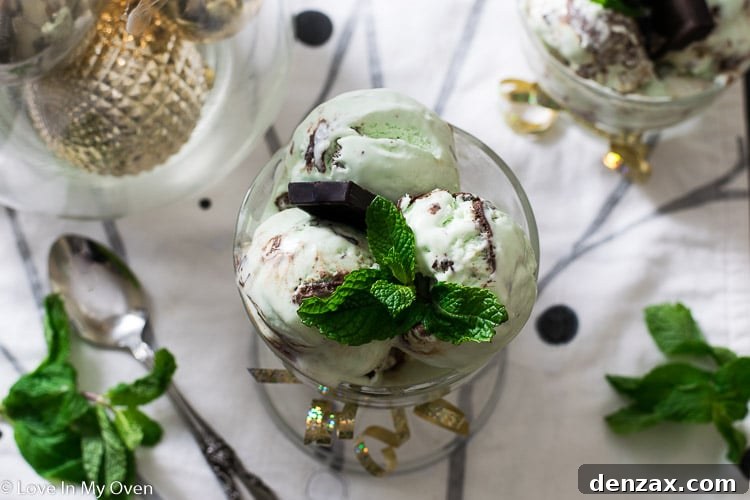
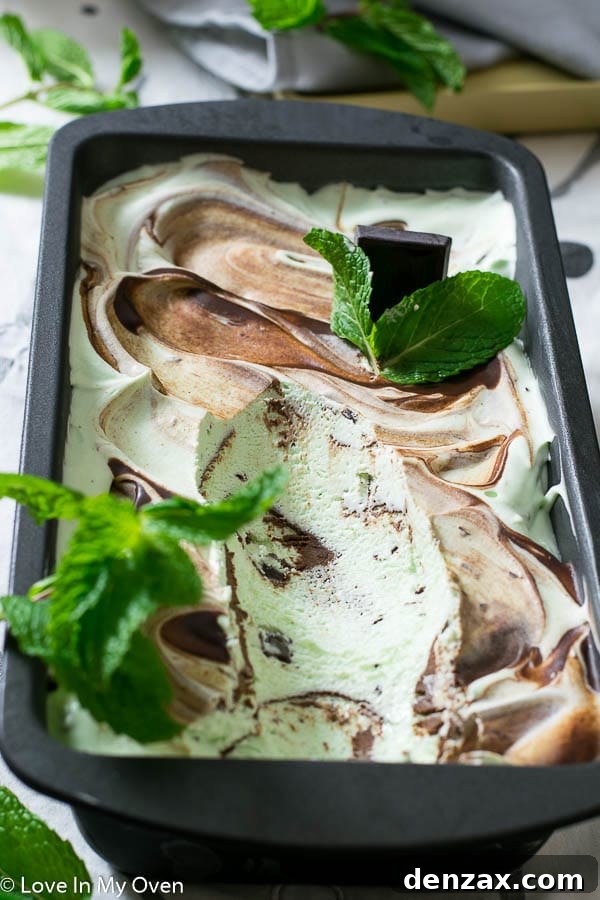
Experience pure indulgence with the BEST No-Churn Real Mint Chocolate Chip Ice Cream! This exceptional recipe combines the invigorating taste of fresh mint with rich chocolate, all crafted effortlessly without an ice cream maker. Get ready for a remarkably smooth and flavorful homemade treat that will revolutionize your dessert game.
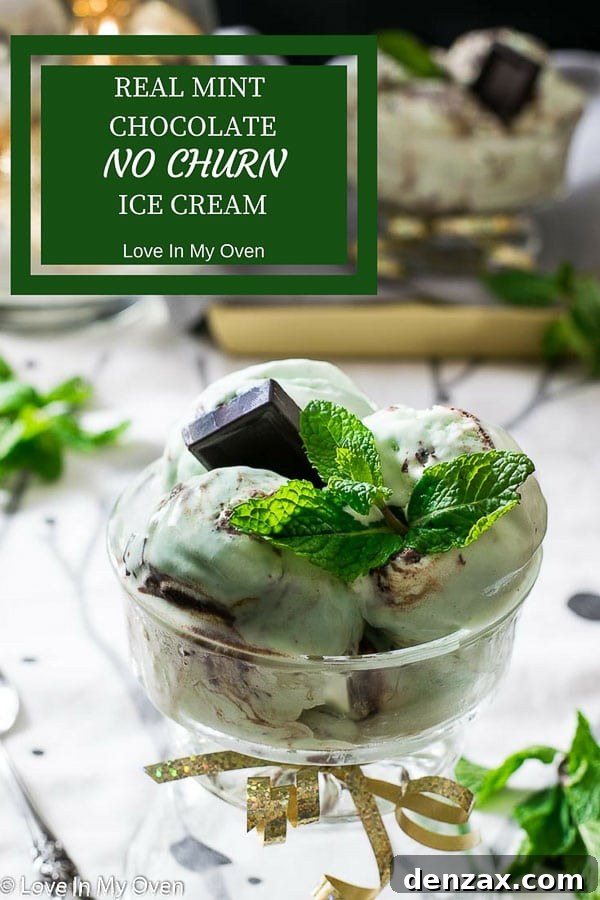
The Secret to Unforgettable Mint Chocolate Chip Ice Cream: Real Mint!
Prepare to elevate your homemade ice cream experience! Today, we’re diving into a recipe that promises to deliver the most authentic and sensational mint chocolate chip ice cream you’ve ever tasted. The star of our show? Not a synthetic extract, but genuine, aromatic fresh mint leaves. While mint extract certainly has its place in the pantry, the profound and nuanced flavor derived from real mint is an absolute game-changer, setting this recipe apart as truly extraordinary.
This delightful creation is a perfect addition to any celebration, whether it’s a festive holiday gathering or a casual summer treat. The vibrant taste of fresh mint combined with generous chunks of chocolate makes for an irresistible dessert that will impress everyone. Say goodbye to store-bought ice cream and hello to the incredible satisfaction of crafting your own masterpiece with ease!

A Nostalgic Journey to Holiday Flavors
Do you recall the excitement of holiday-flavored ice creams during your childhood? I certainly do! Those special cartons, often featuring seasonal delights like eggnog, peppermint candy, and of course, the ever-popular MINT CHOCOLATE CHIP, were always a highlight. This recipe taps into that cherished nostalgia, but with a fresh, elevated twist that will transport you back to those joyful times, albeit with a flavor profile far superior to anything you found in a supermarket aisle.
The beauty of homemade ice cream lies in its ability to capture pure, unadulterated flavors. Commercial versions often rely on artificial additives to achieve their taste and color. By using real mint, we bypass these shortcuts, embracing a natural approach that yields an unparalleled depth of flavor. This isn’t just ice cream; it’s a sensory experience, a memory in the making, and a tribute to simple, wholesome ingredients.
Unlocking Authentic Mint Flavor: The Steeping Method
Having explored numerous no-churn ice cream variations, I knew a true mint chocolate chip rendition required something special. The conventional approach of using mint extract simply wouldn’t capture the fresh, bright essence I envisioned. The secret to achieving an exceptionally authentic mint flavor lies in a time-honored technique: steeping fresh mint leaves directly in the heavy whipping cream. This method allows the natural oils and aromas of the mint to infuse thoroughly into the cream, creating a foundation of pure minty goodness.
The process is straightforward yet crucial for flavor development. You gently warm a portion of the heavy cream, then introduce a generous bunch of fresh mint leaves. Covering the mixture allows the mint to steep for at least two hours (and often longer for a more intense flavor). During this time, the cream slowly absorbs all the wonderful characteristics of the mint, transforming into a fragrant, flavorful base. After steeping, the mint leaves are strained out, leaving behind a beautifully infused cream that forms the heart of our ice cream.
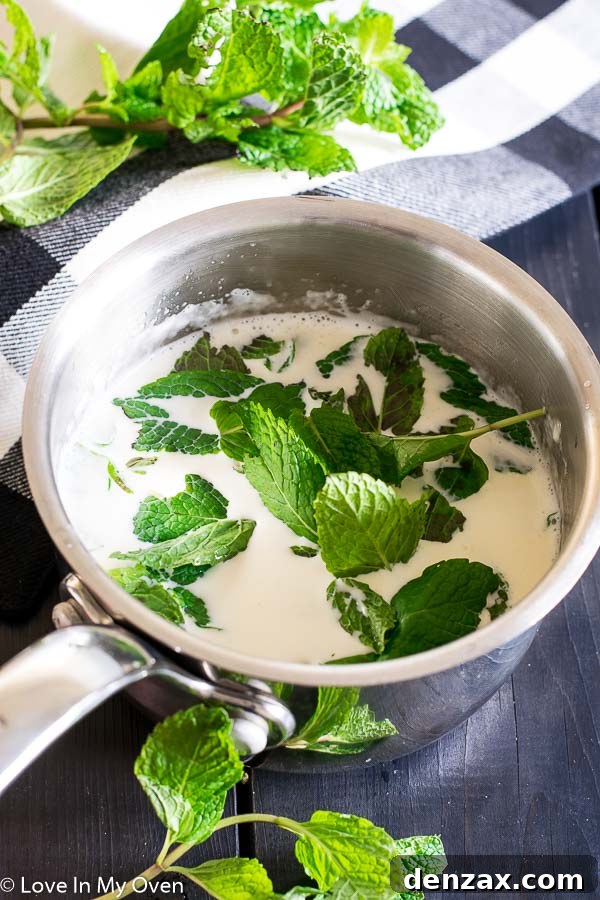
Upon tasting the steeped cream, don’t be surprised if it tastes intensely of raw mint and lacks sweetness. This is perfectly normal and exactly what we want! The rich, sweet flavor profile of the ice cream comes from the addition of sweetened condensed milk later in the process. The condensed milk not only adds the necessary sweetness but also contributes to the incredibly smooth, creamy texture that defines no-churn ice cream. It’s a harmonious balance where the fresh mint notes truly shine.
The Simplicity of No-Churn Ice Cream
One of the most appealing aspects of this recipe is its “no-churn” nature. For those unfamiliar, no-churn ice cream eliminates the need for an expensive ice cream maker, making homemade frozen treats accessible to everyone. The magic lies in whipping heavy cream until stiff peaks form, then gently folding in sweetened condensed milk. This creates a light, airy base that freezes beautifully into a delightfully creamy consistency, remarkably similar to traditional churned ice cream.
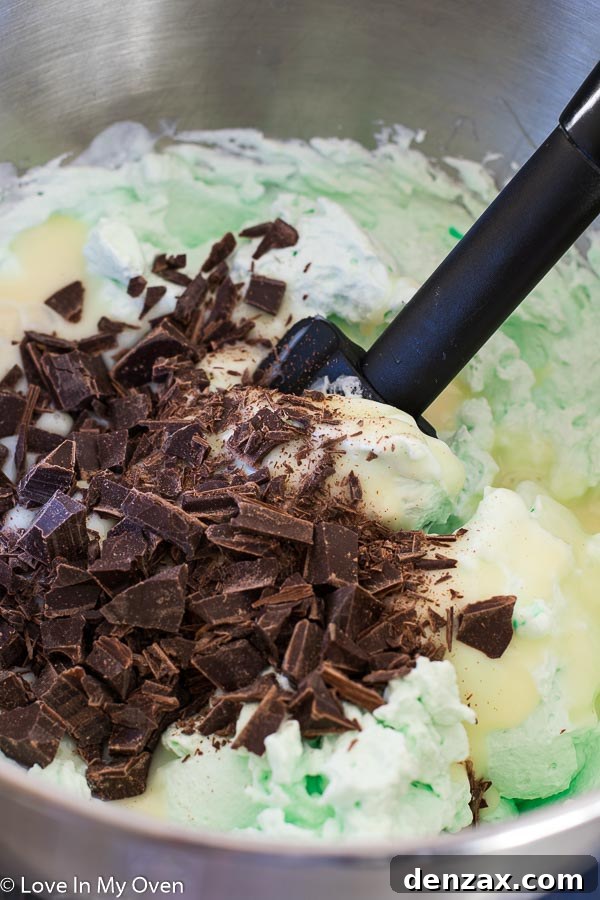
Once your mint-infused cream is thoroughly chilled, you’ll follow this simple no-churn method. Whip the cold, steeped cream until it’s thick and holds its shape. Then, carefully fold in the sweetened condensed milk, along with your chosen chopped chocolate and a few drops of green food coloring if you desire that classic mint chocolate chip hue. For an extra layer of decadence, we’ll also incorporate swirls of homemade chocolate ganache – because who can resist more chocolate?
Expert Tips for the Perfect Batch
To ensure your real mint chocolate chip ice cream is nothing short of perfection, here are a few invaluable tips:
- Double the Batch: Seriously, this ice cream is so irresistibly good and surprisingly easy to make that a single batch simply won’t be enough. Whether you’re serving it to dinner guests or enjoying it yourself, a double batch ensures there’s plenty to go around, satisfying every craving.
- Showcase Your Culinary Skill: When serving this to friends and family, be sure to mention that you made it from scratch, without an ice cream maker, and flavored it with *real* mint. Watch their faces light up with awe and admiration! It’s a fantastic way to impress and share your passion for delicious homemade treats.
- Quality Ingredients Matter: Since the ingredient list is short, the quality of each component shines through. Use high-quality heavy cream and a good brand of sweetened condensed milk. For the chocolate, opt for dark chocolate with a cacao percentage you enjoy, as it will significantly impact the flavor.
- Chilling is Key: Ensure your mint-steeped cream is thoroughly chilled before whipping. Cold cream whips up much better and holds its volume, which is essential for the airy texture of no-churn ice cream.
- Don’t Over-Whip: When whipping the cream, stop as soon as stiff peaks form. Over-whipping can lead to a grainy texture. The peaks should hold their shape when you lift the whisk.
- Gentle Folding: When combining the whipped cream with the condensed milk, chocolate, and food coloring, use a gentle folding technique. This preserves the airiness of the whipped cream, contributing to the light and creamy consistency of the finished ice cream.
- Ganache Perfection: The chocolate ganache swirl is optional but highly recommended for an extra layer of chocolatey goodness. Ensure the ganache cools slightly before layering it into the ice cream mixture to prevent it from melting the base. It should be thick enough to swirl but still pourable.
- Freezing Time: Allow ample freezing time, typically 5-6 hours, for the ice cream to set properly. For the best consistency and to prevent it from becoming too hard, transfer it to an airtight freezer-safe container with a lid after about 24 hours. It will keep well in the freezer for up to two weeks, though it rarely lasts that long!

Explore More No-Churn Ice Cream Delights!
If you’re a fellow ice cream enthusiast and love the simplicity of the no-churn method as much as I do, be sure to explore my other irresistible no-churn ice cream flavors. Each recipe offers a unique and delicious experience without the need for specialized equipment.
- Birthday Cake Ice Cream
- Rolo No-Churn Ice Cream
- Tiger Tail Ice Cream
Print Recipe

Best Mint Chocolate Chip Ice Cream (No-Churn)
5 Stars 4 Stars 3 Stars 2 Stars 1 Star
5 from 1 review
- Author: Katherine
Total Time: 35 minutes
Yield: 1 pint 1x
Description
This is the BEST mint chocolate chip ice cream! It’s a fresh mint ice cream recipe made without an ice cream maker, with REAL mint and chunks of chocolate!
Ingredients
Scale
- 2 1/4 cups heavy cream, divided
- 1 small bunch fresh mint leaves, large stems removed (about 1/2 cup packed)
- 5 oz chopped dark chocolate, divided
- 1 300 mL can sweetened condensed milk
- 1–2 drops green food colouring (if desired, for vibrant color)
Instructions
- Infuse the Cream: In a small saucepan, gently warm 2 cups of the heavy cream over medium heat until it just begins to steam, but do not boil. Remove the saucepan from the heat immediately. Add all the fresh mint leaves, ensuring they are submerged. Cover the saucepan tightly and allow the mint to steep for at least 2 hours. For a stronger mint flavor, you can steep for up to 4 hours, or even overnight in the refrigerator after it cools. Once steeped, pour the infused cream through a fine-mesh strainer into a clean bowl, discarding all the mint leaves. Refrigerate the mint-infused cream until it is thoroughly cold (at least 1-2 hours) – chilling is essential for successful whipping.
- Prepare the Ganache: Place 1 oz of the finely chopped dark chocolate into a heat-safe bowl. In a separate small saucepan, heat the remaining 1/4 cup heavy cream until it just begins to steam. Remove from heat and pour the hot cream directly over the chopped chocolate. Let the mixture sit undisturbed for a full minute to allow the chocolate to melt. After one minute, stir gently with a spoon or whisk until all the chocolate is melted and fully combined with the cream, creating a smooth, glossy ganache. Set aside and allow the ganache to cool slightly to room temperature while you prepare the ice cream base; it should be thick but still pourable.
- Assemble the Ice Cream Base: In the bowl of a stand mixer fitted with the whisk attachment (or using a large bowl and an electric hand mixer), beat the cold, mint-infused cream on medium-high speed. Continue beating until stiff peaks begin to form. This means the cream should hold its shape firmly when the whisk is lifted. Using a spatula, gently fold in the entire can of sweetened condensed milk until just combined. Next, fold in the remaining 4 oz of chopped dark chocolate. If desired, add 1-2 drops of green food coloring at this stage and fold until evenly distributed, creating that classic mint ice cream hue.
- Layer and Swirl: Transfer half of the prepared ice cream mixture into a freezer-safe container (a standard loaf pan works perfectly). Take half of the cooled chocolate ganache and dollop it by spoonfuls over the ice cream layer. Use a knife or a skewer to gently swirl the ganache into the ice cream, creating beautiful ribbons of chocolate. Repeat this layering process with the remaining ice cream mixture and the rest of the ganache.
- Freeze: Cover the container tightly with plastic wrap or a lid. Place the ice cream in the freezer for a minimum of 5-6 hours, or until it is firm enough to scoop.
For the best texture, the ice cream will continue to harden over time. It can be stored in an airtight freezer-safe container for up to 2 weeks. I typically transfer my ice cream to a dedicated container with a lid after it has set for a day, which helps maintain its quality and prevents freezer burn.
- Prep Time: 20 minutes
- Cook Time: 15 minutes (Steeping not included in cook time)
- Category: Dessert
- Method: No-Churn
Join the Christmas Festival Blog Hop!
This recipe was originally shared as part of a fun Christmas Festival blog hop, hosted by Kendra over at Joy In Our Home. While the holiday season may be behind us, the inspiration from these creative bloggers endures. Explore a variety of festive décor, delicious recipes, and inspiring ideas to get into the spirit of any celebration!
If you followed the blog hop from Crisp Collective, be sure to move on over to the next awesome post by Malinda at Countryside Cravings! Those breakfast tacos will surely tempt your taste buds!
Mantels on Monday
White Arrows Home | Repurpose and Upcycle | Timeless Creation
Lemons to Lovely | Pennies From Heaven Home | One Happy Housewife
Vignettes on Tuesday
Joy In Our Home | anderson + grant | Kingsbury Brook Farm
My Creative Days | Poofing the Pillows | CityGirlMeetsFarmBoy
Recipes on Wednesday
Life Love Larson | Cali Girl In A Southern World | Crisp Collective
Love In My Oven | Countryside Cravings | Curly Crafty Mom
Front Porches on Thursday
Making it in the Mountains | Elizabeth Joan Designs | Country Girl Home
Little Brags | The Homemaking Momma | Lemons, Lavender, & Laundry
Tablescapes on Friday
Celebrate & Decorate | Noting Grace | 2 Bees in a Pod
The Crowned Goat | Dining Delight | The Neutral Nest Interiors